Introduction
The neighborhood cookie swap was in three hours and I’d completely forgotten. Everyone else would be bringing those elaborate French macarons, perfectly piped sugar cookies with royal icing, and those fancy layered bars that take three days to set. I had a half-stick of butter, one egg, and a bag of chocolate chips that was probably a year old. Honestly, I almost just showed up with a store-bought bag and called it a day. But something in me said, “No, just make a small batch. Even if it’s a disaster, at least you tried.”
So I pulled out a bowl, no mixer, just a wooden spoon, and started throwing things together. I was kind of frantic, not gonna lie. I melted the butter because I didn’t have time to let it soften, and I was pretty sure that was a cardinal sin in the cookie world. The dough looked a little greasy, and I thought, “Well, this is going to be a pancake situation.” I scooped out six sad little dough balls and popped them in the oven, fully expecting to be the person who brought the “effort” cookie. Maybe you’ve been there—that moment where you’re just hoping for edible, not exceptional.
But then the smell started filling my kitchen. That warm, buttery, vanilla-y smell that just makes everything feel right. I pulled them out, and they were actually… golden? And crispy on the edges? I let them cool for maybe two minutes (I was impatient and stressed) and took a bite. The edges were perfectly crunchy, the middle was soft and gooey, and the chocolate was all melty. I mean, I actually said “oh my god” out loud to an empty kitchen. I brought those six cookies to the swap, feeling a little sheepish, and they were gone in five minutes. Someone asked me for the recipe, and I had to laugh. It’s the recipe I’m sharing with you today. And honestly, I keep making them because they remind me that you don’t need fancy tools or a ton of time to make something that feels like a hug.
Why You’ll Love This Recipe
Let me tell you, these aren’t just any chocolate chip cookies. I’ve tested this recipe maybe a dozen times to get it just right, and it’s the one I keep coming back to. It’s the kind of recipe that feels like a secret weapon in your back pocket.
- No Mixer Needed: You don’t need a stand mixer or even a hand mixer. Just a bowl and a wooden spoon. Less cleanup, more cookie eating.
- Small Batch Perfection: It makes exactly six cookies. No more, no less. Perfect for when you want a treat without a giant batch staring at you from the counter.
- Simple Ingredients: You probably have everything in your pantry right now. No weird extracts or specialty flours.
- Quick & Easy: From start to finish, you’re looking at about 20 minutes. That’s faster than driving to the store for a single cookie.
- Perfect for Cravings: This is the recipe for a random Tuesday night, a rainy afternoon, or when you just need a little something sweet.
- Crowd-Pleaser: I’ve made these for my neighbor, for a friend who was having a bad day, and for myself (obviously). They always get the same reaction: “Wait, you made these? Right now?”
What makes these different from every other cookie recipe? It’s the melted butter. Most recipes tell you to cream room-temperature butter and sugar, which is great, but it takes time and a mixer. Melting the butter gives you a chewier, denser cookie with those perfectly crispy edges. It’s a little trick I picked up from a bakery I used to work at, and it works every single time. These cookies aren’t just good—they’re the kind that make you close your eyes after the first bite. It’s comfort food, pure and simple, and it’s ready whenever you are.
What Ingredients You Will Need
This recipe uses simple, everyday ingredients to deliver a cookie that’s way more than the sum of its parts. No need for a special trip to the store—just raid your pantry and you’re good to go.
- 4 tablespoons unsalted butter (melted and slightly cooled – this is the secret to the chewy texture)
- 1/4 cup packed brown sugar (light or dark works; dark gives a deeper, more caramel-like flavor)
- 2 tablespoons granulated sugar
- 1 large egg yolk (save the white for scrambled eggs or a face mask!)
- 1/2 teaspoon vanilla extract (pure vanilla is best, but imitation works in a pinch)
- 1/2 cup all-purpose flour (spooned and leveled – don’t scoop straight from the bag!)
- 1/4 teaspoon baking soda
- 1/4 teaspoon salt (I prefer kosher salt, but table salt is fine)
- 1/3 cup chocolate chips (semi-sweet is classic, but milk or dark chocolate works too)
A few notes from my kitchen to yours. I really like using King Arthur Flour for the most consistent results, but any all-purpose flour will do. For the chocolate chips, I’m partial to Guittard or Ghirardelli—they just melt so beautifully. If you only have salted butter, just skip the added salt in the recipe. And if you’re out of brown sugar, you can make a quick substitute by mixing 1/4 cup of granulated sugar with 1 tablespoon of molasses. It’s not perfect, but it’ll get the job done.
For a gluten-free option, you can swap the all-purpose flour with a 1:1 gluten-free baking flour blend. I’ve tried this with Bob’s Red Mill blend, and it works great. Just make sure the blend contains xanthan gum for structure. If you want a dairy-free version, use a plant-based butter stick (not the spreadable kind in a tub) and dairy-free chocolate chips. The texture will be slightly different, but still delicious.
Equipment Needed
The beauty of this recipe is that you probably already own everything you need. No fancy gadgets required.
- Mixing bowl: Any medium-sized bowl will do. I use a ceramic one, but glass or metal is fine.
- Wooden spoon or spatula: A wooden spoon is great for creaming the butter and sugar, but a silicone spatula works too.
- Measuring cups and spoons: For accurate measurements. Trust me, eyeballing it with cookies is a risky game.
- Baking sheet: A standard half-sheet pan is perfect. If you only have a dark pan, keep an eye on the cookies—they might brown faster.
- Parchment paper or silicone baking mat: This prevents sticking and makes cleanup a breeze. I’ve used foil in a pinch, but parchment is better.
- Cookie scoop or tablespoon: For evenly sized cookies. A regular tablespoon works if you don’t have a scoop.
- Cooling rack: Optional, but it helps the cookies cool evenly and stay crispy.
If you don’t have a cooling rack, just let the cookies cool on the baking sheet for a few minutes, then carefully transfer them to a plate. I’ve done this more times than I can count, and it works fine.
Preparation Method
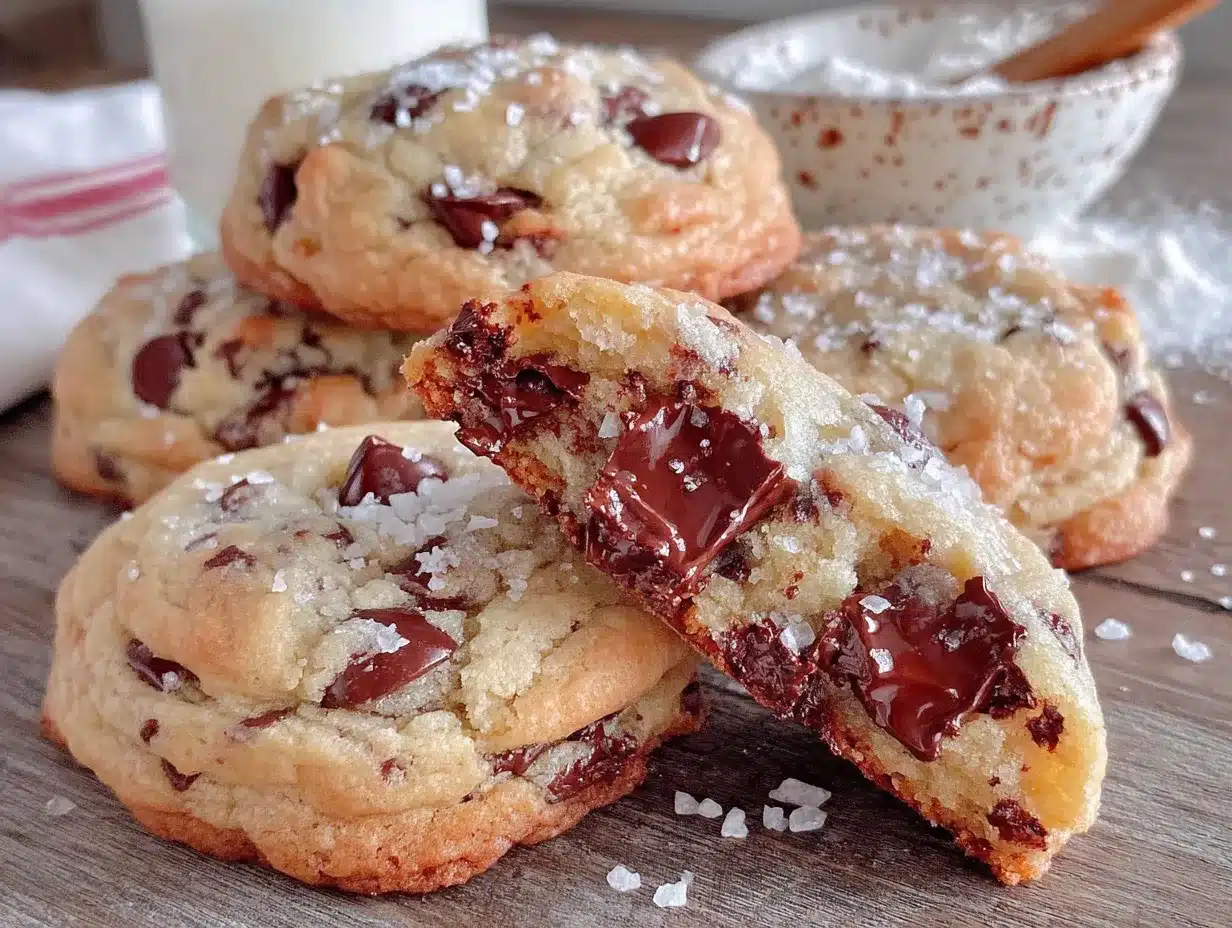
Alright, let’s make some cookies. This is the part where the magic happens, and I promise it’s easier than you think.
-
Preheat your oven to 350°F (175°C). Line a baking sheet with parchment paper or a silicone mat. This is a small step that makes a huge difference—no stuck cookies, easy cleanup.
-
Melt the butter. In a small microwave-safe bowl, melt the 4 tablespoons of butter in 20-second bursts until just melted. Be careful not to let it boil or get too hot. Let it cool for a minute or two while you get the other ingredients ready. You want it warm, not hot, so it doesn’t cook the egg yolk.
-
Mix the sugars and butter. In your medium mixing bowl, combine the melted butter, 1/4 cup brown sugar, and 2 tablespoons granulated sugar. Stir with your wooden spoon or spatula until it’s well combined and looks like wet sand. This should take about 30 seconds. Don’t worry if it looks a little grainy—that’s normal.
-
Add the egg yolk and vanilla. Drop in the egg yolk and 1/2 teaspoon of vanilla extract. Stir vigorously until everything is smooth and glossy. The mixture will look a bit like a thick sauce at this point. If it looks a little separated, keep stirring—it’ll come together.
-
Add the dry ingredients. Sprinkle the 1/2 cup of flour, 1/4 teaspoon baking soda, and 1/4 teaspoon salt over the wet mixture. Stir gently at first to avoid a flour cloud, then mix until just combined. A few streaks of flour are okay—overmixing will make the cookies tough. You want a soft, slightly sticky dough.
-
Fold in the chocolate chips. Add the 1/3 cup of chocolate chips and fold them in with a few strokes. Make sure they’re evenly distributed. If you want a few chips on top for looks, reserve a handful and press them into the dough balls later.
-
Scoop the dough. Use a cookie scoop or a tablespoon to portion out six equal balls of dough. Place them on the prepared baking sheet, spacing them about 2 inches apart. They will spread, so give them room. If you want that bakery-style look, gently press a few extra chocolate chips into the tops of the dough balls.
-
Bake. Pop the baking sheet into the preheated oven and bake for 8-10 minutes. At 8 minutes, the edges will be golden and the centers will look slightly underdone and puffy. That’s exactly what you want. For a crispier cookie, go to 10 minutes. For a softer, gooier cookie, stick with 8.
-
Cool. Let the cookies cool on the baking sheet for 5 minutes. This is crucial—they’re very fragile right out of the oven. After 5 minutes, transfer them to a cooling rack (or a plate) to cool completely. Or, you know, eat one warm. I won’t tell.
A quick tip from my many, many trials: if your cookies spread too much, your butter was probably too hot. Next time, let it cool a bit longer. If they didn’t spread enough, your flour might have been over-measured. Spoon and level, my friend!
Cooking Tips & Techniques
I’ve made these cookies so many times that I’ve learned a few things the hard way. Let me save you some trouble.
The melted butter trick is everything. I know it sounds weird, but melted butter gives you a chewier, denser cookie because it coats the flour proteins differently than creamed butter. Just make sure it’s not too hot when you add the egg yolk, or you’ll end up with scrambled egg in your cookie dough. Trust me, I’ve been there. It’s not pretty.
Don’t overmix the dough. This is probably the most common mistake. Once you add the flour, stir just until it disappears. Overmixing develops the gluten, which makes cookies tough and cakey. We want tender, chewy cookies here.
Chill the dough if you have time. I know this recipe is about speed, but if you can spare 30 minutes, pop the dough balls in the fridge before baking. This solidifies the butter, which means less spreading and a thicker, chewier cookie. I’ve done it both ways, and chilled dough definitely gives a more bakery-style result.
Use a cookie scoop for even sizes. It’s not just about aesthetics—evenly sized cookies bake evenly. If you’re using a tablespoon, try to make each scoop the same size. I’ve had batches where one cookie was a tiny runt and another was a giant puddle, and it’s just sad.
Watch the oven like a hawk. Ovens vary wildly. My old oven would burn cookies at 9 minutes, but my new one takes the full 10. Start checking at 8 minutes, and look for golden edges with a slightly puffy, pale center. They’ll continue to set as they cool.
Let them cool on the sheet. I know it’s tempting to move them right away, but they’re super fragile when hot. Those 5 minutes on the baking sheet are non-negotiable for the perfect texture.
Variations & Adaptations
This recipe is a great base, and I’ve tried a bunch of variations over the years. Here are a few of my favorites.
Double Chocolate Chip: Replace 1 tablespoon of the flour with 1 tablespoon of unsweetened cocoa powder. Use dark chocolate chips for an extra-rich cookie. It’s like a brownie and a cookie had a baby.
Peanut Butter Swirl: After you scoop the dough onto the sheet, drop a small dollop of peanut butter on top of each dough ball and swirl it in with a toothpick. Bake as directed. The salty-sweet combo is killer.
Gluten-Free: Swap the all-purpose flour with a 1:1 gluten-free baking blend that contains xanthan gum. I’ve done this for a friend with celiac disease, and she couldn’t tell the difference. The texture is slightly more delicate, so handle them gently.
Vegan Option: Use a plant-based butter stick and a flax egg (1 tablespoon ground flaxseed mixed with 3 tablespoons water, let sit for 5 minutes). The cookies will be a little less chewy, but still delicious. Use dairy-free chocolate chips, of course.
Add-Ins: Feel free to swap the chocolate chips for white chocolate chips, chopped nuts, dried cranberries, or even toffee bits. I once made a batch with chopped pecans and butterscotch chips, and it was incredible.
Spiced Cookie: Add 1/4 teaspoon of cinnamon and a pinch of nutmeg to the dry ingredients. It gives the cookies a warm, cozy flavor that’s perfect for fall.
Serving & Storage Suggestions
These cookies are best served warm, obviously. I like to eat one straight off the baking sheet (after the 5-minute cool, of course) with a glass of cold milk. It’s a classic for a reason.
For a more “presentable” serving, arrange them on a pretty plate. They’re great for a small gathering, a coffee date with a friend, or just a treat for yourself. I’ve also crumbled them over vanilla ice cream for a makeshift sundae, and it was amazing.
Storage: Store any leftover cookies (if that’s even a thing) in an airtight container at room temperature. They’ll stay fresh for up to 3 days. After that, they start to get a little stale, but they’re still good crumbled over yogurt or ice cream.
Freezing: You can freeze the baked cookies for up to 3 months. Just wrap them individually in plastic wrap and pop them in a freezer bag. To reheat, let them thaw at room temperature, then warm them in a 300°F oven for 5 minutes. You can also freeze the raw dough balls. Scoop them onto a baking sheet, freeze until solid, then transfer to a freezer bag. Bake from frozen, adding 1-2 minutes to the baking time.
Reheating: The best way to reheat a single cookie is in the microwave for 10-15 seconds. It gets the chocolate all melty again. For a whole batch, pop them in a 300°F oven for 5 minutes.
Honestly, these cookies are best on day one, but they’re still pretty darn good on day two. The flavors meld a bit, and the texture softens slightly. I’ve never had a batch last longer than two days, so I can’t really speak to day three.
Nutritional Information & Benefits
Let’s be real, these are cookies. They’re a treat. But here’s the breakdown per cookie (based on six cookies):
- Calories: Approximately 220
- Fat: 12g
- Carbohydrates: 28g
- Protein: 3g
- Sugar: 18g
These numbers are estimates and will vary based on the exact ingredients you use. For example, using dark chocolate chips will reduce the sugar slightly.
Now, for the “benefits” part. Dark chocolate is a good source of antioxidants, and the butter provides a small amount of vitamin A. The brown sugar gives you a quick energy boost. But honestly, the biggest benefit is the mental one. Taking 20 minutes to make something from scratch is a form of self-care. It’s grounding, it’s satisfying, and it gives you a tangible result that you can enjoy. I firmly believe that a homemade cookie has more emotional value than a store-bought one, and that counts for something.
If you’re watching your sugar intake, you can reduce the sugar by a tablespoon or use a sugar substitute, but the texture will change. I’ve tried it with coconut sugar, and it works, but the cookies are a bit darker and less sweet. For a low-carb option, you can try an almond flour recipe, but that’s a whole different beast.
Conclusion
So there you have it—the recipe that saved me at a cookie swap and became my go-to for those moments when only a warm, homemade cookie will do. It’s simple, it’s fast, and it doesn’t require any fancy equipment. Just a bowl, a spoon, and a craving for something comforting.
I really hope you give these a try. Don’t be afraid to make them your own—add different chips, throw in some nuts, or sprinkle a little sea salt on top before baking. The beauty of a small batch is that you can experiment without committing to a mountain of cookies.
When you make them, I’d love to hear how they turn out. Drop a comment below and let me know if you added any fun twists, or just tell me how many you ate before they cooled down (no judgment here). And if you share a photo on Pinterest, tag me—I always love seeing your creations.
Go on, preheat that oven. You deserve a cookie.
Frequently Asked Questions
Can I use salted butter instead of unsalted?
Yes, you can! Just skip the added 1/4 teaspoon of salt in the recipe. The cookies might be slightly saltier, but it works well with the chocolate.
Why did my cookies spread too much?
This usually happens if the butter was too hot when you mixed it, or if you didn’t chill the dough. Next time, let the melted butter cool for a few minutes before adding the egg, and chill the dough balls for 15-20 minutes before baking.
Can I double this recipe?
Absolutely! Just double all the ingredients. You’ll get 12 cookies instead of 6. The baking time should stay the same, but keep an eye on them.
What if I don’t have brown sugar?
You can substitute 1/4 cup of granulated sugar mixed with 1 tablespoon of molasses. If you don’t have molasses, just use all granulated sugar. The cookies will be slightly less chewy and a bit lighter in color, but still tasty.
Can I make the dough ahead of time?
Yes! You can make the dough, scoop it into balls, and store them in the fridge for up to 3 days. Just bake them straight from the fridge, adding an extra minute or two to the baking time. You can also freeze the dough balls for up to 3 months.
Pin This Recipe!
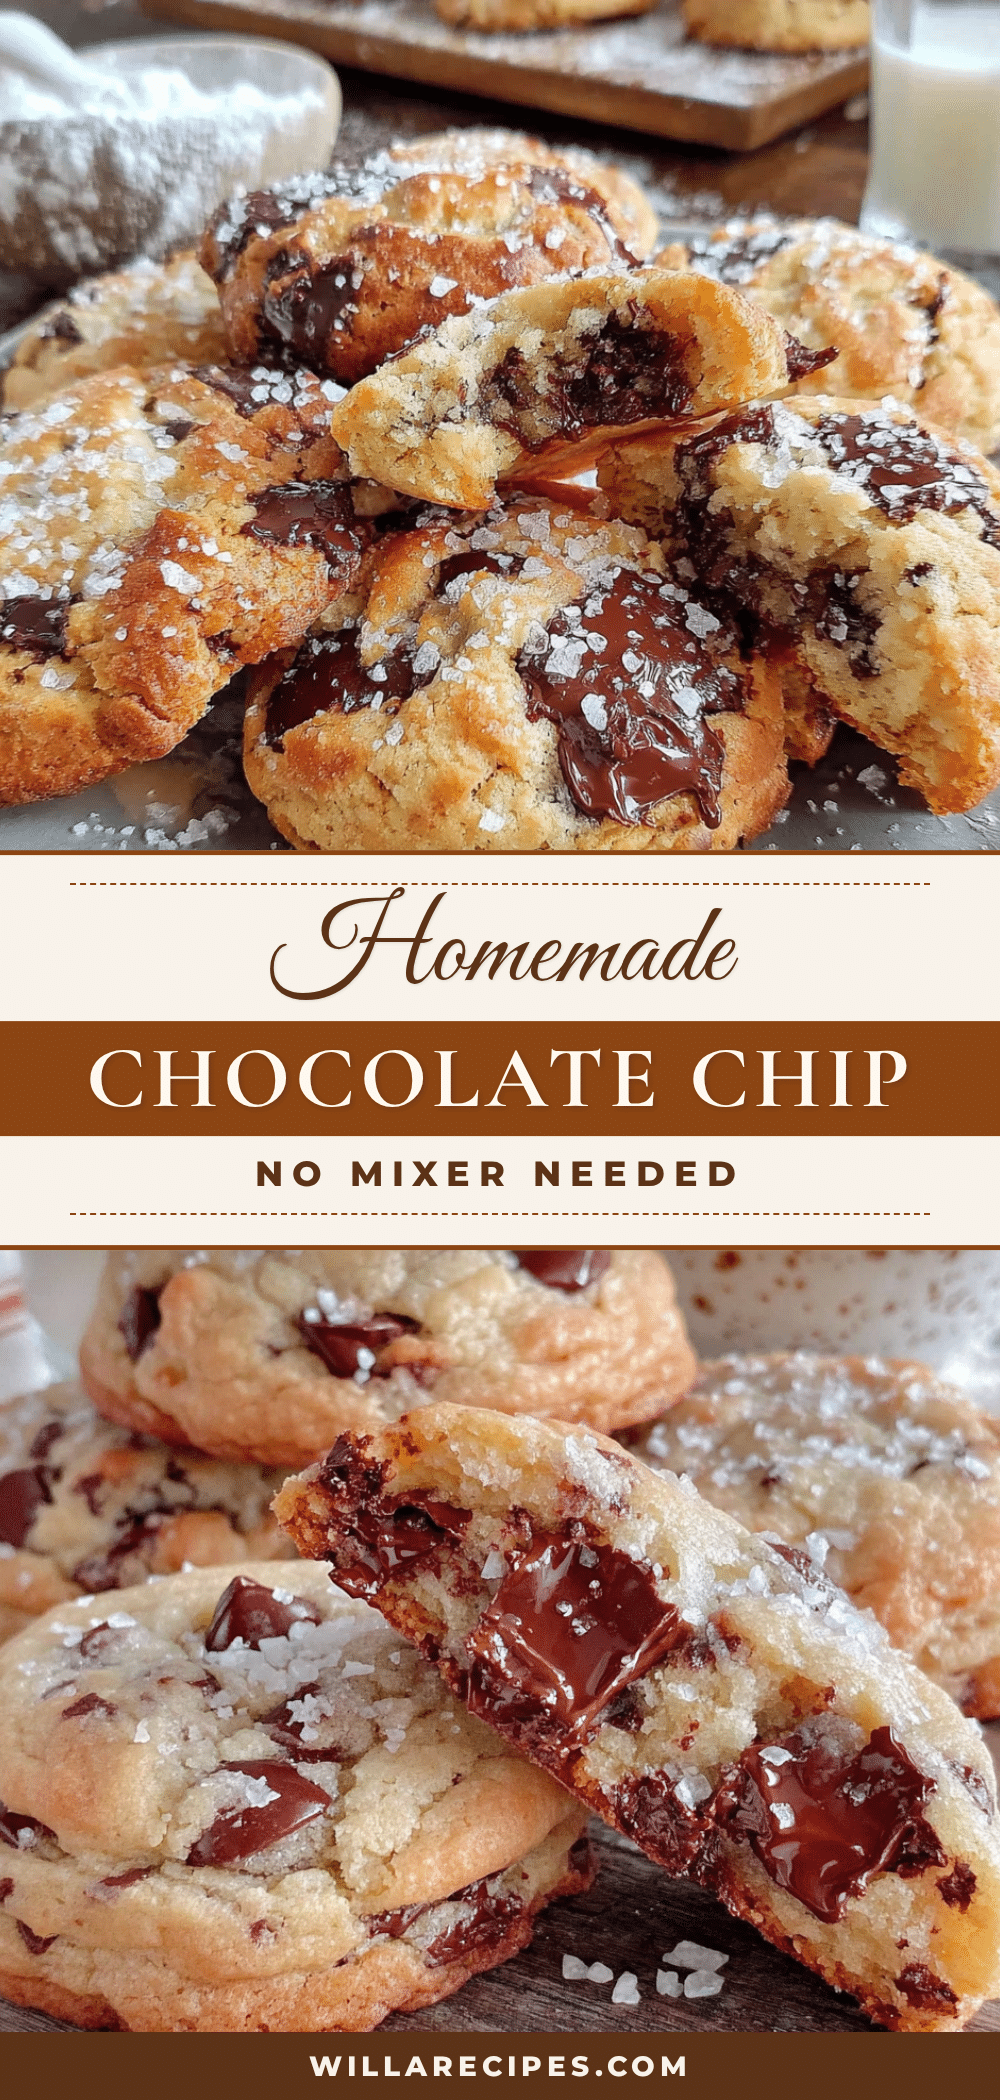
Homemade Small-Batch Chocolate Chip Cookies (Best Easy Recipe)

This small-batch chocolate chip cookie recipe makes exactly six perfect cookies with crispy edges and gooey centers, using melted butter for a chewy texture. No mixer needed, ready in about 20 minutes, and made with simple pantry ingredients.
- Prep Time: 10 minutes
- Cook Time: 10 minutes
- Total Time: 20 minutes
- Yield: 6 cookies 1x
- Category: Dessert
- Cuisine: American
Ingredients
- 4 tablespoons unsalted butter, melted and slightly cooled
- 1/4 cup packed brown sugar (light or dark)
- 2 tablespoons granulated sugar
- 1 large egg yolk
- 1/2 teaspoon vanilla extract
- 1/2 cup all-purpose flour, spooned and leveled
- 1/4 teaspoon baking soda
- 1/4 teaspoon salt
- 1/3 cup chocolate chips (semi-sweet, milk, or dark)
Instructions
- Preheat your oven to 350°F (175°C). Line a baking sheet with parchment paper or a silicone mat.
- In a small microwave-safe bowl, melt the 4 tablespoons of butter in 20-second bursts until just melted. Let it cool for a minute or two.
- In a medium mixing bowl, combine the melted butter, 1/4 cup brown sugar, and 2 tablespoons granulated sugar. Stir until well combined and looks like wet sand, about 30 seconds.
- Add the egg yolk and 1/2 teaspoon of vanilla extract. Stir vigorously until smooth and glossy.
- Sprinkle the 1/2 cup of flour, 1/4 teaspoon baking soda, and 1/4 teaspoon salt over the wet mixture. Stir gently until just combined. A few streaks of flour are okay.
- Fold in the 1/3 cup of chocolate chips until evenly distributed. Reserve a handful to press into the tops of the dough balls if desired.
- Use a cookie scoop or tablespoon to portion out six equal balls of dough. Place them on the prepared baking sheet, spacing them about 2 inches apart. Gently press a few extra chocolate chips into the tops if desired.
- Bake for 8-10 minutes. At 8 minutes, the edges will be golden and the centers will look slightly underdone and puffy. For a crispier cookie, go to 10 minutes.
- Let the cookies cool on the baking sheet for 5 minutes. Then transfer to a cooling rack or plate to cool completely.
Notes
For best results, let melted butter cool slightly before adding egg yolk to avoid scrambling. If cookies spread too much, butter was too hot; let it cool longer next time. For thicker, chewier cookies, chill dough balls for 30 minutes before baking. Watch the oven closely as baking times vary. Cookies are best served warm.
Nutrition
- Serving Size: 1 cookie
- Calories: 220
- Sugar: 18
- Sodium: 150
- Fat: 12
- Saturated Fat: 7
- Carbohydrates: 28
- Fiber: 1
- Protein: 3
Keywords: small batch chocolate chip cookies, easy cookie recipe, no mixer cookies, chewy chocolate chip cookies, quick cookies, homemade cookies