I was trying to make gingerbread house panels. That was the plan, anyway. I’d spent the whole afternoon dreaming up a little cabin with a pretzel fence and gumdrop pathway, the kind that looks like it belongs in a snow globe. I creamed the butter and sugar with determination, measured the molasses with the precision of a chemist, and mixed the dry ingredients with the confidence of someone who had definitely done this before. Then I grabbed the wrong measuring cup—the one for liquids, not dry—and dumped in what I thought was a cup of flour. It was actually closer to a half-cup. The dough came together looking more like a sticky, dark batter than a firm, rollable dough. I stood there, spatula in hand, staring at this goopy mess that was never, ever going to hold the shape of a roof or a wall.
I almost threw it in the trash. Honestly, I did. My hand was on the lid of the compost bin. But something stopped me—maybe the smell of the ginger and cloves, which was already making the whole kitchen feel like a holiday card. I figured, well, it’s not a house, but maybe it’s a cookie. A soft, puffy, almost cake-like cookie. So I scooped the sticky dough onto a parchment-lined sheet, baked it off, and pulled out a tray of the most tender, pillowy gingerbread cookies I had ever made. They weren’t crisp. They weren’t snappy. They were soft, like a warm hug from the inside. I drizzled a simple molasses icing over the top, and let me tell you, that was the moment I stopped trying to build a house and started building a new favorite recipe. Maybe you’ve been there—the moment a kitchen failure turns into something you didn’t know you needed. These cookies are that moment, baked into every single bite.
Why You’ll Love This Recipe
I’ve tested this recipe more times than I care to admit, and each batch just confirmed what that first happy accident taught me: soft gingerbread cookies are the unsung heroes of the holiday baking world. They don’t crack when you bite into them, they don’t dry out on the counter, and they don’t require a degree in pastry arts to get right. Here’s why I think you’ll fall for them too:
- Quick & Easy: From mixing bowl to cooling rack in under 30 minutes. No chilling required, no rolling pin wrestling. Just scoop, bake, and glaze.
- Simple Ingredients: You probably have everything already. Molasses, butter, sugar, flour, and a handful of spices. No trips to a specialty store for obscure extracts.
- Perfect for Cozy Evenings: These cookies were made for a snowy afternoon, a cup of tea, and a blanket that’s seen better days. They’re the edible equivalent of a slow exhale.
- Crowd-Pleaser: Kids love the soft texture. Adults love the deep, spiced flavor. And everyone loves the glossy icing on top.
- Unbelievably Delicious: The secret is the molasses-to-fat ratio. It keeps the cookies tender for days, with a flavor that gets better after a night in the tin.
What makes this recipe different from the rest? It’s the technique. Most gingerbread recipes are designed for structure—they need to hold up to rolling and cutting. This one is designed for softness. The higher moisture content and lower flour ratio mean you get a cookie that’s almost like a little gingerbread cake. It’s not just another version; it’s the version that puts comfort first.
This recipe is the kind that makes you close your eyes after the first bite. It’s comfort food reimagined—faster, softer, and with the same soul-soothing satisfaction. Perfect for impressing guests without stress, or turning a simple Tuesday night into something memorable.
What Ingredients You Will Need
This recipe uses simple, pantry-friendly ingredients to deliver bold, spiced flavor and that signature soft texture. Nothing fancy, nothing fussy—just the good stuff.
- Unsalted butter, softened (1/2 cup or 113g) — Adds richness and tenderness. I prefer using a European-style butter like Kerrygold for a deeper flavor, but any unsalted butter works beautifully.
- Granulated sugar (1/2 cup or 100g) — Provides sweetness and helps create that soft, cake-like crumb.
- Large egg (1, at room temperature) — Binds everything together and adds structure. If your egg is cold, place it in a bowl of warm water for 5 minutes before using.
- Molasses (1/2 cup or 170g) — The star of the show. Use unsulphured molasses for the best flavor. I recommend Grandma’s or Brer Rabbit—they’re widely available and consistently good. Do not use blackstrap molasses here; it’s too bitter and will overpower the cookies.
- All-purpose flour (2 cups or 250g) — Spoon and level for accuracy. Scooping directly from the bag can pack in too much flour and make the cookies dry.
- Baking soda (1 teaspoon) — Helps the cookies rise and spread just enough.
- Ground ginger (2 teaspoons) — For that warm, slightly peppery kick. Freshly ground ginger is lovely, but store-bought works perfectly.
- Ground cinnamon (1 teaspoon) — Adds sweetness and depth.
- Ground cloves (1/2 teaspoon) — A little goes a long way. Too much can make the cookies taste medicinal.
- Salt (1/4 teaspoon) — Balances the sweetness and enhances the spices.
For the Molasses Icing:
- Powdered sugar (1 cup or 120g) — The base of the glaze. Sift it if it’s lumpy to avoid a gritty texture.
- Molasses (2 tablespoons or 30g) — The same kind you used for the cookies. This gives the icing its deep color and rich flavor.
- Milk (2 to 3 tablespoons or 30-45ml) — Use whole milk for a creamier glaze, or swap in any dairy-free milk like oat or almond. Add it slowly until you reach a drizzling consistency.
- Vanilla extract (1/2 teaspoon) — Optional, but it rounds out the flavor nicely.
Substitution Guidance: For a dairy-free version, use a plant-based butter stick (like Earth Balance) and your favorite non-dairy milk. For a gluten-free option, replace the all-purpose flour with a 1:1 gluten-free baking flour blend that contains xanthan gum. The texture will be slightly more delicate, but still delicious.
Equipment Needed
You don’t need a professional bakery setup for these cookies. Here’s what I use:
- Mixing bowls — One medium, one large. I prefer glass or stainless steel because they don’t hold onto odors.
- Electric hand mixer or stand mixer — A hand mixer works great, but you can also mix by hand with a wooden spoon if you’re up for a little arm workout.
- Measuring cups and spoons — For accuracy. I’ve learned the hard way that eyeballing molasses leads to sticky disasters.
- Rubber spatula — For scraping down the bowl and folding in the flour.
- Baking sheet — One large sheet or two smaller ones. Line with parchment paper or a silicone baking mat for easy cleanup.
- Cookie scoop or tablespoon — A 1.5-tablespoon scoop gives you perfectly uniform cookies. If you don’t have one, just use a regular tablespoon and shape the dough into rough balls with your hands (it will be sticky—wet your fingers slightly).
- Cooling rack — Essential for letting the icing set without pooling on the bottom.
- Piping bag or zip-top bag — For drizzling the icing. A small zip-top bag with the corner snipped off works perfectly. No need for fancy piping tips.
Budget-friendly tip: If you don’t have a cooling rack, just transfer the cookies to a clean cutting board or plate after a few minutes on the sheet. They’ll cool just fine.
Preparation Method
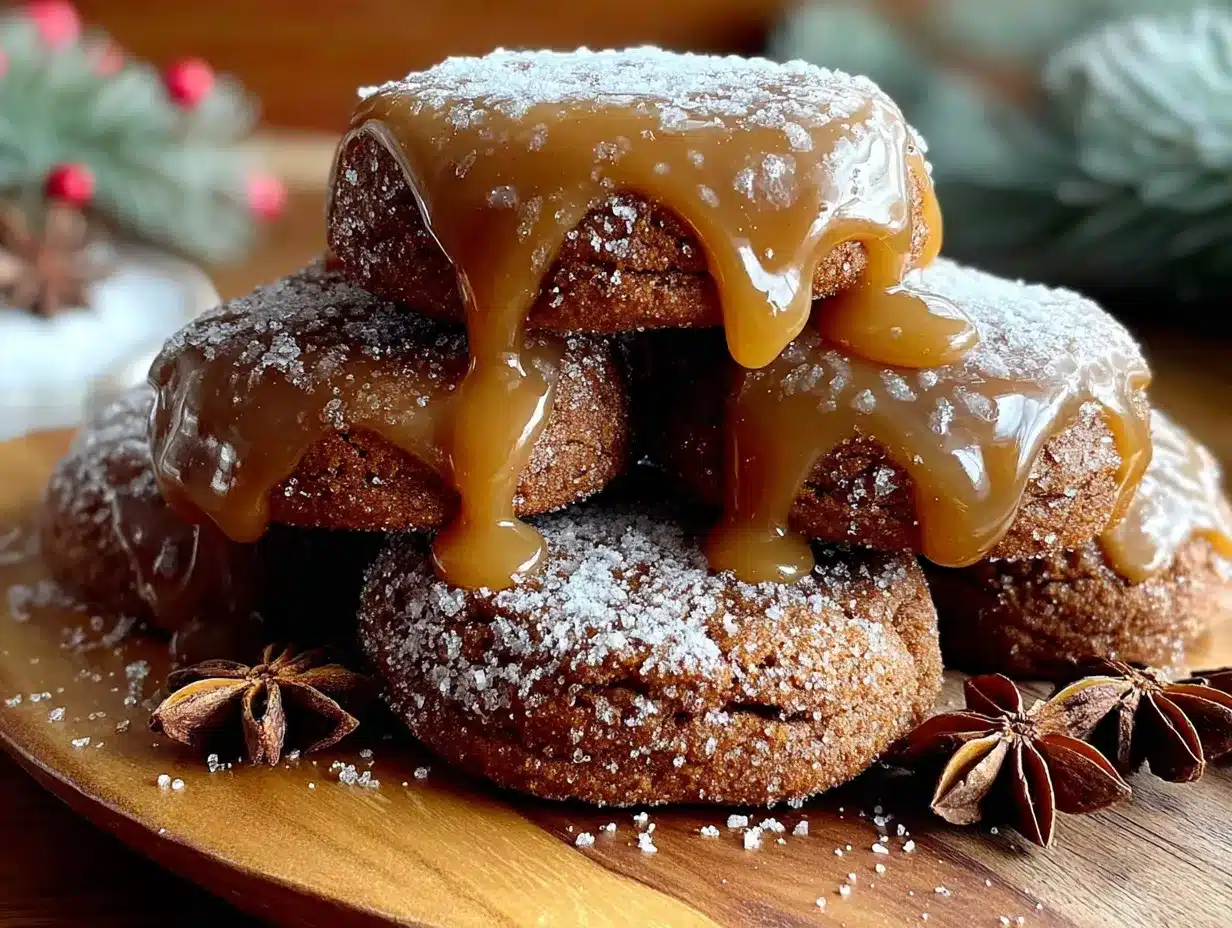
Let’s get baking. Here’s how to make these soft gingerbread cookies from start to finish.
- Preheat your oven to 350°F (175°C). Line your baking sheet with parchment paper or a silicone mat. This step is non-negotiable—the cookies are soft and sticky, and they’ll stick to an unlined sheet.
- Cream the butter and sugar. In a large mixing bowl, beat the softened butter and granulated sugar together until light and fluffy, about 2 to 3 minutes. You’re looking for a pale, creamy mixture that looks like it’s ready to party. Scrape down the sides of the bowl with your spatula.
- Add the egg and molasses. Beat in the egg until fully incorporated, then pour in the molasses. Mix until the batter is smooth and dark. It will look almost like a thick caramel sauce at this point. Don’t worry if it separates slightly—it will come back together when you add the dry ingredients.
- Whisk the dry ingredients together. In a separate medium bowl, whisk the flour, baking soda, ginger, cinnamon, cloves, and salt. This ensures the spices are evenly distributed so every bite has the same warm flavor.
- Combine wet and dry. Gradually add the dry mixture to the wet mixture, mixing on low speed or folding with a spatula. Stop as soon as the flour disappears. Overmixing will make the cookies tough. The dough will be very soft and sticky—almost like a thick batter. That’s exactly what you want.
- Scoop the dough. Using your cookie scoop or a tablespoon, drop rounded scoops of dough onto the prepared baking sheet, spacing them about 2 inches apart. They will spread slightly, but not too much. If the dough is too sticky to handle, lightly wet your hands or chill the dough for 10 minutes in the fridge.
- Bake. Place the sheet in the preheated oven and bake for 10 to 12 minutes. The cookies should look puffed and set around the edges, but still soft in the center. A toothpick inserted into the center should come out with a few moist crumbs—not wet batter. If you bake them until they look fully done, they’ll be overbaked and dry.
- Cool on the sheet. Let the cookies rest on the baking sheet for 5 minutes. This allows them to firm up slightly without losing their softness. Then transfer them to a cooling rack to cool completely before icing.
- Make the molasses icing. While the cookies cool, whisk together the powdered sugar, molasses, vanilla extract, and 2 tablespoons of milk in a small bowl. Add more milk, one teaspoon at a time, until the glaze is thick but pourable—think of the consistency of honey. If it’s too thin, add a little more powdered sugar.
- Ice the cookies. Once the cookies are completely cool, drizzle the icing over the tops using a piping bag, a zip-top bag with a tiny corner snipped off, or even a spoon. Let the icing set for about 20 minutes before stacking or storing.
Personal tip: I like to dip the tops of the cookies directly into the bowl of icing for a more even coating. It’s faster and gives a beautiful, glossy finish. Just be gentle—these cookies are soft and can break if you push too hard.
Cooking Tips & Techniques
After making these cookies more times than I can count, I’ve picked up a few tricks that make a real difference.
Don’t overbake. This is the number one mistake I see. Because the dough is so dark, it’s hard to tell when the cookies are done by color alone. Go by time and touch. The edges should be set, and the center should spring back slightly when you press it. If it feels firm, it’s already overbaked.
Room temperature ingredients matter. Cold butter and cold eggs don’t cream together properly. You’ll end up with a dense, greasy dough instead of a light, tender cookie. Set your butter and egg out on the counter about 30 minutes before you start baking.
Use a cookie scoop for even baking. Uniform size means uniform baking. Some cookies will be done before others if they’re different sizes, and that’s a headache you don’t need. I use a 1.5-tablespoon scoop, and it’s perfect every time.
Let the icing set fully. I know it’s tempting to dig in right away, but the icing needs time to firm up. If you stack the cookies too soon, the glaze will smudge and stick to everything. Give it a full 20 minutes on the cooling rack.
Keep an eye on your molasses. Molasses can vary in thickness and flavor depending on the brand. If your dough seems too wet, add an extra tablespoon of flour. If it seems too dry, add a tablespoon of milk. Trust your instincts—baking is as much about feel as it is about formulas.
I once forgot to add the baking soda to a batch. The cookies came out flat, dense, and sad. It was a hard lesson, but now I always double-check my ingredients before I start mixing. Learn from my mistakes, not your own.
Variations & Adaptations
One of the best things about this recipe is how adaptable it is. Here are a few variations I’ve tried and loved:
Spiced Orange Gingerbread: Add the zest of one orange to the butter and sugar mixture. It brightens up the deep molasses flavor and adds a lovely citrus note. I made this for a holiday brunch, and it was gone in ten minutes.
Chocolate-Dipped Gingerbread: Skip the molasses icing and dip half of each cooled cookie into melted dark chocolate. Let them set on parchment paper. The bitterness of the chocolate pairs beautifully with the warm spices. This is my go-to when I want something a little more decadent.
Vegan Gingerbread Cookies: Replace the butter with a plant-based butter stick, and use a flax egg (1 tablespoon ground flaxseed mixed with 3 tablespoons water, left to sit for 5 minutes). Use oat milk in the icing. The texture is slightly less tender, but the flavor is still spot-on.
Gluten-Free Version: Substitute the all-purpose flour with a 1:1 gluten-free baking blend that contains xanthan gum. I’ve tested this with King Arthur’s Measure for Measure flour, and the cookies came out soft and delicious—just a little more delicate, so handle them gently.
Extra-Spicy Gingerbread: Add 1/4 teaspoon of black pepper and a pinch of cayenne pepper to the dry ingredients. It sounds strange, but the heat amplifies the ginger and makes the cookies feel more complex. My spice-loving friends request this version every year.
Serving & Storage Suggestions
These cookies are best enjoyed slightly warm, when the icing is still a little soft and the centers are extra tender. But they’re also fantastic at room temperature with a cold glass of milk or a hot cup of chai.
Serving temperature: Room temperature is ideal. If you’ve stored them in the fridge, let them sit out for about 15 minutes before serving to bring back their softness.
Complementary pairings: These cookies love being served alongside a creamy beverage—think eggnog, hot chocolate, or a vanilla latte. For a dessert board, pair them with fresh apple slices, sharp cheddar cheese, and a handful of toasted pecans. Trust me on the cheese and apple combo—it’s unexpected but incredible.
Storage instructions: Store the cookies in an airtight container at room temperature for up to 5 days. Place a slice of bread in the container with the cookies—it will absorb excess moisture and keep them soft. Replace the bread slice every other day if you’re storing them longer.
Freezer instructions: You can freeze the baked, un-iced cookies for up to 3 months. Place them in a single layer in a freezer-safe bag or container. Thaw at room temperature, then ice them fresh. The icing doesn’t freeze well, so always add it after thawing.
Reheating method: Pop a cookie in the microwave for 10 seconds to bring back that fresh-from-the-oven softness. Or warm them in a 300°F oven for 3 to 4 minutes.
One thing I’ve noticed: the flavors actually deepen after a day or two in the container. The spices meld together, and the molasses becomes more pronounced. So if you can resist eating them all on day one, you’ll be rewarded on day two.
Nutritional Information & Benefits
Let’s be honest—these are a treat, not a health food. But that doesn’t mean they’re devoid of any redeeming qualities. Here’s the estimated nutritional breakdown per cookie (based on 24 cookies):
- Calories: 145
- Total Fat: 5g
- Saturated Fat: 3g
- Carbohydrates: 24g
- Sugar: 16g
- Protein: 2g
- Fiber: 0.5g
- Sodium: 85mg
Health highlights: Molasses is a good source of iron, calcium, and magnesium—much more so than refined sugar. Ginger has anti-inflammatory properties and can help with digestion. So while these cookies are definitely a dessert, they’re not completely empty calories.
Dietary considerations: This recipe contains gluten, dairy, and eggs. For allergen-friendly alternatives, see the variations section above. These cookies are naturally nut-free if you skip any optional nut toppings.
Personal perspective: I don’t believe in labeling food as “guilty pleasures.” These cookies bring joy, warmth, and connection. That has value. Enjoy them mindfully, share them generously, and don’t stress about the numbers.
Conclusion
These soft gingerbread cookies started as a mistake—a happy, messy, sticky mistake that I almost threw in the trash. But they’ve become one of my most-requested recipes, and I make them every single winter without fail. They’re forgiving, they’re foolproof, and they taste like everything good about the season.
I hope you’ll give them a try. Don’t be afraid to customize them to your taste—add more ginger, swap the icing, or dip them in chocolate. The beauty of this recipe is that it’s built to be flexible. It survived my worst measuring error and came out better for it. It can handle whatever you throw at it.
If you make these cookies, I’d love to hear about it. Leave a comment below and let me know how they turned out, or share your own variation. Did you add a pinch of cardamom? Dip them in white chocolate? I want to know. And if you’re looking for another cozy dessert to warm up your kitchen, you might also enjoy these cinnamon sugar pumpkin bundt cake or this creamy stovetop mac and cheese for a savory-sweet combo.
Happy baking, friends. May your cookies be soft, your icing be glossy, and your kitchen smell like the holidays.
Frequently Asked Questions
Can I use blackstrap molasses instead of regular molasses?
I wouldn’t recommend it. Blackstrap molasses has a very strong, bitter flavor that can overwhelm the spices and make the cookies taste harsh. Stick with unsulphured molasses (often labeled as “original” or “mild”) for the best balance of sweetness and depth.
Why are my cookies spreading too much?
This usually happens if the butter is too soft or the dough is too warm. Make sure your butter is softened but not melted. If your kitchen is warm, chill the scooped dough on the baking sheet for 10 minutes before baking. Also, check that you’ve measured your flour correctly—too little flour can cause excessive spreading.
Can I make the dough ahead of time?
Yes! You can prepare the dough, cover it tightly, and refrigerate it for up to 3 days. Let it sit at room temperature for about 10 minutes before scooping and baking, as it will be quite firm straight from the fridge. You can also freeze the unbaked dough balls on a sheet pan, then transfer them to a freezer bag for up to 3 months. Bake from frozen, adding 1 to 2 minutes to the baking time.
How do I get a smooth, glossy icing?
The key is sifting your powdered sugar if it’s lumpy, and adding the milk slowly. Start with 2 tablespoons of milk, whisk until smooth, then add more milk one teaspoon at a time until you reach the desired consistency. If the icing is too thick, it won’t spread; if it’s too thin, it will run off the cookies. You want it to flow like thick honey.
Can I double this recipe?
Absolutely. This recipe doubles beautifully. Just make sure you have a large enough mixing bowl, and don’t overcrowd your baking sheets. Bake in batches, and let the baking sheets cool completely between batches so the dough doesn’t start melting before it hits the oven.
Pin This Recipe!
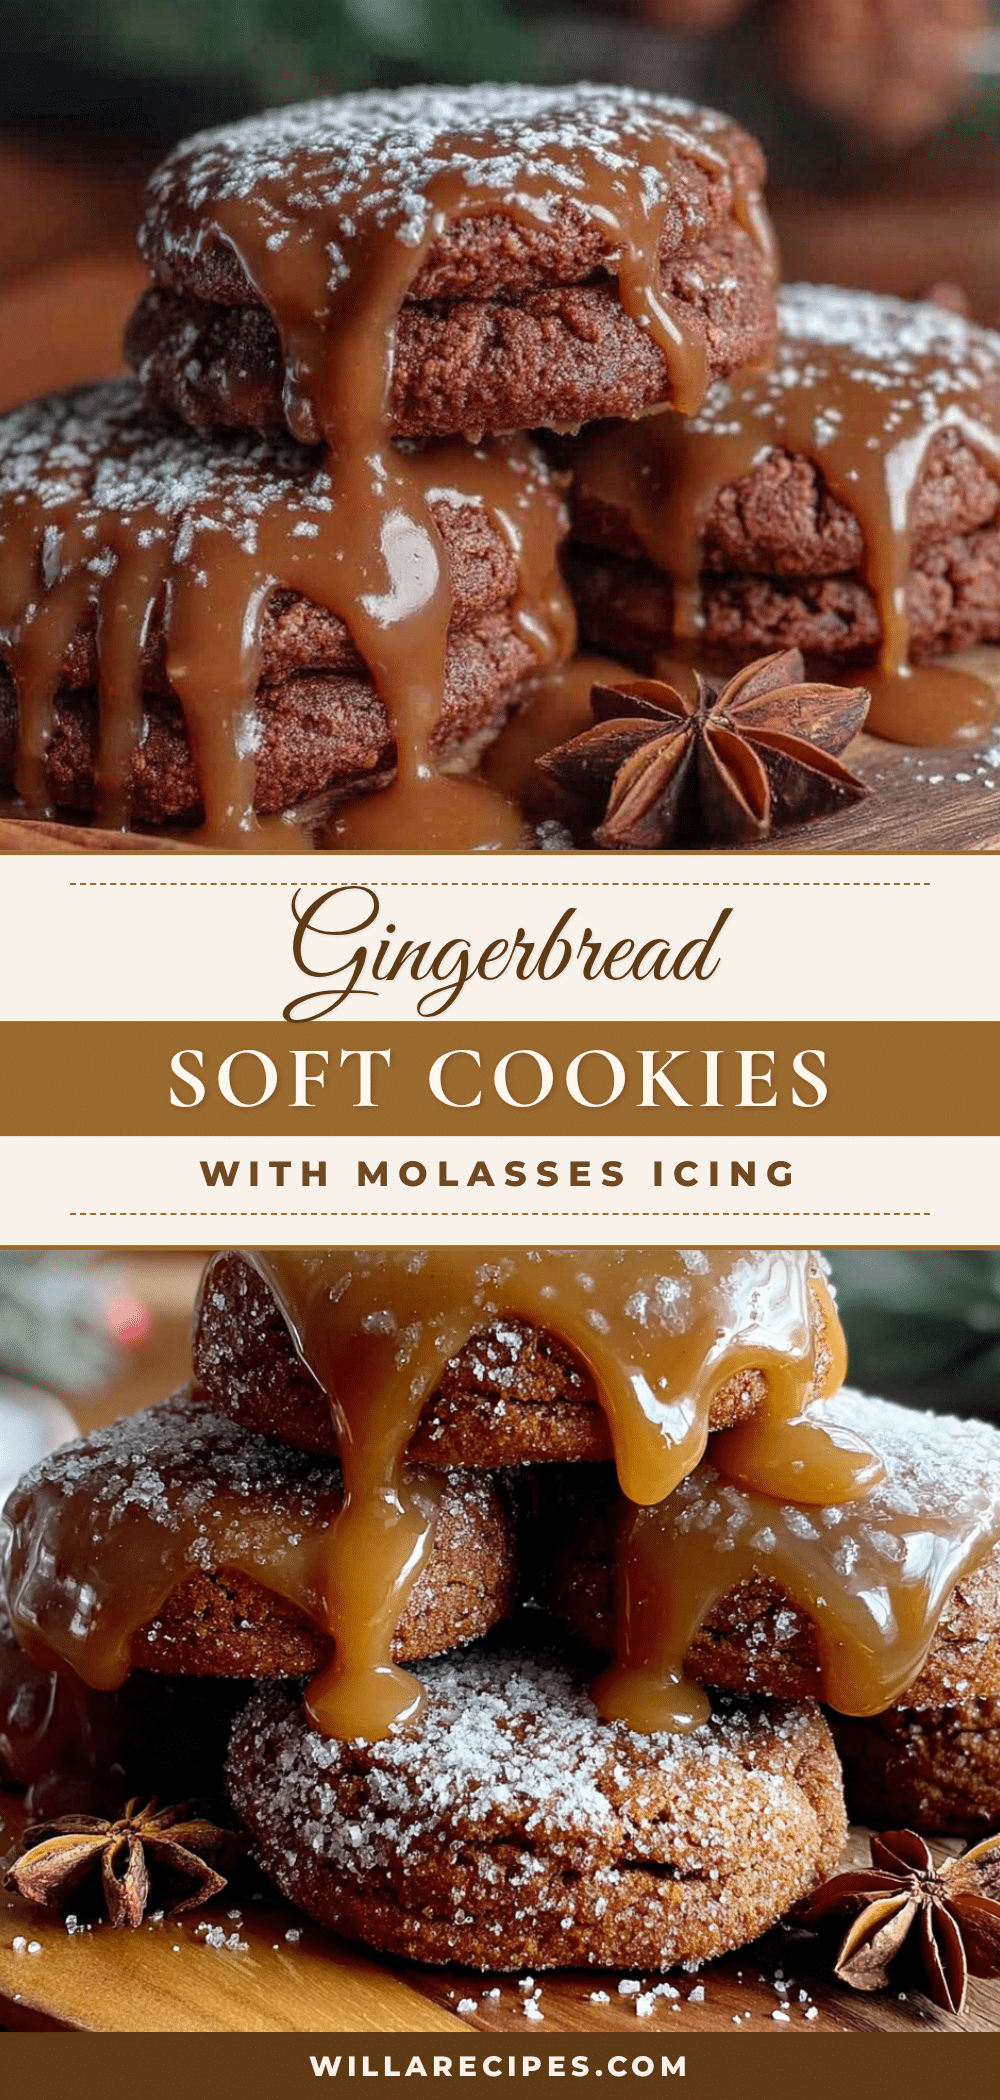
Cozy Soft Gingerbread Cookies with Molasses Icing

These soft, pillowy gingerbread cookies are a happy accident turned favorite recipe. Made with simple pantry ingredients and no chilling required, they deliver deep spiced flavor and a tender, cake-like texture, topped with a glossy molasses icing.
- Prep Time: 15 minutes
- Cook Time: 12 minutes
- Total Time: 27 minutes
- Yield: 24 cookies 1x
- Category: Dessert
- Cuisine: American
Ingredients
- 1/2 cup (113g) unsalted butter, softened
- 1/2 cup (100g) granulated sugar
- 1 large egg, at room temperature
- 1/2 cup (170g) unsulphured molasses
- 2 cups (250g) all-purpose flour, spooned and leveled
- 1 teaspoon baking soda
- 2 teaspoons ground ginger
- 1 teaspoon ground cinnamon
- 1/2 teaspoon ground cloves
- 1/4 teaspoon salt
- 1 cup (120g) powdered sugar, sifted if lumpy
- 2 tablespoons (30g) unsulphured molasses
- 2 to 3 tablespoons (30-45ml) milk (whole or dairy-free)
- 1/2 teaspoon vanilla extract (optional)
Instructions
- Preheat your oven to 350°F (175°C). Line a baking sheet with parchment paper or a silicone mat.
- In a large mixing bowl, beat the softened butter and granulated sugar together until light and fluffy, about 2 to 3 minutes. Scrape down the sides.
- Beat in the egg until fully incorporated, then add the molasses and mix until smooth and dark.
- In a separate medium bowl, whisk together the flour, baking soda, ginger, cinnamon, cloves, and salt.
- Gradually add the dry mixture to the wet mixture, mixing on low speed or folding with a spatula until just combined. Do not overmix. The dough will be very soft and sticky.
- Using a cookie scoop or tablespoon, drop rounded scoops of dough onto the prepared baking sheet, spacing them about 2 inches apart.
- Bake for 10 to 12 minutes, until the cookies are puffed and set around the edges but still soft in the center. A toothpick inserted should come out with a few moist crumbs.
- Let the cookies rest on the baking sheet for 5 minutes, then transfer to a cooling rack to cool completely.
- While the cookies cool, make the icing: In a small bowl, whisk together the powdered sugar, 2 tablespoons molasses, vanilla extract (if using), and 2 tablespoons of milk. Add more milk, 1 teaspoon at a time, until the glaze is thick but pourable (like honey).
- Once the cookies are completely cool, drizzle the icing over the tops using a piping bag, zip-top bag with a tiny corner snipped off, or a spoon. Let the icing set for about 20 minutes before stacking or storing.
Notes
Don’t overbake; cookies should be soft in the center. Use room temperature ingredients for best results. For a dairy-free version, use plant-based butter and non-dairy milk. For gluten-free, use a 1:1 gluten-free baking blend with xanthan gum. The flavors deepen after a day or two in an airtight container.
Nutrition
- Serving Size: 1 cookie
- Calories: 145
- Sugar: 16
- Sodium: 85
- Fat: 5
- Saturated Fat: 3
- Carbohydrates: 24
- Fiber: 0.5
- Protein: 2
Keywords: soft gingerbread cookies, molasses icing, easy gingerbread, holiday cookies, no-chill gingerbread, soft gingerbread recipe


