Let me tell you about the afternoon this recipe found me. I was at the farmers market, not really looking for anything in particular, just kind of wandering. An older gentleman named Arturo was tending a small stall with the most incredible dates I had ever seen—plump, sticky, practically glowing. I was standing there, probably looking confused about which variety to pick, when he just reached over, handed me one, and said, “Taste this one first. Then we talk.”
We got to chatting, and somehow the conversation drifted to ice cream. I mentioned I had been trying to perfect a caramel situation at home, but it always felt too heavy or too sweet. He nodded, wiped his hands on his apron, and said, “My wife, she makes it with cream and salt. No machine. No fuss. You want the recipe?” He didn’t write it down. He just told me, right there between the apricots and the almonds, while a customer waited for figs. It was a conversation, not a lesson. And honestly, that is exactly how the best recipes happen.
I went home and tried his method. The first batch was a little too salty—I got excited with the flaky sea salt. The second batch? That was the one. The texture was so velvety, so rich, I almost couldn’t believe there was no churning involved. I mean, you know that feeling when you take a spoonful and just close your eyes for a second? That is this ice cream. It is the kind of dessert that makes a Tuesday night feel special, or turns a rough day around with just one scoop. Maybe you have been there, standing in front of your freezer at 10 p.m., needing something sweet and comforting. This is the recipe for that exact moment.
This creamy no-churn salted caramel ice cream has become my go-to for everything—lazy Sundays, dinner parties, and those quiet evenings when I just want to sit on the couch with a bowl and not talk to anyone. It is simple, it is forgiving, and it tastes like you spent hours on it. Which, between us, is my favorite kind of recipe.
Why You’ll Love This Recipe
This isn’t just another ice cream recipe. After testing this about four times (you know, for quality control), I can tell you exactly why this one works so beautifully. It is the kind of dessert that feels like a secret weapon in your kitchen.
- No Machine Required : You do not need an ice cream maker. No churning, no freezing bowls overnight, no special equipment. Just a whisk, a bowl, and a freezer.
- Simple Ingredients : Heavy cream, sweetened condensed milk, butter, sugar, and salt. That is it. No eggs, no custard base, no corn syrup.
- Ready in Under 6 Hours : While it is best overnight, you can absolutely dig in after 5-6 hours. Perfect for last-minute dessert cravings.
- Perfect for Summer Nights : This is the dessert you bring to a backyard cookout or sneak bites of while the kids are asleep.
- Crowd-Pleaser : I have served this to caramel purists and salted caramel skeptics, and every single person has asked for the recipe.
- Unbelievably Creamy : The texture is what gets people. It is dense, silky, and scoopable straight from the freezer—no rock-hard bricks here.
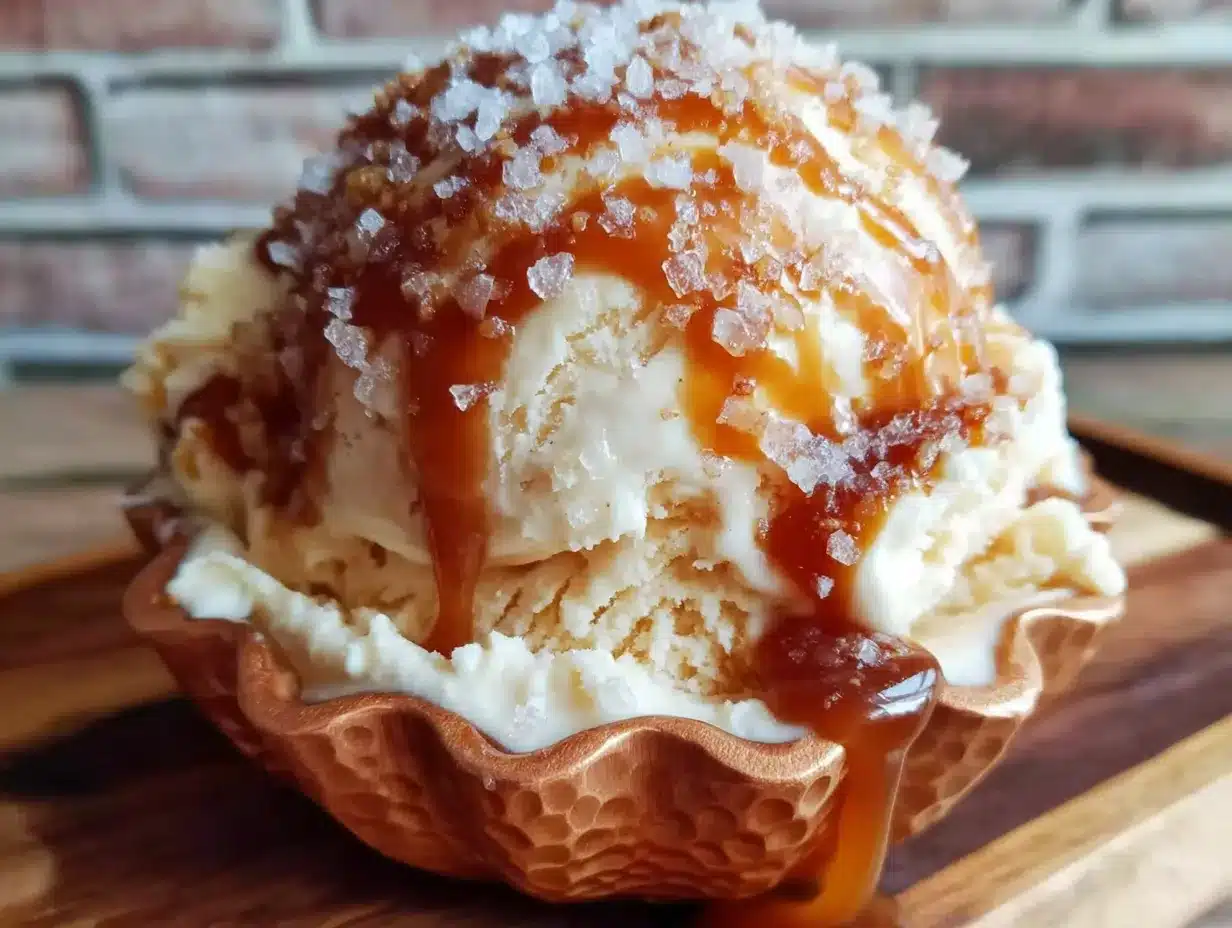
What makes this recipe different from the dozens of others out there? It is the balance. The caramel is deep and buttery, the salt hits at just the right moment, and the cream keeps everything light enough that you can eat more than you planned without feeling heavy. It is comfort food reimagined—indulgent, but not overwhelming. Honestly, it is the kind of recipe that makes you feel like you cheated the system.
What Ingredients You Will Need
This recipe uses simple, wholesome ingredients to deliver bold flavor and satisfying texture without the fuss. Most of these are pantry staples, which is exactly what you want when a craving hits at 9 p.m.
- Heavy cream – 2 cups (480 ml). Make sure it is cold. I prefer Organic Valley or Horizon for consistent whipping results. Do not substitute with half-and-half; you need the high fat content for that no-churn magic.
- Sweetened condensed milk – 1 can (14 ounces or 397 grams). This is the backbone of no-churn ice cream. It adds sweetness and prevents ice crystals. I use Eagle Brand, but any brand works.
- Granulated sugar – 1 cup (200 grams). You will use this to make the caramel. Do not swap for brown sugar here; the caramel needs the clean sweetness of white sugar.
- Unsalted butter – 6 tablespoons (85 grams), cut into small cubes. Use good quality butter. I like Kerrygold for its richness.
- Flaky sea salt – 1 teaspoon, plus extra for topping. Maldon is my go-to. The flaky texture matters here—it gives you little bursts of saltiness in each bite.
- Vanilla extract – 1 teaspoon. Pure vanilla, not imitation. It rounds out the caramel flavor beautifully.
- Fine sea salt – ¼ teaspoon. This goes into the caramel itself to balance the sweetness.
Ingredient Selection Tips : When choosing your heavy cream, look for one with at least 36% milk fat. It whips up thicker and holds its structure better. For the sweetened condensed milk, do not buy the low-fat version—it contains more water and can make your ice cream icy. And please, please use flaky sea salt for the topping. Regular table salt will dissolve and you will lose that delightful crunchy contrast.
Substitution Guidance : If you are dairy-free, this recipe is a bit tricky because the heavy cream and condensed milk are essential for the no-churn texture. However, you can try full-fat coconut cream (chilled overnight) and sweetened condensed coconut milk. The flavor will shift, but it is still delicious.
Equipment Needed
You do not need much for this recipe, which is part of its charm. Here is what you will need:
- Medium saucepan – For making the caramel. A light-colored pan is helpful so you can see the color change.
- Large mixing bowl – For whipping the cream. Metal or glass works best; plastic can hold onto odors.
- Hand mixer or stand mixer – You can whisk by hand, but your arm will get a workout. A hand mixer makes it easy.
- Loaf pan or freezer-safe container – A 9×5-inch loaf pan is perfect. I use a glass Pyrex dish so I can see the layers.
- Parchment paper – Optional, but it makes lifting the ice cream out much easier.
- Spatula – For folding and scraping. A silicone one is best.
- Candy thermometer – Optional but helpful if you are new to making caramel. You are aiming for 240°F (115°C).
Personal Note : I have made this with a cheap hand mixer and a fancy stand mixer, and honestly? The hand mixer works just fine. Save your money for good vanilla and butter. Also, if you do not have a loaf pan, use a metal baking dish or even a few small ramekins for individual portions. The key is a container that allows the ice cream to freeze evenly.
Preparation Method
Let me walk you through this step by step. I have made this so many times that I have the movements memorized, but I will share all the little tricks I learned the hard way.
- Make the caramel : Place a medium saucepan over medium heat. Add the granulated sugar in an even layer. Let it sit—do not stir yet. After about 3-4 minutes, the edges will start to melt and turn golden. Gently swirl the pan (do not use a spoon) to encourage even melting. This takes patience. I usually stand there and just watch it, which sounds boring but is actually kind of meditative.
- Add the butter : Once the sugar is fully melted and a deep amber color (think the color of a penny), add the cubed butter. It will bubble up violently—do not panic. Whisk continuously until the butter is fully melted and incorporated. This takes about 1 minute.
- Add the cream : Slowly pour in the heavy cream while whisking. The mixture will bubble up again. Keep whisking until smooth. Remove from heat and stir in the fine sea salt and vanilla extract. Let the caramel cool completely to room temperature. I usually pour it into a heat-safe bowl and set it aside for about 30 minutes.
- Whip the remaining cream : In a large mixing bowl, pour the remaining 1 cup of heavy cream. Using a hand mixer or stand mixer fitted with the whisk attachment, beat on medium-high speed until stiff peaks form. This takes about 3-4 minutes. You will know it is ready when you lift the beaters and the cream holds its shape without drooping.
- Combine the caramel and condensed milk : In a separate bowl, whisk together the cooled caramel and the sweetened condensed milk until smooth. It should look like a thick, glossy sauce.
- Fold everything together : Gently fold the caramel mixture into the whipped cream. Use a spatula and take your time—you want to keep as much air in the cream as possible. Fold until no white streaks remain. The mixture will be thick and pale caramel in color.
- Layer and freeze : Pour half of the ice cream base into your loaf pan. Drizzle with a little extra caramel (if you reserved some) and sprinkle with a pinch of flaky sea salt. Add the remaining ice cream base, then swirl gently with a knife. Top with another sprinkle of flaky sea salt. Cover with plastic wrap or a lid and freeze for at least 6 hours, preferably overnight.
- Serve : Let the ice cream sit at room temperature for 5-10 minutes before scooping. This softens it just enough for perfect, creamy scoops.
Pro Tip : If your caramel seizes up when you add the butter or cream, do not throw it out. Return it to low heat and whisk gently. It will come back together. I have done this at least twice, and it always works.
Cooking Tips & Techniques
I have made this recipe enough times to have a few battle scars—and some hard-won wisdom. Here are the things I wish someone had told me before my first attempt.
Watch the caramel like a hawk . Caramel goes from perfect to burnt in about 30 seconds. The moment it reaches a deep amber color (like the color of a copper penny), add the butter immediately. If you see wisps of smoke, you have waited too long. I burned my first batch because I looked away to answer a text. Learn from my mistake.
Do not over-whip the cream . Stiff peaks are your goal, but if you keep going, you will end up with butter. Stop the mixer as soon as the cream holds its shape. If you accidentally over-whip, add a tablespoon of cold cream and fold gently to bring it back.
Cool the caramel completely . This is non-negotiable. If you add warm caramel to the whipped cream, it will deflate everything and you will end up with a thin, icy mess. I usually make the caramel first, then let it cool while I clean up the kitchen.
Use a light-colored pan for the caramel . Dark pans make it nearly impossible to see the color change. I learned this the hard way when I used my favorite black non-stick pan and ended up with caramel that was way too dark.
Resist the urge to stir the melting sugar . Just swirl the pan. Stirring can cause the sugar to crystallize and clump up. If you see crystals forming on the sides of the pan, brush them down with a wet pastry brush.
For the best texture, let it freeze overnight . Six hours will work, but overnight gives the ice cream time to set up properly. The texture becomes smoother and creamier, and the flavors meld together beautifully.
Variations & Adaptations
This recipe is wonderfully flexible. Here are some ways I have adapted it depending on my mood or what is in my pantry.
Chocolate Salted Caramel : Melt 4 ounces of dark chocolate (70% cacao) and let it cool slightly. Fold it into the ice cream base along with the caramel. The bitterness of the chocolate plays beautifully against the sweet caramel. I made this for a friend’s birthday and it was gone in 20 minutes.
Vegan Version : Use full-fat coconut cream (chilled overnight) instead of heavy cream, and sweetened condensed coconut milk instead of the dairy version. The caramel will be a bit thinner, but the flavor is still incredible. Just note that the texture will be slightly icier.
Boozy Salted Caramel : Add 2 tablespoons of bourbon or dark rum to the caramel after removing it from the heat. The alcohol keeps the ice cream softer and adds a lovely warmth. I do this when I want a grown-up dessert for a dinner party.
Nutty Crunch : Toast ½ cup of chopped pecans or walnuts and fold them into the ice cream base before freezing. The crunch is a wonderful contrast to the creamy texture. I have also used candied bacon bits, which sounds weird but trust me, it works.
Mocha Salted Caramel : Dissolve 1 tablespoon of instant espresso powder in 1 tablespoon of hot water and add it to the caramel. The coffee deepens the caramel flavor without making it taste like coffee. It is my secret weapon for making the caramel taste even more complex.
Serving & Storage Suggestions
This ice cream is best served slightly softened. Let it sit at room temperature for 5-10 minutes before scooping. I like to serve it in chilled bowls with an extra sprinkle of flaky sea salt on top. It pairs beautifully with warm brownies, a slice of apple pie, or just by itself in a cone on a hot day.
Storage : Keep the ice cream in a tightly sealed container in the freezer for up to 2 weeks. After that, it will start to develop ice crystals. To prevent this, press a piece of plastic wrap directly onto the surface of the ice cream before sealing the lid. This creates a barrier against freezer burn.
Reheating : If the ice cream becomes too hard, let it sit at room temperature for 15-20 minutes. Do not microwave it—that will melt the edges and ruin the texture. I have made that mistake exactly once.
Flavor Development : The flavor actually improves after a day or two in the freezer. The salt mellows out and the caramel becomes more buttery. So if you can wait, make this a day ahead. Your future self will thank you.
Presentation Tip : For a pretty presentation, drizzle a little extra caramel sauce over the scoops and sprinkle with a pinch of flaky sea salt. Add a small sprig of mint for color. It looks fancy, but it takes ten seconds.
Nutritional Information & Benefits
Let us be honest: this is a treat. It is not health food, and I am not going to pretend it is. But here is the breakdown so you know what you are working with.
Per serving (approximately ½ cup) :
- Calories: 380
- Fat: 24g
- Saturated Fat: 15g
- Carbohydrates: 38g
- Sugar: 35g
- Protein: 4g
- Sodium: 210mg
Health Considerations : This recipe contains dairy and gluten-free (just double-check your vanilla extract). It is not suitable for vegans unless you use the coconut-based substitutions. The main allergens are milk and butter.
Ingredient Benefits : On the bright side, heavy cream contains fat-soluble vitamins A, D, E, and K. The butter adds a small amount of butyrate, which some research suggests supports gut health. And the salt? Well, you need sodium to live. So there is that.
My Perspective : I believe in balance. This ice cream is a celebration, not a daily habit. When I make it, I savor every single bite, and I do not feel guilty about it. Food is meant to be enjoyed, and this recipe delivers joy by the scoopful.
Frequently Asked Questions
Can I make this without a hand mixer?
Yes! You can whip the cream by hand with a whisk. It will take about 5-7 minutes of vigorous whisking, but it works. Just make sure your cream is very cold, and use a large bowl so you have room to move.
Why did my ice cream turn out icy?
This usually happens if the caramel was not cooled completely before folding it into the whipped cream, or if the ice cream was not covered tightly enough in the freezer. Make sure your container has a good seal and press plastic wrap onto the surface.
Can I use store-bought caramel sauce instead?
You can, but the texture will be different. Homemade caramel thickens as it cools and gives the ice cream a denser, creamier texture. Store-bought sauces are thinner and can make the ice cream softer and icier. If you are in a pinch, use a high-quality jarred caramel.
How long does this ice cream last in the freezer?
It is best within the first 2 weeks. After that, it may develop ice crystals or absorb freezer odors. If you need to store it longer, make sure it is in an airtight container and consider adding a layer of plastic wrap directly on the surface.
Can I double this recipe?
Absolutely. Just use a larger container (a 9×13-inch baking dish works well) and increase the freezing time to 8-10 hours. The proportions are easy to scale up.
Conclusion
This creamy no-churn salted caramel ice cream has become a staple in my kitchen for good reason. It is simple enough to make on a whim, but impressive enough to serve to guests who will swear you spent hours on it. The caramel is deep and buttery, the salt adds that perfect little jolt, and the texture is so smooth you will forget there is no ice cream maker involved.
I love this recipe because it reminds me of that afternoon at the farmers market—the kindness of a stranger, the simple exchange of knowledge, and the joy of taking something someone shared with me and making it my own. I hope you make it your own too. Maybe you will add a little extra salt, or swirl in some chocolate, or serve it with a warm brownie. However you choose to customize it, I promise it will be worth it.
If you make this, I would love to hear about it. Leave a comment below and tell me how it turned out, or share your own twist on it. And if you have a favorite way to serve salted caramel ice cream, I am all ears. Until then, happy scooping!
Pin This Recipe!
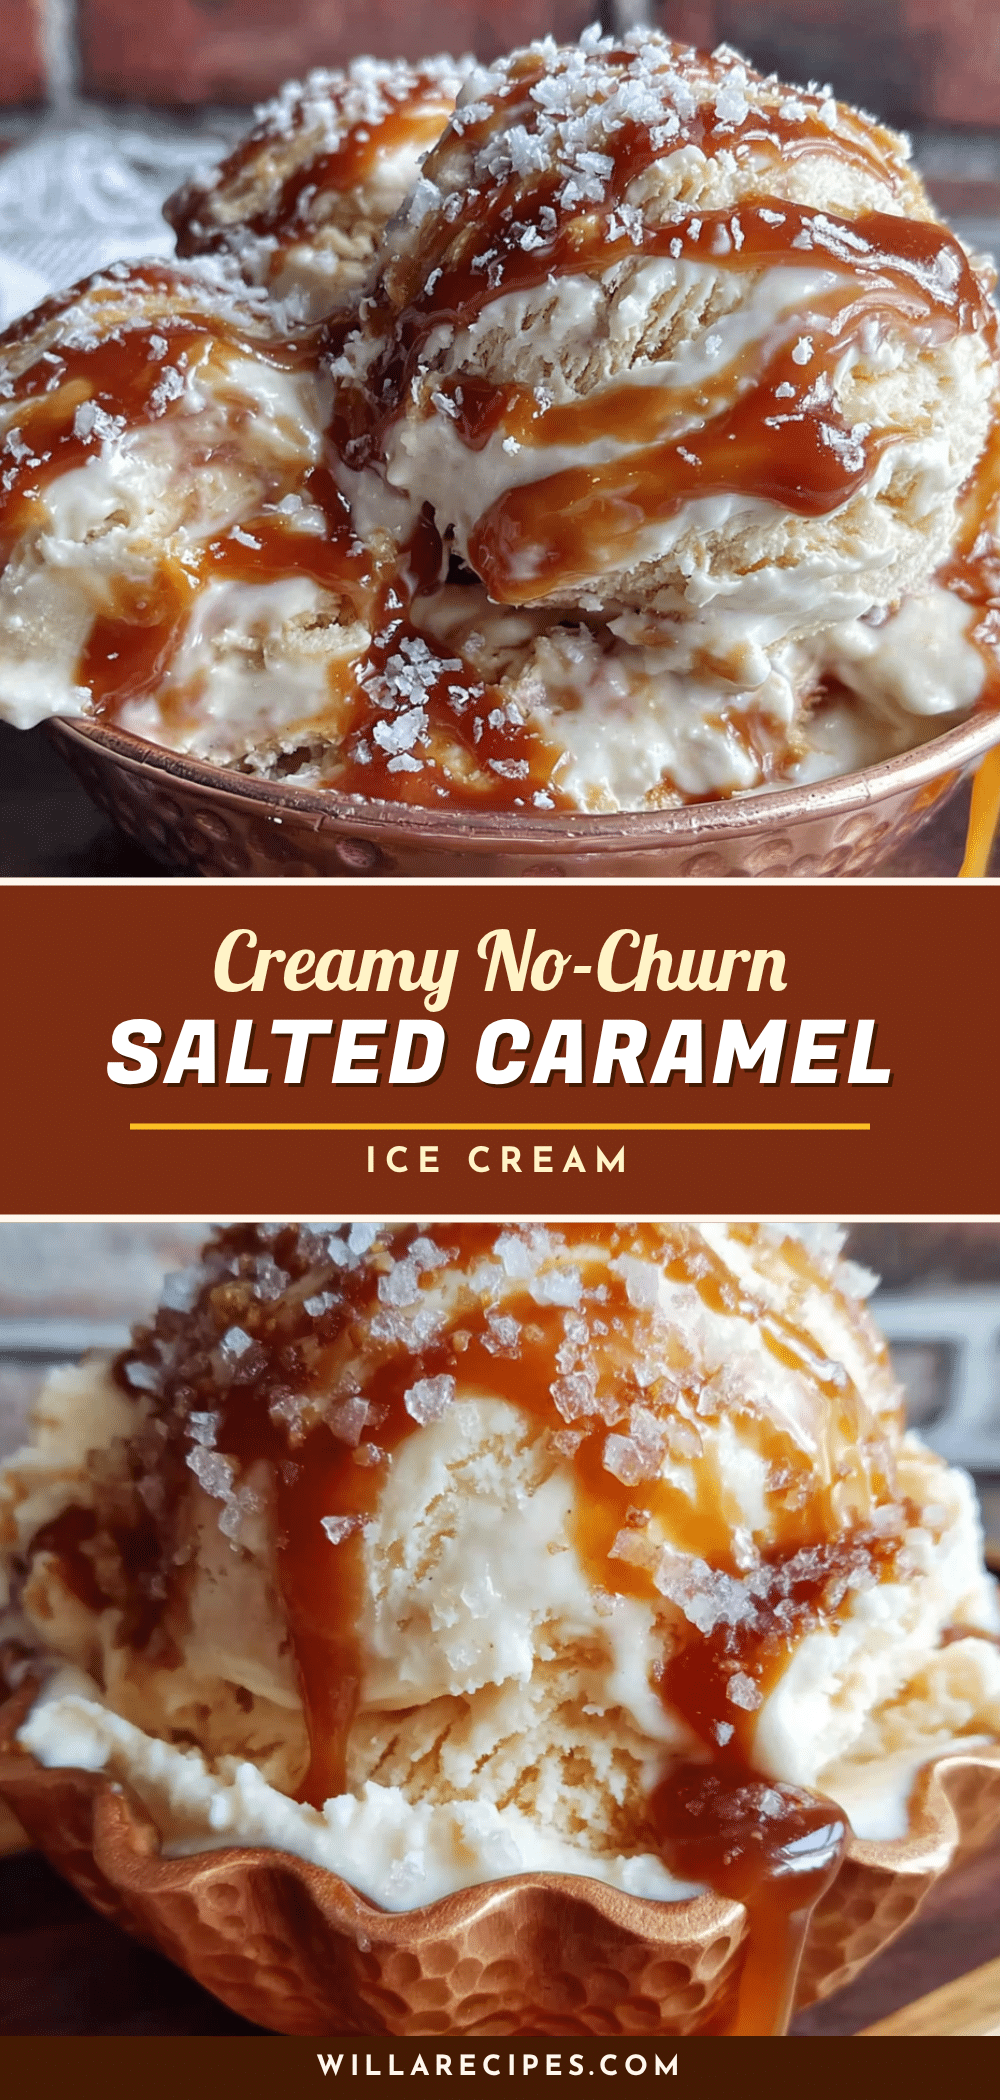
Easy No-Churn Salted Caramel Ice Cream Recipe
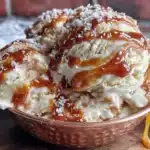
This creamy no-churn salted caramel ice cream is simple, forgiving, and tastes like you spent hours on it. With no machine required and simple ingredients, it’s the perfect dessert for lazy Sundays, dinner parties, or quiet evenings.
- Prep Time: 30 minutes
- Cook Time: 10 minutes
- Total Time: 6 hours 40 minutes (including freezing time)
- Yield: 8 servings 1x
- Category: Dessert
- Cuisine: American
Ingredients
- 2 cups (480 ml) heavy cream, cold
- 1 can (14 ounces or 397 grams) sweetened condensed milk
- 1 cup (200 grams) granulated sugar
- 6 tablespoons (85 grams) unsalted butter, cut into small cubes
- 1 teaspoon flaky sea salt (e.g., Maldon), plus extra for topping
- 1 teaspoon pure vanilla extract
- ¼ teaspoon fine sea salt
Instructions
- Make the caramel: Place a medium saucepan over medium heat. Add the granulated sugar in an even layer. Let it sit without stirring for about 3-4 minutes until the edges start to melt and turn golden. Gently swirl the pan to encourage even melting until the sugar is fully melted and a deep amber color (like a penny).
- Add the butter: Add the cubed butter to the melted sugar. It will bubble up violently. Whisk continuously until the butter is fully melted and incorporated, about 1 minute.
- Add the cream: Slowly pour in 1 cup of the heavy cream while whisking. The mixture will bubble up again. Keep whisking until smooth. Remove from heat and stir in the fine sea salt and vanilla extract. Let the caramel cool completely to room temperature (about 30 minutes).
- Whip the remaining cream: In a large mixing bowl, pour the remaining 1 cup of heavy cream. Using a hand mixer or stand mixer fitted with the whisk attachment, beat on medium-high speed until stiff peaks form, about 3-4 minutes.
- Combine the caramel and condensed milk: In a separate bowl, whisk together the cooled caramel and the sweetened condensed milk until smooth and glossy.
- Fold everything together: Gently fold the caramel mixture into the whipped cream using a spatula. Fold until no white streaks remain. The mixture will be thick and pale caramel in color.
- Layer and freeze: Pour half of the ice cream base into a 9×5-inch loaf pan or freezer-safe container. Drizzle with extra caramel (if reserved) and sprinkle with a pinch of flaky sea salt. Add the remaining ice cream base, then swirl gently with a knife. Top with another sprinkle of flaky sea salt. Cover with plastic wrap or a lid and freeze for at least 6 hours, preferably overnight.
- Serve: Let the ice cream sit at room temperature for 5-10 minutes before scooping for perfect, creamy scoops.
Notes
Cool the caramel completely before folding into whipped cream to avoid deflating. For best texture, freeze overnight. If caramel seizes, return to low heat and whisk gently. Store in an airtight container for up to 2 weeks; press plastic wrap onto surface to prevent ice crystals.
Nutrition
- Serving Size: ½ cup
- Calories: 380
- Sugar: 35
- Sodium: 210
- Fat: 24
- Saturated Fat: 15
- Carbohydrates: 38
- Protein: 4
Keywords: no-churn ice cream, salted caramel, easy ice cream, homemade ice cream, no machine, summer dessert, caramel ice cream