I was standing in the baking aisle of our local grocery store last October when a kid dropped a can of pumpkin puree. It didn’t break—just made this dull, heavy thud against the linoleum—but the sound hit me like a time machine. Suddenly I was nine years old in my Aunt Rita’s tiny kitchen, watching her peel the lid off a can with that same metallic pop, the kitchen already smelling like cinnamon and something warm. She’d always make her pumpkin roll the weekend before Thanksgiving, and I’d sit on a step stool, sneaking bits of cream cheese filling when she turned to check the oven. She passed away five years ago, and honestly? I haven’t had a pumpkin roll since that tasted right. Until I spent an entire weekend getting it wrong—three cracked cakes, two batches of lumpy filling, one near-meltdown involving a dish towel and a lot of swearing—before I finally nailed it. This is that recipe. The one that tastes like her kitchen, but with a few tricks I figured out the hard way. You know that feeling when you take a bite and something just clicks? That’s what this is.
Why You’ll Love This Recipe
Let me tell you—this isn’t just another pumpkin roll recipe floating around the internet. I tested this thing six times before I felt good about sharing it. Six times. My neighbors have been very patient, and honestly, my waistline has not. But here’s what makes this one different: it actually rolls without cracking, the filling stays creamy without getting runny, and it tastes like fall in a way that makes you close your eyes on the first bite.
- Quick & Easy: From start to finish, you’re looking at about an hour of active time. The hardest part is waiting for it to chill.
- Simple Ingredients: No weird extracts or specialty flours. You probably have most of this in your pantry right now.
- Perfect for Holidays: Thanksgiving, Christmas, or just a random Tuesday when you need something that feels special.
- Crowd-Pleaser: I brought one to a potluck last month and three people asked for the recipe before I even got my coat off.
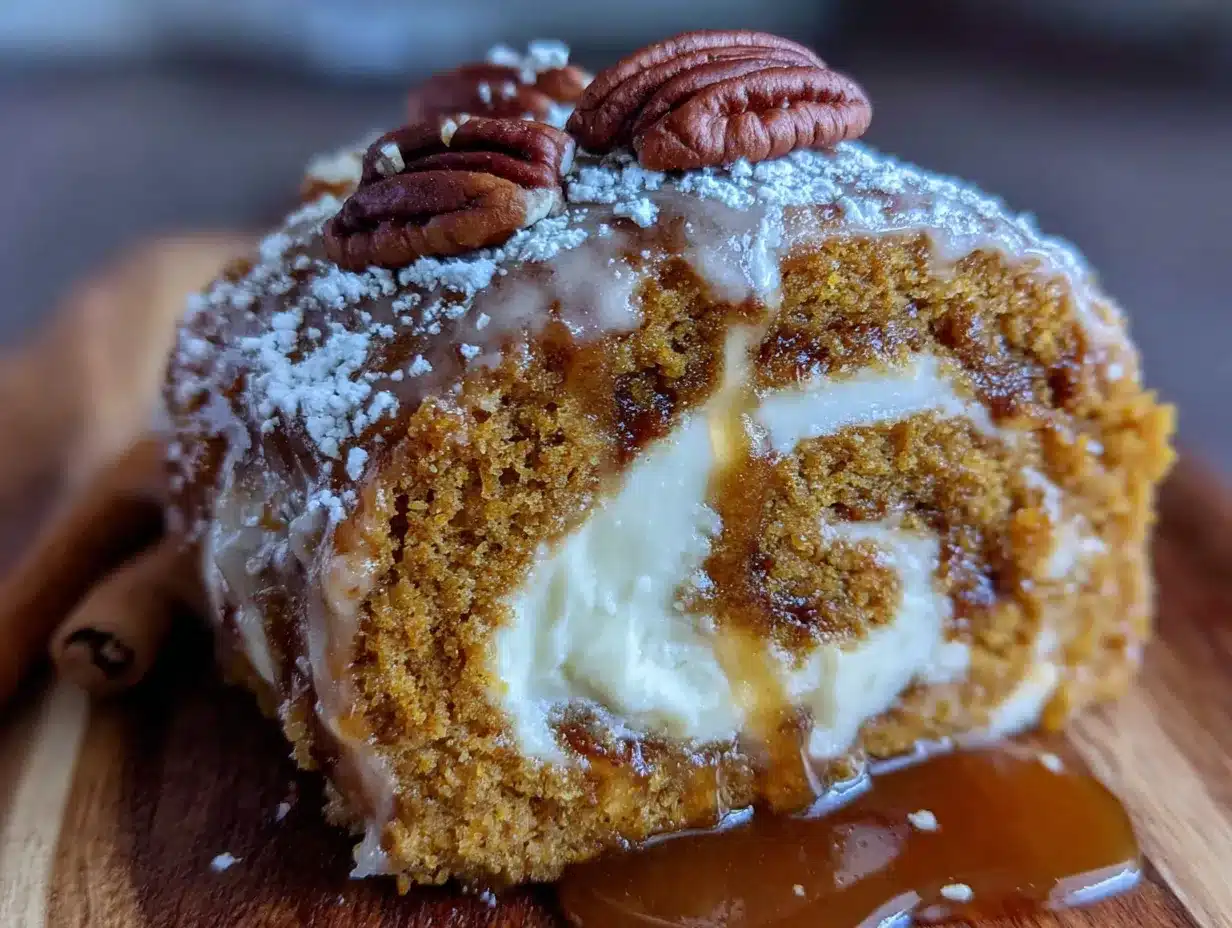
- Unbelievably Delicious: The texture is this perfect balance—tender pumpkin cake wrapped around tangy, silky cream cheese filling. It’s comfort food that somehow feels fancy.
What makes this version different? It’s the technique. Most recipes tell you to roll the cake while it’s hot, but I found that letting it cool just slightly—about five minutes—gives you a much more forgiving cake. Plus, I use a specific ratio of cream cheese to butter that keeps the filling stable at room temperature. No sad, oozing ends when you slice it. This isn’t just another version. It’s the one I’d make for someone I really want to impress.
What Ingredients You Will Need
This recipe uses simple, mostly pantry-stable ingredients to create something that tastes like you spent hours on it. The magic is in how they work together—the pumpkin keeps the cake moist, the spices warm it up, and the cream cheese filling cuts through all that richness with a little tang.
For the Pumpkin Cake
- ¾ cup all-purpose flour (I use King Arthur—it has a slightly higher protein content that gives the cake better structure)
- 1 teaspoon baking powder
- ½ teaspoon baking soda
- ½ teaspoon salt
- 1½ teaspoons ground cinnamon
- 1 teaspoon ground ginger
- ½ teaspoon ground nutmeg
- ¼ teaspoon ground cloves (adds that deep, almost woodsy warmth)
- 3 large eggs, room temperature (cold eggs can make the batter seize up)
- 1 cup granulated sugar
- ⅔ cup pumpkin puree (not pumpkin pie filling—make sure it’s 100% pumpkin)
- 1 teaspoon vanilla extract
- Powdered sugar, for dusting the towel (you’ll need about ¼ cup)
For the Cream Cheese Filling
- 8 ounces cream cheese, softened (full-fat works best—low-fat can get runny)
- ¼ cup unsalted butter, softened (I prefer Land O’Lakes for consistent results)
- 1 cup powdered sugar, sifted (sifting prevents lumps—trust me on this one)
- 1 teaspoon vanilla extract
- Pinch of salt (balances the sweetness)
Ingredient Tips: For the pumpkin puree, Libby’s is my go-to. It’s consistently thick and not watery, which matters for the cake texture. If you’re using a different brand and the puree looks loose, pat it dry with paper towels before adding it to the batter. For the cream cheese, Philadelphia is the standard for a reason—it has the right fat content and stabilizers to hold up in the filling. Let it sit out for at least an hour before you start mixing.
Equipment Needed
You don’t need anything fancy here, which is part of why I love this recipe. Here’s what you’ll want:
- 15×10-inch jelly roll pan (also called a half-sheet pan—if you don’t have one, a similar-sized rimmed baking sheet works)
- Parchment paper (non-negotiable—the cake needs to release cleanly)
- Clean kitchen towel (a thin cotton one, not terry cloth—the kind you’d use for drying dishes)
- Electric mixer (handheld or stand mixer both work fine)
- Large mixing bowls (one for dry ingredients, one for wet)
- Rubber spatula (for folding the batter gently)
- Cooling rack (or just clear some counter space)
- Plastic wrap (for wrapping the rolled cake)
I’ve made this with a cheap hand mixer I bought for fifteen bucks, and it turned out fine. The only thing I’d splurge on is good parchment paper—the non-stick kind. Regular wax paper will absolutely ruin your day. Trust me, I learned that one the hard way.
Preparation Method
Okay, let’s get into it. I’m going to walk you through this step by step, including all the little things I wish someone had told me the first time I tried.
- Preheat your oven to 375°F (190°C). Line your jelly roll pan with parchment paper, leaving about an inch of overhang on the short sides—this gives you handles to lift the cake out later. Lightly spray the parchment with non-stick spray.
- Mix the dry ingredients. In a medium bowl, whisk together the flour, baking powder, baking soda, salt, cinnamon, ginger, nutmeg, and cloves. Set this aside. Make sure there are no lumps—clumps of baking powder can leave bitter spots in the finished cake.
- Beat the eggs and sugar. In a large bowl, beat the eggs and granulated sugar together on medium-high speed for about 2-3 minutes. You want it thick and pale, like a light caramel color. It should fall off the beaters in a ribbon when you lift them up. This step matters—it builds structure so the cake doesn’t collapse.
- Add the pumpkin and vanilla. Reduce the mixer speed to low and beat in the pumpkin puree and vanilla extract until just combined. Don’t overmix here, or the cake can get tough.
- Fold in the dry ingredients. Add the flour mixture to the wet ingredients in three additions, folding gently with a rubber spatula after each. You want to see the flour disappear, but stop as soon as it does. Overmixing at this stage develops gluten and makes the cake stiff instead of tender.
- Spread the batter in the pan. Pour the batter into your prepared pan and use an offset spatula or the back of a spoon to spread it evenly into all corners. It’s a thin layer—that’s correct. The batter should be about ¼ inch thick. Tap the pan gently on the counter a couple times to pop any air bubbles.
- Bake for 12-14 minutes. The cake is done when the top springs back when you touch it gently and the edges start pulling away from the pan. Don’t overbake—dry cake cracks when you roll it. I usually check at 12 minutes and go from there.
- Prepare your rolling station. While the cake bakes, lay your clean kitchen towel flat on the counter and dust it generously with powdered sugar. Use about ¼ cup—you want an even, thick layer. This prevents the cake from sticking to the towel.
- Roll the cake while it’s warm. As soon as the cake comes out of the oven, let it cool in the pan for exactly 5 minutes. Then run a knife around the edges to loosen it, and invert the cake onto the sugared towel. Peel off the parchment paper slowly. Starting at one short end, roll the cake and towel together into a tight log. The towel will be inside the roll—that’s fine. Let it cool completely, seam-side down, on a cooling rack. This takes about 30-40 minutes.
- Make the filling. While the cake cools, beat the softened cream cheese and butter together on medium speed until smooth and fluffy—about 2 minutes. Add the sifted powdered sugar, vanilla, and salt, then beat on low until combined. Scrape the bowl, then beat on medium-high for another minute until it’s light and spreadable. Don’t overbeat, or the filling can get thin.
- Unroll and fill. Once the cake is completely cool, gently unroll it. The cake will have a slight curve—that’s perfect. Spread the cream cheese filling evenly over the cake, leaving a ½-inch border around the edges. An offset spatula works great here.
- Re-roll (without the towel). Starting at the same short end, roll the cake back up, this time without the towel. Use the parchment paper to help lift and guide it. Don’t worry if the first roll isn’t perfect—you get better with practice. Wrap the finished roll tightly in plastic wrap and refrigerate for at least 2 hours, or overnight. Chilling sets the filling and makes slicing much cleaner.
Sensory Cues: When you spread the batter, it should look smooth and even, like a thick pancake batter. The baked cake should be golden on top and smell like a pumpkin spice candle—warm, spicy, slightly sweet. When you unroll it after cooling, the cake should feel flexible and slightly damp, not dry or stiff.
Cooking Tips & Techniques
I’ve made this recipe more times than I care to count, and I’ve messed up almost every step at least once. Here’s what I learned:
The towel matters more than you think. Use a thin, lint-free kitchen towel. Those fluffy decorative ones? They’ll leave fuzz all over your cake. I ruined a perfectly good pumpkin roll with a red microfiber towel that shed like a cat. Stick with plain cotton.
Don’t skip the powdered sugar on the towel. I know it seems wasteful, but it creates a non-stick barrier that lets the cake roll without tearing. I tried it once without—just to see—and ended up with a pumpkin-flavored mess that looked like a failed science experiment.
Cool the cake completely before filling. I know it’s tempting to rush, but warm cake + cream cheese filling = melted disaster. The first time I made this, I was impatient and ended up with filling oozing out both ends. It still tasted good, but it looked like something a toddler assembled.
Slice with a serrated knife. Use a gentle sawing motion, not a downward push. Clean the knife between slices for neat edges. For the cleanest slices, chill the roll for at least 4 hours or overnight.
If your cake cracks, don’t panic. The filling acts like glue. Just press the cracked edges together gently after you roll it, and the cream cheese will hide most sins. Dust the finished roll with powdered sugar, and nobody will know.
Variations & Adaptations
This recipe is surprisingly flexible. Here are some ways I’ve played with it:
- Gluten-Free Version: Substitute the all-purpose flour with a 1:1 gluten-free baking flour blend. I’ve had good luck with Bob’s Red Mill. The texture is slightly more delicate, so be extra gentle when rolling.
- Dairy-Free Version: Use dairy-free cream cheese (Kite Hill works well) and vegan butter. The filling won’t be quite as stable, so chill it for at least 4 hours before slicing.
- Spice It Up: Add ¼ teaspoon of black pepper or a pinch of cayenne to the dry ingredients. It sounds weird, but the heat plays beautifully with the pumpkin and cream cheese.
- Chocolate Twist: Swap 2 tablespoons of flour for unsweetened cocoa powder. You get a chocolate-pumpkin swirl effect that’s gorgeous for Halloween parties.
- Maple Pecan: Add ¼ cup finely chopped toasted pecans to the filling and substitute 2 tablespoons of the powdered sugar with maple sugar. The crunch is incredible.
My personal favorite variation? I did a brown butter version last Thanksgiving. I browned the butter for the filling until it smelled nutty and toasted, then let it cool before beating it with the cream cheese. It added this deep, almost caramel flavor that made everyone at the table ask what I’d done differently.
Serving & Storage Suggestions
This pumpkin roll is best served cold or at room temperature. I like to take it out of the fridge about 15 minutes before slicing—it softens just enough to make the filling creamy without getting runny. Dust the top with powdered sugar right before serving for that classic look.
Storage: Wrap the unfilled roll tightly in plastic wrap and store in the refrigerator for up to 5 days. The flavors actually get better after a day or two—the spices meld together and the filling firms up. You can also freeze the unfilled roll for up to 3 months. Wrap it in plastic wrap, then foil, and thaw overnight in the fridge before filling.
Reheating: I don’t recommend microwaving this—it makes the cake soggy and the filling runny. If you want it warm, slice it and let it sit at room temperature for 20 minutes. The residual warmth from the cake will soften the filling naturally.
Flavor Development: Honestly, this is one of those recipes that’s better the next day. The pumpkin cake absorbs a little moisture from the filling, and the spices mellow out into something more rounded. If you can wait 24 hours, do it.
Nutritional Information & Benefits
Per slice (based on 10 servings): Approximately 280 calories, 12g fat, 38g carbs, 5g protein. These are estimates—actual values depend on your specific ingredients.
Pumpkin is packed with vitamin A and fiber, which is nice. But let’s be real—this is a dessert. It’s not health food, and that’s okay. What I love about this recipe is that it uses real ingredients: butter, cream cheese, eggs, pumpkin. Nothing weird or processed. It’s the kind of treat you can feel good about serving because it’s made from scratch with things you can pronounce.
Dietary Considerations: This recipe contains gluten, dairy, and eggs. For gluten-free and dairy-free options, see the variations section above. It’s naturally nut-free (unless you add the pecans), and there are no artificial colors or preservatives.
Conclusion
Look, I’m not going to tell you this pumpkin roll is life-changing. It’s a cake roll with cream cheese filling. But it’s a really, really good cake roll with cream cheese filling. The kind that makes people pause mid-conversation and say, “Wait, you made this?” The kind that disappears from the dessert table before the pumpkin pie even gets touched.
What I love most about this recipe is how forgiving it is once you know the tricks. It looks impressive—those perfect spirals, that dusting of powdered sugar—but it’s actually pretty simple. It’s the recipe I make when I want to feel like I’ve got my act together, even on days when I definitely don’t.
I’d love to hear how yours turns out. Did you try a variation? Did your cake crack and you fixed it anyway? Drop a comment below and let me know. And if you share a photo on Pinterest, tag me—I want to see your beautiful pumpkin rolls.
Frequently Asked Questions
Why did my pumpkin roll crack when I rolled it?
Most likely, it was either overbaked or undercooled. Dry cake cracks, and cake that’s too hot can tear. Try baking for 12 minutes instead of 14, and let it cool for exactly 5 minutes before rolling. Also, make sure you’re using enough powdered sugar on the towel—it helps the cake slide instead of stick.
Can I make this ahead of time?
Absolutely. In fact, it’s better made a day ahead. The flavors meld and the filling sets up perfectly. Just wrap it tightly in plastic wrap and refrigerate. Take it out 15 minutes before serving for the best texture.
Can I use pumpkin pie filling instead of pumpkin puree?
No, don’t do that. Pumpkin pie filling has added sugar and spices that will throw off the balance of the recipe. Stick with 100% pumpkin puree. If you only have pie filling, you’d need to adjust the sugar and spices, and honestly, it’s not worth the risk.
How do I get clean slices without the filling squishing out?
Chill the roll for at least 2 hours before slicing—overnight is even better. Use a sharp serrated knife and use a gentle sawing motion. Clean the blade between each slice with a damp paper towel. And don’t press down hard; let the knife do the work.
Can I freeze the finished pumpkin roll?
Yes, but I recommend freezing it unfilled. Wrap the rolled cake (without filling) tightly in plastic wrap and then foil. It’ll keep for up to 3 months. When you’re ready, thaw it in the fridge overnight, then make the filling and assemble. The texture stays much better this way.
Pin This Recipe!
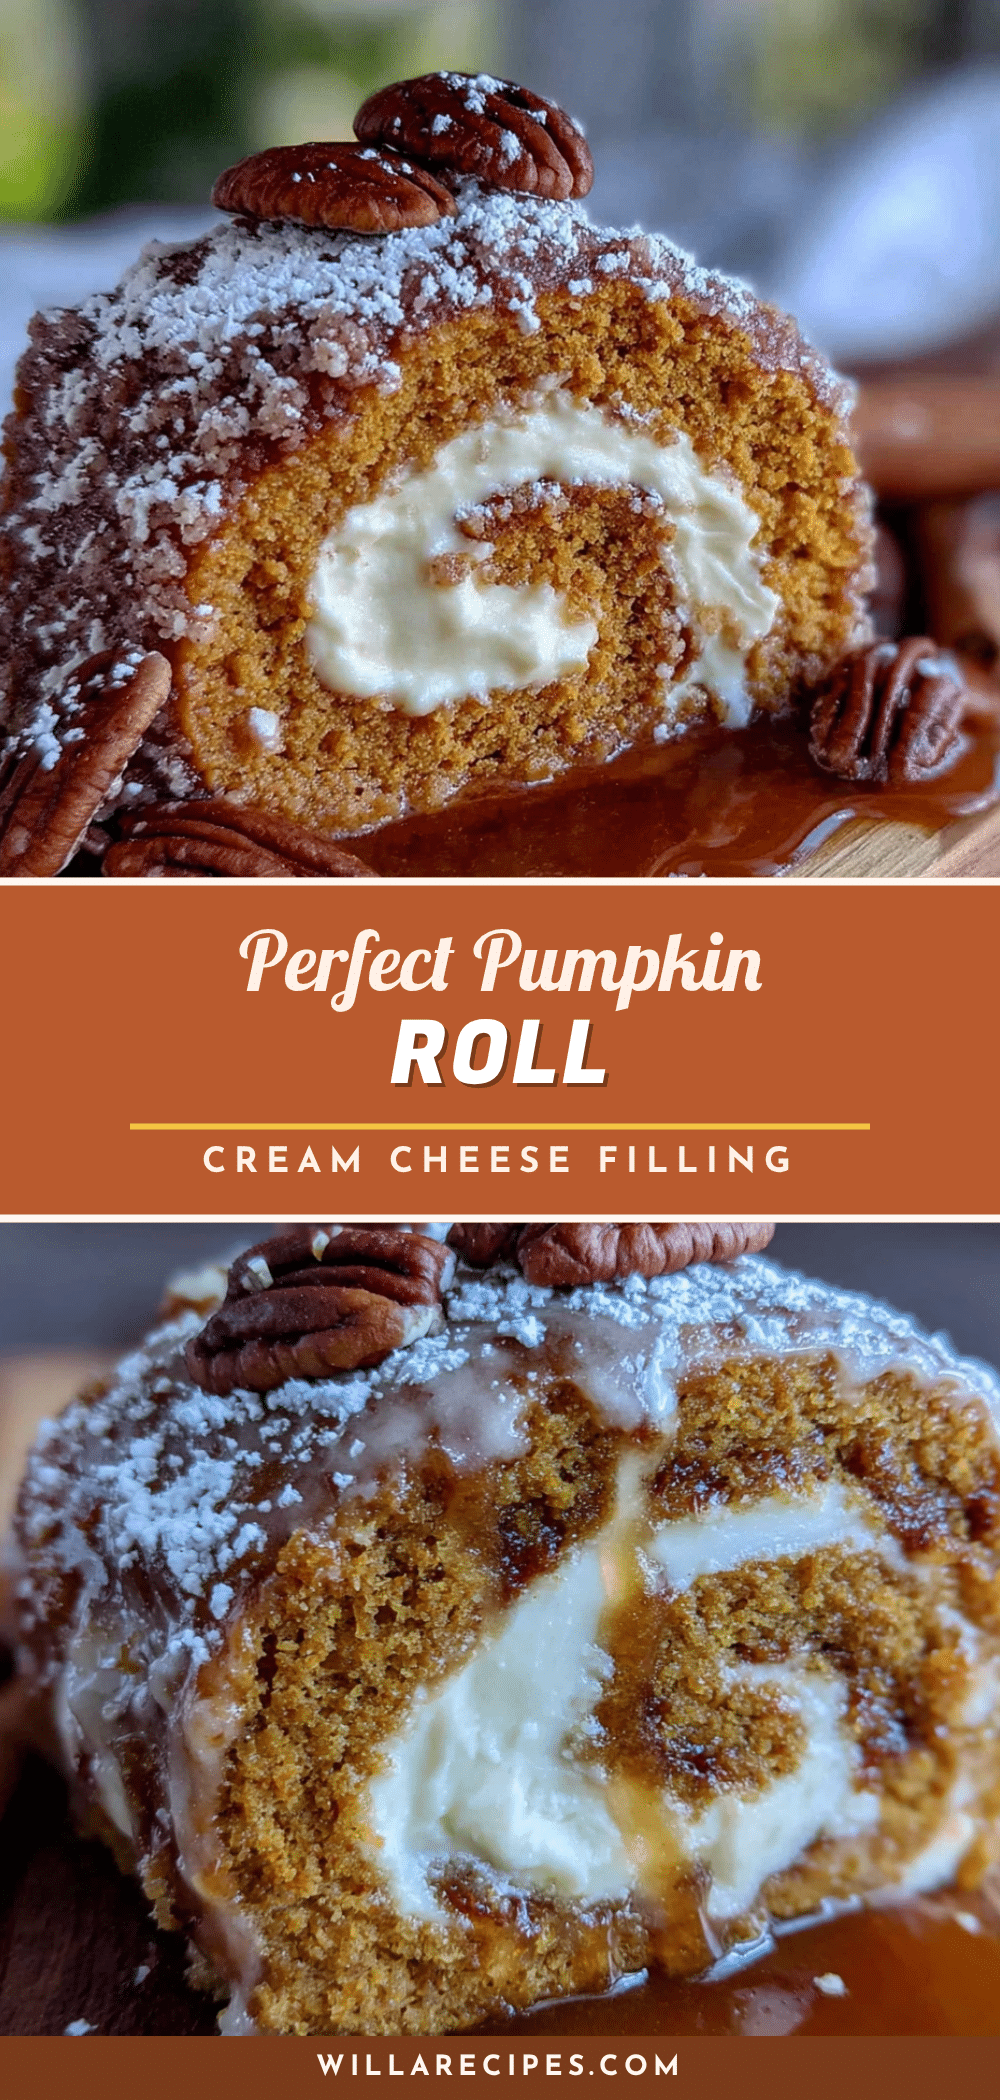
Perfect Pumpkin Roll: Easy Cream Cheese Filled Dessert
This pumpkin roll features a tender spiced cake wrapped around a tangy cream cheese filling. With tips to prevent cracking and ensure a creamy, stable filling, it’s a foolproof dessert perfect for fall gatherings.
- Prep Time: 15 minutes
- Cook Time: 12-14 minutes
- Total Time: 1 hour (plus 2 hours chilling)
- Yield: 10 servings 1x
- Category: Dessert
- Cuisine: American
Ingredients
- ¾ cup all-purpose flour
- 1 teaspoon baking powder
- ½ teaspoon baking soda
- ½ teaspoon salt
- 1½ teaspoons ground cinnamon
- 1 teaspoon ground ginger
- ½ teaspoon ground nutmeg
- ¼ teaspoon ground cloves
- 3 large eggs, room temperature
- 1 cup granulated sugar
- ⅔ cup pumpkin puree (not pumpkin pie filling)
- 1 teaspoon vanilla extract
- ¼ cup powdered sugar (for dusting towel)
- 8 ounces cream cheese, softened
- ¼ cup unsalted butter, softened
- 1 cup powdered sugar, sifted
- 1 teaspoon vanilla extract
- Pinch of salt
Instructions
- Preheat oven to 375°F (190°C). Line a 15×10-inch jelly roll pan with parchment paper, leaving overhang on short sides. Lightly spray parchment with non-stick spray.
- In a medium bowl, whisk together flour, baking powder, baking soda, salt, cinnamon, ginger, nutmeg, and cloves. Set aside.
- In a large bowl, beat eggs and granulated sugar on medium-high speed for 2-3 minutes until thick and pale (ribbon stage).
- Reduce mixer speed to low and beat in pumpkin puree and vanilla extract until just combined.
- Add flour mixture to wet ingredients in three additions, folding gently with a rubber spatula after each until just combined. Do not overmix.
- Pour batter into prepared pan and spread evenly to about ¼ inch thick. Tap pan gently on counter to pop air bubbles.
- Bake for 12-14 minutes until top springs back when touched and edges pull away from pan. Do not overbake.
- While cake bakes, lay a clean kitchen towel flat on counter and dust generously with about ¼ cup powdered sugar.
- Let cake cool in pan for exactly 5 minutes. Run a knife around edges, invert onto sugared towel, and peel off parchment paper.
- Starting at one short end, roll cake and towel together into a tight log. Let cool completely, seam-side down, on a cooling rack (30-40 minutes).
- For filling: Beat softened cream cheese and butter on medium speed until smooth and fluffy (about 2 minutes). Add sifted powdered sugar, vanilla, and salt; beat on low until combined, then on medium-high for 1 minute until light and spreadable.
- Once cake is completely cool, gently unroll. Spread filling evenly over cake, leaving a ½-inch border around edges.
- Re-roll cake without towel, using parchment to help lift. Wrap tightly in plastic wrap and refrigerate for at least 2 hours or overnight.
- Before serving, dust with powdered sugar. Slice with a serrated knife using a gentle sawing motion, cleaning blade between slices.
Notes
Let cake cool exactly 5 minutes before rolling. Use full-fat cream cheese for stable filling. Chill at least 2 hours before slicing. For best flavor, make a day ahead. If cake cracks, filling acts as glue. Dust with powdered sugar to hide imperfections.
Nutrition
- Serving Size: 1 slice
- Calories: 280
- Sugar: 28
- Sodium: 220
- Fat: 12
- Saturated Fat: 7
- Carbohydrates: 38
- Fiber: 2
- Protein: 5
Keywords: pumpkin roll, cream cheese filling, pumpkin dessert, fall dessert, Thanksgiving dessert, pumpkin cake roll


