I wasn’t expecting cookie decorating advice from my accountant, but there I was, knee-deep in spreadsheets during tax season, listening to Mrs. Patricia—who had been preparing my taxes for fifteen years without ever mentioning baking—describe exactly how to make the most adorable black cat sugar cookies for Halloween. She noticed the stress lines on my face and decided I needed a distraction more than I needed to organize receipts. “You look like you could use some sugar therapy,” she said, sliding a faded photograph across her desk of cookies that looked nothing like the boring ghost shapes I was used to seeing at parties. These had personality. They had attitude. And honestly, they had me completely hooked before I even tasted one.
I scribbled her instructions on the back of an envelope—right between “estimated quarterly payments” and “deductible business expenses”—and tucked it into my bag, half-convinced I’d never actually make them. But that weekend, with Halloween creeping closer and a potluck invitation staring at me from the fridge, I found myself staring at that envelope. Mrs. Patricia’s black cat cookies became my party contribution, and let me tell you, they stole the entire show. People were taking photos before they took bites, which is pretty much the highest compliment a home baker can get.
The thing about these cookies is they look way more complicated than they actually are. You know that feeling when you bring something to a party and everyone assumes you spent hours slaving away? That’s exactly what happens with these black cat spider sugar cookies. I’ve made them for three Halloweens straight now, and every single time, someone asks for the recipe. The secret is in the simplicity—a reliable sugar cookie base, some clever decorating shortcuts, and a whole lot of personality baked right in. Maybe you’ve been there, frantically searching Pinterest at 11 PM for something impressive but doable. These cookies are your answer.
Why You’ll Love This Recipe
Let’s be honest—Halloween baking can feel like a lot of pressure. You want something that looks fantastic on the dessert table but doesn’t require a pastry degree to pull off. These black cat spider sugar cookies hit that sweet spot perfectly. I’ve tested this recipe at least six times (my neighbors have been very patient taste-testers), and I can confidently say this is the version you want for your next gathering.
- Quick & Easy: The whole process takes about 90 minutes from start to finish, including chilling time. The decorating moves fast once you get the hang of it.
- Simple Ingredients: Butter, sugar, flour, eggs, vanilla—all the usual suspects. No weird specialty items or expensive decorations required.
- Perfect for Halloween Parties: These cookies are designed to impress a crowd. They’re sturdy enough for transport and dramatic enough to anchor a dessert table.
- Make-Ahead Friendly: Bake the cookies days in advance and decorate the morning of your party. Your future self will thank you.
- Crowd-Pleaser: Kids go absolutely wild for them, and adults can’t resist snapping photos before taking a bite. I’ve watched grown men argue over the last cat cookie.
- Completely Customizable: Once you master the basic technique, you can switch up expressions, poses, and accessories for different holidays or themes.
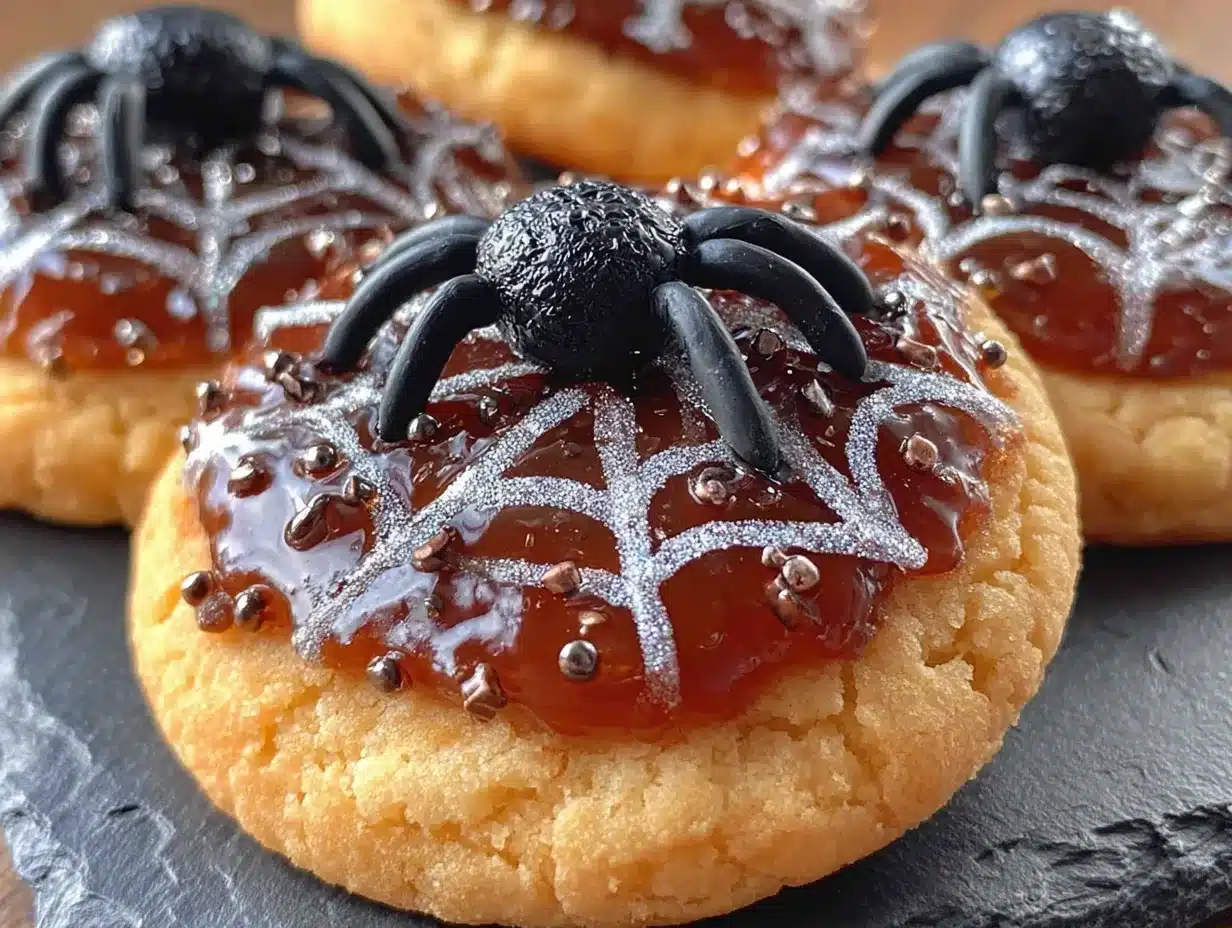
What makes these different from every other Halloween cookie recipe out there? It’s the decorating method. Instead of struggling with piping bags and royal icing, you’re using a simple chocolate glaze that sets up glossy and gorgeous. The spider legs are made from pretzel sticks—genius, right? And the black cat shape comes together with a basic cat face cookie cutter and some creative icing work. This isn’t just another cookie recipe; it’s the one that’ll have people asking if you took a decorating class.
There’s something deeply satisfying about watching someone’s face light up when they see these cookies. It’s comfort food with a spooky twist—familiar sugar cookie flavor dressed up in Halloween’s finest. Perfect for hosting without the stress, or turning a simple dessert table into something truly memorable.
What Ingredients You Will Need
This recipe uses straightforward ingredients that deliver big flavor and even bigger personality. Most of these are probably already sitting in your pantry, which makes this perfect for those last-minute Halloween party invites.
For the Sugar Cookie Dough:
- 2 ¾ cups all-purpose flour (spooned and leveled—don’t scoop straight from the bag)
- 1 teaspoon baking powder
- ½ teaspoon salt
- 1 cup unsalted butter, softened to room temperature (I prefer Land O’Lakes for consistent results)
- 1 ½ cups granulated sugar
- 1 large egg, room temperature
- 2 teaspoons vanilla extract (use pure vanilla, not imitation, for the best flavor)
- ½ teaspoon almond extract (this is my secret weapon—adds a subtle nuttiness that makes people ask what’s different)
For the Chocolate Glaze:
- 2 cups powdered sugar, sifted
- ¼ cup unsweetened cocoa powder, sifted (I use Hershey’s Special Dark for deeper color)
- 3-4 tablespoons milk (whole milk gives the best consistency, but any milk works)
- 1 teaspoon vanilla extract
- Black gel food coloring (optional, for that true black cat color—I use Americolor Super Black)
For Decoration:
- Pretzel sticks (the thin ones work best for spider legs—I break them into halves or thirds)
- Candy eyes (the little white and black ones you find in the baking aisle)
- Black licorice strings (for whiskers—cut into tiny pieces, about ½ inch each)
- Orange and green M&M’s (for spider bodies and cat eyes—sort through the bag to find the right colors)
Ingredient Selection Tips:
For the best texture, make sure your butter is genuinely softened—you should be able to press a finger into it and leave an indent without it feeling greasy. If you forgot to take it out of the fridge, cut it into small cubes and let it sit for 15 minutes. Don’t microwave it unless you want flat, greasy cookies.
The almond extract is totally optional, but I strongly recommend it. It adds this lovely depth that elevates a basic sugar cookie into something special. If you’re baking for someone with nut allergies, just leave it out and add an extra ½ teaspoon of vanilla instead.
For the cocoa powder, natural unsweetened works perfectly here. Don’t use Dutch-processed—it won’t react the same way with the other ingredients and your glaze might turn out grainy. Trust me, I learned this the hard way.
Equipment Needed
You don’t need a professional bakery setup for these cookies, but having the right tools makes everything smoother. Here’s what you’ll need:
- Cat face cookie cutter (about 3 inches wide—I found mine at Michaels for $3.99)
- Baking sheets (at least two, so you can rotate batches)
- Parchment paper (silpat mats work great too, but parchment is easier for cleanup)
- Electric mixer (handheld or stand mixer—both work fine)
- Rolling pin (I prefer a wooden one with thickness rings for even cookies)
- Cooling racks (absolutely necessary for letting the glaze set properly)
- Small piping bags or zip-top bags (for the chocolate glaze)
- Offset spatula (helps with transferring cookies and spreading glaze)
- Sharp scissors (for cutting pretzel sticks and licorice)
- Wax paper (for setting decorated cookies on while the glaze dries)
If you don’t have a cat face cutter, you can use a round cutter and add triangle ears with extra dough. It’s a bit more work, but totally doable. I’ve also seen people use a 3-inch round cutter and then pinch the top into ear shapes—not perfect, but charming in its own way.
For the piping bags, honestly, a regular zip-top bag with the corner snipped off works just as well as fancy decorating bags. Just don’t cut too big of a hole—you want a thin line for the details.
Preparation Method
Step 1: Make the Dough (15 minutes)
In a medium bowl, whisk together the flour, baking powder, and salt. Set aside. In a large bowl, beat the softened butter and granulated sugar together until light and fluffy—about 3 minutes with an electric mixer on medium speed. You want it to look pale and almost creamy. Add the egg, vanilla extract, and almond extract, and beat until combined. Gradually add the dry ingredients to the wet ingredients, mixing on low speed until just combined. Don’t overmix, or your cookies will be tough.
Step 2: Chill the Dough (30 minutes minimum)
Divide the dough into two discs, wrap each in plastic wrap, and refrigerate for at least 30 minutes. This step is non-negotiable—chilled dough rolls out evenly and holds its shape better during baking. If you skip this, your cats will come out looking more like blobs. I’ve made that mistake exactly once.
Step 3: Roll and Cut (20 minutes)
Preheat your oven to 350°F (175°C). Line your baking sheets with parchment paper. On a lightly floured surface, roll one disc of dough to about ¼-inch thickness. Flour your rolling pin if the dough starts sticking. Cut out cat shapes and place them 2 inches apart on the prepared baking sheets. Gather the scraps, re-roll, and cut more cookies until all the dough is used. You should get about 24-30 cookies depending on your cutter size.
Step 4: Bake (8-10 minutes per batch)
Bake for 8-10 minutes, or until the edges are just barely golden. The centers should still look slightly pale and soft. Let the cookies cool on the baking sheet for 5 minutes, then transfer to wire racks to cool completely. Don’t try to decorate warm cookies—the glaze will slide right off and you’ll have a sticky mess. Ask me how I know.
Step 5: Make the Chocolate Glaze (10 minutes)
In a medium bowl, whisk together the sifted powdered sugar and cocoa powder. Add 3 tablespoons of milk and the vanilla extract, and whisk until smooth. The glaze should be thick but pourable—like slightly thinned-out pancake batter. If it’s too thick, add more milk one teaspoon at a time. If it’s too thin, add more powdered sugar. Stir in black gel food coloring until you reach your desired darkness. I usually add about ½ teaspoon.
Step 6: Decorate the Cat Faces (25 minutes)
Transfer the glaze to a piping bag or zip-top bag with a tiny corner snipped off. Outline each cookie with glaze, then fill in the center. Use a toothpick to spread the glaze evenly into the corners. While the glaze is still wet, press on the candy eyes—two per cookie, positioned where cat eyes would go. Add tiny orange M&M’s for the eyes if you want a spooky glow effect. Let the glaze set for about 10 minutes.
Step 7: Add Spider Details (15 minutes)
Once the glaze is tacky but not fully dry, attach the pretzel stick legs. Break pretzel sticks into 1-inch pieces and press four pieces into each side of the cookie, angling them slightly outward like spider legs. For the spider body, place an orange or green M&M in the center of the cookie. Add tiny licorice whiskers—three on each side of the face. Let everything set completely, about 30 minutes.
Sensory Cues: When the dough is properly mixed, it should feel soft but not sticky—like play-dough that’s been sitting at room temperature. When the cookies are done baking, the kitchen will smell like vanilla and butter, and the edges will have just the faintest hint of gold. The glaze should look glossy and smooth, not matte or cracked.
Cooking Tips & Techniques
Here’s where I share the hard-earned wisdom from my many, many batches of these cookies. The first time I made them, I forgot to chill the dough and ended up with cat-shaped pancakes. Not ideal for a Halloween party where you’re trying to impress people.
Chill Between Batches: If you’re making multiple batches, pop the cut-out cookies back in the fridge for 10 minutes before baking. This prevents spreading and keeps those adorable cat ear shapes intact. I learned this after my second batch came out looking like round blobs with pointy tops.
Work in Small Batches: Only take out one disc of dough at a time. Keep the other disc in the fridge until you’re ready to roll it. Warm dough is sticky dough, and sticky dough makes for frustrating cookie cutting sessions.
The Toothpick Trick: When filling in the glaze outlines, use a toothpick to drag the glaze into all the nooks and crannies—especially around the ears. This gives you a clean, professional finish without any air bubbles or missed spots.
Timing the Decorations: Add the candy eyes and M&M’s while the glaze is still wet enough for them to stick, but not so wet that they slide down the cookie. Test one cookie first—if the candy sinks, wait another 2-3 minutes. If it doesn’t stick at all, your glaze is too dry and you’ll need to add a tiny dab of fresh glaze as glue.
Multitasking Strategy: While the first batch of cookies bakes, roll out the second disc of dough and cut more shapes. While the second batch bakes, start making the glaze. While the glaze sets on the first batch, decorate the second batch. This keeps everything moving efficiently and prevents that frantic “everything needs to happen right now” feeling.
Consistency is Key: For perfectly uniform cookies, use a rolling pin with thickness rings. I bought a set for $12 on Amazon and it was a game-changer. Every cookie comes out the same thickness, which means they all bake evenly. No more burnt edges on thin cookies while thick ones are still doughy in the center.
Variations & Adaptations
One of the best things about these cookies is how easily they adapt to different tastes and dietary needs. Here are some variations I’ve tried and loved:
Gluten-Free Version: Substitute the all-purpose flour with a 1:1 gluten-free baking flour blend. I’ve had great results with Bob’s Red Mill. Add an extra tablespoon of milk to the dough since gluten-free flours tend to absorb more liquid. The texture will be slightly more tender, but the flavor is spot-on.
Vegan Adaptation: Use vegan butter (I like Miyoko’s) and a flax egg (1 tablespoon ground flaxseed mixed with 3 tablespoons water, let sit for 5 minutes). For the glaze, use plant-based milk. The cookies will be a bit more delicate, so handle them gently when transferring.
Spider Variation: Instead of black cats, make spider-shaped cookies using a round cutter. Add eight pretzel legs (four on each side) and two candy eyes on top. The kids at my nephew’s Halloween party went absolutely bonkers for these—they said the spiders looked “disgusting but delicious.”
Pumpkin Spice Twist: Add 1 teaspoon pumpkin pie spice and ½ teaspoon cinnamon to the dry ingredients. Replace the almond extract with maple extract. The cookies end up tasting like autumn in cookie form, and the spices complement the chocolate glaze beautifully.
White Chocolate Glaze: Swap the cocoa powder for an equal amount of powdered sugar and use white chocolate melting wafers instead. Tint the glaze with orange or purple food coloring for a completely different look. This is great if you’re serving these at a non-Halloween party and want something more colorful.
Personal Variation I Love: I once made these with a pinch of cayenne pepper in the chocolate glaze. Sounds weird, I know, but the slight heat paired with the sweet cookie is absolutely addictive. My friends called them “spicy black cats” and they disappeared faster than the regular ones.
Serving & Storage Suggestions
These cookies are designed to be the star of your Halloween dessert table, and they deserve to be presented well. Here’s how to make them shine:
Serving Temperature: Serve at room temperature. The glaze sets firm but not hard, and the cookie stays soft and tender. If you’ve refrigerated them, let them sit out for 15-20 minutes before serving.
Presentation Ideas: Arrange the cookies on a black or orange platter for maximum Halloween impact. I like to scatter a few candy corn pieces around the plate for color contrast. For a truly dramatic display, arrange them in a circle with the cats facing inward, like they’re having a spooky meeting. Add a few fake spider webs around the platter for extra flair.
What to Serve Alongside: These pair beautifully with warm apple cider, pumpkin spice lattes, or even a glass of cold milk (classic for a reason). If you’re hosting a party, set up a cookie decorating station with extra glaze and toppings so guests can customize their own cats. It’s an instant icebreaker.
Storage Instructions: Store the decorated cookies in an airtight container at room temperature for up to 5 days. Place wax paper between layers to prevent the pretzel legs from poking into the cookies below. Do not refrigerate—the moisture will make the cookies soft and the glaze will get tacky.
Freezer Instructions: You can freeze the undecorated baked cookies for up to 3 months. Place them in a single layer on a baking sheet and freeze until solid, then transfer to a freezer bag. When you’re ready to decorate, thaw them at room temperature for 30 minutes, then glaze and decorate as usual. The cookies taste just as fresh.
Flavor Development: Honestly, these cookies taste even better the day after baking. The flavors meld together and the texture softens just slightly. If you’re planning ahead, bake them two days before your party and decorate the morning of. Your guests will never know.
Nutritional Information & Benefits
Let’s be real—these are cookies, not health food. But knowing what’s in them helps you plan your treat intake. Here’s the approximate nutritional breakdown per cookie (based on 24 cookies):
| Nutrient | Amount per Cookie |
|---|---|
| Calories | 185 |
| Total Fat | 8g |
| Saturated Fat | 5g |
| Carbohydrates | 27g |
| Sugar | 16g |
| Protein | 2g |
| Sodium | 95mg |
Health Highlights: The butter provides a good source of vitamin A, which supports eye health (fitting for Halloween, right?). The cocoa powder in the glaze contains antioxidants called flavonoids, which can support heart health. And the pretzel sticks add a tiny bit of iron and fiber. Every little bit counts!
Dietary Considerations: This recipe contains gluten, dairy, and eggs. For allergen-friendly versions, check the variations section above. These cookies are not low-carb or keto-friendly, but they are nut-free if you skip the almond extract.
My Personal Take: I believe in balance. These cookies are a treat, meant to be enjoyed in moderation alongside a healthy lifestyle. Halloween comes once a year—enjoy the cookies, savor the memories, and don’t stress about the numbers. Life is too short to skip dessert.
FAQs
Can I make the dough ahead of time?
Absolutely! The dough can be refrigerated for up to 3 days or frozen for up to 3 months. Just wrap it tightly in plastic wrap and place it in a freezer bag. Thaw frozen dough in the refrigerator overnight before rolling and cutting.
Why did my cookies spread too much?
This usually happens for one of three reasons: the dough wasn’t chilled enough, the butter was too soft, or the baking sheet was too warm. Make sure your dough is properly chilled (30 minutes minimum) and let your baking sheets cool completely between batches.
Can I use royal icing instead of chocolate glaze?
Yes, you can! Royal icing gives a matte finish and dries harder, which is great for stacking cookies. However, the chocolate glaze adds flavor and gives that glossy, professional look. It’s really a matter of personal preference. If you use royal icing, you’ll need to let it dry for several hours before adding the pretzel legs.
How do I transport these cookies to a party?
Place them in a single layer in a sturdy container with a tight-fitting lid. Put wax paper between layers if you need to stack them. For the pretzel legs, arrange the cookies so the legs are pointing inward toward the center of the container—this prevents them from breaking off during transport.
My glaze turned out too thin. Can I fix it?
Don’t panic! Simply whisk in more sifted powdered sugar, one tablespoon at a time, until you reach the right consistency. If it’s too thick, add milk one teaspoon at a time. The glaze should be thick enough to coat the back of a spoon but still pourable.
Conclusion
These black cat spider sugar cookies are everything you want in a Halloween treat—adorable, delicious, and surprisingly easy to make. They’ve become my go-to recipe for every Halloween gathering, from office parties to family get-togethers. There’s something magical about watching people’s faces light up when they see these cookies, and even more magical when they take that first bite and realize they taste just as good as they look.
I encourage you to make these your own. Experiment with different expressions, try different colored eyes, add little bows or hats—the possibilities are endless. The recipe is just a starting point; your creativity is what makes them special. And honestly, even if they don’t turn out perfect, they’ll still be delicious. That’s the beauty of baking—even the “mistakes” taste amazing.
I’d love to hear how your cookies turn out! Drop a comment below with your decorating ideas, tag me in your photos, or share your own variations. Happy Halloween, and happy baking! You’ve got this.
Pin This Recipe!
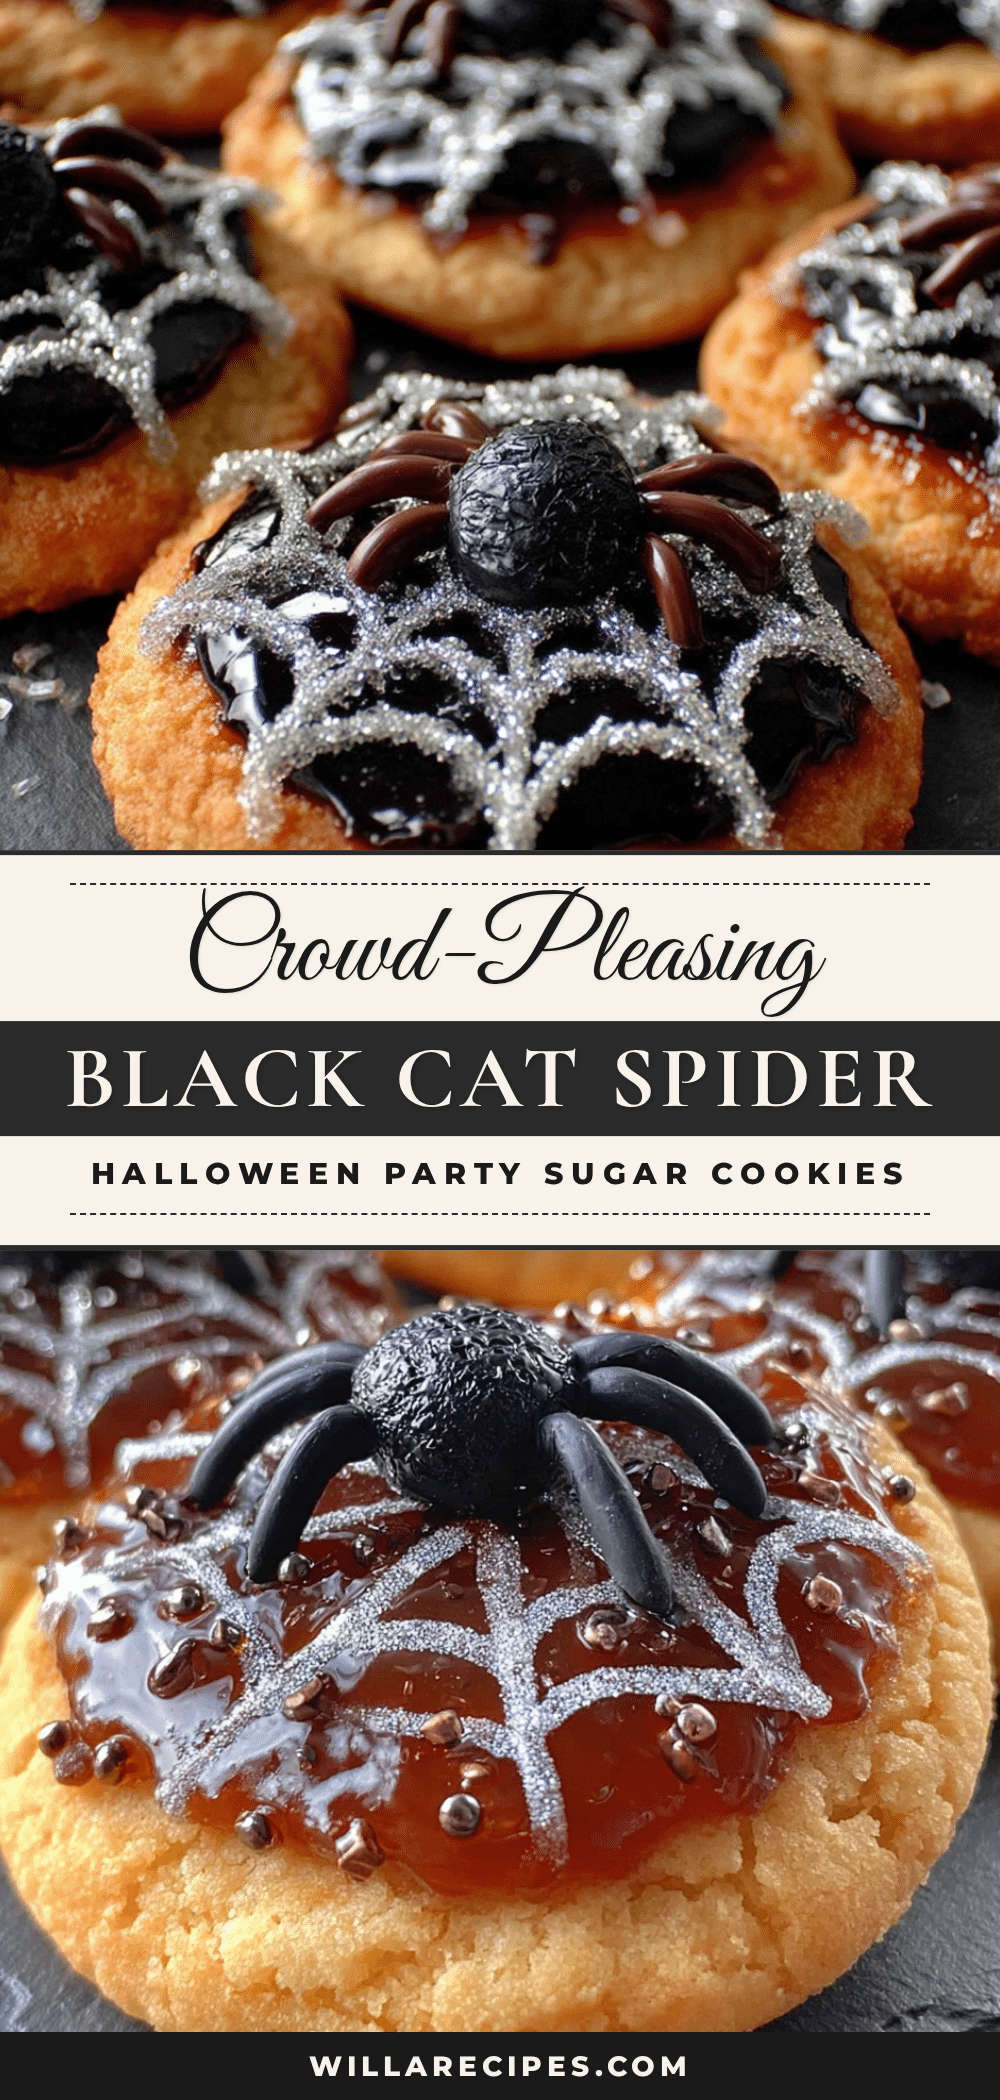
Crowd-Pleasing Black Cat Spider Sugar Cookies for Halloween Parties
These adorable black cat spider sugar cookies are surprisingly easy to make with a reliable sugar cookie base and clever decorating shortcuts. Perfect for Halloween parties, they feature a glossy chocolate glaze, pretzel stick spider legs, and candy eyes that will impress guests without requiring a pastry degree.
- Prep Time: 30 minutes
- Cook Time: 10 minutes
- Total Time: 1 hour 30 minutes
- Yield: 24-30 cookies 1x
- Category: Dessert
- Cuisine: American
Ingredients
- 2 ¾ cups all-purpose flour (spooned and leveled)
- 1 teaspoon baking powder
- ½ teaspoon salt
- 1 cup unsalted butter, softened to room temperature
- 1 ½ cups granulated sugar
- 1 large egg, room temperature
- 2 teaspoons vanilla extract (pure vanilla recommended)
- ½ teaspoon almond extract (optional)
- 2 cups powdered sugar, sifted
- ¼ cup unsweetened cocoa powder, sifted (natural, not Dutch-processed)
- 3–4 tablespoons milk (whole milk preferred)
- 1 teaspoon vanilla extract
- Black gel food coloring (optional, e.g., Americolor Super Black)
- Pretzel sticks (thin ones, broken into halves or thirds)
- Candy eyes (white and black)
- Black licorice strings (cut into ½-inch pieces)
- Orange and green M&M’s (for spider bodies and cat eyes)
Instructions
- Make the Dough: In a medium bowl, whisk together flour, baking powder, and salt. Set aside. In a large bowl, beat softened butter and granulated sugar until light and fluffy (about 3 minutes). Add egg, vanilla extract, and almond extract; beat until combined. Gradually add dry ingredients to wet ingredients, mixing on low speed until just combined. Do not overmix.
- Chill the Dough: Divide dough into two discs, wrap each in plastic wrap, and refrigerate for at least 30 minutes.
- Roll and Cut: Preheat oven to 350°F (175°C). Line baking sheets with parchment paper. On a lightly floured surface, roll one disc of dough to ¼-inch thickness. Cut out cat shapes and place 2 inches apart on prepared baking sheets. Gather scraps, re-roll, and cut more cookies. You should get about 24-30 cookies.
- Bake: Bake for 8-10 minutes, until edges are just barely golden. Centers should still look slightly pale and soft. Cool on baking sheet for 5 minutes, then transfer to wire racks to cool completely.
- Make the Chocolate Glaze: In a medium bowl, whisk together sifted powdered sugar and cocoa powder. Add 3 tablespoons milk and vanilla extract; whisk until smooth. Glaze should be thick but pourable. If too thick, add more milk one teaspoon at a time. If too thin, add more powdered sugar. Stir in black gel food coloring until desired darkness.
- Decorate the Cat Faces: Transfer glaze to a piping bag or zip-top bag with a tiny corner snipped off. Outline each cookie with glaze, then fill in the center. Use a toothpick to spread glaze evenly. While glaze is still wet, press on candy eyes. Add tiny orange M&M’s for eyes if desired. Let glaze set for about 10 minutes.
- Add Spider Details: Once glaze is tacky but not fully dry, attach pretzel stick legs. Break pretzel sticks into 1-inch pieces and press four pieces into each side of the cookie, angling outward. Place an orange or green M&M in the center for the spider body. Add tiny licorice whiskers (three on each side). Let everything set completely, about 30 minutes.
Notes
Chill dough between batches to prevent spreading. Work with one disc of dough at a time, keeping the other refrigerated. Use a toothpick to drag glaze into nooks and crannies around ears. Add candy decorations while glaze is wet enough to stick but not so wet that they slide. For best results, bake cookies two days ahead and decorate the morning of your party. Store in an airtight container at room temperature for up to 5 days with wax paper between layers. Do not refrigerate.
Nutrition
- Serving Size: 1 cookie
- Calories: 185
- Sugar: 16
- Sodium: 95
- Fat: 8
- Saturated Fat: 5
- Carbohydrates: 27
- Fiber: 1
- Protein: 2
Keywords: Halloween cookies, black cat cookies, spider cookies, sugar cookies, Halloween dessert, easy Halloween cookies, decorated cookies, party cookies