It was 11:47 PM on a random Wednesday, and I needed a chocolate chip cookie. Not just any cookie—one with edges that shatter and a middle that bends. The problem? I had no butter that was soft enough for creaming, and honestly, I was too tired to wait. But I did have a stick of butter I could burn, a bag of chocolate chunks, and a wild idea that maybe browning the butter would fix everything. I pulled the pan out of the fridge, dropped the butter in, and let it sizzle. The kitchen filled with this nutty, toasty smell—like something was about to happen. And honestly, it was the best late-night decision I’ve ever made.
That first batch came out of the oven at 12:15 AM. I burned my tongue on the first bite—worth it. The edges were lacy and crisp, the center was almost underdone, and that brown butter flavor? It added a depth I didn’t know a chocolate chip cookie could have. I mean, I’ve made a hundred batches before, but this one felt different. Maybe it was the hour, or the fact that I didn’t overthink it. I just let the butter do the work. And let me tell you, if you’ve never tried brown butter in a cookie, you’re missing out on something special. It’s the kind of thing you try once and then you can’t go back.
These cookies became my go-to after that night. I’ve tweaked the recipe a dozen times—added more salt, swapped sugars, tested chilling times—and this version is the one that always hits. The chewy center, the crispy edges, the way the brown butter makes everything taste a little more grown-up. It’s comfort food, but it’s also a little bit fancy. And the best part? You don’t need a mixer or a trip to a specialty store. Just a pan, a bowl, and a little patience while they chill. Trust me, it’s worth the wait.
Why You’ll Love This Recipe
Let’s be real—there are a million chocolate chip cookie recipes out there. But this one? It’s different. It’s the kind of cookie that makes you close your eyes after the first bite. The brown butter adds a nutty, caramel-like richness that regular butter just can’t match. And the texture is exactly what you want: chewy in the middle, crispy on the edges, and packed with melty chocolate in every bite.
- Quick & Easy – Ready in under 30 minutes (plus chilling time), perfect for a last-minute treat or a weekend baking session.
- Simple Ingredients – No weird additives or hard-to-find items. You probably have everything except maybe the chocolate chunks.
- Perfect for Cozy Nights – Great for cold weather, a rough day, or when you just want something warm and comforting.
- Crowd-Pleaser – Kids love the chocolate, adults love the sophisticated flavor. It’s a win-win.
- Unbelievably Delicious – The combination of browned butter, flaky sea salt, and dark chocolate is next-level comfort food.
What makes this recipe different from the rest? It’s the technique. Browning the butter isn’t just a flavor trick—it changes the whole chemistry of the cookie. It removes some of the water content, which means less spreading and a chewier texture. Plus, the nutty flavor pairs perfectly with the sweetness of the dough and the bitterness of dark chocolate. I’ve tested this with different flours, sugars, and chilling times, and this version is the one that works every single time.
This recipe isn’t just good—it’s the kind that makes you want to share it with everyone you know. It’s comfort food reimagined: a little bit healthier (well, maybe not healthier, but definitely more soul-satisfying), faster than the classic version, and with the same warm, nostalgic feeling you get from a cookie fresh out of the oven. Perfect for impressing guests without breaking a sweat, or turning a simple Tuesday night into something memorable.
What Ingredients You Will Need
This recipe uses simple, everyday ingredients to deliver big flavor. Most of these are pantry staples, so you might already have them on hand. The star of the show is the brown butter, which adds a depth of flavor that regular butter just can’t touch.
- Unsalted butter – 1 cup (2 sticks or 226g). You’ll brown this, so use a light-colored pan to see the color change. I prefer Kerrygold for its rich flavor.
- Dark brown sugar – 1 cup (200g), packed. This adds moisture and gives the cookies that chewy texture. Light brown sugar works too, but dark brown gives more depth.
- Granulated sugar – ½ cup (100g). For sweetness and a little crispiness on the edges.
- Large egg – 1, plus 1 egg yolk. The extra yolk adds richness and chewiness. Room temperature is best.
- Vanilla extract – 2 teaspoons. Pure vanilla is best, but imitation works in a pinch.
- All-purpose flour – 2 cups (240g). Spoon and level it for accuracy. Don’t scoop directly from the bag.
- Baking soda – 1 teaspoon. This helps the cookies spread and brown.
- Salt – ½ teaspoon. Plus flaky sea salt for sprinkling on top.
- Chocolate chunks or chips – 1 ½ cups (about 250g). I use a mix of dark chocolate (60-70%) and semi-sweet. Chop a bar for those big, melty pools of chocolate.
Ingredient Tips & Substitutions: If you only have salted butter, reduce the added salt to ¼ teaspoon. For a gluten-free version, use a 1:1 gluten-free flour blend (I like King Arthur’s). The texture will be slightly different—a little more cakey—but still delicious. You can also swap the chocolate for white chocolate or butterscotch chips if you prefer. And if you’re out of brown sugar, mix 1 cup of granulated sugar with 1 tablespoon of molasses—it works in a pinch.
Equipment Needed
You don’t need a lot of fancy tools for these cookies. Here’s what I use:
- Light-colored saucepan – Essential for browning the butter so you can see the color change. A dark pan makes it hard to tell when it’s done.
- Mixing bowls – One large, one medium. Glass or stainless steel works best.
- Whisk – For combining the sugars and butter. A wooden spoon works too, but a whisk gets it smoother.
- Rubber spatula – For folding in the chocolate and scraping the bowl.
- Baking sheets – Two or three, lined with parchment paper. I prefer light-colored sheets for even browning.
- Cookie scoop – A 1.5-tablespoon scoop makes uniform cookies. If you don’t have one, use two spoons.
- Cooling rack – For letting the cookies cool without getting soggy bottoms.
Budget-Friendly Options: Don’t have a cookie scoop? Use a measuring spoon or just roll the dough into balls by hand. No cooling rack? Let the cookies cool on the baking sheet for 5 minutes, then transfer to a plate. And if you don’t have a light-colored saucepan, just watch the butter closely—it can go from brown to burnt in seconds.
Preparation Method
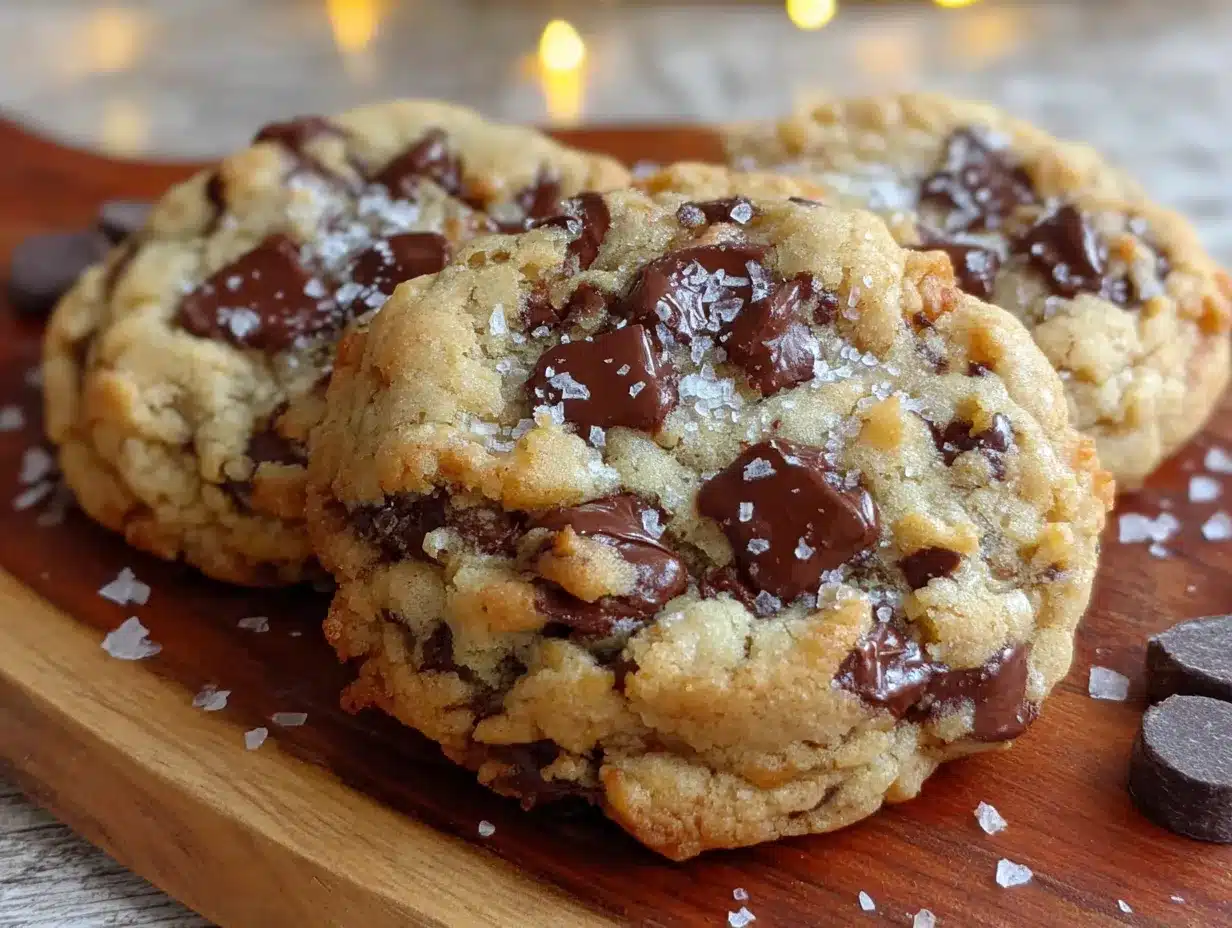
Let’s get baking. These cookies come together quickly, but the chilling time is non-negotiable. Trust me on this one.
- Brown the butter: Cut the butter into pieces and place it in your light-colored saucepan over medium heat. Stir frequently with a whisk or spatula. The butter will melt, then foam, then start to crackle. Keep stirring. After about 5-7 minutes, you’ll see brown specks forming at the bottom, and the butter will smell nutty and toasty. Once it’s a golden-amber color, remove it from the heat immediately. Pour it into a heatproof bowl (including all the brown bits—that’s the flavor). Let it cool for 10-15 minutes.
- Mix the sugars and butter: Add the brown sugar and granulated sugar to the warm brown butter. Whisk until it looks like wet sand and the sugar has dissolved slightly. It should be smooth and glossy.
- Add the eggs and vanilla: Crack in the egg and the extra yolk. Add the vanilla. Whisk vigorously for about 30 seconds until the mixture is thick, pale, and falls in ribbons. This step is important—it helps create that chewy texture.
- Combine the dry ingredients: In a separate bowl, whisk together the flour, baking soda, and salt. Add this to the wet mixture. Fold gently with a rubber spatula until just a few streaks of flour remain. Do not overmix, or the cookies will be tough.
- Add the chocolate: Fold in the chocolate chunks until evenly distributed. The dough will be soft and slightly sticky—that’s normal.
- Chill the dough: Cover the bowl with plastic wrap and refrigerate for at least 30 minutes, or up to 48 hours. Chilling solidifies the butter and prevents the cookies from spreading too much. The longer you chill, the deeper the flavor.
- Preheat the oven: When you’re ready to bake, preheat your oven to 350°F (175°C). Line two baking sheets with parchment paper.
- Scoop and bake: Use a cookie scoop to portion the dough into 1.5-tablespoon balls. Place them 2 inches apart on the prepared baking sheets. Bake for 10-12 minutes, or until the edges are golden brown and the centers look slightly underdone and puffy. They will continue to cook on the sheet.
- Finish with salt: As soon as the cookies come out of the oven, sprinkle them with a pinch of flaky sea salt. This balances the sweetness and enhances the brown butter flavor.
- Cool: Let the cookies cool on the baking sheet for 5 minutes, then transfer them to a cooling rack. They’ll be soft and chewy when warm, and they’ll set up perfectly as they cool.
Troubleshooting Tip: If your cookies spread too much, your butter was too warm, or you didn’t chill the dough long enough. Pop the scooped dough back in the fridge for 15 minutes before baking. If they’re too thick and puffy, you might have added too much flour, or your baking soda is old.
Cooking Tips & Techniques
After making these cookies more times than I can count, I’ve learned a few things the hard way. Here are my best tips for getting them perfect every time.
Don’t rush the brown butter. It’s tempting to crank up the heat to get it done faster, but medium heat is your friend. Low and slow gives you more control, and you’re less likely to burn it. The moment you see those brown specks and smell that nutty aroma, pull it off the heat. Burnt butter tastes bitter, not nutty.
Use a kitchen scale for the flour. I know, I know—it’s an extra step. But flour is notoriously easy to overmeasure. Scooping directly from the bag can add up to 25% more flour, which makes cookies cakey instead of chewy. If you don’t have a scale, spoon the flour into your measuring cup and level it with a knife.
Chill the dough. No shortcuts. I’ve tried baking these without chilling, and the cookies spread into flat, greasy pucks. Chilling for at least 30 minutes solidifies the butter, which means the cookies spread less and stay thicker. Plus, it gives the flavors time to meld. If you can wait 24 hours, the cookies are even better.
Bake in batches. Don’t crowd the baking sheet. The cookies need room to spread. I bake 6-8 per sheet, depending on the size. And always use parchment paper—it prevents sticking and makes cleanup a breeze.
One mistake I made early on: I used to skip the extra egg yolk because I didn’t want to waste the white. But that yolk is what gives these cookies their signature chewiness. Save the white for an omelet or a face mask—it’s worth it.
Variations & Adaptations
One of the best things about this recipe is how easy it is to customize. Here are a few of my favorite variations.
Gluten-Free Version: Swap the all-purpose flour for a 1:1 gluten-free blend. I’ve tested this with King Arthur’s and Cup4Cup, and both work well. The cookies will be slightly more cakey and less chewy, but they’re still delicious. Add an extra tablespoon of milk if the dough seems too dry.
Vegan Adaptation: Use vegan butter (like Miyoko’s) and a flax egg (1 tablespoon ground flaxseed + 3 tablespoons water, let sit for 5 minutes). The texture won’t be exactly the same—it’ll be a bit more crumbly—but the flavor is still amazing. Chill the dough for at least an hour for best results.
Flavor Twists: Add ½ cup of toasted pecans or walnuts for crunch. Swap the chocolate for white chocolate and add dried cranberries for a holiday vibe. Or stir in 1 teaspoon of espresso powder with the flour to deepen the chocolate flavor. I tried a batch with orange zest and dark chocolate once, and it was incredible—like a chocolate orange cookie.
Seasonal Variations: In the fall, add 1 teaspoon of pumpkin pie spice and swap the chocolate for butterscotch chips. In the summer, freeze the dough balls and bake them straight from the freezer—perfect for hot days when you don’t want to heat up the kitchen.
Serving & Storage Suggestions
These cookies are best served warm, straight from the oven, with a cold glass of milk. But they’re also amazing at room temperature, especially the next day when the flavors have had time to meld.
Serving Ideas: Stack them on a plate for a cozy dessert, or serve them with a scoop of vanilla ice cream for an indulgent treat. They’re also great for packing in lunchboxes or bringing to a potluck. For a fancy touch, drizzle them with melted chocolate or a little caramel sauce.
Storage Instructions: Store baked cookies in an airtight container at room temperature for up to 5 days. They’ll stay soft and chewy, but the edges might lose a little crispness. To refresh them, pop them in a 300°F oven for 3-4 minutes.
Freezing Instructions: You can freeze the baked cookies for up to 3 months. Wrap them individually in plastic wrap, then place them in a freezer bag. Thaw at room temperature for about 30 minutes. For the best results, freeze the unbaked dough balls instead. Scoop the dough, place the balls on a baking sheet, and freeze until solid. Transfer to a freezer bag. Bake from frozen, adding 2-3 minutes to the baking time.
How Flavors Develop: These cookies actually get better after a day or two. The brown butter flavor deepens, and the texture evens out. I’ve been known to hide a few in the back of the fridge just for myself. They last longer that way—if you have the willpower.
Nutritional Information & Benefits
Let’s be honest—these are cookies, not health food. But they do have a few redeeming qualities. Here’s the approximate nutritional breakdown per cookie (based on 24 cookies):
| Nutrient | Amount |
|---|---|
| Calories | 185 |
| Fat | 10g |
| Carbohydrates | 23g |
| Protein | 2g |
| Sugar | 15g |
| Sodium | 120mg |
Health Benefits of Key Ingredients: Dark chocolate (if you use 70% or higher) is rich in antioxidants and can help improve heart health. Brown butter contains butyrate, a fatty acid that supports gut health. And the eggs provide high-quality protein. But honestly, the biggest benefit here is the joy factor. Sometimes you just need a cookie, and that’s okay.
Dietary Considerations: This recipe contains gluten, dairy, and eggs. For a gluten-free version, see the variations section. For a dairy-free version, use vegan butter. For an egg-free version, use a flax egg (though the texture will be less chewy).
Conclusion
These Chewy Brown Butter Chocolate Chip Cookies are the kind of recipe you’ll come back to again and again. They’re simple enough for a weeknight bake, but impressive enough to share with friends. The brown butter adds a depth of flavor that feels special without being fussy, and the texture is exactly what you want—chewy, crispy, and packed with chocolate.
I love this recipe because it’s forgiving. You can tweak it, swap ingredients, and it still turns out delicious. Whether you’re baking for a crowd or just for yourself on a quiet evening, these cookies deliver. So go ahead—brown that butter, chill that dough, and treat yourself to a cookie that’s worth every bite.
I’d love to hear how yours turn out! Leave a comment below and let me know if you tried any variations. And if you’re looking for more cozy desserts, check out my crispy garlic chicken for a savory twist, or my fudgy brownie recipe for another chocolate fix. Happy baking!
Frequently Asked Questions
Can I use salted butter and skip the added salt?
Yes, you can. If you’re using salted butter, reduce the added salt in the recipe to ¼ teaspoon. The cookies will still be delicious, but the flavor might be slightly less balanced.
Why do I need to chill the dough?
Chilling the dough solidifies the butter, which prevents the cookies from spreading too much in the oven. It also gives the flavors time to develop, resulting in a deeper, more complex taste. Don’t skip this step!
Can I freeze the dough?
Absolutely! Scoop the dough into balls, place them on a baking sheet, and freeze until solid. Transfer to a freezer bag. Bake from frozen, adding 2-3 minutes to the baking time. You’ll have fresh cookies anytime.
My cookies turned out flat. What went wrong?
Flat cookies usually mean the butter was too warm, or the dough wasn’t chilled long enough. Make sure your brown butter is completely cooled before mixing, and chill the dough for at least 30 minutes. Also, check that your baking soda is fresh—old baking soda loses its leavening power.
Can I make these cookies without a mixer?
Yes! This recipe is designed to be made by hand. A whisk and a rubber spatula are all you need. The brown butter makes the dough easy to mix without a stand mixer or hand mixer.
Pin This Recipe!
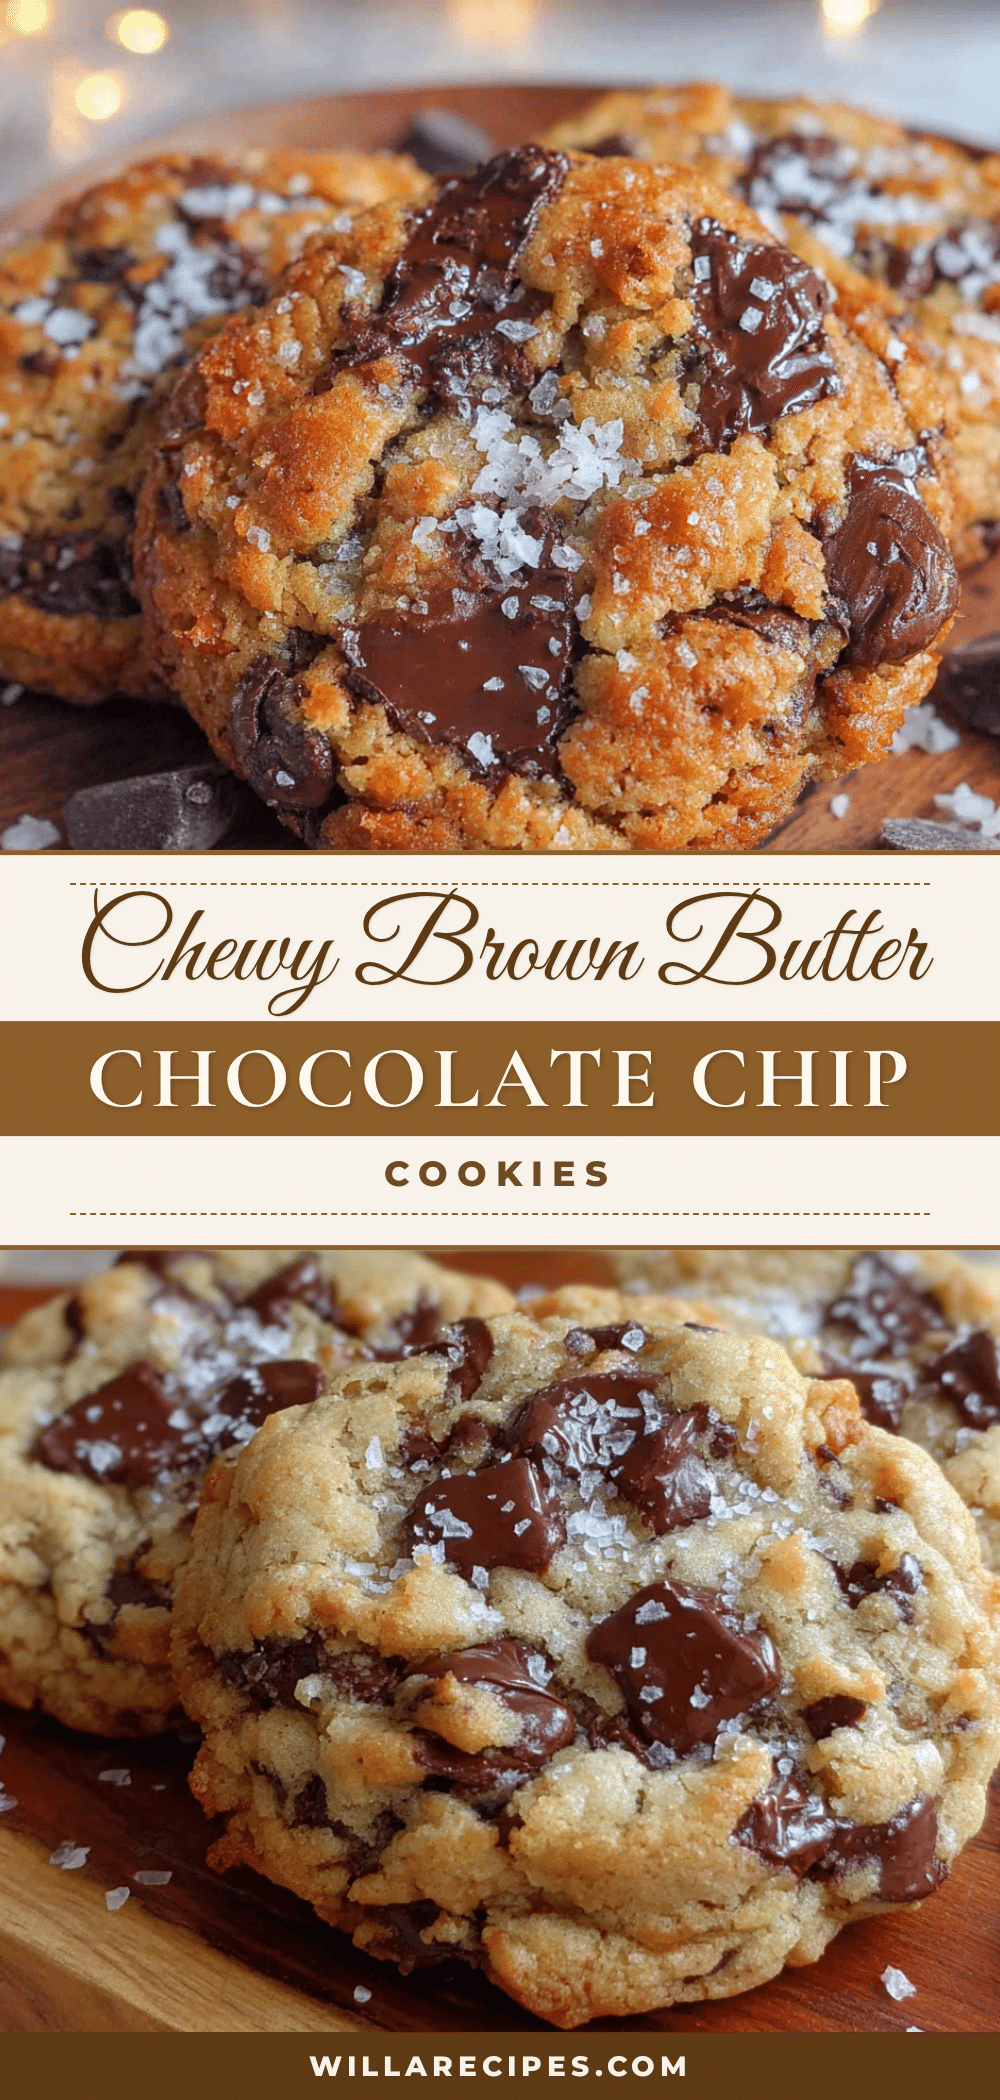
Chewy Brown Butter Chocolate Chip Cookies – Best Easy Recipe

These chewy brown butter chocolate chip cookies have crispy edges, a soft center, and a nutty, caramel-like richness from browned butter. They’re quick to make with simple ingredients and perfect for any occasion.
- Prep Time: 15 minutes
- Cook Time: 12 minutes
- Total Time: 57 minutes (including 30 minutes chilling)
- Yield: 24 cookies 1x
- Category: Dessert
- Cuisine: American
Ingredients
- 1 cup (2 sticks or 226g) unsalted butter
- 1 cup (200g) dark brown sugar, packed
- ½ cup (100g) granulated sugar
- 1 large egg plus 1 egg yolk
- 2 teaspoons vanilla extract
- 2 cups (240g) all-purpose flour
- 1 teaspoon baking soda
- ½ teaspoon salt
- 1 ½ cups (about 250g) chocolate chunks or chips (mix of dark 60-70% and semi-sweet)
- Flaky sea salt for sprinkling
Instructions
- Brown the butter: Cut the butter into pieces and place in a light-colored saucepan over medium heat. Stir frequently. The butter will melt, foam, then crackle. After 5-7 minutes, brown specks will form and the butter will smell nutty. Remove from heat immediately and pour into a heatproof bowl. Let cool for 10-15 minutes.
- Mix the sugars and butter: Add brown sugar and granulated sugar to the warm brown butter. Whisk until it looks like wet sand and is smooth and glossy.
- Add the eggs and vanilla: Crack in the egg and extra yolk, add vanilla. Whisk vigorously for about 30 seconds until thick, pale, and falls in ribbons.
- Combine dry ingredients: In a separate bowl, whisk together flour, baking soda, and salt. Add to wet mixture. Fold gently with a rubber spatula until just a few streaks of flour remain. Do not overmix.
- Add the chocolate: Fold in chocolate chunks until evenly distributed. Dough will be soft and slightly sticky.
- Chill the dough: Cover bowl with plastic wrap and refrigerate for at least 30 minutes, up to 48 hours.
- Preheat oven to 350°F (175°C). Line two baking sheets with parchment paper.
- Scoop and bake: Use a cookie scoop to portion dough into 1.5-tablespoon balls. Place 2 inches apart on prepared sheets. Bake for 10-12 minutes, until edges are golden brown and centers look slightly underdone and puffy.
- Finish with salt: As soon as cookies come out of the oven, sprinkle with flaky sea salt.
- Cool: Let cookies cool on baking sheet for 5 minutes, then transfer to a cooling rack.
Notes
Chilling the dough is essential to prevent spreading and develop flavor. For best results, chill at least 30 minutes or up to 48 hours. If cookies spread too much, butter was too warm or dough not chilled enough. Use a kitchen scale for flour to avoid overmeasuring.
Nutrition
- Serving Size: 1 cookie
- Calories: 185
- Sugar: 15
- Sodium: 120
- Fat: 10
- Saturated Fat: 6
- Carbohydrates: 23
- Fiber: 1
- Protein: 2
Keywords: brown butter chocolate chip cookies, chewy cookies, easy cookie recipe, homemade cookies, chocolate chip cookies


