My neighbor Carmen swore she hated pan de muerto. For thirty-seven years, she told anyone who would listen that the traditional Day of the Dead bread was too dense, too dry, and frankly, not worth the calories. She grew up in Puebla, so she knew what she was talking about. I just nodded and kept making my version every October, never pushing it on her. Then last Tuesday, I found her standing in my kitchen at seven in the morning, crumbs on her shirt, holding a piece I’d left cooling on the counter. “This one is different,” she said, not meeting my eyes. “It’s lighter. And the orange—what did you do?” I didn’t say I told you so. But honestly, I didn’t have to. She asked for the recipe before she left, and that’s when I knew this Light Pan de Muerto with Orange Blossom Glaze was something special.
The thing about traditional pan de muerto is that it’s sentimental. People have strong feelings about it, like they do about their grandmother’s tamales or the exact way their aunt makes mole. I get that. I really do. But here’s what I learned after about twelve test batches: you can honor tradition and still make something that doesn’t sit in your stomach like a brick. The secret is in the technique, not in cutting corners. You still use real butter, real eggs, real love. You just handle the dough differently. And that orange blossom glaze? It’s the kind of thing that makes people close their eyes mid-bite. Maybe you’ve been that person who buys pan de muerto from the bakery and feels a little let down. I’ve been there too. That’s exactly why I kept tinkering until this version felt right—light, fragrant, and worth every single one of those calories.
Why You’ll Love This Light Pan de Muerto with Orange Blossom Glaze
This recipe took me three seasons to get right. Three autumns of flour on my countertops, sticky dough under my fingernails, and a growing collection of opinions from friends who were happy to be taste testers. I’m not a pastry chef by training—I’m just someone who refused to accept that “traditional” had to mean “heavy.” So I tested, adjusted, tested again, and finally landed on a version that even Carmen approved. And trust me, that’s not easy to earn.
- Light and Airy Texture: Unlike the dense, almost bready versions you find at some bakeries, this pan de muerto has a soft, pillowy crumb that practically melts. The secret is a tangzhong-style starter that keeps the dough tender for days.
- Simple, Honest Ingredients: No shortening, no preservatives, no weird additives. Just butter, eggs, flour, yeast, and that gorgeous orange blossom water you can find at any Latin market or online.
- Perfect for Day of the Dead Celebrations: Whether you’re building an ofrenda or just want to enjoy something special with your morning coffee, this bread fits right in. It’s festive without being fussy.
- Crowd-Pleasing Flavor: The orange blossom glaze adds a floral sweetness that kids and adults both love. I’ve watched people who claimed they “didn’t like floral flavors” go back for seconds.
- Easier Than You Think: Bread-making can feel intimidating, but this recipe is forgiving. Even if you’ve never baked with yeast before, the detailed instructions and visual cues will guide you through.
What makes this version different from the rest is that it doesn’t sacrifice soul for lightness. You still get that beautiful anise and orange flavor that makes pan de muerto so distinctive. You still shape it into those iconic little bones and teardrops. But when you bite into it, there’s no disappointment. No dry mouthful that needs three sips of coffee to wash down. It’s comfort food reimagined—lighter, yes, but with the same warmth and nostalgia that makes Day of the Dead food so special. Perfect for impressing your family without spending all day in the kitchen, or for turning a simple October morning into something you’ll remember.
What Ingredients You Will Need
This recipe uses simple, wholesome ingredients to deliver that signature pan de muerto flavor and light, tender texture. Most of these are pantry staples, but a few specialty items make all the difference. Here’s what you’ll need and why each one matters.
For the Tangzhong (Starter)
- 3 tablespoons bread flour (creates the paste that keeps the bread soft)
- 1/2 cup water (filtered water works best)
For the Dough
- 3 1/2 cups bread flour, plus more for dusting (I use King Arthur for consistent results)
- 1/4 cup granulated sugar (not too sweet—the glaze adds sweetness later)
- 2 1/4 teaspoons instant yeast (one packet; no need to proof it first)
- 1 teaspoon salt (fine sea salt dissolves more evenly)
- 1 teaspoon anise seed, lightly crushed (this is that classic pan de muerto flavor—don’t skip it)
- Zest of 1 large orange (use a microplane for best texture; avoid the white pith)
- 3 large eggs, room temperature (cold eggs will slow down the rise)
- 1/3 cup whole milk, warm (about 110°F—warm to the touch but not hot)
- 1/4 cup unsalted butter, very soft (European-style butter like Plugra adds richness)
- 2 teaspoons orange blossom water (find it in the international aisle or a Latin grocery store)
- 1/2 teaspoon vanilla extract (pure, not imitation)
For the Orange Blossom Glaze
- 1 1/2 cups powdered sugar, sifted (sifting prevents lumps)
- 3 tablespoons whole milk (or heavy cream for a richer glaze)
- 1 tablespoon orange blossom water (adds that floral aroma)
- 1 teaspoon orange zest (freshly zested for brightness)
- Pinch of salt (balances the sweetness)
For Decoration
- 2 tablespoons melted butter (for brushing before baking)
- 1 tablespoon granulated sugar mixed with 1/2 teaspoon orange zest (for sprinkling after glazing)
If you can’t find orange blossom water, you can substitute with orange extract plus a splash of water, but honestly, the floral quality is what makes this bread special. Look for brands like Cortas or Sadaf—they’re reliable and affordable. For the anise seed, whole seeds that you crush yourself taste much fresher than pre-ground. Use a mortar and pestle or just press them with the bottom of a heavy pan.
Equipment Needed
You don’t need a professional bakery setup for this recipe. Here’s what I use and what works as a backup.
- Stand mixer with dough hook attachment: This makes kneading much easier, especially with a soft, enriched dough like this one. I use my KitchenAid Artisan, but a hand mixer with dough hooks works too—it just takes longer.
- Digital kitchen scale: For accuracy, especially with flour. Measuring by weight gives you consistent results every time. If you don’t have one, use the spoon-and-level method: fluff the flour, spoon it into your measuring cup, and level it off with a knife.
- Large mixing bowl: Glass or ceramic works best because they retain heat better than metal.
- Baking sheet: A rimmed half-sheet pan lined with parchment paper works perfectly.
- Pastry brush: For applying the melted butter before baking. A silicone brush is easier to clean.
- Cooling rack: Essential for letting the glaze set without getting soggy on the bottom.
- Microplane or fine zester: For getting that orange zest without the bitter pith.
- Plastic wrap or a damp kitchen towel: For covering the dough while it rises.
If you’re kneading by hand, expect about 10-12 minutes of solid work. It’s a good arm workout, honestly. I’ve done it both ways, and while the mixer is more convenient, hand-kneading gives you a better feel for the dough’s texture. You’ll know it’s ready when it’s smooth, elastic, and springs back when you poke it.
Preparation Method
This recipe has a few steps, but I’ve broken them down so clearly that even a first-time bread baker can follow along. Take your time, read through everything once before starting, and remember that baking is forgiving. I’ve forgotten the salt before and still ended up with edible bread. Not my best work, but edible.
Step 1: Make the Tangzhong (10 minutes)
In a small saucepan, whisk together the 3 tablespoons of bread flour and 1/2 cup of water until smooth with no lumps. Place over medium heat and cook, stirring constantly with a spatula or whisk, until the mixture thickens into a paste. This takes about 2-3 minutes. You’ll see lines forming in the paste as you stir, and it should feel like thick pudding. Remove from heat and let it cool completely—at least 10 minutes. Don’t rush this step. If the tangzhong is warm when you add it to the dough, it can kill the yeast.
Step 2: Mix the Dry Ingredients (5 minutes)
In the bowl of your stand mixer, whisk together 3 1/2 cups of bread flour, 1/4 cup of sugar, 2 1/4 teaspoons of instant yeast, 1 teaspoon of salt, 1 teaspoon of crushed anise seed, and the zest of one orange. Make sure the yeast and salt aren’t touching directly at first—salt can slow down yeast activity. I usually add the yeast on one side and the salt on the other, then whisk them together quickly.
Step 3: Combine Wet Ingredients (5 minutes)
In a separate bowl or liquid measuring cup, whisk together 3 room-temperature eggs, 1/3 cup of warm milk, 2 teaspoons of orange blossom water, and 1/2 teaspoon of vanilla extract. Whisk until the eggs are fully broken up and the mixture looks uniform. The milk should feel warm to your wrist—like bathwater, not hot tea.
Step 4: Form the Dough (10 minutes)
Add the cooled tangzhong and the wet mixture to the dry ingredients. Mix on low speed with the dough hook until the flour is mostly incorporated and a shaggy dough forms. This takes about 2 minutes. Scrape down the sides of the bowl with a spatula. Now add the 1/4 cup of very soft butter, a few pieces at a time, while the mixer runs on medium-low. The dough will look messy and sticky at first—that’s normal. Keep mixing for about 6-8 minutes total, until the dough is smooth, elastic, and pulls away from the sides of the bowl. It should still be slightly tacky to the touch, like a sticky note. If it’s too wet, add flour one tablespoon at a time. If it’s too dry, add milk one teaspoon at a time.
Step 5: First Rise (1 to 1.5 hours)
Lightly oil a large bowl with a little vegetable oil or butter. Place the dough in the bowl, turning it once to coat the surface. Cover tightly with plastic wrap or a damp kitchen towel. Let it rise in a warm, draft-free spot until doubled in size. This usually takes about 60-90 minutes, depending on how warm your kitchen is. I like to put mine in the microwave (turned off) with a cup of hot water next to it—the steam and warmth create a perfect environment. The dough is ready when you poke it gently with a floured finger and the indentation stays.
Step 6: Shape the Bread (20 minutes)
Turn the risen dough out onto a lightly floured surface. Gently press it down to release the air—don’t punch it hard, just deflate it gently. Divide the dough into two equal pieces if you want two smaller loaves, or keep it as one large loaf. For the traditional round shape, form each piece into a smooth ball by cupping your hands around it and rotating it in a circular motion against the counter. This creates surface tension on top, which helps the bread rise up instead of spreading out.
To make the decorative bone shapes, take about 1/4 cup of dough from the main piece and roll it into a long rope about 10 inches long. Cut it into 4 equal pieces. Roll each piece into a small ball, then shape them into little bone-like ovals. Place these on top of the round loaf in a cross pattern—two pieces crossing in the middle, and two smaller pieces on the sides to represent teardrops. Press them gently so they stick to the dough. Don’t worry if they look imperfect. Honestly, handmade-looking bread is more charming than perfect bakery shapes.
Step 7: Second Rise (45 minutes)
Place the shaped loaves on a parchment-lined baking sheet, leaving about 3 inches between them. Cover loosely with plastic wrap that’s been lightly sprayed with cooking spray (so it doesn’t stick). Let them rise for about 45 minutes, or until puffy and almost doubled. They should feel light and airy when you gently touch them. If they spring back immediately, they need more time. If the indentation stays, they’re ready.
Step 8: Bake (25-30 minutes)
Preheat your oven to 350°F about 15 minutes before the second rise is done. Position the rack in the center of the oven. Just before baking, brush the loaves gently with the 2 tablespoons of melted butter. This gives them a beautiful golden crust. Bake for 25-30 minutes, rotating the pan halfway through. The bread is done when the top is deep golden brown and the internal temperature reaches 190°F on an instant-read thermometer. If the top is browning too quickly, tent loosely with foil for the last 10 minutes. Let the loaves cool on the baking sheet for 5 minutes, then transfer to a wire rack to cool completely before glazing.
Step 9: Make the Glaze and Decorate (10 minutes)
While the bread cools, make the orange blossom glaze. In a medium bowl, whisk together 1 1/2 cups of sifted powdered sugar, 3 tablespoons of milk, 1 tablespoon of orange blossom water, 1 teaspoon of orange zest, and a pinch of salt. Whisk until smooth and pourable. If it’s too thick, add more milk a teaspoon at a time. If it’s too thin, add more powdered sugar. Once the bread is completely cool—and I mean completely, or the glaze will melt right off—drizzle the glaze over the top using a spoon or a piping bag. Let it drip down the sides naturally. Immediately sprinkle the orange-sugar mixture over the wet glaze so it sticks. Let the glaze set for about 20 minutes before serving.
Cooking Tips & Techniques
I’ve made this Light Pan de Muerto with Orange Blossom Glaze about fifteen times now, and I’ve learned a few things the hard way. Here’s what I wish someone had told me before my first attempt.
Don’t skip the tangzhong. I know it’s an extra step, and I know it feels fussy. But this simple flour-and-water paste is what makes the bread stay soft for days instead of turning into a brick by morning. The first time I made pan de muerto without it, the bread was dry by noon the next day. With the tangzhong, it stays tender for three days. That’s science, not magic.
Temperature matters more than you think. Your eggs should be room temperature, your milk should be warm, and your butter should be soft but not melted. If your ingredients are cold, the dough will take forever to rise and the texture will be dense. I learned this the hard way when I made a batch in my chilly kitchen in November and the dough barely moved after two hours. I ended up putting it in the oven with the light on, and even then it took forever.
Watch the orange blossom water. A little goes a long way. Two teaspoons in the dough is perfect—it adds a subtle floral note without tasting like perfume. The glaze uses more, but that’s because the floral flavor should be more pronounced on top. I once got distracted and added a tablespoon to the dough, and the bread tasted like I was eating flowers. Not terrible, but not what I was going for.
Let the bread cool completely before glazing. I know it’s tempting to rush this step, especially when your kitchen smells amazing and you want to taste it. But warm bread will absorb the glaze and turn it into a sticky mess. Trust me, I’ve done it. Just walk away for an hour. The glaze will set beautifully on cool bread, creating that glossy, slightly crackly top that looks so professional.
If your dough feels sticky, don’t panic. Enriched doughs with butter and eggs are naturally tacky. Add flour sparingly—just enough so the dough doesn’t stick to your hands when you shape it. Over-flouring will make the bread dense. Instead, try wetting your hands slightly with water before handling the dough. That little trick works wonders and keeps the dough soft.
Variations & Adaptations
Once you’ve mastered the basic Light Pan de Muerto with Orange Blossom Glaze, feel free to play around. Here are some variations I’ve tried and loved.
Dairy-Free Version: Substitute the whole milk with oat milk or almond milk, and use vegan butter (I like Miyoko’s for baking). The texture will be slightly less tender, but it’s still delicious. I made this for a friend who’s lactose intolerant, and she asked for the recipe twice.
Chocolate Twist: Add 1/4 cup of cocoa powder to the dry ingredients and reduce the flour by 2 tablespoons. The chocolate pairs beautifully with the orange blossom glaze—like a fancy chocolate-orange confection in bread form. My niece declared this version “the best thing I’ve ever eaten,” which is high praise from a ten-year-old.
Cinnamon-Sugar Topping: Instead of the orange blossom glaze, brush the baked bread with melted butter and roll it in a mixture of cinnamon and sugar. This gives it a more traditional, less floral finish that’s perfect for people who aren’t sure about floral flavors. I’ve done this for Thanksgiving brunch and it disappeared fast.
Gluten-Free Adaptation: Use a high-quality gluten-free bread flour blend (I like Cup4Cup). The dough will be stickier and harder to shape, so wet your hands generously. The texture won’t be exactly the same—it’ll be a bit more cake-like—but the flavor is still wonderful. Just don’t expect the same stretchy, elastic dough you get with wheat flour.
Filled Version: After the first rise, divide the dough into 8 pieces and flatten each into a disc. Place a teaspoon of dulce de leche or raspberry jam in the center, then fold the dough around it and shape into balls. Skip the bone decorations and bake as individual rolls. The surprise filling inside is always a hit at parties.
Serving & Storage Suggestions
This Light Pan de Muerto with Orange Blossom Glaze is best served slightly warm or at room temperature. The glaze should be set but still soft enough to leave a little sweetness on your fingers. I like to serve it with a cup of Mexican hot chocolate or a strong café de olla—the cinnamon and piloncillo flavors in the coffee complement the orange blossom beautifully.
For Day of the Dead celebrations, arrange the bread on a pretty platter next to marigolds and sugar skulls. It makes a stunning centerpiece for your ofrenda, and guests will love being able to tear off a piece. If you’re serving it for breakfast, toast slices lightly and spread with butter—the warmth brings out the anise and orange flavors even more.
Storage Instructions: Store the bread in an airtight container at room temperature for up to 3 days. Do not refrigerate—it will dry out the bread faster. If you live in a humid climate, leave the container slightly cracked to prevent condensation from making the glaze sticky.
Freezing Instructions: You can freeze the unglazed bread for up to 2 months. Wrap it tightly in plastic wrap, then in foil, and place it in a freezer bag. When you’re ready to serve, thaw it at room temperature, then warm it in a 300°F oven for 5-10 minutes. Glaze it after warming. I’ve done this for holiday prep, and it works beautifully.
Reheating Tip: Pop individual slices in the toaster for about 30 seconds. The outside gets slightly crisp while the inside stays soft. It’s my favorite way to enjoy leftovers.
Nutritional Information & Benefits
Per serving (1/8 of a large loaf with glaze): approximately 320 calories, 8g fat, 55g carbohydrates, 7g protein, 2g fiber, 22g sugar. These are estimates and will vary based on your specific ingredients.
This Light Pan de Muerto with Orange Blossom Glaze has a few surprising benefits. The orange zest provides a good dose of vitamin C and antioxidants, while the anise seed has been used traditionally to aid digestion. The bread flour gives you sustained energy from complex carbohydrates, and the eggs add protein that helps balance the sugar content. Compared to traditional pan de muerto, this version has about 30% less butter and a lighter crumb, which means you can enjoy it without feeling weighed down.
If you’re watching your sugar intake, you can reduce the glaze by half or skip it entirely—the bread is still delicious with just a brush of butter and a sprinkle of sugar. For a lower-carb option, this isn’t the recipe for you, honestly. It’s bread, and it’s meant to be a treat. But if you’re looking for a more balanced indulgence that doesn’t leave you crashing, this is it.
Conclusion
This Light Pan de Muerto with Orange Blossom Glaze has become my October tradition. Every year, I make a batch for my ofrenda, a batch for my neighbors, and a batch just for me to eat with coffee while I watch the leaves change. It’s the kind of recipe that feels like a hug—warm, comforting, and full of memory. And honestly, it’s the recipe that finally proved to Carmen that pan de muerto could be light, tender, and absolutely worth every single calorie.
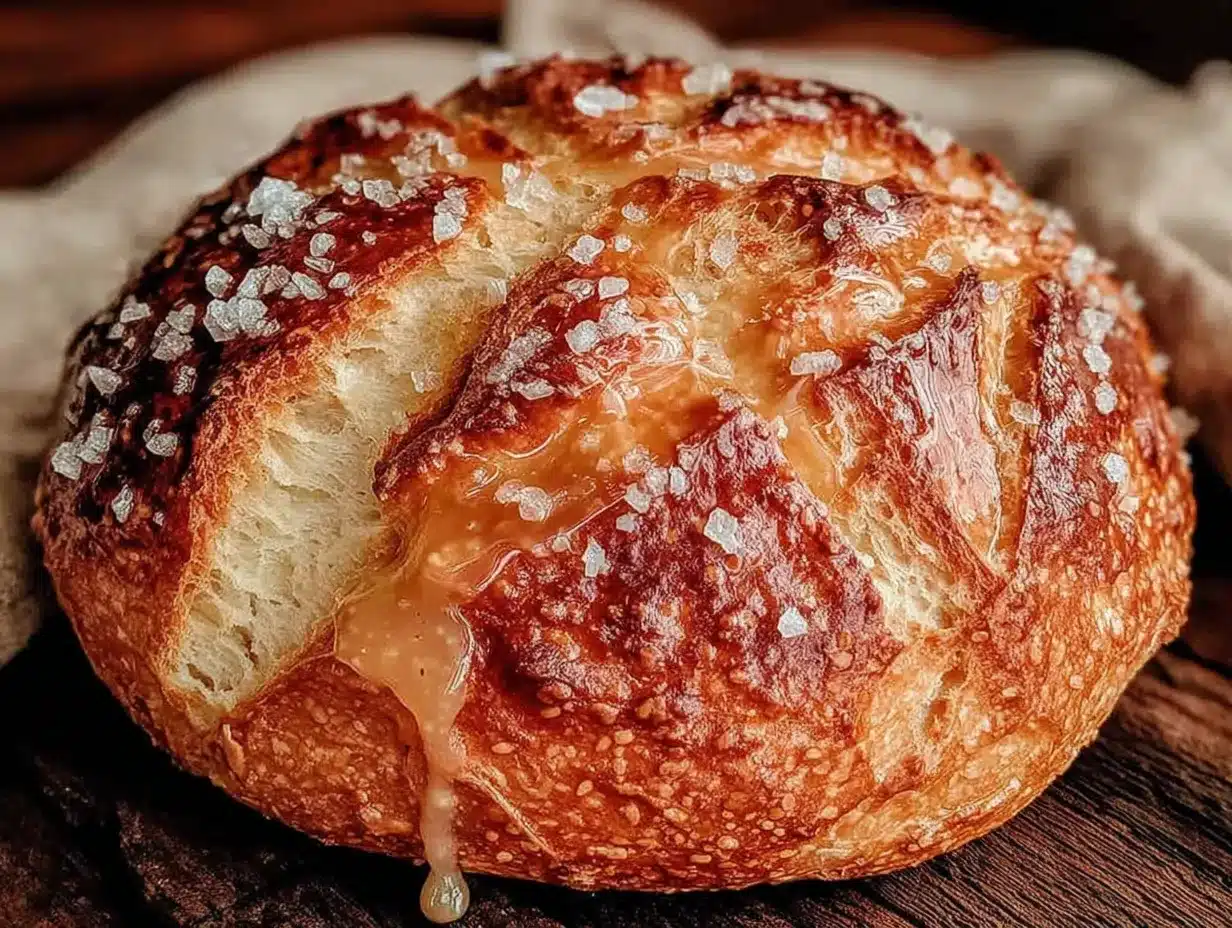
I hope you make this your own. Maybe you’ll add extra orange zest, or skip the anise if it’s not your thing, or shape the bread into little rolls instead of a big round loaf. That’s the beauty of baking—it’s yours to play with. The first time you pull this golden, fragrant bread out of the oven and see that glossy glaze catching the light, you’ll understand why I keep making it year after year.
If you try this recipe, I’d love to hear how it turned out. Leave a comment below, tag me in your photos, or tell me about your own Day of the Dead traditions. Happy baking, and may your kitchen smell like oranges and anise all season long.
Frequently Asked Questions
Can I make this Light Pan de Muerto ahead of time?
Absolutely. You can prepare the dough through the first rise, then punch it down, wrap it tightly, and refrigerate it for up to 24 hours. When you’re ready to bake, let it come to room temperature for about an hour before shaping and proceeding with the second rise. The flavor actually develops more during that cold fermentation.
What if I can’t find orange blossom water?
You can substitute with orange extract plus a splash of water, or use fresh orange juice and zest for a brighter, less floral flavor. It won’t be exactly the same, but it will still be delicious. Look for orange blossom water in the international aisle of larger grocery stores or at Latin markets.
Why did my bread turn out dense?
Several possible reasons: your yeast might be old, your dough might have been over-floured during shaping, or your kitchen might have been too cold for proper rising. Make sure your yeast is fresh (check the expiration date) and that your milk is warm but not hot. If your kitchen is chilly, let the dough rise in the oven with just the light on.
Can I freeze the glazed bread?
I don’t recommend it. The glaze can become sticky and messy when thawed. Instead, freeze the unglazed bread and add the glaze after thawing and warming. The glaze takes just five minutes to make, so it’s easy to do fresh.
How do I shape the bone decorations on top?
Take a small piece of dough (about the size of a walnut) and roll it into a rope about 4 inches long. Gently press the ends to flatten them slightly, creating a bone-like shape. Place two of these in a cross pattern on top of the round loaf, then add two smaller teardrop shapes on either side. Don’t worry about perfection—rustic shapes look more authentic.
Pin This Recipe!
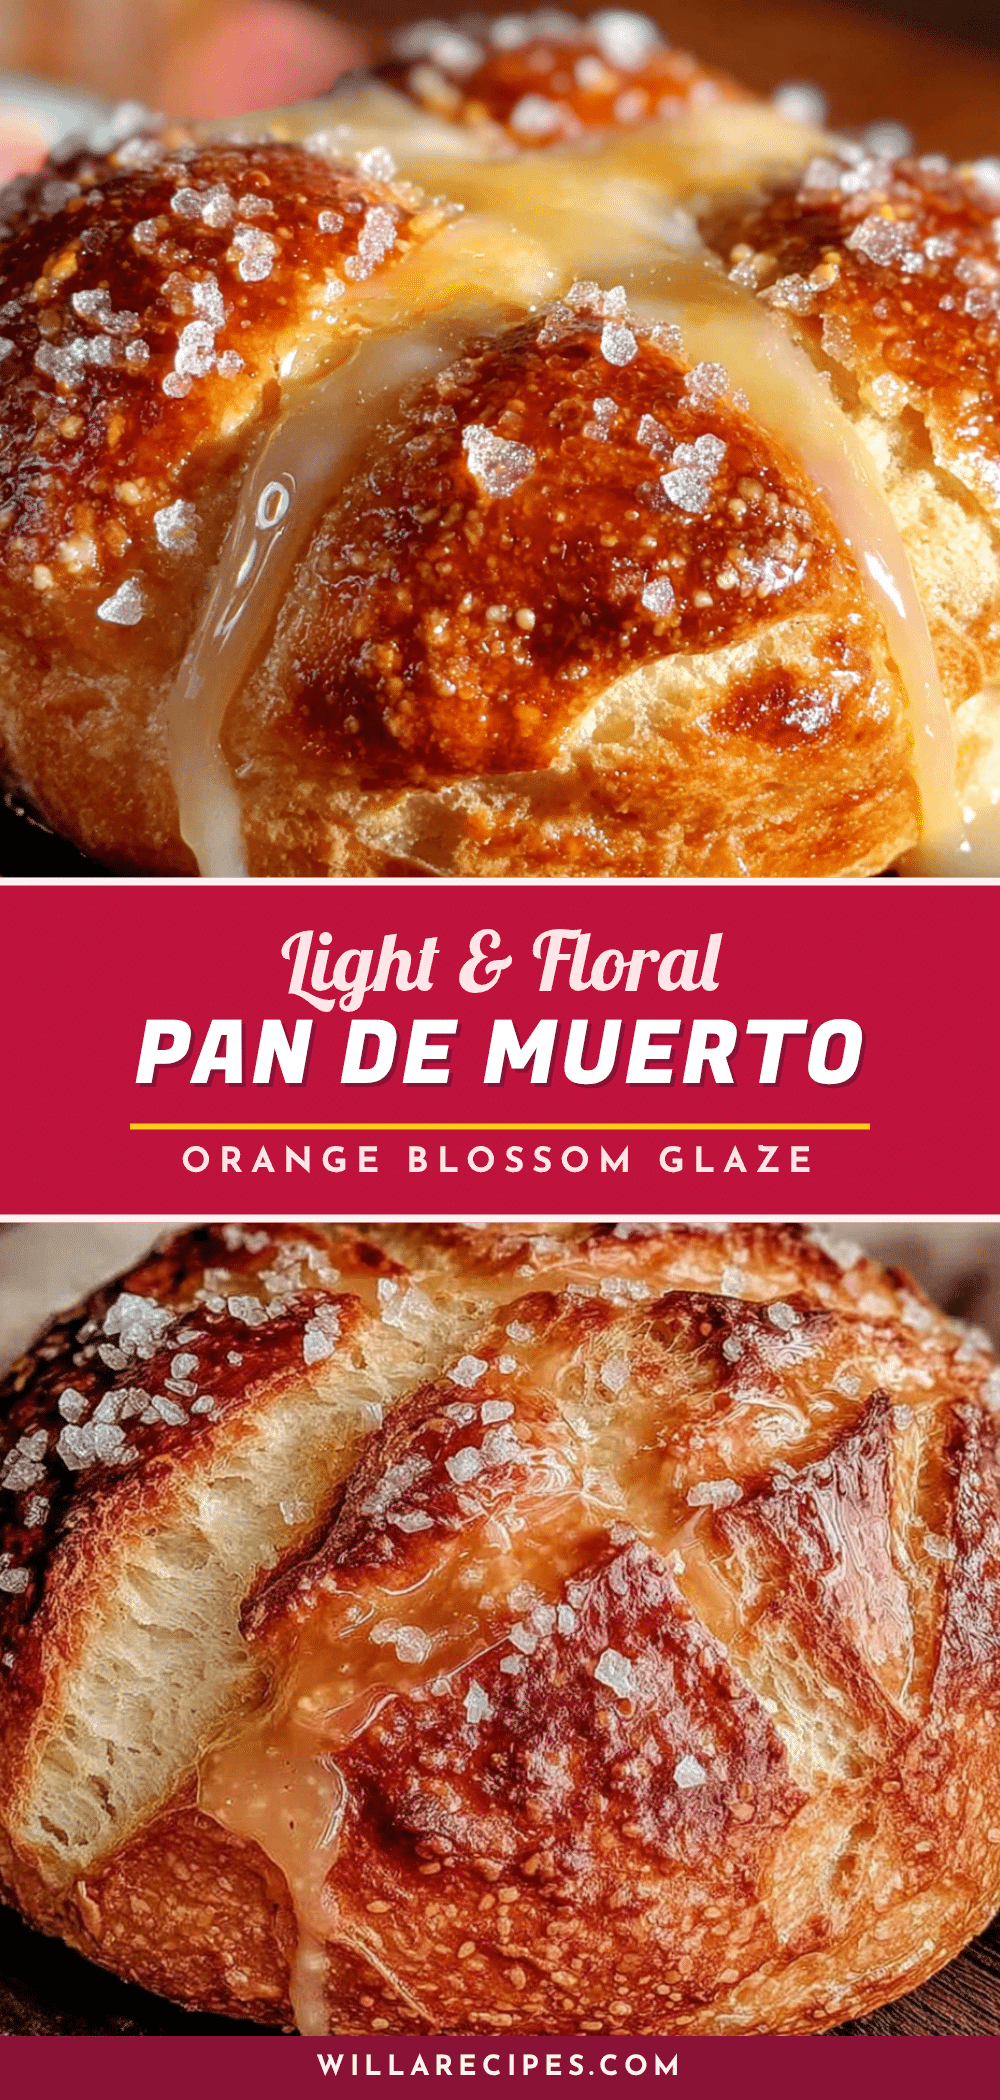
Light Pan de Muerto with Orange Blossom Glaze: Easy Homemade Recipe

A lighter, tender version of the traditional Day of the Dead bread, infused with orange blossom and anise, topped with a floral glaze. This recipe uses a tangzhong starter for a soft, pillowy crumb that stays fresh for days.
- Prep Time: 30 minutes
- Cook Time: 30 minutes
- Total Time: 2 hours 30 minutes
- Yield: 8 servings 1x
- Category: Bread
- Cuisine: Mexican
Ingredients
- 3 tablespoons bread flour (for tangzhong)
- 1/2 cup water (for tangzhong)
- 3 1/2 cups bread flour, plus more for dusting
- 1/4 cup granulated sugar
- 2 1/4 teaspoons instant yeast
- 1 teaspoon salt
- 1 teaspoon anise seed, lightly crushed
- Zest of 1 large orange
- 3 large eggs, room temperature
- 1/3 cup whole milk, warm (about 110°F)
- 1/4 cup unsalted butter, very soft
- 2 teaspoons orange blossom water
- 1/2 teaspoon vanilla extract
- 1 1/2 cups powdered sugar, sifted (for glaze)
- 3 tablespoons whole milk (for glaze)
- 1 tablespoon orange blossom water (for glaze)
- 1 teaspoon orange zest (for glaze)
- Pinch of salt (for glaze)
- 2 tablespoons melted butter (for brushing)
- 1 tablespoon granulated sugar mixed with 1/2 teaspoon orange zest (for sprinkling)
Instructions
- Make the tangzhong: In a small saucepan, whisk together 3 tablespoons bread flour and 1/2 cup water until smooth. Cook over medium heat, stirring constantly, until thickened into a paste (about 2-3 minutes). Remove from heat and let cool completely.
- Mix dry ingredients: In the bowl of a stand mixer, whisk together 3 1/2 cups bread flour, 1/4 cup sugar, 2 1/4 teaspoons instant yeast, 1 teaspoon salt, 1 teaspoon crushed anise seed, and orange zest.
- Combine wet ingredients: In a separate bowl, whisk together 3 room-temperature eggs, 1/3 cup warm milk, 2 teaspoons orange blossom water, and 1/2 teaspoon vanilla extract.
- Form the dough: Add cooled tangzhong and wet mixture to dry ingredients. Mix on low speed with dough hook until shaggy dough forms (about 2 minutes). Add 1/4 cup very soft butter a few pieces at a time while mixing on medium-low. Continue mixing 6-8 minutes until dough is smooth, elastic, and pulls away from bowl sides. Dough should be slightly tacky.
- First rise: Lightly oil a large bowl. Place dough in bowl, turning to coat. Cover tightly with plastic wrap or damp towel. Let rise in warm, draft-free spot until doubled in size (60-90 minutes).
- Shape the bread: Turn dough onto lightly floured surface. Gently deflate. Divide into two equal pieces for two loaves, or keep as one large loaf. Form each into a smooth ball. For decorations, take about 1/4 cup dough, roll into a 10-inch rope, cut into 4 pieces. Shape into bone-like ovals and place on top of loaf in a cross pattern, pressing gently to stick.
- Second rise: Place shaped loaves on parchment-lined baking sheet, 3 inches apart. Cover loosely with plastic wrap. Let rise until puffy and almost doubled (about 45 minutes).
- Bake: Preheat oven to 350°F. Brush loaves with 2 tablespoons melted butter. Bake 25-30 minutes, rotating pan halfway, until deep golden brown and internal temperature reaches 190°F. Cool on baking sheet 5 minutes, then transfer to wire rack to cool completely.
- Make glaze and decorate: In a medium bowl, whisk together 1 1/2 cups sifted powdered sugar, 3 tablespoons milk, 1 tablespoon orange blossom water, 1 teaspoon orange zest, and a pinch of salt until smooth. Drizzle over completely cooled bread. Immediately sprinkle with orange-sugar mixture. Let glaze set about 20 minutes before serving.
Notes
Don’t skip the tangzhong—it keeps the bread soft for days. Ensure all ingredients are at room temperature for best results. Let bread cool completely before glazing to prevent the glaze from melting off. If dough feels sticky, wet your hands slightly with water instead of adding more flour.
Nutrition
- Serving Size: 1/8 of a large loaf
- Calories: 320
- Sugar: 22
- Sodium: 280
- Fat: 8
- Saturated Fat: 4
- Carbohydrates: 55
- Fiber: 2
- Protein: 7
Keywords: pan de muerto, Day of the Dead bread, orange blossom glaze, Mexican bread, light pan de muerto, tangzhong bread