My neighbor Marco watched me struggling to carry three separate cutting boards, a wedge of brie, and a baguette the size of a small log out my front door last November. He didn’t say anything at first. Then he just pointed at his own front porch, where a single tray of tiny cups sat, each one holding a perfect little bundle of cheese, meat, and fruit. “Friendsgiving,” he said, shrugging. “No plates. No mess. Just grab and go.”
I stood there, honestly, feeling a little ridiculous with my armload of charcuterie chaos. Marco had been hosting his own Friendsgiving for years, and he’d figured out the secret to actually enjoying your own party. You don’t want to be the person slicing cheese while everyone else is laughing and passing the wine. You want to be sitting right there with them, holding your own little cup of deliciousness.
That conversation on the sidewalk turned into a text thread, a shared grocery list, and eventually, my new favorite way to host a crowd. These individual charcuterie cups are exactly what they sound like. All the best parts of a grazing board, portioned into single-serving cups. No double-dipping, no fighting over the last slice of prosciutto, and nobody standing awkwardly at the table trying to balance a plate on their knee.
I’ve tweaked Marco’s original idea over the past few Friendsgivings, adding a few of my own shortcuts and swapping in seasonal flavors. Maybe you’ve been there, standing in the grocery aisle wondering how to feed twelve people without spending your whole paycheck or your whole evening prepping. These cups are the answer you didn’t know you needed. They look impressive, they come together in under twenty minutes, and they let you actually sit down and enjoy the people you invited over. Honestly, that’s the whole point of Friendsgiving, isn’t it?
Why You’ll Love This Recipe
This isn’t just another appetizer. These individual charcuterie cups solve the real problems of hosting a casual gathering. Let me break down why they’ve become my go-to for every Friendsgiving.
- Quick & Easy: You can assemble a dozen cups in about 20 minutes. No cooking, no complicated steps, and hardly any cleanup. That leaves you more time to focus on the main dishes or, you know, actually getting yourself ready before guests arrive.
- Simple Ingredients: Everything comes from a standard grocery store. No specialty cheese counters or fancy imported crackers required. You probably already have half of these items in your fridge.
- Perfect for Friendsgiving: These cups are made for casual gatherings where people are mingling, eating off their laps, and helping themselves. They fit the relaxed, grateful vibe of a Friendsgiving perfectly.
- Crowd-Pleaser: I’ve served these to groups with picky eaters, dairy-free friends, and kids who “don’t like fancy food.” Every single person finds something to love in their cup. They disappear fast.
- Unbelievably Delicious: The combination of creamy cheese, salty meat, sweet fruit, and crunchy nuts is just classic. But putting it all in a cup somehow makes each bite feel intentional and perfect.
What makes these cups different from a regular charcuterie board is the portion control and the presentation. Everyone gets their own curated selection, which means no awkward hovering or reaching across someone’s plate. Plus, you can customize each cup if you know someone has a particular preference. It’s personal without being fussy.
This recipe is the kind that makes you close your eyes after the first bite. It’s comfort food reimagined for sharing. Perfect for impressing your friends without any stress, or turning a simple Thursday night hangout into something memorable.
What Ingredients You Will Need
This recipe uses simple, crowd-friendly ingredients that come together to create something that feels much fancier than it actually is. Most of these are pantry staples for anyone who loves a good snack board.
- For the Meat:
- 8 oz prosciutto, thinly sliced (I like the La Quercia brand for its buttery texture, but any good deli prosciutto works)
- 8 oz salami, such as Genoa or soppressata, sliced into thin rounds
- For the Cheese:
- 8 oz sharp cheddar cheese, cut into small cubes (about ½-inch pieces)
- 8 oz brie cheese, rind on, cut into bite-sized wedges (adds that creamy, luxurious feel)
- 4 oz fresh mozzarella pearls, drained (these little balls are perfect for popping in your mouth)
- For the Fruit:
- 1 cup red seedless grapes, washed and dried
- 1 cup dried apricots or dried figs (I prefer dried apricots for their sweet-tart punch)
- ½ cup fresh cranberries, for a pop of color and tartness (optional, but very Friendsgiving)
- For the Crunch:
- 1 cup mixed nuts, such as almonds, walnuts, and pecans (roasted and salted adds great flavor)
- 1 cup mini pretzels or pita chips (or a mix of both for variety)
- For the Extras (optional but recommended):
- 2 tablespoons honey, for drizzling
- Fresh rosemary sprigs, for garnish (they look beautiful and smell amazing)
- Sea salt flakes, for finishing
When you’re shopping, look for prosciutto that’s sliced thin enough to see through. It makes a big difference in texture. For the brie, I recommend a double-cream variety for maximum creaminess. If you can’t find fresh cranberries, you can skip them or use dried cranberries instead. The dried apricots are non-negotiable in my book, they add a chewy sweetness that balances the salty meat perfectly.
For substitutions, you can swap the prosciutto for turkey slices if you prefer a milder flavor. The cheddar can be replaced with gouda or manchego for a different taste. Use gluten-free crackers or nuts only if you’re serving someone with gluten sensitivity. The beauty of these cups is how flexible they are.
Equipment Needed
You don’t need much for this recipe, which is part of its charm. Here’s what you’ll want to have on hand.
- 12 clear plastic cups (8-ounce size works perfectly, or you can use small glass jars for a more upscale look)
- A cutting board and a sharp chef’s knife
- A small serving tray or platter to arrange the cups on
- Measuring cups and spoons
- Optional: a melon baller or small scoop for portioning cheese cubes evenly
I’ve made these cups using both plastic cups and small mason jars. The plastic cups are obviously cheaper and easier for a big crowd. But the mason jars look really pretty and make the cups feel more like a gift. If you’re using glass jars, just be careful if kids are around. I’ve also used small paper cups in a pinch, and they worked fine for a casual gathering.
For cleaning, the plastic cups can be rinsed and recycled. The glass jars just go in the dishwasher. Honestly, the cleanup for this recipe is basically nothing. You’re just washing a cutting board and a knife. It’s glorious.
Preparation Method
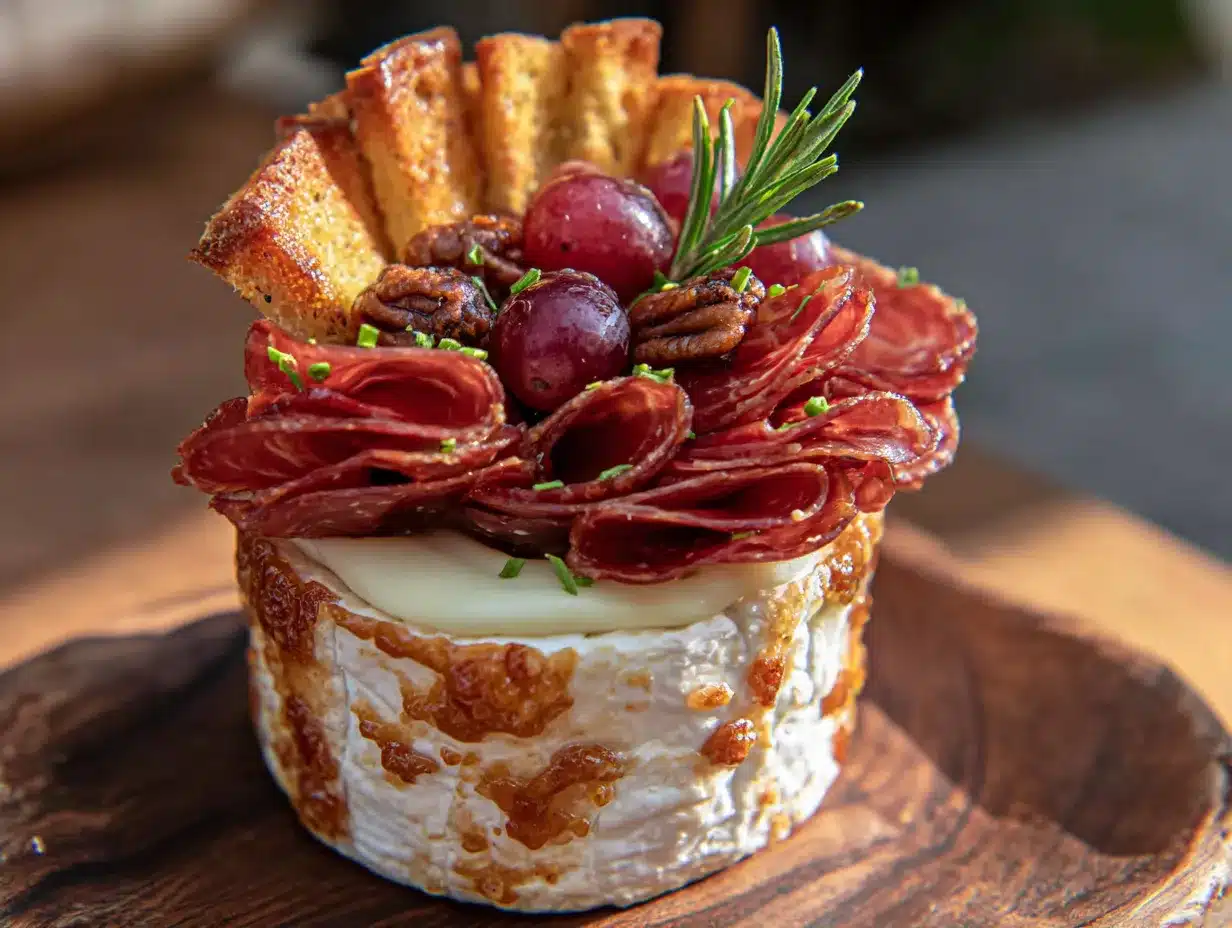
Follow these steps, and you’ll have beautiful individual charcuterie cups ready in no time. I’ve included time estimates and sensory cues to help you nail it.
- Prep your ingredients (5 minutes): Start by washing and drying the grapes and fresh cranberries. Cut the cheddar cheese into ½-inch cubes. Cut the brie into bite-sized wedges, about 1-inch wide at the rind edge. Slice the salami into thin rounds if it isn’t pre-sliced. Lay the prosciutto slices flat on a cutting board and cut them in half lengthwise. You want each piece to be about 2 inches wide. Set everything out in bowls so you can grab and go.
- Layer the base (2 minutes per cup): Take your first cup. Add a small handful of mini pretzels or pita chips to the bottom. This creates a crunchy foundation and prevents the softer ingredients from getting soggy. You want the bottom of the cup to be about one layer deep. Don’t overfill, you need room for everything else.
- Add the cheese (3 minutes per cup): Place 2 to 3 cubes of cheddar cheese in the cup, nestling them against one side. Add 1 to 2 wedges of brie on the opposite side. Drop in 2 to 3 fresh mozzarella pearls in the center. The cheese should be visible and inviting. If you’re using a melon baller for the brie, it makes the portions look very neat.
- Layer the meat (2 minutes per cup): Take a piece of prosciutto and fold it into a loose ribbon. Place it in the cup, letting it peek out over the edge slightly for a pretty look. Add 2 to 3 slices of salami, folded into quarters. The meat should look draped and casual, not stuffed in. Think of it as a little nest.
- Add the fruit (2 minutes per cup): Drop in 3 to 4 red grapes. Add 2 dried apricots or figs. If you’re using fresh cranberries, add 3 to 4 of them for a pop of color. The fruit adds sweetness and acidity that cuts through the richness of the cheese and meat.
- Finish with crunch and garnish (1 minute per cup): Sprinkle a small handful of mixed nuts over the top. Add 1 or 2 mini pretzels sticking out for visual interest. Drizzle a tiny bit of honey over the brie if you’re using it. Garnish with a small sprig of fresh rosemary. Finish with a pinch of sea salt flakes over the whole cup.
- Arrange and serve (2 minutes): Place the finished cups on a large serving tray or platter. Arrange them in neat rows or a circular pattern. You can label each cup with a small flag if you want to note any customizations, like “no nuts” or “extra cheese.” Serve immediately or refrigerate for up to 2 hours before serving.
A quick note about timing. If you’re making these for a party, you can prep all the ingredients an hour ahead and assemble the cups just before guests arrive. The cups hold up well for about 2 hours at room temperature, so you don’t have to stress about the clock. Just don’t add the honey or rosemary garnish until right before serving, it keeps everything looking fresh.
One thing I learned the hard way. Don’t overfill the cups. It’s tempting to pack them full, but then they become hard to eat and ingredients fall out. Leave a little breathing room. Your guests will thank you.
Cooking Tips & Techniques
Over the years, I’ve made a few mistakes with these cups so you don’t have to. Here are my best tips for success.
Don’t skip the base layer. The first time I made these, I just threw everything in the cup randomly. The cheese got squished, the grapes rolled to the bottom, and it looked like a mess. Putting a layer of pretzels or pita chips at the bottom creates structure and keeps everything in place. It also adds a nice crunch at the very end of eating.
Fold your meat, don’t just wad it. Prosciutto and salami look so much better when they’re folded into loose ribbons or rosettes. It takes an extra two seconds per piece but makes the cup look professionally styled. If you’re in a rush, just fold the prosciutto in half and let it drape over the edge of the cup. It still looks great.
Balance your flavors in each cup. Think about having a salty element (meat), a creamy element (brie or mozzarella), a sharp element (cheddar), a sweet element (fruit), and a crunchy element (nuts and pretzels). If you have all five in each cup, every bite will be perfect. I’ve had cups where I forgot the fruit, and they just tasted one-note.
Use room temperature cheese. Take the brie and cheddar out of the fridge about 30 minutes before you start assembling. Cold cheese doesn’t have as much flavor, and the brie won’t be as creamy. This is a small step that makes a big difference in taste.
Make extra cups for yourself. Trust me on this. By the time you’ve assembled 12 cups for your guests, you’ll be hungry and the last one will be gone. Set aside one cup just for you before you put them out. You deserve it.
Variations & Adaptations
These cups are endlessly customizable. Here are a few ways to switch them up depending on your crowd or your cravings.
Seasonal Variation: In the fall, swap the grapes for sliced apple or pear, and use dried cranberries instead of fresh. Add a sprinkle of cinnamon or pumpkin pie spice over the nuts. In the summer, use fresh berries and stone fruits like peaches or plums. The basic structure stays the same, but the flavors change with the season.
Dietary Adaptations: For a vegetarian version, skip the prosciutto and salami and double up on the cheese and nuts. Add some marinated artichoke hearts or roasted red peppers for a savory punch. For a dairy-free version, use vegan cheese alternatives or just load up on nuts, fruit, and olives. The cups still look gorgeous and taste satisfying.
Flavor Twist: Add a small dollop of fig jam or honeycomb to each cup for an extra layer of sweetness. Or, include a few cornichons or pickled onions for a tangy, briny bite that cuts through the richness. I once added a tiny piece of dark chocolate to each cup, and people lost their minds. It was unexpected but worked beautifully.
Protein Swap: If you’re not a fan of prosciutto, use thinly sliced roast beef or turkey. Smoked salmon also works surprisingly well, especially if you swap the cheddar for cream cheese. Just keep the proportions the same and adjust the flavors to match.
My personal favorite variation is the “breakfast for dinner” version. I swap the salami for bacon jam, use sharp white cheddar, and add a few candied pecans. It’s ridiculous and wonderful. Don’t be afraid to experiment.
Serving & Storage Suggestions
These cups are best served at room temperature, so take them out of the fridge about 20 minutes before guests arrive. Arrange them on a large wooden board or a white platter for maximum visual impact. I like to scatter a few extra nuts and dried fruit around the platter to make it look abundant.
For drinks, these cups pair beautifully with a crisp white wine like sauvignon blanc or a light red like pinot noir. A sparkling water with a twist of lemon is also perfect. If you’re serving them as part of a Friendsgiving spread, they work well alongside a simple salad or a bowl of soup. They’re meant to be a starter, not a main course.
For storage, you can assemble the cups up to 4 hours ahead and keep them in the refrigerator. Just cover the tray loosely with plastic wrap. Don’t add the honey or rosemary garnish until you’re ready to serve. If you have leftovers, you can store the cups in the fridge for up to 2 days. The pretzels might get a little soft, but everything else will be fine.
To refresh leftover cups, just add a few fresh pretzels or nuts on top before serving. The flavors actually meld together nicely overnight, so the leftovers can taste even better than the fresh ones. I’ve been known to make a batch just for myself on a Sunday afternoon and snack on them all week.
Nutritional Information & Benefits
These cups are naturally high in protein and healthy fats, making them a satisfying snack that keeps you full. The exact numbers depend on your specific ingredients and portion sizes, but here’s an estimate for one cup.
- Calories: approximately 350-400
- Protein: 18-22 grams
- Fat: 25-30 grams
- Carbohydrates: 15-20 grams
- Fiber: 3-4 grams
- Sugar: 10-12 grams (mostly from fruit)
The prosciutto and salami provide a good amount of protein and iron. The cheese is a great source of calcium and vitamin B12. The nuts offer healthy monounsaturated fats and vitamin E. The grapes and dried fruit add natural sweetness along with antioxidants and fiber.
If you’re watching your sodium intake, you can use lower-sodium meats and unsalted nuts. For a lower-fat option, swap the brie for part-skim mozzarella and use turkey instead of salami. The cups are naturally gluten-free if you skip the pretzels and use only nuts and seeds for crunch.
I personally love that these cups feel indulgent but are actually pretty balanced. You get protein, fat, and carbs in one little cup, which is exactly what your body needs for sustained energy. Plus, the portion control means you’re less likely to overeat compared to a full charcuterie board.
Conclusion
These easy individual charcuterie cups have completely changed how I approach Friendsgiving. They take the stress out of hosting, the mess out of snacking, and the awkwardness out of sharing food with a group. Marco was right. You don’t need a giant board and a dozen little plates. You just need a stack of cups and a few good ingredients.
I love how this recipe lets me actually enjoy my own party. I’m not stuck in the kitchen slicing cheese or running out to buy more crackers. I’m sitting on the couch, holding my own little cup, laughing with my friends. That’s what Friendsgiving is supposed to feel like.
I encourage you to make these your own. Swap in your favorite cheeses, use whatever meat you have on hand, or add a surprise ingredient that makes you smile. The structure is just a starting point. The real magic is in the sharing.
I’d love to hear how your cups turn out. Drop a comment below and tell me what combinations you tried. Did anyone ask for the recipe? Did you make a double batch? Share your Friendsgiving story with me. And if you loved this recipe, pass it along to a friend who needs a little less stress and a little more joy at their next gathering.
Happy Friendsgiving, friends. Go make some cups.
Frequently Asked Questions
Can I make these charcuterie cups ahead of time?
Yes, you can assemble them up to 4 hours ahead and keep them in the refrigerator. Just add the honey and rosemary garnish right before serving to keep everything looking fresh.
What size cups should I use?
8-ounce cups are perfect. They’re big enough to hold a good variety of ingredients but small enough to feel like a single serving. You can use clear plastic cups or small glass jars.
Can I make these cups for a crowd larger than 12?
Absolutely. Just scale the ingredients up proportionally. The assembly time stays about the same per cup, so budget about 2 minutes per cup. You can also set up an assembly line to speed things up.
What if someone has a nut allergy?
Simply leave the nuts out of their cup and add extra pretzels or pita chips for crunch. You can also use seeds like pumpkin seeds or sunflower seeds as a nut-free alternative. Make sure to label the cups clearly.
How do I keep the cups from looking messy?
The key is layering. Start with the base layer of pretzels, then add cheese and meat in separate sections, and finish with fruit and nuts on top. Don’t overfill the cup. A little space between ingredients makes everything look intentional and beautiful.
Pin This Recipe!
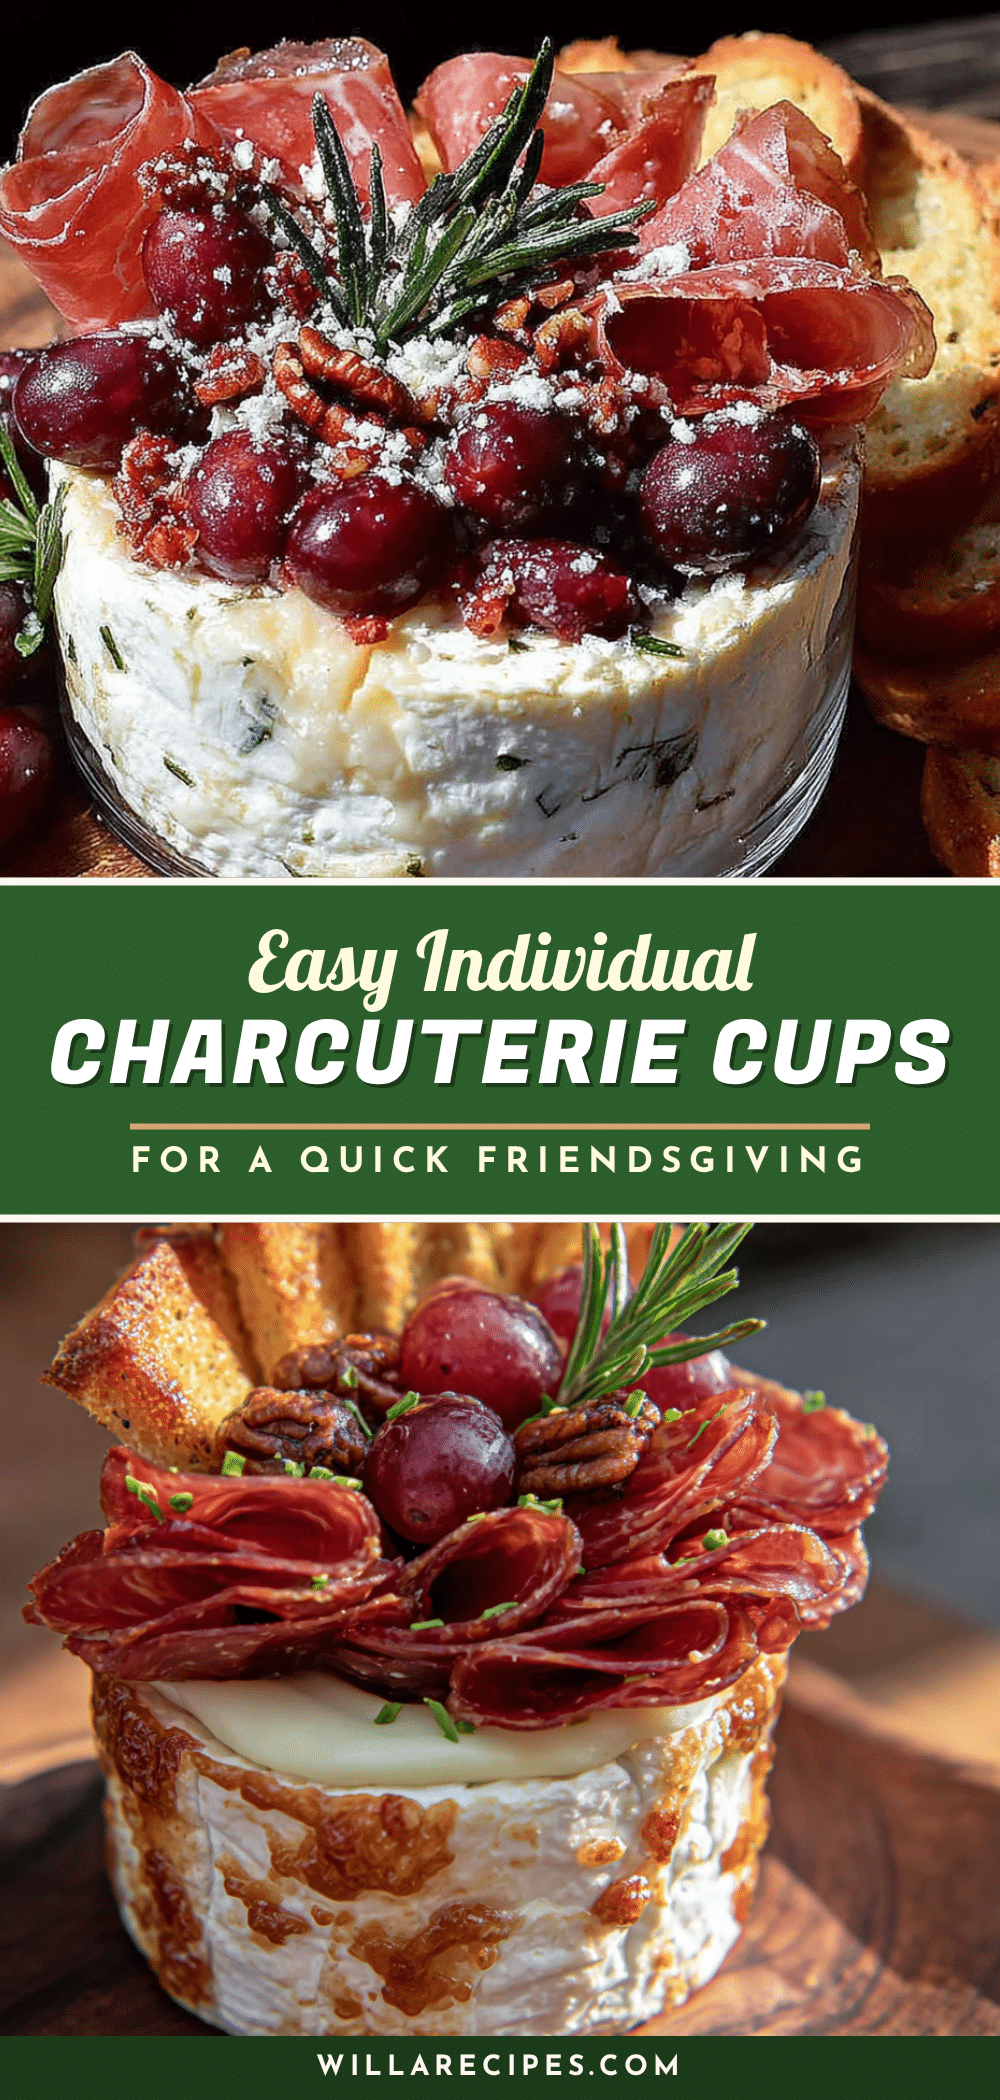
Easy Individual Charcuterie Cups for a Quick Friendsgiving
These individual charcuterie cups are the perfect grab-and-go appetizer for Friendsgiving. All the best parts of a grazing board, portioned into single-serving cups for easy, no-mess entertaining.
- Prep Time: 20 minutes
- Cook Time: 0 minutes
- Total Time: 20 minutes
- Yield: 12 servings 1x
- Category: Appetizer
- Cuisine: American
Ingredients
- 8 oz prosciutto, thinly sliced
- 8 oz salami, such as Genoa or soppressata, sliced into thin rounds
- 8 oz sharp cheddar cheese, cut into small cubes (about ½-inch pieces)
- 8 oz brie cheese, rind on, cut into bite-sized wedges
- 4 oz fresh mozzarella pearls, drained
- 1 cup red seedless grapes, washed and dried
- 1 cup dried apricots or dried figs
- ½ cup fresh cranberries (optional)
- 1 cup mixed nuts, such as almonds, walnuts, and pecans (roasted and salted)
- 1 cup mini pretzels or pita chips
- 2 tablespoons honey (optional)
- Fresh rosemary sprigs for garnish (optional)
- Sea salt flakes for finishing (optional)
Instructions
- Prep your ingredients: Wash and dry the grapes and fresh cranberries. Cut the cheddar cheese into ½-inch cubes. Cut the brie into bite-sized wedges, about 1-inch wide at the rind edge. Slice the salami into thin rounds if not pre-sliced. Lay the prosciutto slices flat on a cutting board and cut them in half lengthwise, about 2 inches wide. Set everything out in bowls.
- Layer the base: Add a small handful of mini pretzels or pita chips to the bottom of each cup to create a crunchy foundation. The bottom should be about one layer deep.
- Add the cheese: Place 2 to 3 cubes of cheddar cheese in the cup, nestling them against one side. Add 1 to 2 wedges of brie on the opposite side. Drop in 2 to 3 fresh mozzarella pearls in the center.
- Layer the meat: Take a piece of prosciutto and fold it into a loose ribbon. Place it in the cup, letting it peek out over the edge slightly. Add 2 to 3 slices of salami, folded into quarters.
- Add the fruit: Drop in 3 to 4 red grapes. Add 2 dried apricots or figs. If using fresh cranberries, add 3 to 4 of them for a pop of color.
- Finish with crunch and garnish: Sprinkle a small handful of mixed nuts over the top. Add 1 or 2 mini pretzels sticking out for visual interest. Drizzle a tiny bit of honey over the brie if using. Garnish with a small sprig of fresh rosemary. Finish with a pinch of sea salt flakes over the whole cup.
- Arrange and serve: Place the finished cups on a large serving tray or platter. Arrange them in neat rows or a circular pattern. Serve immediately or refrigerate for up to 2 hours before serving.
Notes
Don’t overfill the cups; leave a little breathing room. Use room temperature cheese for best flavor. Add honey and rosemary garnish just before serving. Can be assembled up to 4 hours ahead and refrigerated. For a nut-free version, substitute seeds or extra pretzels.
Nutrition
- Serving Size: 1 cup
- Calories: 375
- Sugar: 11
- Sodium: 850
- Fat: 28
- Saturated Fat: 12
- Carbohydrates: 18
- Fiber: 3
- Protein: 20
Keywords: charcuterie cups, Friendsgiving appetizer, individual charcuterie, easy appetizer, no-cook appetizer, party snack


