My sister-in-law, a woman who barely boils water, asked me why I couldn’t just roll the dough into logs and slice them instead of shaping each cookie by hand. I started to explain why that wouldn’t work—something about texture and crumb structure—then stopped. Honestly, I had no good reason. I just always did it the other way. So I tried it her way, feeling a little smug about the inevitable failure. The cookies came out perfect. Perfectly round, perfectly tender, and somehow even more delicate. I stood there, holding a warm cookie, realizing I had been making things harder for myself for over a decade. This is that recipe—the one that taught me to shut up and listen.
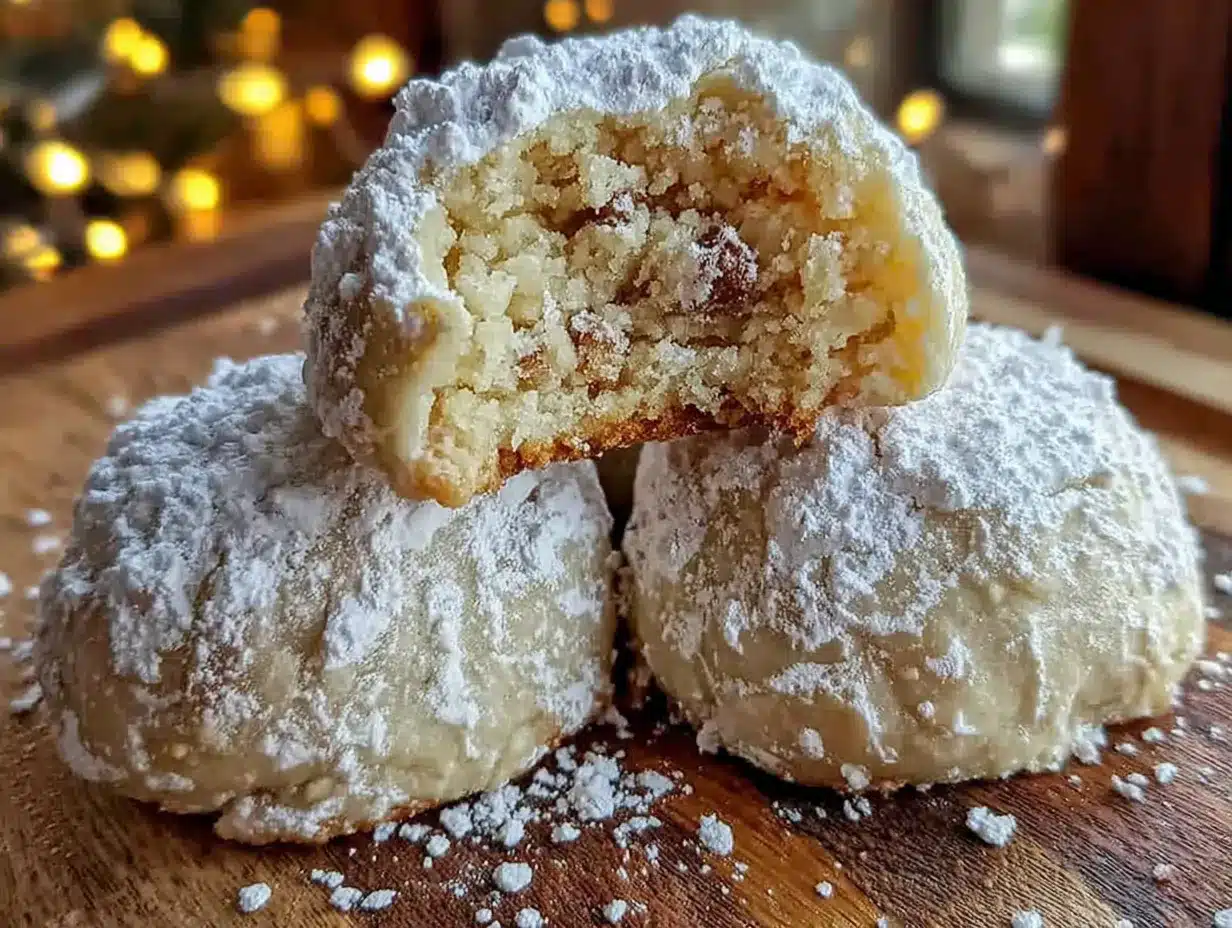
These Guest-Favorite Russian Tea Cookies with Powdered Sugar are the kind of thing you make when you want to look like you spent hours in the kitchen when you really didn’t. They’re buttery, nutty, and melt-in-your-mouth soft, with that signature snowy coat of powdered sugar that makes them look like little winter jewels. I first made them for a holiday cookie exchange about five years ago, and someone literally asked me for the recipe before they’d even finished chewing. That’s the kind of reaction you get with these.
Maybe you’ve been there—standing in a crowded kitchen, wondering if you should’ve just bought something from the bakery. But this recipe changes the game. It’s simple enough for a Tuesday night baking session but impressive enough for a dinner party spread. You know that feeling when a cookie just dissolves on your tongue? That’s what we’re going for here. And let me tell you, once you taste one fresh from the oven, dusted with that cloud of powdered sugar, you’ll understand why I keep making them year after year.
Why You’ll Love This Recipe
Let me be real with you—I’ve tested this recipe at least a dozen times. I’ve tried different ratios of butter to flour, different nut options, and even different ways of incorporating the powdered sugar. What I’m giving you here is the version that consistently gets the best results. It’s the one my neighbor, a former pastry chef, said was “spot on.” So trust me when I say this recipe works.
- Incredibly Easy: These come together in about 30 minutes of active time. No chilling required, no complicated techniques. If you can cream butter and sugar, you can make these.
- Simple Ingredients: Butter, flour, nuts, vanilla, and powdered sugar. That’s it. You probably have most of this in your pantry right now.
- Perfect for Entertaining: These are the ultimate party cookie. They look elegant, they travel well, and they’re naturally gluten-free if you use the right flour. Your guests will think you ordered them from a fancy bakery.
- Crowd-Pleaser: I’ve served these at holiday parties, baby showers, and casual get-togethers. They disappear every single time. Kids love them, adults love them, and people who claim they don’t like sweets love them.
- Unbelievably Delicious: The texture is what gets you. They’re not crunchy, not chewy—they’re that perfect in-between that just crumbles and melts. The toasted nuts add warmth, and the powdered sugar gives you that sweet little cloud with every bite.
What makes these different from every other Russian tea cookie recipe out there? It’s the technique. I toast the nuts before grinding them, which brings out their natural oils and deepens the flavor. I also use a specific ratio of butter to flour that gives you that signature melt-in-your-mouth texture without the cookies falling apart. This isn’t just another version—it’s the version I’d serve to anyone I wanted to impress.
These cookies have this way of making people feel special. There’s something about that snowy coating of powdered sugar that feels celebratory. It’s comfort food dressed up for a party. And honestly, that’s my favorite kind of food to share.
What Ingredients You Will Need
This recipe uses simple, wholesome ingredients that work together to create something truly special. Most of these are pantry staples, but I’ve included a few notes to help you get the best results.
For the Cookies
- 1 cup (226g) unsalted butter, softened – I use Land O’Lakes or Kerrygold for the best flavor. The butter needs to be soft but not melted. If you forget to take it out of the fridge, cut it into small cubes and let it sit for 15 minutes.
- ½ cup (60g) powdered sugar, plus more for coating – This is for the dough. Use a good quality brand like Domino or C&H. Don’t skip sifting it if it’s lumpy.
- 1 teaspoon vanilla extract – Pure vanilla extract makes a difference here. I’ve tried imitation, and the flavor is noticeably flat. Use the real stuff.
- 2 cups (250g) all-purpose flour – Spoon and level your flour. Scooping directly from the bag packs it down and gives you dry cookies. If you need these gluten-free, use a 1:1 gluten-free baking flour blend. I’ve tested this with Bob’s Red Mill, and it works beautifully.
- 1 cup (120g) finely chopped pecans or walnuts – Toast these first! Spread them on a baking sheet at 350°F for 5-7 minutes until fragrant. Let them cool completely before chopping. I prefer pecans for their buttery flavor, but walnuts give a slightly earthier taste. Both are fantastic.
- ¼ teaspoon salt – A little salt balances the sweetness and enhances the nutty flavor. I use fine sea salt.
That’s the whole list. No eggs, no baking powder, no complicated ingredients. The magic happens because the butter provides all the structure and richness, and the powdered sugar gives you that tender, delicate crumb.
One thing I’ve learned after many batches—don’t skip toasting the nuts. I know it’s an extra step, but it transforms the flavor. Raw nuts are fine, but toasted nuts give you this warm, almost caramelized depth that makes the cookies unforgettable. I once forgot to toast them (I was rushing before a party), and everyone still ate them, but they were noticeably less flavorful. Toasting is non-negotiable in my kitchen now.
If you’re making these for someone with a nut allergy, you can substitute the nuts with an equal amount of finely chopped toasted sunflower seeds or pepitas. The texture changes slightly, but the flavor is still lovely.
Equipment Needed
You don’t need a fancy kitchen to make these cookies. Here’s what you’ll need:
- Large mixing bowl – Any bowl will do, but a wide one makes mixing easier.
- Electric mixer (hand or stand) – You can cream the butter and sugar by hand, but an electric mixer makes it much faster and gives you a lighter texture. I use my KitchenAid stand mixer with the paddle attachment.
- Baking sheets – Two standard half-sheet pans work perfectly. Line them with parchment paper for easy cleanup.
- Parchment paper – Non-stick and makes cleanup a breeze. You can also use silicone baking mats.
- Cooling rack – Essential for letting the cookies cool properly before coating them in powdered sugar.
- Food processor or sharp knife – For chopping the nuts. A food processor gives you a more uniform texture, but a knife works fine if you’re patient.
- Small bowl for powdered sugar – You’ll need a shallow bowl to roll the warm cookies in the sugar.
- Measuring cups and spoons – Accurate measurements matter in baking. I recommend using a kitchen scale for the most precise results.
If you don’t have a food processor, just chop the nuts by hand. It takes a few extra minutes, but the texture is actually nicer—you get little chunks that add character to the cookies. I’ve done it both ways, and honestly, I sometimes prefer the hand-chopped version because the nut pieces are more varied.
Preparation Method
Alright, let’s get baking. I’ve broken this down into clear steps with all the little details that make the difference between good cookies and great ones.
- Preheat your oven to 350°F (175°C). Line two baking sheets with parchment paper. This is your setup. Do it first so everything’s ready to go.
- Toast the nuts. Spread the pecans or walnuts on a baking sheet and toast for 5-7 minutes, until they smell nutty and are slightly darker. Watch them carefully—they burn fast. Let them cool completely, then chop them finely. I use a food processor for this, pulsing in short bursts so I don’t end up with nut butter. You want small pieces, not dust.
- Cream the butter and powdered sugar. In your large mixing bowl, beat the softened butter and ½ cup powdered sugar together until light and fluffy. This takes about 2-3 minutes with an electric mixer on medium speed. Scrape down the sides of the bowl once or twice. The mixture should look pale and airy. This is where the texture starts to develop, so don’t rush it.
- Add the vanilla. Beat in the vanilla extract until combined. It should only take a few seconds.
- Mix the dry ingredients. In a separate bowl, whisk together the flour and salt. Add this to the butter mixture gradually, mixing on low speed. I add it in three additions, mixing just until the flour disappears after each one. Overmixing here will make the cookies tough. You want a soft, crumbly dough that holds together when pressed.
- Fold in the nuts. Add the chopped nuts and mix with a spatula or your hands until evenly distributed. The dough will be a little crumbly—that’s normal. If it’s too dry to hold together, add a teaspoon of cold water. But honestly, I’ve never needed to.
- Shape the cookies. Scoop out rounded tablespoons of dough (about 1 inch in diameter) and roll them into balls. Place them on the prepared baking sheets, spacing them about 2 inches apart. They don’t spread much, so you can fit about 12 per sheet. This is where my sister-in-law’s suggestion came in—if you want, you can shape the dough into logs, chill them for 30 minutes, and slice them into rounds. Both methods work, but hand-rolling gives you a more rustic, charming look.
- Bake. Bake for 12-15 minutes, until the bottoms are lightly golden and the tops are set but not browned. The cookies should look pale on top—that’s how you know they’re tender. Rotate the pans halfway through for even baking.
- Cool slightly. Let the cookies cool on the baking sheet for 5 minutes. They’ll be very fragile when hot, so don’t try to move them immediately.
- Coat in powdered sugar. Here’s the important part. While the cookies are still warm (but not hot), roll them gently in a bowl of powdered sugar. Place them on a cooling rack to cool completely. Once they’re completely cool, roll them in powdered sugar again. This double-coating gives you that beautiful snowy look and ensures the sugar sticks. I learned this the hard way after a batch where the sugar just slid off.
That’s it. Ten simple steps, and you’ve got a batch of the most tender, buttery cookies you’ve ever tasted.
Cooking Tips & Techniques
I’ve made these cookies so many times that I’ve developed a few tricks that make the process smoother and the results more consistent. Here’s what I’ve learned:
Don’t overbake. The biggest mistake people make is leaving these in the oven too long. They should look pale and barely set on top. If they’re golden brown, they’ll be dry. Pull them out when the bottoms are just starting to color. Trust me on this—I’ve ruined batches by getting distracted and letting them go an extra minute.
The double-coating trick. I mentioned this in the method, but it bears repeating. Rolling the cookies in powdered sugar while they’re warm helps the first layer stick. Then, after they cool completely, a second coat gives you that gorgeous, snowy finish. If you only coat them once, the sugar tends to absorb into the cookie and disappear. For a party, you want that dramatic white coating.
Room temperature butter is key. Cold butter won’t cream properly, and melted butter changes the texture. Leave your butter on the counter for about an hour before you start. You know it’s ready when you can press it with your finger and it leaves an indent without being greasy.
Use a cookie scoop. If you have a small cookie scoop (about 1 tablespoon), use it. It gives you uniform cookies that bake evenly. I bought one for $5 at a kitchen supply store, and it’s one of my most-used tools.
Make ahead tip. You can shape the dough into balls and freeze them on a baking sheet. Once frozen, transfer them to a freezer bag. When you’re ready to bake, just pop them in the oven straight from the freezer—add 2-3 minutes to the baking time. This is a lifesaver when you’re hosting and want to minimize last-minute work.
I once forgot to double-coat a batch before a holiday party. I showed up with cookies that looked kind of sad—just a light dusting of sugar instead of that beautiful snowball effect. Everyone still ate them, but I was disappointed. Now I set a timer to remind myself to do the second coat. Learn from my mistakes!
Variations & Adaptations
One of the best things about this recipe is how versatile it is. Here are some variations I’ve tried and loved:
Chocolate-Dipped Russian Tea Cookies
After the second coat of powdered sugar, dip half of each cooled cookie in melted dark chocolate. Let them set on parchment paper. The combination of sweet, buttery cookie and rich chocolate is absolutely decadent. I did this for a Valentine’s Day party, and they were gone in minutes.
Spiced Holiday Version
Add ½ teaspoon of cinnamon, ¼ teaspoon of nutmeg, and a pinch of cloves to the flour mixture. This gives the cookies a warm, festive flavor that’s perfect for Christmas cookie exchanges. I also like to add a tiny pinch of cardamom for an unexpected twist.
Gluten-Free Adaptation
Substitute the all-purpose flour with a 1:1 gluten-free baking flour blend that contains xanthan gum. I’ve tested this with Bob’s Red Mill and King Arthur Measure for Measure, and both work perfectly. The texture is slightly more delicate, but still incredibly tender.
Citrus Zest Version
Add the zest of one orange or lemon to the butter mixture along with the vanilla. The bright citrus notes cut through the richness and add a lovely freshness. I made these for a spring brunch, and they were a hit with mimosas.
Vegan Option
Use vegan butter (I recommend Miyoko’s or Earth Balance) and make sure your powdered sugar is vegan-friendly (some brands use bone char in processing). The texture will be slightly different, but still delicious. I’ve served these to vegan friends who couldn’t tell the difference.
Serving & Storage Suggestions
These cookies are best served at room temperature, which makes them perfect for parties. Arrange them on a pretty platter or cake stand, and watch them disappear. I like to dust them with a little extra powdered sugar right before serving for that dramatic effect.
For a cookie platter, pair them with dark chocolate truffles, shortbread cookies, and fresh fruit. They also go beautifully with a cup of hot tea or coffee. In fact, the name “Russian Tea Cookies” comes from the tradition of serving them with tea—they’re meant to be dipped or nibbled alongside a warm beverage.
Storage: Store these in an airtight container at room temperature for up to 2 weeks. They actually get better after a day or two as the flavors meld. I’ve kept them for up to 10 days, and they’re still delicious.
Freezing: You can freeze the baked cookies (without the final powdered sugar coat) for up to 3 months. Thaw them at room temperature, then roll them in powdered sugar before serving. Alternatively, freeze the unbaked dough balls and bake fresh whenever you need them.
Reheating: These don’t need reheating, but if you want that just-baked warmth, pop them in a 300°F oven for 3-4 minutes. Let them cool slightly before serving.
One thing I love about these cookies is that the flavor actually improves over time. The butter and nuts meld together, and the powdered sugar creates this delicate crust that’s absolutely addictive. I’ve made them three days before a party, and they were even better than fresh.
Nutritional Information & Benefits
Let’s be honest—these are a treat. But here’s a rough estimate per cookie (based on 24 cookies):
- Calories: 150-170
- Fat: 11g
- Carbohydrates: 14g
- Protein: 2g
- Sugar: 6g
Now, the good news. Pecans and walnuts are packed with healthy fats, antioxidants, and omega-3 fatty acids. They’re good for your heart and your brain. The butter provides vitamin A and healthy saturated fats that are actually beneficial in moderation. And since these cookies are small, it’s easy to enjoy one or two without overdoing it.
If you’re watching your sugar intake, you can reduce the powdered sugar in the dough slightly (try ⅓ cup instead of ½ cup), but I wouldn’t recommend cutting it more than that—the sugar is crucial for the texture. For a lower-carb version, you can use a sugar substitute like Swerve powdered sugar, but the texture will be slightly different.
These are naturally egg-free and can be made dairy-free with vegan butter. They’re also easily gluten-free, making them a great option for guests with dietary restrictions.
Conclusion
These Guest-Favorite Russian Tea Cookies with Powdered Sugar are more than just a recipe—they’re a little piece of baking magic. They’re the kind of cookie that makes people close their eyes and sigh with happiness. The kind that gets requested year after year. The kind that makes you look like a baking genius when really, you just followed a simple recipe.
I love these cookies because they remind me that sometimes the simplest things are the most impressive. No fancy techniques, no exotic ingredients—just butter, sugar, flour, and nuts, transformed into something extraordinary. And honestly, isn’t that what we all want from our baking?
I’d love to hear how these turn out for you. Did you try any of the variations? Did your guests love them? Drop a comment below and let me know. And if you’re feeling generous, share this recipe with a friend who needs a little cookie magic in their life. Happy baking!
Frequently Asked Questions
Can I make these cookies ahead of time?
Absolutely! These cookies actually taste better the next day. You can bake them up to a week in advance and store them in an airtight container. Just add the final coat of powdered sugar right before serving for the best appearance.
Why did my cookies fall apart?
This usually happens if the dough is too dry or if you overbaked them. Make sure your butter is properly softened and that you’re measuring your flour correctly (spoon and level, don’t scoop). If the dough feels too crumbly, add a teaspoon of cold water at a time until it holds together.
Can I use different nuts?
Yes! Pecans and walnuts are traditional, but you can also use almonds, hazelnuts, or even pistachios. Just make sure to toast them first for the best flavor. If using almonds, I recommend blanched almonds for a milder taste.
How do I get the powdered sugar to stick better?
The key is the double-coating method. Roll the warm cookies in powdered sugar, let them cool completely, then roll them again. The first coat creates a base layer, and the second coat gives you that beautiful snowy finish.
Can I freeze the dough?
Definitely! Shape the dough into balls and freeze them on a baking sheet. Once frozen, transfer to a freezer bag. You can bake them straight from the freezer—just add 2-3 minutes to the baking time. This is perfect for when you need fresh cookies on short notice.
Pin This Recipe!
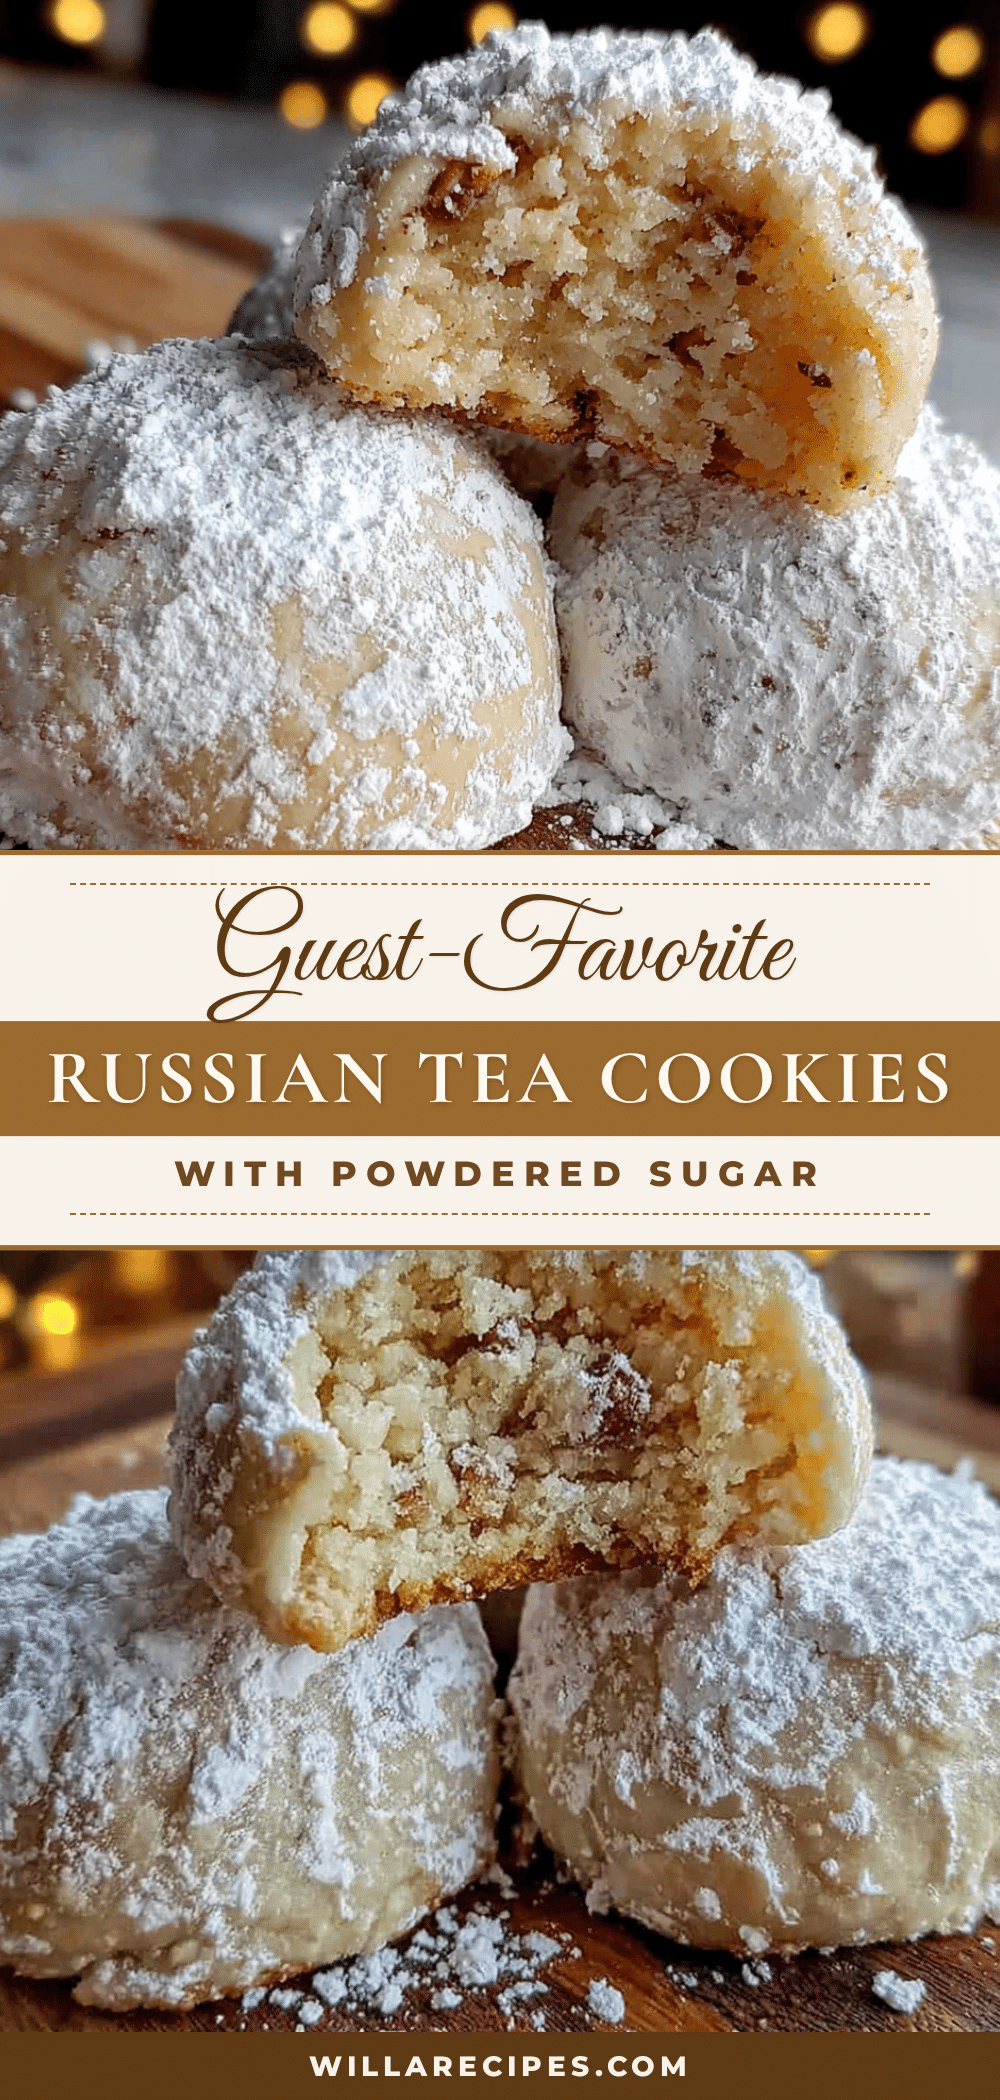
Easy Guest-Favorite Russian Tea Cookies with Powdered Sugar

These buttery, nutty, melt-in-your-mouth Russian tea cookies are coated in a snowy layer of powdered sugar. They’re incredibly easy to make with simple ingredients and are perfect for holiday cookie exchanges, parties, or any occasion where you want to impress.
- Prep Time: 30 minutes
- Cook Time: 15 minutes
- Total Time: 45 minutes
- Yield: 24 servings 1x
- Category: Dessert
- Cuisine: Russian
Ingredients
- 1 cup (226g) unsalted butter, softened
- ½ cup (60g) powdered sugar, plus more for coating
- 1 teaspoon vanilla extract
- 2 cups (250g) all-purpose flour
- 1 cup (120g) finely chopped pecans or walnuts, toasted
- ¼ teaspoon fine sea salt
Instructions
- Preheat your oven to 350°F (175°C). Line two baking sheets with parchment paper.
- Toast the nuts: Spread pecans or walnuts on a baking sheet and toast for 5-7 minutes until fragrant. Let cool completely, then chop finely.
- Cream the butter and powdered sugar: In a large mixing bowl, beat softened butter and ½ cup powdered sugar together until light and fluffy, about 2-3 minutes.
- Add the vanilla: Beat in vanilla extract until combined.
- Mix dry ingredients: In a separate bowl, whisk together flour and salt. Gradually add to butter mixture in three additions, mixing on low speed just until combined.
- Fold in the nuts: Add chopped nuts and mix with a spatula until evenly distributed. Dough will be slightly crumbly.
- Shape the cookies: Scoop rounded tablespoons of dough (about 1 inch) and roll into balls. Place on prepared baking sheets, spacing 2 inches apart.
- Bake: Bake for 12-15 minutes until bottoms are lightly golden and tops are set but not browned. Rotate pans halfway through.
- Cool slightly: Let cookies cool on baking sheet for 5 minutes.
- Coat in powdered sugar: While still warm, roll cookies gently in a bowl of powdered sugar. Place on a cooling rack to cool completely. Once cool, roll in powdered sugar again for a snowy finish.
Notes
Toast nuts for best flavor. Double-coat with powdered sugar for a snowy look. Cookies can be stored in an airtight container at room temperature for up to 2 weeks. Freeze unbaked dough balls for up to 3 months.
Nutrition
- Serving Size: 1 cookie
- Calories: 160
- Sugar: 6
- Sodium: 50
- Fat: 11
- Saturated Fat: 5
- Carbohydrates: 14
- Fiber: 1
- Protein: 2
Keywords: Russian tea cookies, powdered sugar cookies, holiday cookies, easy cookie recipe, nut cookies, butter cookies, Christmas cookies


