It was 10:47 PM on a rainy Tuesday in late October, and I was staring into the fridge like it held the secrets to the universe. My kids had been hyped about Halloween for weeks, and I’d promised them something fun for their school party the next day. The problem? I’d completely forgotten until that very moment. I didn’t have fancy cookie cutters or themed baking pans, but I had a tube of refrigerated pizza dough, a bag of shredded mozzarella, and some pepperoni that was about to hit its expiration date. That’s when the idea hit me — what if I made mummies? Little cheesy pizza mummies wrapped in dough strips. Honestly, I wasn’t sure it would work. I mean, I was tired, the kitchen was a mess, and I had flour on my forehead somehow. But at that late hour, with the house quiet and the pressure on, something clicked. I started rolling dough, cutting strips, and wrapping those little cheese sticks like they were tiny patients in a pizza emergency room. My husband walked in around midnight, saw me giggling to myself over a baking sheet of half-wrapped mummies, and just quietly backed out of the kitchen. Smart man.
The next morning, my kids went absolutely wild. Those cheesy mummy pizza bites were the hit of the party — gone in minutes, with parents asking for the recipe. I’ve made them every Halloween since, and honestly? We’ve started making them for regular Tuesday dinners too. Maybe you’ve been there — needing a dinner win that doesn’t cost a fortune or require a culinary degree. These little guys are it. They’re goofy, they’re delicious, and they make everyone at the table smile. And let me tell you, that late-night kitchen experiment turned into one of my most-requested recipes. There’s just something about food that looks like it’s having a little fun that makes it taste better, you know?
Why You’ll Love This Recipe
Look, I’ve tested this recipe more times than I care to admit. The first batch? A few mummies came out looking more like sad blobs than wrapped-up ancient Egyptians. But after some tweaking — and a few very patient taste-testers — these little guys are foolproof now. Here’s why they’ve earned a permanent spot in my dinner rotation:
- Budget-Friendly: Everything in this recipe costs pennies per serving. We’re talking pizza dough, cheese sticks, and basic pantry staples. No fancy ingredients required.
- Kid-Approved Cheesy Mummy Pizza Bites: My kids actually help make these now. The wrapping part is like a little craft project, and they get so proud of their “mummy art.” Plus, they gobble them up without complaint.
- Ready in Under 30 Minutes: From fridge to table in about 25 minutes. That’s faster than ordering pizza delivery, and way more fun.
- Perfect for Picky Eaters: It’s basically pizza in disguise. The familiar flavors make even the fussiest eaters happy, but the presentation makes it feel like a treat.
- Leftovers Reheat Beautifully: Pop them in the air fryer or oven for a few minutes, and they’re crispy again. My husband takes them to work for lunch all the time.
What makes these different from every other pizza bite recipe out there? It’s the wrapping technique. I figured out that partially freezing the cheese sticks makes them way easier to wrap without the dough getting all sticky and weird. Plus, the little eyes on top — just dots of ketchup or marinara — give them so much personality. It’s not just another snack; it’s a little moment of joy on a plate.
This recipe is the kind that makes you close your eyes after the first bite. It’s comfort food reimagined — faster, cheaper, but with the same soul-soothing satisfaction. Perfect for impressing your kids without stressing yourself out, or turning a regular Tuesday into something memorable.
What Ingredients You Will Need
This recipe uses simple, wallet-friendly ingredients that you probably already have in your kitchen. The magic is in how they come together, not in fancy shopping trips.
- For the Mummy Wraps:
- 1 can (13.8 oz / 390g) refrigerated pizza dough (I prefer Pillsbury or store brand — both work great)
- 6 mozzarella string cheese sticks, cut in half crosswise (12 pieces total)
- 24 pepperoni slices (optional, but my kids love them as the “mummy body”)
- 1 large egg, beaten (for egg wash, gives that golden color)
- 1 tablespoon melted butter (adds richness and helps browning)
- For the Eyes:
- 2 tablespoons marinara sauce or ketchup (in a small piping bag or ziplock with a tiny corner snipped off)
- 24 small dots of cream cheese or ranch dressing (for the white part of the eyes, optional but cute)
- For Dipping:
- Extra marinara sauce, warmed (for serving)
- Ranch dressing (my kids’ favorite, honestly)
Ingredient Tips from My Kitchen: I always buy the full-fat mozzarella string cheese sticks — the low-fat ones don’t melt as nicely and can get rubbery. For the pizza dough, any refrigerated brand works, but I’ve had the best luck with Pillsbury for consistent puffiness. If you’re feeling ambitious, you can make homemade pizza dough, but honestly? On a busy weeknight, the canned stuff is a lifesaver.
Substitution Guidance: Use gluten-free pizza dough for a celiac-friendly version. Swap pepperoni for turkey pepperoni or leave it out entirely for vegetarian mummies. For a dairy-free option, use vegan mozzarella sticks and a dairy-free egg wash alternative (melted vegan butter works). If you don’t have string cheese, you can cut blocks of mozzarella into sticks — just make sure they’re about the same size.
Sourcing Note: Look for string cheese that’s firm and not too soft — the firmer sticks hold their shape better during wrapping. I’ve found that store-brand string cheese actually works better than name brands sometimes because they’re less greasy.
Equipment Needed
You don’t need much for these, which is part of the beauty. Here’s what you’ll want handy:
- Baking Sheet: A standard half-sheet pan works perfectly. Line it with parchment paper for easy cleanup.
- Sharp Knife or Pizza Cutter: For cutting the dough into strips. A pizza cutter makes it faster, but a knife works fine.
- Pastry Brush: For the egg wash. A silicone one is easiest to clean, but a regular brush works too.
- Small Piping Bag or Ziplock Bag: For the eye dots. Honestly, a ziplock with a tiny corner snipped off works perfectly.
- Freezer Space: You’ll need room in your freezer for 10 minutes to firm up the cheese sticks before wrapping.
- Cooling Rack: Optional but nice for letting them cool without getting soggy on the bottom.
Budget-Friendly Alternatives: Don’t have a pastry brush? Use a clean, unused paintbrush from a craft store — I’ve done it in a pinch. No piping bag? A sandwich bag with a tiny hole works just as well. The parchment paper is worth buying, though — it saves so much cleanup time.
My Personal Experience: I’ve made these with everything from a fancy baking stone to a dollar-store baking sheet. Honestly? The dollar-store sheet worked fine. Just make sure whatever you use has a rim to catch any cheese that might escape during baking. Trust me on that one — I learned the hard way.
Preparation Method
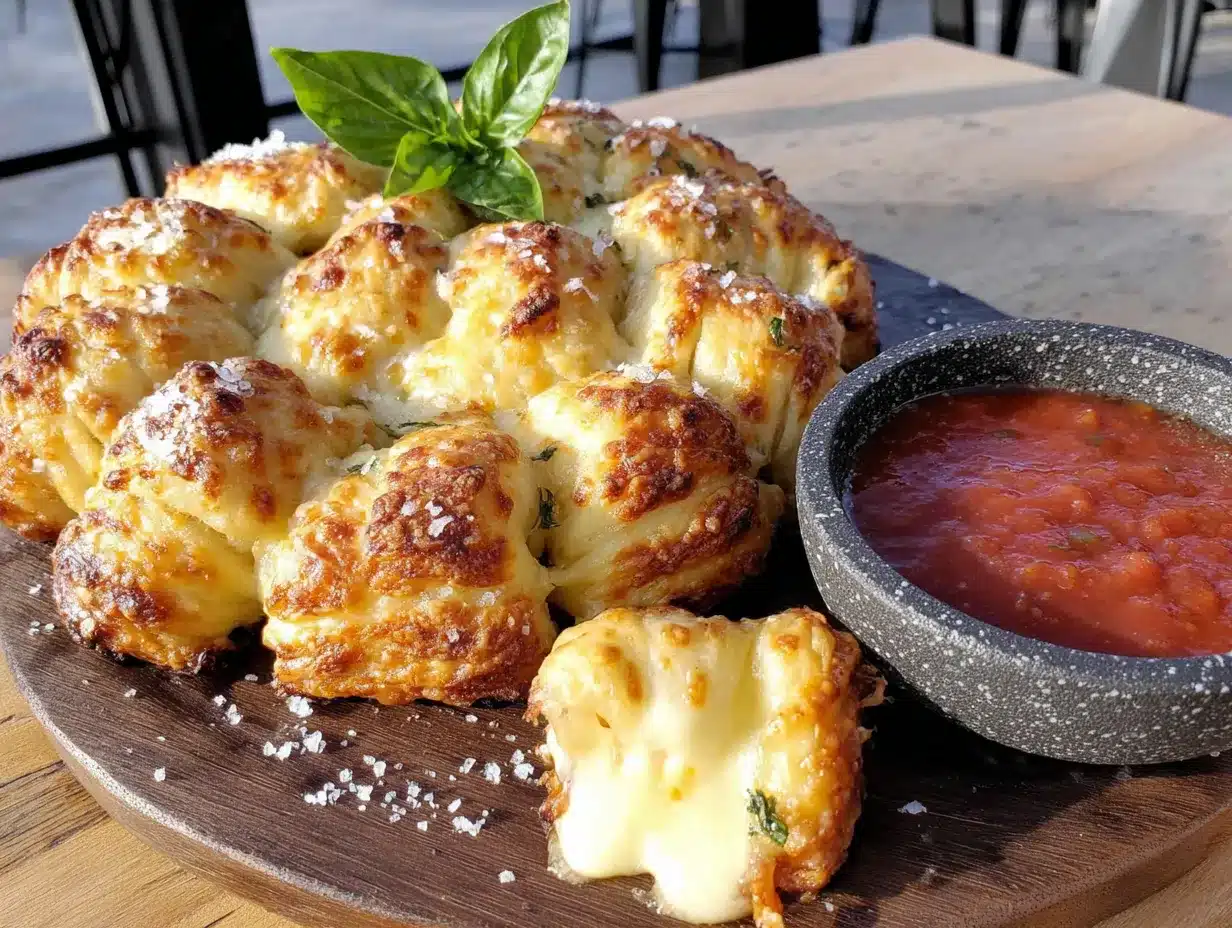
Let’s get those mummies wrapped up! Here’s the step-by-step process that I’ve perfected through many, many batches.
- Preheat and Prep (5 minutes): Preheat your oven to 400°F (200°C). Line a baking sheet with parchment paper. While the oven heats, place your string cheese sticks in the freezer for exactly 10 minutes. This is my secret trick — the firmer cheese is way easier to wrap without the dough sliding around.
- Cut the Dough (3 minutes): Unroll your pizza dough onto a lightly floured surface. Using a pizza cutter or sharp knife, cut the dough into 12 strips, each about 1/2 inch (1.25 cm) wide and 6 inches (15 cm) long. You want them thin enough to wrap around the cheese but sturdy enough not to tear. If your dough is sticky, dust it with a little flour.
- Assemble the Mummies (10 minutes): Take your partially frozen cheese sticks out of the freezer. If you’re using pepperoni, place one slice on top of each cheese stick half. Now for the fun part — wrapping! Start at one end of the cheese stick and wrap the dough strip around it, slightly overlapping each wrap. Leave a small gap at the top for the “face” — about 1/4 inch (6 mm) of cheese should be visible. Don’t wrap too tightly; the dough needs room to puff up. Press the end of the dough gently to seal it.
- Egg Wash and Bake (12-15 minutes): Place the wrapped mummies on your prepared baking sheet, seam-side down. In a small bowl, whisk the egg with a tablespoon of water. Brush each mummy lightly with the egg wash — this gives them that gorgeous golden color. Bake for 12-15 minutes, until the dough is golden brown and puffed, and the cheese is melted and bubbly. You’ll see little cheese peeking out from the gaps — that’s exactly what you want.
- Cool Slightly and Add Eyes (5 minutes): Let the mummies cool on the baking sheet for 2-3 minutes. They’re hot! While they cool, prepare your “eye” mixture. Put a tablespoon of marinara or ketchup in a small ziplock bag, snip a tiny corner, and pipe two small dots on each mummy’s visible cheese “face.” If you want extra-cute eyes, add a tiny dot of cream cheese or ranch dressing next to each red dot. My kids call them “spooky eyes.”
- Serve Immediately (1 minute): Transfer the mummies to a serving platter. Serve warm with extra marinara sauce and ranch dressing for dipping. Watch them disappear!
Troubleshooting Tips: If your dough tears while wrapping, just press it back together — it’ll seal during baking. If the cheese starts oozing out too much during baking, your dough strips might be too thin. Next time, cut them a bit wider. And if the eyes slide off, don’t worry — just call them “melting mummies” and move on. My first batch looked like zombie mummies, and the kids loved them anyway.
Cooking Tips & Techniques
After making these cheesy mummy pizza bites about twenty times (I’m not exaggerating), I’ve picked up a few tricks that make a real difference.
The Freezer Trick: I cannot stress this enough — freeze those cheese sticks for exactly 10 minutes. Not 5, not 15. Ten minutes is the sweet spot where the cheese firms up enough to hold its shape but isn’t frozen solid. The first time I made these, I skipped this step and the cheese started melting before I even got the dough wrapped around it. What a mess. Now I set a timer religiously.
Don’t Overwrap: I learned this one the hard way. My first few batches looked like doughy blobs because I wrapped the strips too tightly. The dough needs room to puff up during baking. Leave a tiny bit of space between each wrap — about 1/8 inch (3 mm). The mummies should look slightly loose, not like they’re in a straitjacket.
Egg Wash Like a Pro: A light coating is all you need. Too much egg wash and it’ll pool at the bottom of the mummy, making it soggy. I use a silicone brush and just swipe once over the top. The butter I add to the egg wash? That’s my secret for extra-golden, slightly crispy crust.
Timing Is Everything: These are best served within 10 minutes of coming out of the oven. If you’re making them for a party, assemble them ahead of time on the baking sheet, cover with plastic wrap, and refrigerate for up to 2 hours. Then just brush with egg wash and bake when you’re ready. They’ll still come out perfect.
What I Wish I’d Known: The first time I made these for a Halloween party, I forgot to leave the “face” gap. They came out looking like cheese-filled tubes with no personality. My oldest daughter looked at me and said, “Mom, these are just pizza rolls.” She wasn’t wrong. Now I always leave that little gap — it’s what makes them mummies instead of just weird wrapped cheese.
Variations & Adaptations
These kid-approved cheesy mummy pizza bites are endlessly adaptable. Here are some ways I’ve mixed them up over the years:
Dietary Variations:
- Gluten-Free: Use gluten-free pizza dough (I like the brand from Whole Foods or Trader Joe’s). Make sure your string cheese is also gluten-free — most are, but check the label.
- Vegetarian: Skip the pepperoni and add a small basil leaf or a sliver of roasted red pepper under the cheese before wrapping. The kids won’t even notice the difference.
- Dairy-Free: Use vegan mozzarella sticks and a dairy-free egg wash (just brush with melted vegan butter). Daiya makes a good option, though the texture is slightly different.
Flavor Twists:
- BBQ Chicken Mummies: Swap the marinara for BBQ sauce, add shredded cooked chicken under the cheese, and use cheddar string cheese instead of mozzarella. My husband’s favorite version.
- Buffalo Ranch Mummies: Mix a tablespoon of buffalo sauce into the cream cheese for the eyes, and serve with ranch dip. These are a hit at adult parties.
- Breakfast Mummies: Use crescent roll dough instead of pizza dough, wrap around breakfast sausage links, and serve with maple syrup for dipping. Yes, I’ve done this. Yes, it was amazing.
Seasonal Adaptations:
- Christmas Mummies: Add a tiny piece of red bell pepper for the eyes and arrange them on a platter shaped like a Christmas tree.
- Valentine’s Day: Use heart-shaped pepperoni and call them “Love Mummies.” My kids rolled their eyes, but they still ate them.
- Summer Picnic: Make them ahead and serve at room temperature. They’re actually pretty good cold, like mini pizza rolls.
My Personal Favorite Variation: I once made these with pesto instead of marinara, and added a tiny piece of sun-dried tomato under the cheese. The green pesto against the golden dough looked so festive. My kids called them “alien mummies,” which I thought was brilliant.
Serving & Storage Suggestions
These little guys are best served warm, but they’re surprisingly versatile when it comes to serving and storing.
Serving Temperature and Presentation: Serve the mummies warm on a platter, arranged in a “mummy graveyard” pattern. I like to put a bowl of warm marinara in the center and scatter a few “tombstone” crackers around. For Halloween parties, I sometimes add a little dry ice under the platter for a spooky effect — just make sure it’s food-safe and handled properly.
Complementary Dishes: These pair beautifully with a simple green salad for a complete meal. For parties, serve alongside other finger foods like veggie sticks with ranch dip, mini meatballs, or a bowl of popcorn. My kids love them with apple slices and a glass of milk — the sweet and savory combo is surprisingly good.
Storage Instructions: Store leftover mummies in an airtight container in the refrigerator for up to 3 days. The dough will soften slightly, but they’re still delicious. For longer storage, freeze the baked and cooled mummies in a single layer on a baking sheet, then transfer to a freezer bag. They’ll keep for up to 2 months.
Reheating Methods: The air fryer is my go-to for reheating. Pop them in at 350°F (175°C) for 3-4 minutes, and they come out almost as crispy as fresh. In the oven, reheat at 350°F for 5-7 minutes. Microwave works in a pinch (30 seconds), but the dough gets a bit soft. If you’re reheating from frozen, add 2-3 minutes to the air fryer or oven time.
How Flavors Develop: Honestly? These are best fresh. The cheese is perfectly melty, the dough is crispy, and the eyes are still distinct. That said, day-old mummies are still pretty great — the flavors meld together, and the cheese gets a little firmer, almost like a pizza roll. My husband actually prefers them cold straight from the fridge, but I think that’s weird.
Nutritional Information & Benefits
Let’s be real — these are a treat, not a health food. But they’re not as bad as you might think, especially compared to store-bought frozen snacks.
Estimated Nutritional Values (per serving of 3 mummies):
- Calories: 320
- Protein: 14g
- Carbohydrates: 28g
- Fat: 16g
- Saturated Fat: 8g
- Fiber: 1g
- Sodium: 680mg
Health Benefits of Key Ingredients: Mozzarella cheese is a good source of calcium and protein, which are essential for growing kids. The pizza dough provides carbohydrates for energy. If you add pepperoni, you’re getting a bit of iron and B vitamins. The marinara sauce counts as a vegetable serving — I tell my kids that every time.
Dietary Considerations: These mummies are not gluten-free, low-carb, or dairy-free in their standard form. But with the substitutions I mentioned earlier, you can adapt them to most dietary needs. They’re nut-free as written, which makes them school-friendly. The main allergens are wheat (gluten) and dairy (milk).
My Personal Wellness Perspective: I believe in balance. These mummies are a fun, occasional treat that brings joy to the table. They’re not an everyday dinner, but for Halloween parties, birthday sleepovers, or just a rainy Tuesday when everyone needs a smile? They’re perfect. I serve them with a big vegetable platter on the side and call it a win.
Conclusion
These kid-approved cheesy mummy pizza bites are proof that you don’t need fancy ingredients or hours in the kitchen to create something magical. They’re fun, affordable, and guaranteed to make everyone at your table smile. Whether you’re making them for a Halloween party, a school event, or just because it’s Tuesday and you need a win, they deliver every single time.
I love this recipe because it reminds me that the best ideas often come from desperation and a late-night fridge stare-down. It’s forgiving, adaptable, and so easy that my 7-year-old can almost make them by herself. And honestly? The way her face lights up when she sees her “mummies” come out of the oven is worth every bit of flour on the counter.
Now it’s your turn! I’d love to hear how your mummies turn out. Did you try a fun variation? Did your kids help with the wrapping? Drop a comment below and share your creation — and don’t forget to pin this recipe for later. Happy haunting, and happy eating!
Frequently Asked Questions
Can I make these ahead of time for a party?
Absolutely! Assemble the mummies up to 2 hours ahead, keep them covered in the fridge, and bake just before serving. You can also freeze them fully baked and reheat in the air fryer or oven.
My dough keeps tearing when I wrap the cheese. What am I doing wrong?
Your dough might be too cold or too thin. Let it sit at room temperature for 5 minutes before cutting, and make sure your strips are at least 1/2 inch wide. Also, don’t stretch the dough as you wrap — let it rest naturally around the cheese.
Can I use homemade pizza dough instead of canned?
Yes! Homemade dough works great. Just roll it out to about 1/4 inch thickness before cutting into strips. You might need to adjust the baking time by a minute or two depending on your dough recipe.
How do I get the eyes to stay on without sliding off?
Make sure the cheese is still slightly warm when you add the eyes — the heat helps the sauce stick. Also, use a thick sauce like marinara or ketchup, not a runny one. If they still slide, just call them “melting mummies” and go with it.
Can I make these in an air fryer instead of the oven?
Yes! Air fry at 375°F (190°C) for 8-10 minutes, flipping halfway through. They come out extra crispy. Just make sure your air fryer basket is large enough to hold them in a single layer without crowding.
Pin This Recipe!
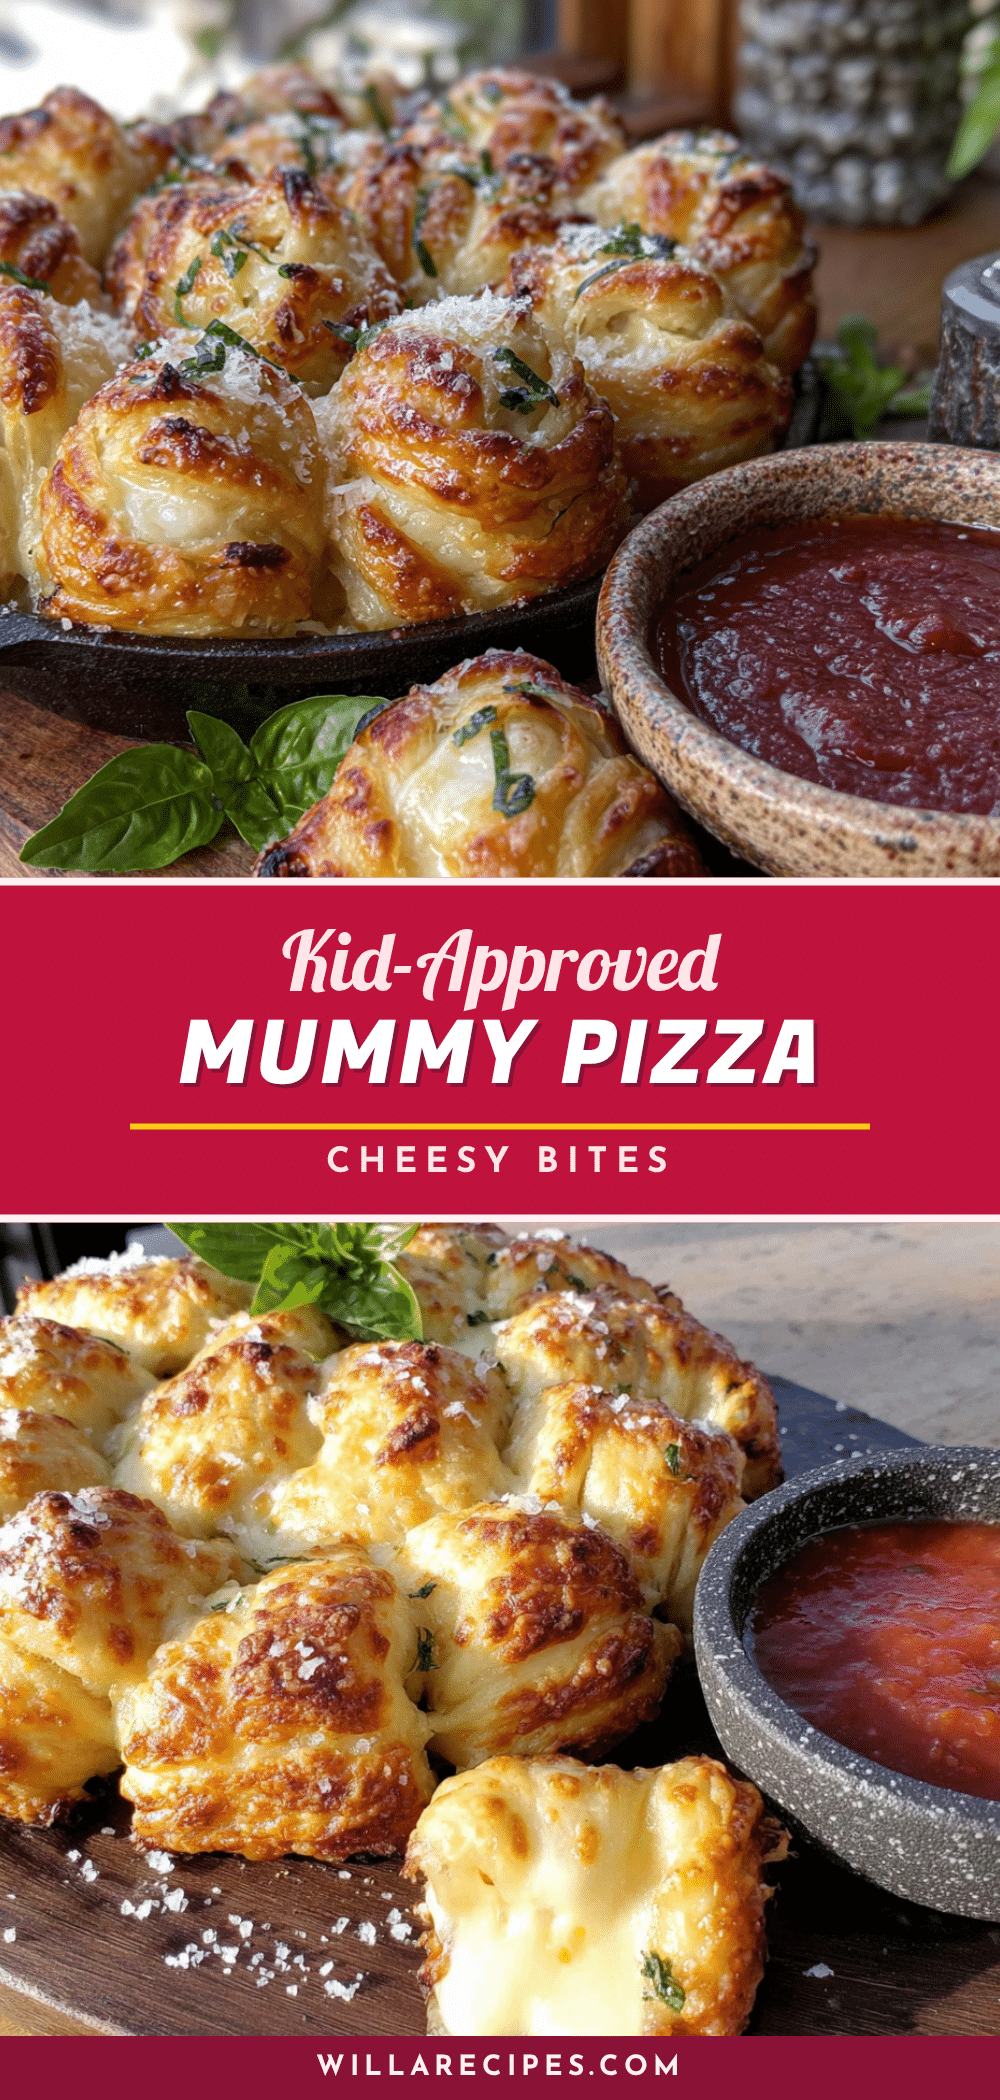
Easy Kid-Approved Cheesy Mummy Pizza Bites

Fun, budget-friendly pizza mummies made with refrigerated dough, mozzarella string cheese, and pepperoni. Ready in under 30 minutes, these adorable bites are perfect for Halloween parties or a weeknight dinner win.
- Prep Time: 15 minutes
- Cook Time: 12-15 minutes
- Total Time: 25 minutes
- Yield: 4 servings (12 mummies, 3 per serving) 1x
- Category: Appetizer
- Cuisine: American
Ingredients
- 1 can (13.8 oz / 390g) refrigerated pizza dough (e.g., Pillsbury)
- 6 mozzarella string cheese sticks, cut in half crosswise (12 pieces total)
- 24 pepperoni slices (optional)
- 1 large egg, beaten (for egg wash)
- 1 tablespoon melted butter
- 2 tablespoons marinara sauce or ketchup (for eyes)
- 24 small dots of cream cheese or ranch dressing (for white part of eyes, optional)
- Extra marinara sauce, warmed (for dipping)
- Ranch dressing (for dipping)
Instructions
- Preheat oven to 400°F (200°C). Line a baking sheet with parchment paper. Place string cheese sticks in the freezer for exactly 10 minutes.
- Unroll pizza dough onto a lightly floured surface. Cut into 12 strips, each about 1/2 inch (1.25 cm) wide and 6 inches (15 cm) long.
- Remove cheese from freezer. If using pepperoni, place one slice on top of each cheese stick half. Wrap a dough strip around each cheese stick, starting at one end and slightly overlapping, leaving a small gap at the top for the ‘face’ (about 1/4 inch / 6 mm of cheese visible). Press end to seal. Don’t wrap too tightly.
- Place wrapped mummies seam-side down on prepared baking sheet. Whisk egg with 1 tablespoon water; brush lightly over each mummy. Bake 12-15 minutes until golden brown and puffed, and cheese is melted and bubbly.
- Let cool on baking sheet 2-3 minutes. Place marinara or ketchup in a small ziplock bag, snip a tiny corner, and pipe two small dots on each mummy’s visible cheese ‘face.’ Optionally add a tiny dot of cream cheese or ranch next to each red dot.
- Serve warm with extra marinara and ranch for dipping.
Notes
Freeze cheese sticks for exactly 10 minutes for easier wrapping. Don’t overwrap; leave slight space for dough to puff. Best served within 10 minutes of baking. Assemble up to 2 hours ahead and refrigerate, then brush with egg wash and bake. For air fryer: cook at 375°F (190°C) for 8-10 minutes, flipping halfway.
Nutrition
- Serving Size: 3 mummies
- Calories: 320
- Sugar: 3
- Sodium: 680
- Fat: 16
- Saturated Fat: 8
- Carbohydrates: 28
- Fiber: 1
- Protein: 14
Keywords: mummy pizza bites, Halloween appetizer, kid-friendly, cheesy pizza bites, easy snack, pizza mummies


