My husband had refused to eat chicken pot pie for fifteen years. Fifteen years. He claimed it was “soggy,” “bland,” and “a waste of good chicken.” I’d nod along, secretly thinking he just hadn’t had a good one. But I wasn’t about to argue—let’s face it, I had better battles to pick. Then last November, on a particularly dreary Tuesday when the rain hadn’t stopped for three days straight, I made this version just for myself. I figured I’d have leftovers for the week. I pulled the whole thing out of the oven, golden and bubbling, puff pastry puffed up like a proud soufflé. I set it on the counter to cool, turned around to grab a spoon, and when I turned back, there he was. Standing at the counter. Fork in hand. Already pulling off a piece of that pastry.
He didn’t say a word. He just ate it, standing up, over the pot. I mean, honestly, the audacity. But I also knew—this was it. The one that cracked him. He finally looked at me and said, “Okay, this is different.” Different. That’s one word for it. I call it the recipe that proved me right after a decade and a half of quiet patience. Maybe you’ve been there, trying to convince someone that a dish can be more than its bad reputation. This one-pot chicken pot pie with puff pastry topping is the kind of recipe that changes minds without even trying. It just sits there, all warm and flaky and creamy, doing the work for you.
The secret isn’t complicated. It’s about texture—that crisp, buttery puff pastry meeting a silky, rich filling that actually tastes like something. No soggy bottoms here. No bland gravy. Just honest, cozy food that makes you close your eyes on that first bite. I’ve made it every month since that rainy Tuesday, and I’m not even a little bit sorry.
Why You’ll Love This Recipe
This isn’t just another chicken pot pie recipe that promises the world and delivers a soggy mess. After testing this at least a dozen times (my family has been very patient), I can tell you exactly why this version works when others don’t. It’s the one I reach for when I need comfort food that actually delivers, every single time.
- One-Pot Wonder: Everything comes together in a single Dutch oven or deep skillet. Less cleanup, more cozy time on the couch. You start it on the stovetop and finish it in the oven—no transferring, no extra dishes.
- Simple Ingredients: You probably have most of these in your kitchen right now. Chicken, butter, flour, milk, frozen veggies, and a sheet of puff pastry. No fancy grocery trips required for this weeknight hero.
- Perfect for Cold Weather: This is the meal you want when the wind is howling and you need something that feels like a hug from the inside out. It’s pure winter comfort in a pot.
- Crowd-Pleaser: My husband proved it—even self-proclaimed pot pie skeptics will go back for seconds. It’s rich enough to satisfy adults but familiar enough for kids to love.
- Unbelievably Delicious: The contrast between the flaky, golden puff pastry and the creamy, savory filling is honestly next-level. That first bite where the pastry shatters and the warm filling hits your tongue? Pure magic.
What makes this recipe different from the dozens of others out there is the technique. Most recipes either overcook the filling or end up with a soggy pastry. I found the sweet spot—pre-cooking the filling just enough so it’s thick and luscious, then topping it with puff pastry that bakes up tall and crispy. It’s comfort food reimagined: faster, easier, but with the same soul-soothing satisfaction that makes you want to curl up under a blanket afterward.
What Ingredients You Will Need
This recipe uses simple, wholesome ingredients that come together to create something truly special. Most are pantry staples, which means you can whip this up on a whim without a special trip to the store. Here’s what you’ll need and why each one matters.
For the Filling
- 2 tablespoons unsalted butter (I prefer Kerrygold for its rich flavor, but any good butter works)
- 1 medium yellow onion, diced (about 1 cup; yellow onions give the best savory base without being too sharp)
- 2 medium carrots, peeled and diced (about 1 cup; look for firm, bright orange carrots for sweetness)
- 2 celery stalks, diced (about 1/2 cup; adds that classic aromatic backbone)
- 3 cloves garlic, minced (fresh is non-negotiable here—jarred garlic won’t give the same punch)
- 1/3 cup all-purpose flour (this thickens the filling; you can use gluten-free all-purpose flour if needed)
- 2 cups low-sodium chicken broth (I use Swanson or homemade; low-sodium lets you control the salt)
- 1 cup whole milk (for richness; 2% works too but whole milk makes it extra creamy)
- 1/2 cup heavy cream (optional but highly recommended for that luxurious texture)
- 3 cups cooked chicken, shredded or diced (rotisserie chicken is my shortcut; about one whole chicken worth)
- 1 cup frozen peas (no need to thaw—they’ll cook perfectly in the filling)
- 1/2 cup frozen corn kernels (adds a touch of sweetness; optional but lovely)
- 1 teaspoon dried thyme (or 1 tablespoon fresh; thyme is the soul of this dish)
- 1/2 teaspoon dried rosemary (crush it between your fingers to release the oils)
- Salt and freshly ground black pepper (to taste; I use about 1 teaspoon salt and 1/2 teaspoon pepper)
For the Topping
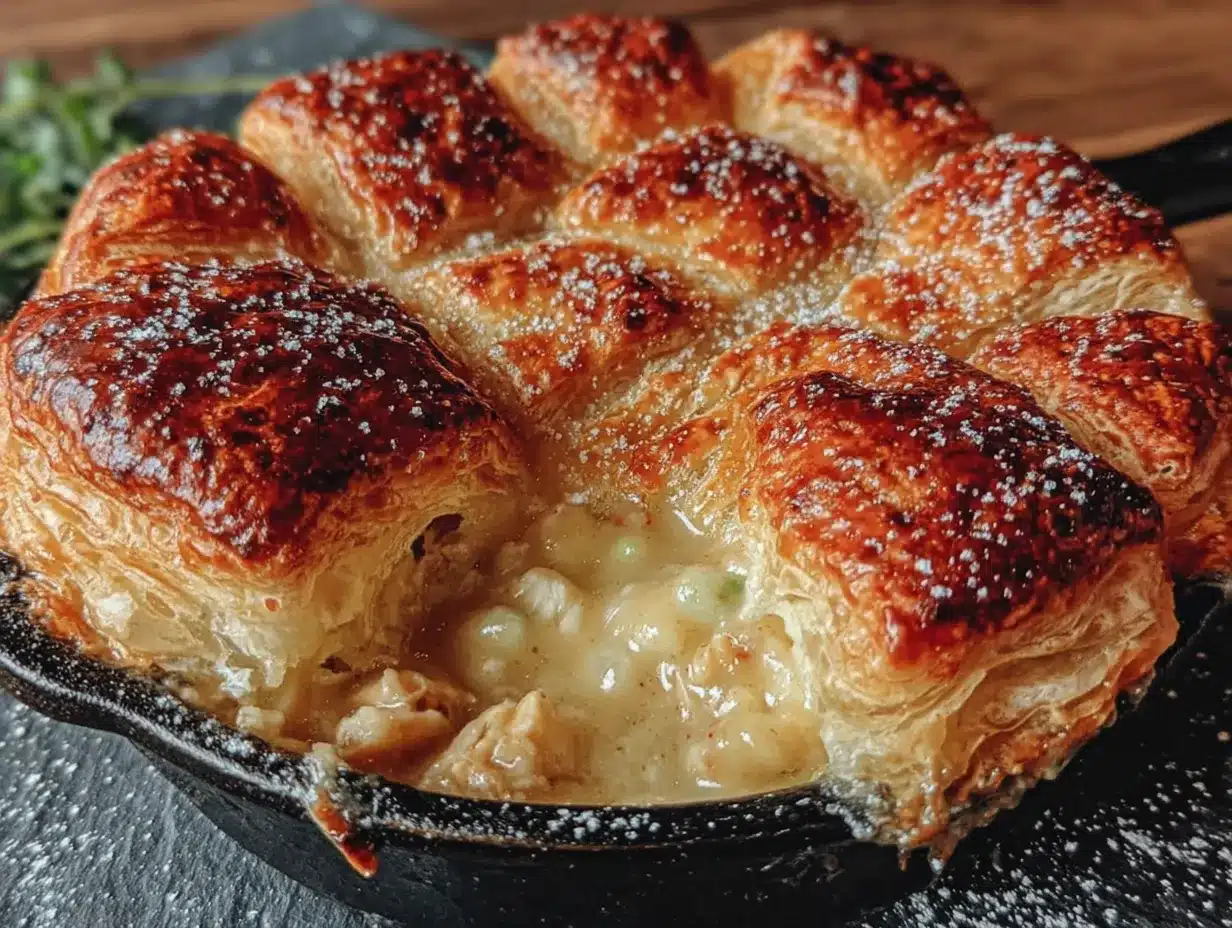
- 1 sheet frozen puff pastry, thawed (I use Pepperidge Farm; it’s reliable and widely available)
- 1 large egg, beaten (for the egg wash—this gives that gorgeous golden color)
- Flaky sea salt (a sprinkle on top before baking makes a difference)
Ingredient Selection Tips: When buying puff pastry, look for one that’s made with real butter if possible—it puffs up higher and tastes infinitely better. For the chicken, I almost always use a rotisserie chicken from the grocery store. It saves time and adds a little extra flavor from the seasoned skin. If you’re cooking your own chicken, poach it in the chicken broth you’ll use for the filling—it adds depth.
Substitution Guidance: Need to make this dairy-free? Use olive oil instead of butter, and substitute the milk and cream with unsweetened oat milk or full-fat coconut milk (the coconut flavor is subtle but works surprisingly well with the herbs). For a gluten-free version, use a gluten-free all-purpose flour blend in the filling and look for gluten-free puff pastry (it exists, but check the freezer section carefully).
Equipment Needed
One of the best things about this recipe is how little equipment it requires. You don’t need a pastry blender, a pie dish, or any specialty gadgets. Here’s what you’ll actually use:
- Large Dutch oven or deep oven-safe skillet (I use a 5.5-quart Le Creuset, but any heavy-bottomed pot that can go from stovetop to oven works. Lodge makes an excellent budget-friendly cast iron option)
- Sharp chef’s knife (for dicing vegetables; a dull knife makes prep take twice as long)
- Cutting board (wood or plastic—just make sure it’s stable)
- Wooden spoon or silicone spatula (for stirring the filling without scratching your pot)
- Measuring cups and spoons (accuracy matters for the flour and liquid ratios)
- Small bowl (for beating the egg wash)
- Pastry brush (for applying the egg wash; a silicone one is easy to clean)
- Oven mitts (the pot handle gets screaming hot—don’t forget these)
Budget-Friendly Alternatives: If you don’t have a Dutch oven, use a deep 12-inch cast iron skillet or even a 9×13-inch baking dish. Just cook the filling in a regular pot on the stovetop, transfer it to the baking dish, top with pastry, and bake. I’ve done it this way when my Dutch oven was in use for something else, and it works perfectly.
Maintenance Tip: After making this, let your pot cool completely before washing. A sudden temperature change can warp cast iron or enamel. Hand wash with mild soap and dry thoroughly—especially if you’re using cast iron, which needs to stay dry to prevent rust.
Preparation Method
Let me walk you through this step by step. I’ve made this so many times that I’ve got the rhythm down, and I’ll share all the little cues that tell you you’re on the right track.
- Preheat your oven to 400°F (200°C). Position the rack in the center. While it heats, take your puff pastry out of the fridge (if it was thawed there) and let it sit on the counter for about 10 minutes—it’s easier to work with when it’s cold but not rock-hard.
- Melt the butter in your Dutch oven over medium heat. Let it foam up and then settle down—that’s when it’s ready. Add the diced onion, carrots, and celery. Stir them around and let them cook for about 6-8 minutes, until the onions are translucent and the carrots have started to soften. You’ll smell that sweet, savory aroma filling your kitchen. That’s the good stuff.
- Add the minced garlic and stir for about 30 seconds, until it’s fragrant. Don’t let it brown—burnt garlic is bitter and will ruin the whole pot. Trust me, I learned this the hard way when I got distracted by a phone call.
- Sprinkle the flour over the vegetables and stir constantly for about 2 minutes. This cooks the raw flour taste out and creates a roux that will thicken your filling. It’ll look like a pasty mess at first—that’s normal. Keep stirring until it smells slightly nutty.
- Slowly pour in the chicken broth while whisking or stirring vigorously. Pour about a quarter at a time, stirring until smooth before adding more. This prevents lumps. The mixture will start to thicken almost immediately. Then pour in the milk and heavy cream, stirring until everything is combined and smooth.
- Bring the mixture to a gentle simmer—you’ll see small bubbles around the edges, not a rolling boil. Let it cook for 3-4 minutes, stirring occasionally, until it’s thickened enough to coat the back of a spoon. It should look like a thick gravy at this point.
- Stir in the cooked chicken, frozen peas, and frozen corn. Add the dried thyme, dried rosemary, salt, and pepper. Stir everything together and let it cook for another 2 minutes, just to warm the chicken through. Taste it and adjust the seasoning—this is your chance to get it right. I usually add another pinch of salt and a good crack of pepper here.
- Remove the pot from the heat. If your filling looks a little thin, don’t worry—it will thicken more as it bakes. If it looks too thick, add a splash more chicken broth.
- Prepare the puff pastry topping. On a lightly floured surface, gently roll out the thawed puff pastry sheet just enough to smooth out the creases. You want it to be about 1/8-inch thick. Cut it into a shape that fits your pot—I usually cut it into a rough circle about an inch larger than the pot’s diameter. Or, for a rustic look, just lay the whole sheet on top and let the edges hang over—it shrinks a bit as it bakes anyway.
- Place the pastry on top of the filling. It should sit directly on the filling, not stretched tight. Tuck the edges slightly inside the pot if they’re hanging way over. Cut 3-4 small slits in the top with a sharp knife—these vents let steam escape so the pastry stays crisp instead of getting steamy and soggy.
- Brush the pastry with the beaten egg wash, making sure to get the edges. Sprinkle with a pinch of flaky sea salt. This is what gives you that gorgeous, glossy, golden-brown top that looks like it came from a bakery.
- Bake for 20-25 minutes, until the pastry is puffed up and deep golden brown. The filling should be bubbling up around the edges. Let it rest for 10 minutes before serving—this is crucial. The filling needs time to set up, and the pastry needs to settle. If you dig in right away, you’ll get a runny mess and a burnt tongue.
Timing Note: From start to finish, this takes about 45 minutes of active time and 25 minutes of baking. If you use rotisserie chicken, you can have dinner on the table in just over an hour. Not bad for a meal that tastes like you spent all day on it.
Cooking Tips & Techniques
After making this recipe more times than I care to count, I’ve collected some hard-won wisdom. Let me save you from my mistakes.
Don’t Skip the Roux: The flour-butter mixture is what gives your filling that luscious, creamy texture. If you rush this step and don’t cook the flour long enough, your filling will taste raw and pasty. Cook it for the full 2 minutes, stirring constantly. You’re looking for it to turn a pale golden color and smell a little like toast.
The Cold Pastry Trick: Puff pastry works best when it’s cold. If it gets too warm while you’re working with it, pop it in the fridge for 10 minutes before baking. The contrast between the cold pastry and the hot oven is what creates those dramatic, flaky layers. I learned this after a batch that came out flat and sad because I left the pastry on the counter too long.
One Mistake I Made: The first time I made this, I used a too-small pot and the filling bubbled over onto the oven floor. Smoke everywhere. The fire alarm went off. My dog hid under the bed. Now I always make sure my pot has at least 2 inches of headspace above the filling. Better safe than sorry, honestly.
Multitasking Strategy: While the vegetables are cooking, shred your chicken if you haven’t already. While the filling simmers, roll out your pastry. This recipe moves fast, so having everything prepped and ready makes the process smooth and stress-free. I lay out all my ingredients before I start—mise en place, as the fancy chefs say. It just makes sense.
Consistency Check: If your filling seems too thin before baking, mix 1 tablespoon of cornstarch with 2 tablespoons of cold water and stir it in. Let it simmer for a minute—it’ll thicken right up. If it’s too thick, add broth a tablespoon at a time until it loosens. You want it to be pourable but not watery, like a thick soup that’s about to become a stew.
Variations & Adaptations
This recipe is wonderfully flexible. Here are some ways I’ve adapted it over the years, depending on what I have on hand or who I’m feeding.
1. The Mushroom & Leek Version
Swap the chicken for 3 cups of sliced cremini mushrooms and replace the onion with 2 leeks (white and light green parts only, cleaned well). Sauté the leeks and mushrooms until they release their liquid and start to brown—about 8 minutes. This version is deeply savory and feels a little more elegant. I made this for a friend who doesn’t eat meat, and she asked for the recipe before she finished her first bowl.
2. The Lighter, Creamless Version
Skip the heavy cream and use an extra 1/2 cup of milk instead. Replace the butter with 2 tablespoons of olive oil. The filling won’t be as rich, but it’s still creamy and satisfying. I make this version when I’m trying to eat a little lighter but still need that comfort food fix. It works surprisingly well—you honestly don’t miss the cream that much.
3. The Herb Garden Twist
In summer, I swap the dried herbs for fresh ones. Use 1 tablespoon each of fresh thyme leaves, chopped fresh rosemary, and chopped fresh parsley. Add the parsley at the very end, after you remove the pot from the heat, to keep its bright flavor. The fresh herbs make the whole dish taste brighter and more vibrant—perfect for those early fall days that are still warm but hint at the cold to come.
4. Biscuit Topping Alternative
If you don’t have puff pastry (or just want something different), drop spoonfuls of refrigerated biscuit dough on top of the filling and bake according to the biscuit package directions. It’s not as flaky, but it’s still delicious and even easier. I’ve done this on busy weeknights when I forgot to thaw the puff pastry—it’s my emergency backup plan.
Serving & Storage Suggestions
This dish is best served warm, straight from the oven, when the pastry is at its crispiest and the filling is hot and bubbling. Let it rest for those crucial 10 minutes first—I know it’s hard to wait, but it makes a difference. Serve it in shallow bowls with a big spoon so you can get every bit of that creamy filling and crunchy pastry in each bite.
What to Serve With It: A simple green salad with a bright vinaigrette is the perfect counterpoint to all that richness. I do a basic mix of arugula, lemon juice, olive oil, and salt. Or, go with roasted green beans or steamed broccoli—something green and simple. A glass of crisp white wine, like a Sauvignon Blanc, cuts through the creaminess beautifully. For non-alcoholic options, a sparkling water with lemon feels just right.
Storing Leftovers: If you have leftovers (lucky you), let the pot cool completely, then cover it tightly with foil or transfer the filling and pastry to separate containers. The pastry will lose its crispness in the fridge, so it’s best to store them separately. The filling keeps in the fridge for up to 4 days.
Reheating: The best way to reheat this is in the oven at 350°F for about 15-20 minutes, covered with foil. This warms the filling through without drying it out. If you stored the pastry separately, pop it in the oven for the last 5 minutes to re-crisp it. The microwave works in a pinch, but the pastry will be soft and the filling might separate. Honestly, it’s still tasty—just not as good as fresh.
Freezing: You can freeze the filling (without the pastry) for up to 3 months. Thaw it in the fridge overnight, reheat it in a pot, then top with fresh pastry and bake. I often make a double batch of filling and freeze half for a busy night. The flavors actually get better after a few weeks in the freezer—they meld together and deepen.
Nutritional Information & Benefits
While this is definitely comfort food, it’s not without its redeeming nutritional qualities. Here’s a rough breakdown per serving (assuming 6 servings):
| Nutrient | Amount per Serving |
|---|---|
| Calories | 485 |
| Protein | 32g |
| Carbohydrates | 35g |
| Fat | 24g |
| Saturated Fat | 12g |
| Fiber | 4g |
| Sodium | 680mg |
Health Highlights: The chicken provides a solid dose of lean protein, which keeps you full and satisfied. Carrots are packed with vitamin A and beta-carotene, while peas add fiber and a surprising amount of vitamin C. The celery contributes antioxidants and is low in calories. And honestly? Sometimes the mental health benefits of a warm, comforting meal are just as important as the nutritional ones. This is food that feeds more than just your stomach.
Dietary Considerations: This recipe contains gluten (from the flour and puff pastry) and dairy (butter, milk, cream). For a gluten-free version, use a gluten-free flour blend and gluten-free puff pastry. For a dairy-free version, use olive oil and unsweetened oat milk or full-fat coconut milk. The texture will be slightly different, but the comfort factor remains the same.
Conclusion
This one-pot chicken pot pie with puff pastry topping is the kind of recipe that earns a permanent spot in your rotation. It’s the meal I turn to when I need something reliable, something that feels like a warm blanket on a cold day. It’s proven itself over and over—on busy weeknights, on lazy Sundays, and even on that rainy Tuesday when it converted a fifteen-year skeptic.
I hope you make this your own. Adjust the herbs, swap in whatever vegetables you have, use leftover turkey after Thanksgiving. The beauty of this recipe is how forgiving it is. It wants to be made, and it wants to be shared. So invite someone over, or just make it for yourself and eat the leftovers all week—I won’t judge.
If you try this recipe, I’d love to hear about it. Leave a comment below and tell me how it turned out, or share a photo of your golden, puffed-up masterpiece. Did you add something unexpected? Did you convert a skeptic of your own? Let’s keep this comfort food conversation going—because honestly, the world could always use a little more cozy.
Frequently Asked Questions
Can I use a pie crust instead of puff pastry?
Absolutely. A homemade or store-bought pie crust will work, but the texture will be different—more like a traditional pot pie with a flaky bottom and top crust. If using pie crust, you’ll want to pre-bake the bottom crust for about 10 minutes at 400°F before adding the filling, then top with the second crust and bake until golden. Puff pastry gives you that dramatic, tall, shatteringly crisp topping that’s hard to beat, though.
How do I prevent the puff pastry from getting soggy?
The keys are making sure your filling is thick enough before baking (it should coat the back of a spoon), cutting vents in the pastry for steam to escape, and letting the pot rest for 10 minutes after baking. Also, don’t let the pastry sit on the hot filling for too long before it goes in the oven—get it in there quickly so it starts baking right away.
Can I make this ahead of time?
Yes, but with a caveat. You can make the filling up to 2 days ahead and keep it in the fridge. When you’re ready to bake, reheat the filling on the stovetop until it’s bubbling, then top with the puff pastry and bake. Don’t assemble the whole thing ahead of time, or the pastry will absorb moisture from the filling and won’t puff up properly.
What’s the best way to reheat leftovers?
The oven is your friend here. Reheat leftovers in a 350°F oven, covered with foil, for about 15-20 minutes. If you stored the pastry separately, add it for the last 5 minutes to re-crisp. The microwave works in a pinch but will make the pastry soft. Honestly, cold leftovers straight from the fridge are also pretty amazing—the filling sets up into a sort of savory pudding texture that I secretly love.
Can I use leftover turkey instead of chicken?
Yes, and this is a fantastic way to use up Thanksgiving leftovers. The recipe works exactly the same way with shredded or diced cooked turkey. In fact, I often make this the weekend after Thanksgiving with whatever turkey is left. It’s also great with leftover rotisserie chicken from the grocery store—my favorite shortcut for busy weeknights.
Pin This Recipe!
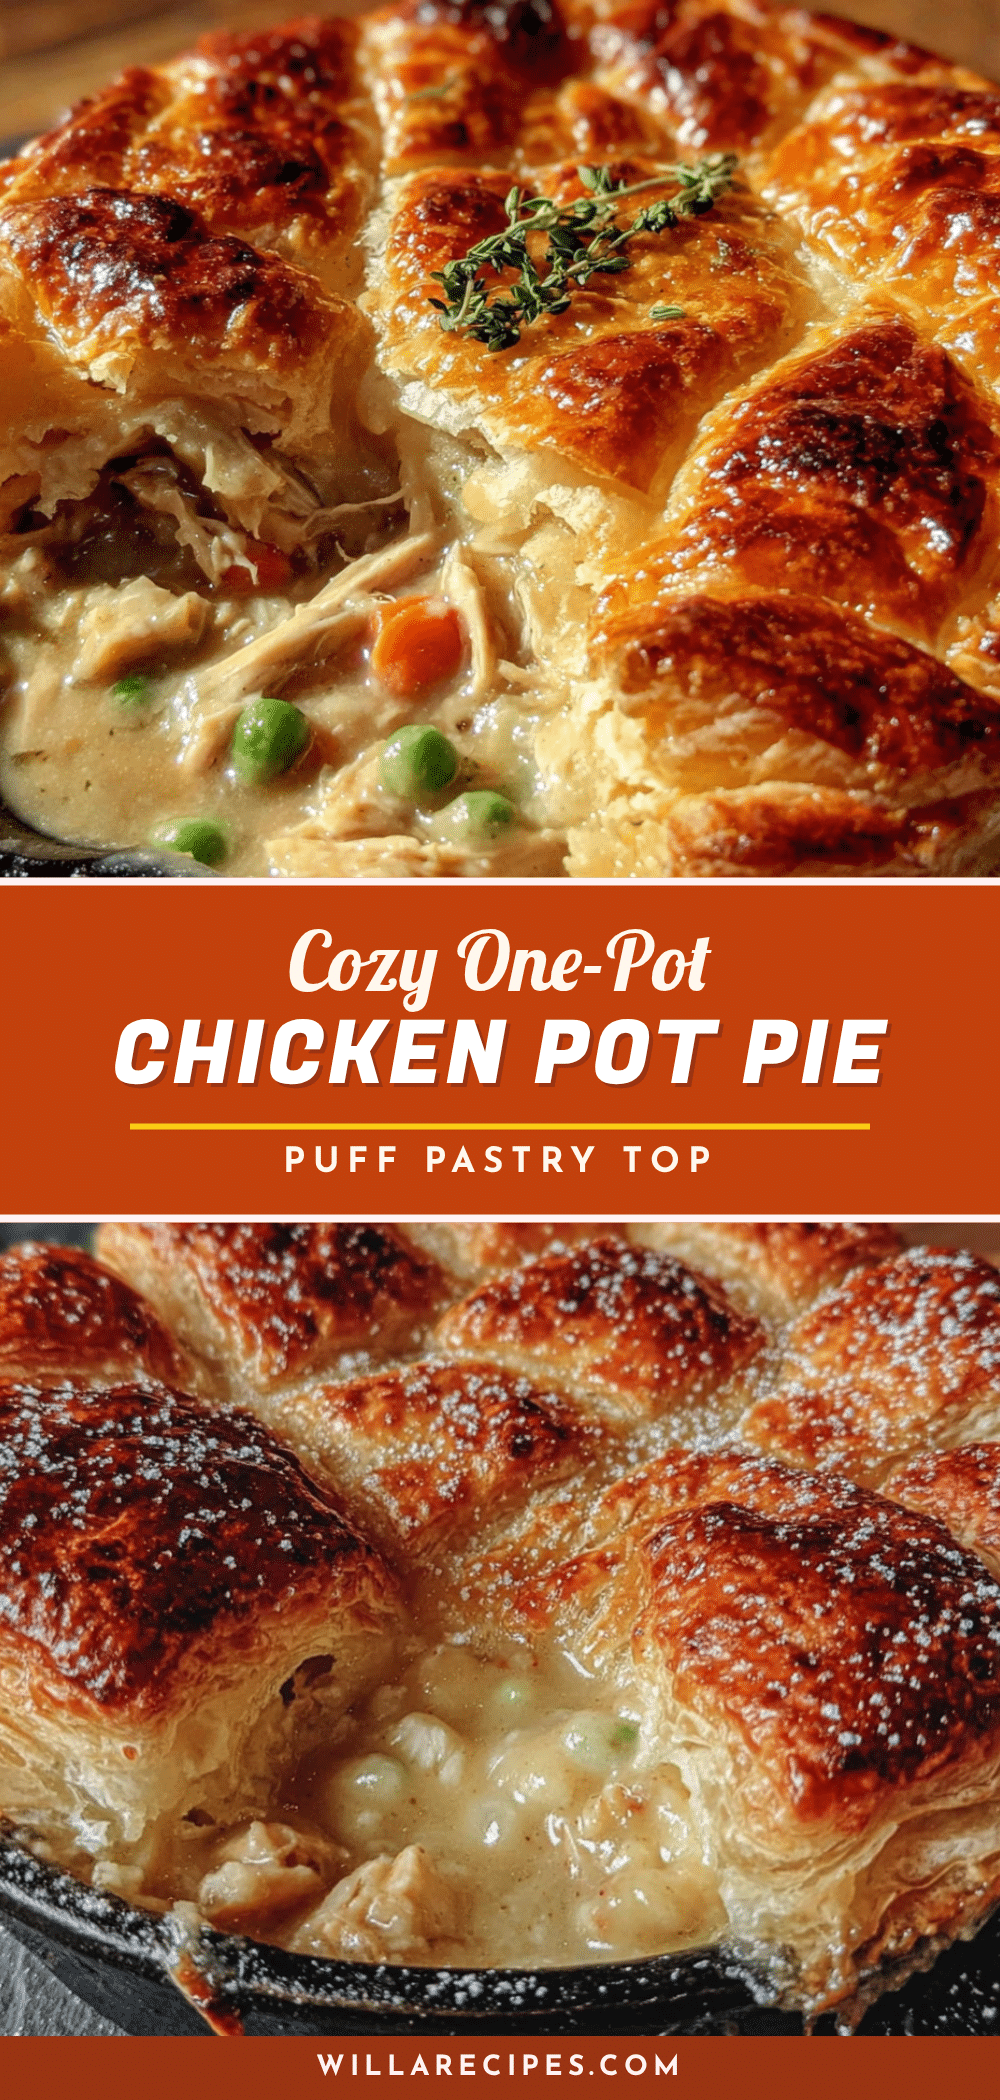
Cozy One-Pot Chicken Pot Pie with Puff Pastry – Easy Comfort Food

This one-pot chicken pot pie with puff pastry topping is the kind of recipe that changes minds without even trying. It’s all warm and flaky and creamy, with a crisp, buttery puff pastry meeting a silky, rich filling.
- Prep Time: 45 minutes
- Cook Time: 25 minutes
- Total Time: 1 hour 10 minutes
- Yield: 6 servings 1x
- Category: Main Course
- Cuisine: American
Ingredients
- 2 tablespoons unsalted butter
- 1 medium yellow onion, diced (about 1 cup)
- 2 medium carrots, peeled and diced (about 1 cup)
- 2 celery stalks, diced (about 1/2 cup)
- 3 cloves garlic, minced
- 1/3 cup all-purpose flour
- 2 cups low-sodium chicken broth
- 1 cup whole milk
- 1/2 cup heavy cream (optional but recommended)
- 3 cups cooked chicken, shredded or diced
- 1 cup frozen peas
- 1/2 cup frozen corn kernels (optional)
- 1 teaspoon dried thyme
- 1/2 teaspoon dried rosemary
- Salt and freshly ground black pepper (to taste; about 1 teaspoon salt and 1/2 teaspoon pepper)
- 1 sheet frozen puff pastry, thawed
- 1 large egg, beaten
- Flaky sea salt
Instructions
- Preheat your oven to 400°F (200°C). Position the rack in the center. While it heats, take your puff pastry out of the fridge and let it sit on the counter for about 10 minutes.
- Melt the butter in your Dutch oven over medium heat. Add the diced onion, carrots, and celery. Cook for about 6-8 minutes, until the onions are translucent and the carrots have started to soften.
- Add the minced garlic and stir for about 30 seconds, until fragrant. Do not let it brown.
- Sprinkle the flour over the vegetables and stir constantly for about 2 minutes, until it smells slightly nutty.
- Slowly pour in the chicken broth while whisking or stirring vigorously, adding about a quarter at a time and stirring until smooth. Then pour in the milk and heavy cream, stirring until combined and smooth.
- Bring the mixture to a gentle simmer and cook for 3-4 minutes, stirring occasionally, until thickened enough to coat the back of a spoon.
- Stir in the cooked chicken, frozen peas, frozen corn, dried thyme, dried rosemary, salt, and pepper. Cook for another 2 minutes. Taste and adjust seasoning.
- Remove the pot from the heat.
- On a lightly floured surface, gently roll out the thawed puff pastry sheet to about 1/8-inch thick. Cut it into a shape that fits your pot, about an inch larger than the pot’s diameter.
- Place the pastry on top of the filling. Tuck the edges slightly inside the pot if needed. Cut 3-4 small slits in the top with a sharp knife.
- Brush the pastry with the beaten egg wash and sprinkle with flaky sea salt.
- Bake for 20-25 minutes, until the pastry is puffed up and deep golden brown and the filling is bubbling around the edges. Let it rest for 10 minutes before serving.
Notes
Don’t skip the roux: cook the flour for the full 2 minutes to avoid a raw taste. Keep the puff pastry cold for best flakiness. Let the pot rest for 10 minutes after baking to allow the filling to set. For a gluten-free version, use gluten-free all-purpose flour and gluten-free puff pastry. For dairy-free, use olive oil instead of butter and unsweetened oat milk or full-fat coconut milk.
Nutrition
- Serving Size: 1 serving
- Calories: 485
- Sodium: 680
- Fat: 24
- Saturated Fat: 12
- Carbohydrates: 35
- Fiber: 4
- Protein: 32
Keywords: chicken pot pie, one-pot, puff pastry, comfort food, easy dinner, winter recipe


