The dinner party was in six hours and I’d completely forgotten I’d volunteered to bring the main course. Everyone else would be showing up with those perfectly curated dishes that take two days to prepare—you know the type. I had a pack of chicken thighs, a stick of butter, and about fifteen minutes of actual cooking energy left after a week that had kicked my butt. Honestly, I almost stopped for fried chicken on the way. But then I remembered this trick my grandmother used to do, where she’d get the skin so crispy it shatters when you bite into it, and I thought, well, let me just try. I mean, what’s the worst that could happen?
I threw those thighs into a screaming hot cast iron skillet, prayed the smoke alarm wouldn’t go off, and just let them do their thing. The sizzle was so loud my neighbor actually knocked to ask if I was okay. I wasn’t—I was covered in flour and butter splatters, and I’d forgotten to set a timer. But that golden, crackling skin? It looked like something from a food magazine, not my chaotic Wednesday night kitchen. And when everyone at that party took their first bite and went completely silent? That’s when I knew I’d accidentally stumbled onto something special.
This recipe for Crispy Garlic Butter Chicken Thighs has bailed me out of more hosting emergencies than I can count. It’s the dish I bring when I need to look like I tried really hard when I actually tried really minimally. The garlic butter sauce is glossy and rich, the skin is audibly crunchy, and the whole thing comes together in one skillet with basically zero fancy techniques. If you’ve ever stood in the grocery store aisle panicking about what to bring to a dinner party, this one’s for you. It’s become my signature move, and I didn’t even mean for it to happen.
Why You’ll Love This Recipe
Let me tell you why this isn’t just another chicken recipe. After testing this dish for about a dozen dinner parties, potlucks, and family gatherings, I can say with total confidence that it delivers every single time. I’ve had friends text me the next morning asking for the recipe. I’ve watched picky eaters go back for thirds. It’s the kind of dish that makes you look like a kitchen hero without the stress.
- Quick & Easy: You’re looking at about 35 minutes from start to finish. That’s less time than it takes to decide what to watch on Netflix. Perfect for those “oh no, the guests arrive in an hour” moments.
- Simple Ingredients: Chicken thighs, butter, garlic, and a few pantry staples. No trips to a specialty store. No hunting for obscure spices. You probably have everything right now.
- Perfect for Hosting: This dish was born for dinner parties. It scales beautifully, it’s forgiving if you need to keep it warm, and it looks incredibly impressive on a platter. Your guests will think you slaved away for hours.
- Crowd-Pleaser: I’ve served this to kids, grandparents, and that one friend who claims they “don’t really like chicken.” Everyone loves it. The crispy skin and garlic butter are universally adored.
- Unbelievably Delicious: The contrast between the shatteringly crisp skin and the tender, juicy meat is next-level. And that garlic butter sauce? You’ll want to drink it with a straw.
What sets this recipe apart is the technique. Most recipes either get the skin crispy but dry out the meat, or they keep the meat juicy but the skin ends up flabby. This method uses a simple trick—starting the chicken in a cold pan—that ensures perfectly rendered, crackling skin while keeping the inside incredibly moist. I learned this from a chef friend who swears by it, and it’s never failed me. It’s not just another version of garlic butter chicken; it’s the best version.
This recipe is comfort food at its finest. It’s the kind of meal that makes everyone at the table close their eyes after the first bite. And when you’re hosting, that moment of collective satisfaction is worth everything. No stress, no fuss, just really, really good chicken.
What Ingredients You Will Need
This recipe uses simple, honest ingredients to create something truly special. The beauty of these Crispy Garlic Butter Chicken Thighs is that everything is a kitchen staple, yet the combination creates magic. Here’s what you’ll need and why each ingredient matters.
- Chicken Thighs (bone-in, skin-on): 6-8 thighs (about 2.5 to 3 pounds). This is non-negotiable for the best texture. The bone keeps the meat juicy during cooking, and the skin is what gives you that incredible crunch. I prefer buying from a local butcher or a trusted brand like Bell & Evans for the best quality. If you can only find skinless, this recipe won’t work the same way—the skin is the star.
- Unsalted Butter: 4 tablespoons (half a stick). Using unsalted lets you control the salt level. Kerrygold is my go-to for its rich, creamy flavor, but any good quality butter works. Don’t substitute margarine—the flavor and browning won’t be the same.
- Garlic: 6-8 cloves, minced. Fresh garlic is a must here. The pre-minced stuff in a jar will burn and turn bitter. I like to use a microplane to grate it finely so it melts into the butter. You want that pungent, aromatic garlic flavor that coats every bite.
- Olive Oil: 1 tablespoon. This helps the butter from burning and gives the skin an extra crispy boost. A good extra virgin olive oil adds a subtle fruitiness, but regular olive oil works fine too.
- Salt: 1 teaspoon, plus more for seasoning. I use kosher salt like Diamond Crystal for its clean flavor and easy pinchability. It draws out moisture from the skin, which is key for crispiness.
- Black Pepper: ½ teaspoon, freshly ground. Freshly ground pepper makes a noticeable difference. Pre-ground pepper just doesn’t have the same punch.
- Paprika: 1 teaspoon. This is my secret weapon. It adds a beautiful color and a subtle smokiness that complements the garlic butter perfectly. Smoked paprika is even better if you have it.
- Garlic Powder: ½ teaspoon. Yes, we’re using fresh garlic too. The powder adds a deeper, more rounded garlic flavor that doesn’t burn. It’s a little trick I picked up from a restaurant kitchen.
- Dried Thyme: 1 teaspoon. Thyme and chicken are a classic pairing. The earthy, slightly floral notes cut through the richness of the butter. Fresh thyme works too—just use 1 tablespoon of leaves.
- Chicken Broth: ¼ cup. This deglazes the pan and creates the base for the sauce. Low-sodium is best so you can control the salt. Swanson’s or homemade are both great options.
- Fresh Parsley: 2 tablespoons, chopped. For garnish. It adds a pop of color and a fresh, clean finish that balances the richness. Don’t skip it—it makes the dish look restaurant-quality.
- Lemon Juice: 1 tablespoon, fresh squeezed. This brightens the whole dish. The acidity cuts through the butter and makes the flavors sing. Bottled lemon juice won’t give you the same fresh zing.
For substitutions, you can use chicken legs or even a whole cut-up chicken, but adjust cooking times accordingly. If you’re dairy-free, use a high-quality vegan butter, but note that the sauce won’t be as rich. And if you’re out of fresh garlic, shallots make a lovely alternative—just use about 3 tablespoons finely minced.
Equipment Needed
You don’t need a fancy kitchen to make these Crispy Garlic Butter Chicken Thighs. In fact, I’ve made this in a tiny apartment kitchen with minimal tools. Here’s what you’ll need:
- Large Cast Iron Skillet (12-inch): This is my top recommendation. Cast iron holds heat beautifully and gives you that perfect, even sear. If you don’t have one, a heavy-bottomed stainless steel or non-stick skillet works too. Just avoid thin pans—they won’t get hot enough for crispy skin.
- Tongs: A good pair of metal tongs makes flipping the chicken easy and safe. Silicone-tipped ones are fine, but metal ones give you better grip.
- Meat Thermometer: This is worth its weight in gold. Chicken thighs are done at 165°F (74°C), but I pull them at 160°F (71°C) because they continue cooking as they rest. An instant-read thermometer like a Thermapen is my favorite.
- Cutting Board: For patting the chicken dry and chopping garlic and herbs. Wood or plastic, doesn’t matter. Just make sure it’s clean.
- Paper Towels: Absolutely essential. Patting the chicken dry is the number one secret to crispy skin. Use more than you think you need.
- Small Bowl: For mixing the seasoning. I use a little ramekin.
- Microplane or Garlic Press: For mincing the garlic finely. A sharp knife works too, but the microplane gets it so fine it practically dissolves into the butter.
If you don’t have a cast iron skillet, don’t worry. I’ve used a stainless steel pan many times with great results. Just make sure to preheat it properly. And if you’re on a budget, a Lodge cast iron skillet is about $20 and will last forever. I’ve had mine for over a decade.
Preparation Method
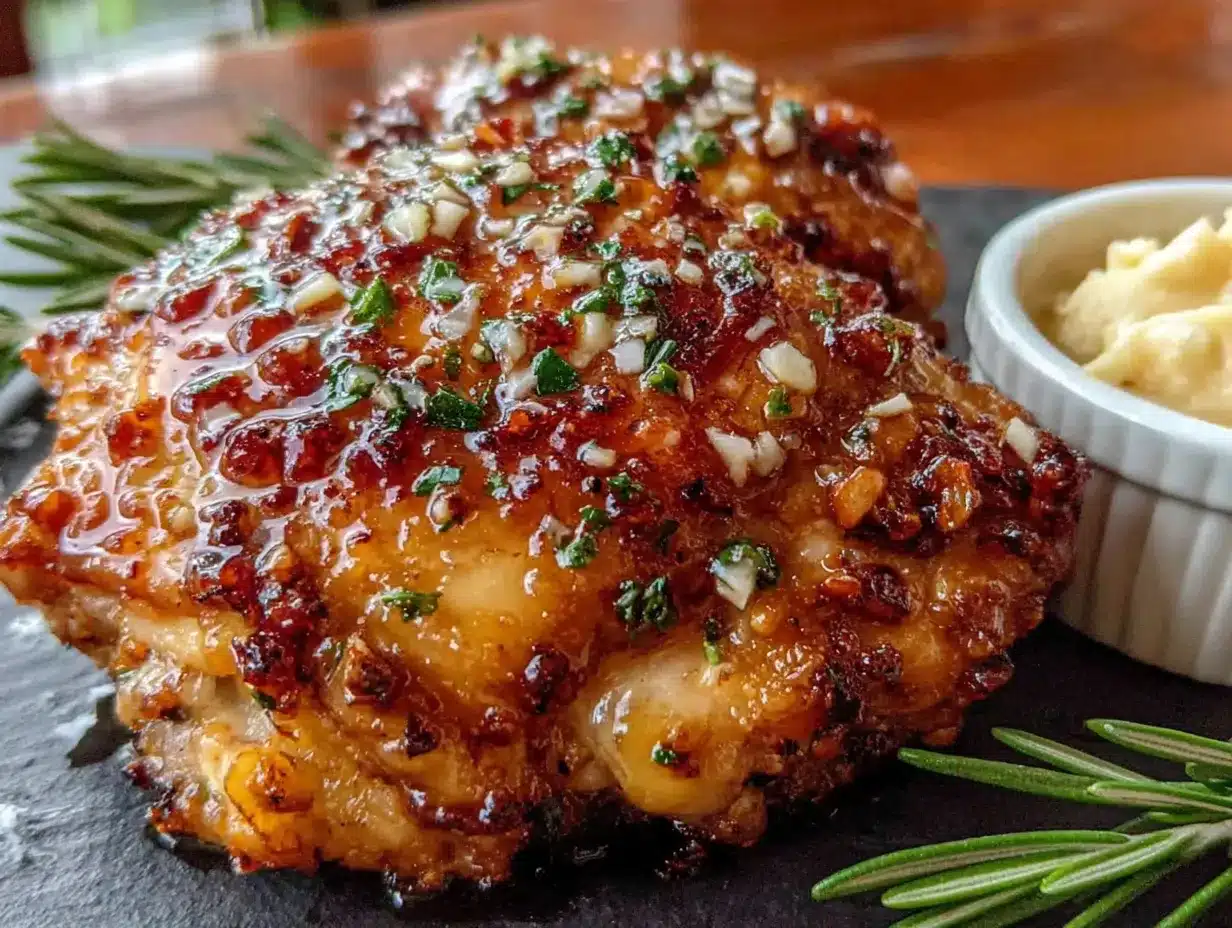
Let’s get cooking. This method is designed to give you perfectly crispy skin and juicy meat every single time. Follow these steps, and you’ll have a dish that steals the show at any gathering.
- Prep the Chicken (5 minutes): Take your chicken thighs out of the fridge about 20 minutes before cooking. This helps them cook more evenly. Pat them extremely dry with paper towels—I mean really dry. Moisture is the enemy of crispy skin. I usually go through about 5-6 paper towels per batch. Don’t skip this step, or you’ll end up with steamed, not crispy, chicken.
- Season Generously (3 minutes): In a small bowl, mix together 1 teaspoon salt, ½ teaspoon black pepper, 1 teaspoon paprika, ½ teaspoon garlic powder, and 1 teaspoon dried thyme. Sprinkle this mixture all over the chicken thighs, making sure to get the underside too. Rub it in gently. Let the seasoned chicken sit for 10 minutes at room temperature. This allows the salt to start drawing out moisture, which will help the skin get even crispier.
- Preheat Your Skillet (3 minutes): Place your cast iron skillet over medium-high heat. Add 1 tablespoon of olive oil and 2 tablespoons of the butter. Swirl the pan until the butter is melted and foamy. You want the pan hot but not smoking—if it starts smoking, reduce the heat slightly. A drop of water should sizzle and evaporate immediately when the pan is ready.
- Sear the Chicken (12-15 minutes): Place the chicken thighs skin-side down in the hot skillet. Be careful—it will sizzle loudly. Do not crowd the pan. If your skillet isn’t large enough, cook in batches. Leave the chicken alone for 6-7 minutes. I know it’s tempting to peek, but let that skin develop a deep golden crust. After 6 minutes, use your tongs to gently lift a corner and check. It should be a beautiful, deep amber color. If it’s not there yet, give it another minute. Flip the chicken and cook for another 5-6 minutes on the other side. The internal temperature should be around 160°F (71°C) when you insert the thermometer into the thickest part without touching the bone.
- Make the Garlic Butter Sauce (5 minutes): Remove the chicken from the skillet and set it on a plate. Don’t wipe the pan clean—all those browned bits are flavor gold. Reduce the heat to medium-low. Add the remaining 2 tablespoons of butter and the minced garlic. Stir constantly for about 30-45 seconds until the garlic is fragrant. Be careful not to let it burn—burnt garlic is bitter. Pour in the ¼ cup of chicken broth and scrape up all those browned bits from the bottom of the pan with a wooden spoon. Let it simmer for 1-2 minutes until slightly thickened. Stir in the fresh lemon juice and taste. Adjust salt and pepper if needed.
- Finish and Serve (5 minutes): Return the chicken thighs to the skillet, spooning the garlic butter sauce over the top. Let them warm through for about 2 minutes. Sprinkle with fresh chopped parsley. Transfer to a serving platter and pour any remaining sauce over the top. Let the chicken rest for 5 minutes before serving—this allows the juices to redistribute and keeps the meat incredibly tender.
A few notes from my experience: If the skin isn’t crispy enough after searing, you can finish the chicken under the broiler for 1-2 minutes. Just watch it closely—it can burn quickly. And if your sauce seems too thin, let it simmer a minute longer. If it’s too thick, add a splash more broth. The sauce should coat the back of a spoon.
Cooking Tips & Techniques
After making this recipe dozens of times, I’ve learned a few things the hard way. Here are my best tips for perfect Crispy Garlic Butter Chicken Thighs every single time.
Start with a cold pan for extra crispy skin. I know this sounds counterintuitive, but hear me out. Place the seasoned chicken skin-side down in a cold skillet, then turn the heat to medium. As the pan slowly heats up, the fat renders out gradually, giving you incredibly crispy skin without burning the butter. I learned this trick from a chef who said it’s the secret to the best fried chicken. It takes a few minutes longer, but the results are worth it.
Don’t flip too early. This is the most common mistake I see. The chicken will naturally release from the pan when it’s ready to flip. If you try to flip it and it sticks, it’s not ready yet. Give it another minute or two. Forcing it will tear the skin and ruin your crispy crust. Patience is your friend here.
Use a splatter guard. Chicken fat pops and sizzles, and it will make a mess of your stovetop. I learned this the messy way after spending 20 minutes scrubbing grease off my backsplash. A simple mesh splatter guard costs about $10 and saves so much cleanup time.
Keep the sauce warm but not boiling. Once you add the garlic, keep the heat low. High heat will burn the garlic and make the sauce bitter. If you need to keep the chicken warm while you finish other dishes, place the skillet in a 200°F (93°C) oven. The chicken will stay juicy for up to 30 minutes.
Double the sauce. Seriously. The garlic butter sauce is the best part, and you’ll want extra for drizzling over rice, potatoes, or vegetables. I always make a double batch now because my guests inevitably ask for more. Just use 4 tablespoons butter, 12 cloves garlic, and ½ cup broth.
Let the chicken rest. I know you’re hungry, and your guests are waiting, but that 5-minute rest is crucial. It allows the juices to settle back into the meat. If you cut into it immediately, all those delicious juices will run out onto the plate, leaving you with dry chicken. Trust me on this one.
One of my biggest failures was the time I tried to rush the process. I had guests arriving in 30 minutes, so I cranked the heat up high. The skin burned on the outside while the inside was still raw. I had to start over, and I was 15 minutes late serving dinner. Lesson learned: low and slow for the win.
Variations & Adaptations
This recipe is wonderfully versatile. Here are some ways to adapt it for different tastes, diets, and occasions.
Spicy Honey Garlic Butter Chicken: Add 1 tablespoon of honey and ½ teaspoon of red pepper flakes to the sauce along with the garlic. The sweetness balances the heat perfectly, and it gives the chicken a beautiful glossy finish. I made this for a game day party, and it disappeared in minutes. The honey also helps the sauce caramelize beautifully.
Lemon Herb Variation: Replace the dried thyme with 1 tablespoon of fresh rosemary and 1 teaspoon of fresh oregano. Add an extra squeeze of lemon juice at the end. This version is brighter and more herbaceous, perfect for spring or summer gatherings. I served this alongside a fresh green salad and some crusty bread for a light but satisfying meal.
Creamy Garlic Butter Sauce: After making the basic sauce, stir in ¼ cup of heavy cream or half-and-half. Let it simmer for 2-3 minutes until thickened. This creates a richer, more indulgent sauce that’s incredible over mashed potatoes. My neighbor, who is a self-proclaimed “cream sauce connoisseur,” said this was the best she’d ever had.
Dietary Adaptations: For a dairy-free version, use ghee or a high-quality vegan butter. The flavor will be slightly different, but it still works beautifully. For a lower-fat option, you can remove the skin before serving, though you’ll lose the crispy texture. If you’re watching your sodium, use low-sodium broth and reduce the added salt to ½ teaspoon. You can always add more at the table.
Oven-Baked Method: If you’re cooking for a crowd and don’t want to stand over the stove, you can bake these. Sear the chicken skin-side down in an oven-safe skillet for 5 minutes, then flip and transfer the skillet to a 400°F (200°C) oven for 20-25 minutes. Make the sauce on the stovetop while the chicken bakes. This method is great for feeding 10-12 people without the stress of stovetop management.
I personally love the spicy honey version for fall gatherings. The warmth of the honey and the kick of the chili flakes just feel cozy and comforting. It’s become my go-to for Friendsgiving.
Serving & Storage Suggestions
These Crispy Garlic Butter Chicken Thighs are incredibly versatile when it comes to serving. Here’s how to make the most of them.
Serving Temperature: Serve the chicken hot, straight from the skillet. The sauce should be bubbling and fragrant. I like to transfer the chicken to a warm platter and pour the sauce over the top just before serving. Garnish with fresh parsley and a few lemon wedges for a beautiful presentation.
What to Serve Alongside: This dish pairs beautifully with so many sides. For a complete dinner party menu, I love serving it with creamy mashed potatoes to soak up the garlic butter sauce. A simple arugula salad with lemon vinaigrette cuts through the richness perfectly. Roasted asparagus or green beans add a nice crunch. And crusty bread is non-negotiable—you’ll want to wipe the plate clean. For a lighter option, serve over cauliflower rice or with a side of roasted vegetables.
Presentation Tips for Hosting: Arrange the chicken thighs on a large wooden board or a white platter. Drizzle the sauce over the top and sprinkle with fresh herbs. Add lemon wedges and a few sprigs of fresh thyme for color. This dish looks stunning on a buffet table or passed around family-style. Your guests will be impressed before they even take a bite.
Storage Instructions: Store leftover chicken in an airtight container in the refrigerator for up to 4 days. The flavors actually deepen overnight, making leftovers even more delicious. To reheat, place the chicken in a skillet over medium-low heat with a splash of broth or water. Cover and heat for 5-7 minutes until warmed through. This method keeps the meat moist. You can also reheat in a 350°F (175°C) oven for 10-12 minutes. Avoid the microwave—it will make the skin soggy.
Freezing: These chicken thighs freeze beautifully. Place cooled chicken in a freezer-safe container, cover with the sauce, and freeze for up to 3 months. Thaw overnight in the refrigerator and reheat as directed. The skin won’t be as crispy after freezing, but the flavor will still be fantastic. I often make a double batch and freeze half for busy weeknights.
Flavor Development: The sauce will thicken slightly as it sits, and the garlic flavor will mellow and become sweeter. Leftovers are perfect for shredding and using in sandwiches, salads, or pasta the next day. I’ve been known to make extra just for this purpose.
Nutritional Information & Benefits
While this dish is indulgent, it also offers some nutritional benefits. Here’s a breakdown for one serving (one thigh with sauce).
| Nutrient | Amount per Serving |
|---|---|
| Calories | 385 |
| Protein | 28g |
| Fat | 28g |
| Saturated Fat | 12g |
| Carbohydrates | 3g |
| Fiber | 0g |
| Sugar | 1g |
| Sodium | 520mg |
Health Benefits: Chicken thighs are a great source of high-quality protein, which is essential for muscle repair and growth. They’re also rich in B vitamins, particularly B6 and B12, which support energy metabolism and brain function. The garlic in this recipe is known for its immune-boosting properties and contains compounds that may help reduce blood pressure. Butter provides fat-soluble vitamins A, D, E, and K, though it should be enjoyed in moderation.
Dietary Considerations: This recipe is naturally gluten-free and low-carb, making it suitable for keto and paleo diets. It contains dairy from the butter, but as mentioned, you can substitute with ghee or vegan butter. The dish is also nut-free and egg-free. If you’re watching your saturated fat intake, you can reduce the butter to 2 tablespoons and use olive oil for the rest.
Personal Wellness Perspective: I believe in balance. This dish is rich and indulgent, and that’s okay. Pair it with a big green salad or roasted vegetables, and you’ve got a satisfying, nourishing meal. Food should be enjoyed, not feared. This recipe brings people together, and that’s its greatest benefit.
Conclusion
These Crispy Garlic Butter Chicken Thighs have become my signature dish for a reason. They’re simple enough for a weeknight dinner but impressive enough for a dinner party. The combination of shatteringly crisp skin, juicy meat, and that luscious garlic butter sauce is absolutely unbeatable. Every time I make them, I’m reminded that you don’t need fancy techniques or exotic ingredients to create something truly memorable.
I love this recipe because it’s forgiving. It doesn’t require precision or a lot of experience. It’s the kind of dish that makes you feel like a confident cook, even on days when you’re rushing. And the best part? It never fails to bring smiles to the table. Whether you’re hosting a holiday gathering, a casual dinner with friends, or just treating yourself on a Tuesday night, this recipe delivers.
So go ahead and give it a try. Customize it with your favorite herbs, adjust the spice level, or double the sauce—make it your own. And when you do, I’d love to hear about it. Leave a comment below and tell me how it turned out. Did you add your own twist? Did your guests go silent after the first bite? Share your stories and your photos. Let’s build a community of crispy chicken lovers together.
Happy cooking, and remember—the best recipes are the ones you share.
Frequently Asked Questions
Can I use chicken breasts instead of thighs?
You can, but the results will be different. Chicken breasts are leaner and can dry out more easily. If you use breasts, reduce the cooking time to about 4-5 minutes per side and check the internal temperature early. The skin may not get as crispy because there’s less fat to render. I recommend sticking with thighs for the best texture and flavor.
Why is my chicken skin not getting crispy?
This is usually due to moisture. Make sure you pat the chicken extremely dry with paper towels before seasoning. Also, don’t crowd the pan—the chicken needs space for the moisture to evaporate. If the pan is too full, the chicken will steam instead of sear. Finally, make sure your pan is hot enough before adding the chicken. A drop of water should sizzle immediately.
Can I make this recipe ahead of time?
Yes, with a few adjustments. You can sear the chicken and make the sauce up to 24 hours in advance. Store them separately in the refrigerator. When you’re ready to serve, reheat the chicken in a 350°F (175°C) oven for 10-12 minutes, then warm the sauce on the stovetop and pour it over the top. The skin won’t be quite as crispy as fresh, but it will still be delicious.
How do I prevent the garlic from burning?
Garlic burns quickly because of its high sugar content. Always add it to the pan after you’ve removed the chicken and reduced the heat to medium-low. Stir it constantly for just 30-45 seconds until it’s fragrant. If it starts to turn brown, remove the pan from the heat immediately. Burnt garlic tastes bitter and can ruin the sauce.
What can I do with the leftover garlic butter sauce?
The sauce is incredibly versatile. Use it to drizzle over roasted vegetables, toss with pasta, spread on crusty bread, or spoon over rice. It also makes a fantastic dipping sauce for bread or roasted potatoes. I’ve even used it as a base for salad dressing by whisking in a little extra lemon juice and olive oil. Store any leftover sauce in the refrigerator for up to a week.
Pin This Recipe!
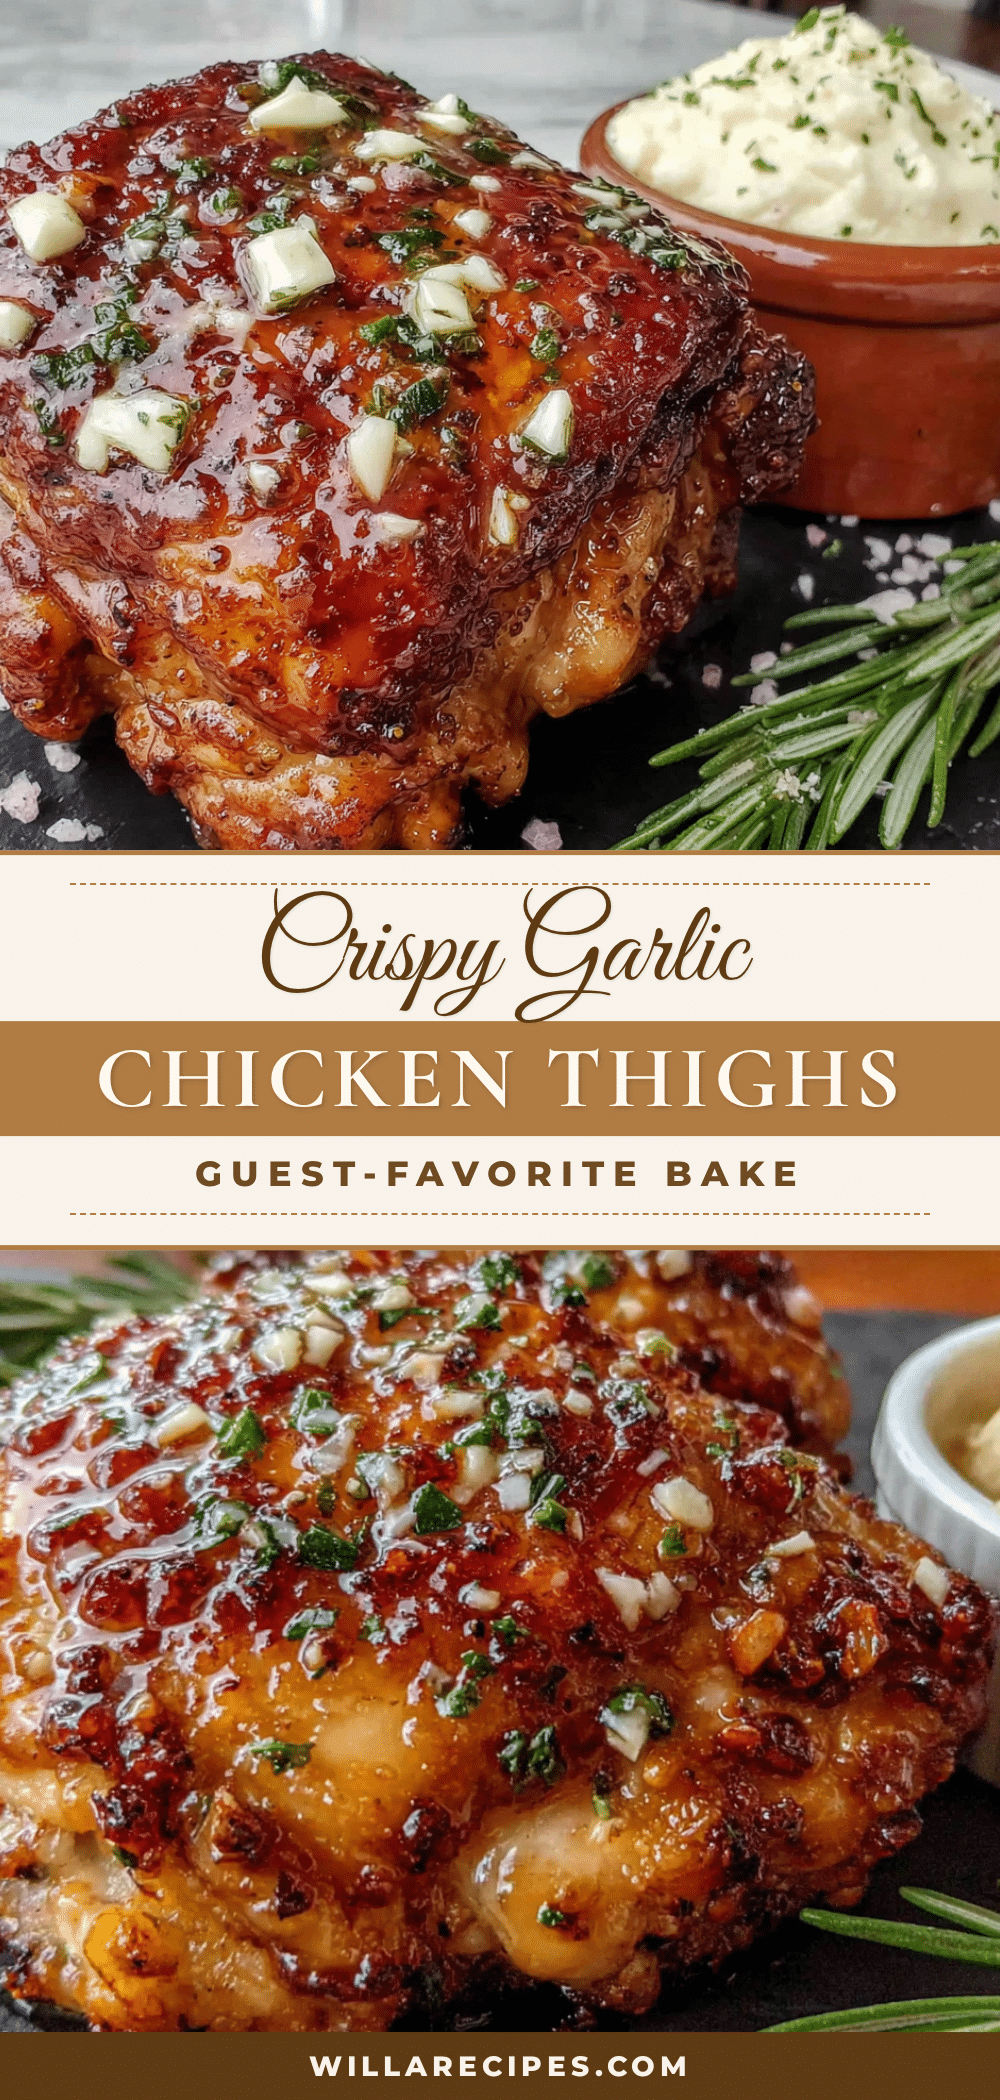
Crispy Garlic Butter Chicken Thighs: Best Easy Dinner Recipe

This recipe for Crispy Garlic Butter Chicken Thighs has bailed me out of more hosting emergencies than I can count. It’s the dish I bring when I need to look like I tried really hard when I actually tried really minimally.
- Prep Time: 15 minutes
- Cook Time: 20 minutes
- Total Time: 35 minutes
- Yield: 4 servings 1x
- Category: Main Course
- Cuisine: American
Ingredients
- 6–8 bone-in, skin-on chicken thighs (about 2.5 to 3 pounds)
- 4 tablespoons unsalted butter
- 6–8 cloves garlic, minced
- 1 tablespoon olive oil
- 1 teaspoon kosher salt, plus more for seasoning
- ½ teaspoon freshly ground black pepper
- 1 teaspoon paprika
- ½ teaspoon garlic powder
- 1 teaspoon dried thyme
- ¼ cup low-sodium chicken broth
- 2 tablespoons fresh parsley, chopped
- 1 tablespoon fresh lemon juice
Instructions
- Prep the Chicken (5 minutes): Take your chicken thighs out of the fridge about 20 minutes before cooking. Pat them extremely dry with paper towels.
- Season Generously (3 minutes): In a small bowl, mix together 1 teaspoon salt, ½ teaspoon black pepper, 1 teaspoon paprika, ½ teaspoon garlic powder, and 1 teaspoon dried thyme. Sprinkle this mixture all over the chicken thighs. Let the seasoned chicken sit for 10 minutes at room temperature.
- Preheat Your Skillet (3 minutes): Place your cast iron skillet over medium-high heat. Add 1 tablespoon of olive oil and 2 tablespoons of the butter. Swirl the pan until the butter is melted and foamy.
- Sear the Chicken (12-15 minutes): Place the chicken thighs skin-side down in the hot skillet. Do not crowd the pan. Leave the chicken alone for 6-7 minutes. Flip the chicken and cook for another 5-6 minutes on the other side. The internal temperature should be around 160°F (71°C).
- Make the Garlic Butter Sauce (5 minutes): Remove the chicken from the skillet. Reduce the heat to medium-low. Add the remaining 2 tablespoons of butter and the minced garlic. Stir constantly for about 30-45 seconds. Pour in the ¼ cup of chicken broth and scrape up the browned bits. Let it simmer for 1-2 minutes. Stir in the fresh lemon juice and adjust seasoning.
- Finish and Serve (5 minutes): Return the chicken thighs to the skillet, spooning the garlic butter sauce over the top. Let them warm through for about 2 minutes. Sprinkle with fresh chopped parsley. Let the chicken rest for 5 minutes before serving.
Notes
If the skin isn’t crispy enough after searing, you can finish the chicken under the broiler for 1-2 minutes. If your sauce seems too thin, let it simmer a minute longer. If it’s too thick, add a splash more broth. The sauce should coat the back of a spoon.
Nutrition
- Serving Size: 1 thigh with sauce
- Calories: 385
- Sugar: 1
- Sodium: 520
- Fat: 28
- Saturated Fat: 12
- Carbohydrates: 3
- Protein: 28
Keywords: crispy garlic butter chicken thighs, easy dinner recipe, chicken thighs, garlic butter, dinner party, one skillet


