My husband swore he hated chicken pot pie. For years. Like, a solid decade of polite smiles and pushing the filling around his plate whenever anyone served it. Then, last February on a particularly dreary Tuesday, I made a batch of these mini versions just for the kids and myself, thinking I’d save the “real” dinner for him later. I turned my back to grab the ketchup, and when I looked over, he was standing at the counter, silently eating one straight off the baking sheet. He didn’t even use a plate. He just stood there, holding this little hot pocket of joy in his bare hand, blowing on it, and taking another bite. I didn’t say a word. I just slid the pan a little closer to him. That was the moment I knew this recipe was something special—the kind that quietly converts people without them even realizing it.
Maybe you’ve been there. You spend time making a comforting meal, and someone at your table just isn’t on board. It’s frustrating, right? I mean, honestly, who doesn’t love a creamy, savory filling wrapped in a flaky, golden crust? But I get it. Big slices of pot pie with a soggy bottom can be a tough sell for picky eaters. That’s why I started making these easy mini chicken pot pies. They’re built different. Each one is perfectly portioned, the crust gets crispy all the way around, and the filling is packed with the good stuff—tender chicken, sweet peas, and carrots—without being too soupy. Let me tell you, the first time my youngest asked for seconds, I knew I had cracked the code on a family dinner that actually works.
This recipe isn’t fancy. It’s honest, practical food that comes together without a lot of fuss. We use simple ingredients like a rotisserie chicken and store-bought puff pastry to cut the time in half, but the result tastes like you spent all day in the kitchen. That’s the kind of win we all need on a busy weeknight. So, if you’re tired of the dinner battle and just want something that tastes good, fills bellies, and maybe even surprises a skeptic or two, you’re in the right place. Let’s make some mini pies.
Why You’ll Love This Recipe
I’ve tested this recipe more times than I can count, tweaking the filling so it’s creamy but not gloppy, and the bake time so the bottoms get crispy. This is the version that got the stamp of approval from my entire family, including that husband of mine who thought he hated pot pie. Here’s why I think it’ll work for yours too.
- Quick & Easy: From start to finish, these mini pies are on the table in under 40 minutes. Using pre-made puff pastry and leftover or rotisserie chicken makes this a total weeknight lifesaver.
- Simple Ingredients: You probably have most of these in your pantry and fridge right now. No trips to a specialty store required. It’s all about smart shortcuts.
- Perfect for Busy Families: These are great for those nights when everyone is running in different directions. They’re portable, fun to eat, and reheat beautifully for lunch the next day.
- Crowd-Pleaser: I’ve served these for casual dinners and even at a small get-together. Kids love the individual size, and adults appreciate the classic, comforting flavor.
- Unbelievably Delicious: The secret is in the texture. The puff pastry gets shatteringly flaky, while the filling is rich, savory, and packed with tender chicken and veggies. It’s pure comfort in a muffin tin.
What makes this version different from the rest? It’s the technique of pre-baking the pastry shells just for a few minutes before adding the filling. This little step ensures the bottom crust stays crisp and doesn’t turn into a sad, soggy mess. It’s a small detail, but it makes a huge difference. This isn’t just another pot pie recipe—it’s the one that works every single time, without the stress.
What Ingredients You Will Need
This recipe relies on a handful of pantry staples and a couple of clever shortcuts to build big flavor without a big effort. I’ve tested these exact ingredients to make sure the texture and taste are spot on.
- Puff Pastry: 1 sheet (about 9.5 x 9 inches), thawed. I recommend Pepperidge Farm for its reliable flakiness. Keep it cold until you’re ready to use it—warm puff pastry is impossible to work with.
- Cooked Chicken: 2 cups, shredded or diced. This is the perfect place to use a rotisserie chicken from the store. It’s already seasoned and tender. Leftover roasted chicken works beautifully too.
- Mixed Vegetables: 1 cup frozen peas and carrots. No need to thaw them first. They’ll cook perfectly in the creamy sauce. You can also use a frozen “mixed vegetable” blend with corn and green beans.
- Unsalted Butter: 3 tablespoons. We use this to build the roux for the creamy sauce. Using unsalted gives you control over the final salt level.
- All-Purpose Flour: 3 tablespoons. This thickens the sauce. A simple roux is the backbone of this filling.
- Chicken Broth: 1 cup. Use a good quality low-sodium broth so the filling isn’t overly salty. Swanson or Kitchen Basics are my go-to brands.
- Whole Milk: 1/2 cup. This adds richness to the sauce. You can substitute 2% milk, but avoid skim milk as the sauce won’t be as creamy.
- Heavy Cream: 1/4 cup. This is the secret to a luxuriously smooth and luscious filling. Don’t skip it if you can help it.
- Onion: 1/2 medium yellow onion, finely diced. It melts into the sauce, adding a savory depth that you can’t get from powder.
- Garlic: 2 cloves, minced. Fresh garlic is a must here. It adds a punch of flavor that really wakes up the filling.
- Dried Thyme: 1/2 teaspoon. This classic herb pairs perfectly with chicken and gives the filling that “homemade” taste.
- Salt and Black Pepper: To taste. Season as you go for the best flavor.
- Egg: 1 large, beaten with 1 tablespoon of water. This is for the egg wash, which gives the pastry that beautiful golden brown, shiny finish.
Substitution Guidance: If you need a dairy-free option, you can use a plant-based butter and substitute the milk and cream with unsweetened oat milk or canned coconut milk (the full-fat kind for creaminess). For a gluten-free version, use a gluten-free all-purpose flour blend for the roux and a gluten-free puff pastry sheet. The texture will be slightly different, but it still works wonderfully.
Equipment Needed
You don’t need a ton of fancy gadgets for this recipe, which is another reason I love it. A few basic tools will get the job done beautifully.
- 12-Cup Standard Muffin Tin: This is the star of the show. The mini pies are baked directly in the cups, giving them their perfect shape and crispy edges.
- Medium Saucepan: You’ll need this to make the creamy filling on the stovetop. A heavy-bottomed pan is best to prevent the sauce from scorching.
- Sharp Knife or Pizza Cutter: For cutting the puff pastry into squares. A pizza cutter makes it incredibly quick and easy.
- Rolling Pin: Even though we use pre-made pastry, a light roll helps to smooth out the creases and make it easier to cut.
- Small Bowl: For whisking together the egg wash.
- Pastry Brush: Essential for brushing the egg wash onto the pastry for that gorgeous golden crust.
- Cutting Board: A sturdy surface for prepping your chicken and veggies.
- Measuring Cups and Spoons: Accuracy matters, especially for the flour and broth.
Budget-Friendly Tip: If you don’t have a pastry brush, you can use a folded paper towel to dab the egg wash on the pastry. It’s not as pretty, but it works in a pinch. And honestly, I’ve used the back of a spoon in a desperate moment!
Preparation Method
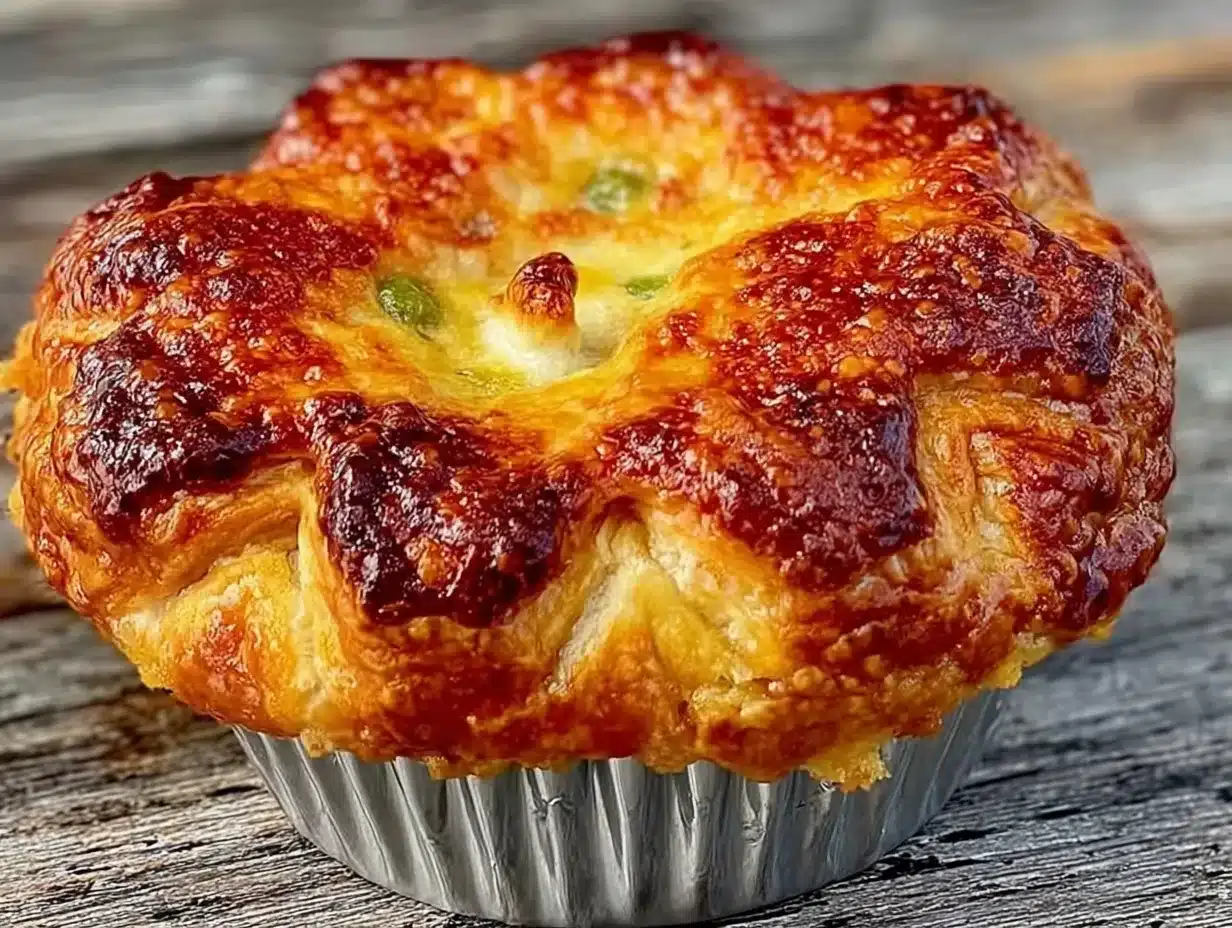
Let’s get to the good part. Follow these steps, and you’ll have a tray of perfectly golden, flaky mini pot pies that will make your kitchen smell like heaven.
- Preheat and Prep: Preheat your oven to 400°F (200°C). Lightly grease your 12-cup muffin tin with non-stick spray or a little butter. This is crucial so the pastry doesn’t stick.
- Make the Filling Base: In your medium saucepan, melt the 3 tablespoons of unsalted butter over medium heat. Add the finely diced onion and cook for 3-4 minutes, until it’s soft and translucent. You don’t want it to brown. Add the minced garlic and cook for another 30 seconds until fragrant. Your kitchen will start to smell amazing right about now.
- Build the Roux: Sprinkle the 3 tablespoons of all-purpose flour over the cooked onions and garlic. Stir constantly with a whisk for about 1 minute. This cooks the raw flour taste out. The mixture will look like a thick, pasty clump—that’s exactly what you want.
- Create the Creamy Sauce: Slowly pour in the 1 cup of chicken broth while whisking continuously to prevent lumps. Once the broth is incorporated, add the 1/2 cup of whole milk and the 1/4 cup of heavy cream. Keep whisking until the sauce is smooth and begins to thicken, about 3-4 minutes. It should be thick enough to coat the back of a spoon.
- Season and Combine: Stir in the 1/2 teaspoon of dried thyme, a generous pinch of salt, and a few cracks of black pepper. Then, add your 2 cups of shredded cooked chicken and 1 cup of frozen peas and carrots. Stir everything together until it’s well combined. Turn off the heat and set the pan aside. The frozen veggies will help cool the filling down a bit.
- Prepare the Pastry: On a lightly floured surface, gently roll out your thawed puff pastry sheet just a little to smooth the seams. Using a sharp knife or pizza cutter, cut the sheet into 12 equal squares. A 3×4 grid works perfectly. If the pastry feels too warm and sticky, pop it in the fridge for 5 minutes.
- Line the Muffin Tin: Gently press one square of puff pastry into each cup of the greased muffin tin. Don’t stretch the dough—just let it settle into the cup, leaving the corners pointing up. This creates the little “crust” for your pie.
- Pre-Bake the Crusts: Place the muffin tin in the preheated oven and bake for just 5 minutes. This is the secret step! The pastry will start to set and turn a very light golden color. This pre-bake prevents the bottom from getting soggy later. Remove the tin from the oven and let it cool for 2 minutes.
- Fill the Pies: Using a spoon, divide the chicken and vegetable filling evenly among the 12 pastry cups. Fill them right to the top—don’t be shy. You want a generous amount of filling in each one.
- Add the Tops: Cut the second sheet of puff pastry into 12 smaller squares (or use a biscuit cutter for round tops). Place one piece on top of each filled pie. You can gently press the edges of the top crust to the bottom crust to seal them, or just let them sit loosely.
- Egg Wash and Vent: In your small bowl, whisk the egg with 1 tablespoon of water. Brush the top of each mini pie with the egg wash. This is what gives them that beautiful, glossy, golden-brown finish. Use the tip of a sharp knife to cut a small slit in the top of each pie to let steam escape. Don’t skip this—it prevents the tops from getting soggy.
- Bake to Perfection: Return the muffin tin to the oven and bake for 18-22 minutes, until the tops are deeply golden brown and the filling is bubbling up through the vents. The smell in your kitchen will be absolutely incredible.
- Cool and Serve: Let the mini pot pies cool in the tin for at least 5-10 minutes before trying to remove them. This is important because the filling is molten hot. Use a small offset spatula or butter knife to gently loosen the edges, then lift them out. Serve warm.
Personal Tip: The first time I made these, I forgot to pre-bake the crusts. The bottoms were a little sad and doughy. That 5-minute pre-bake is non-negotiable in my kitchen now. Trust me on this one.
Cooking Tips & Techniques
Over the many times I’ve made these mini pies, I’ve learned a few things the hard way so you don’t have to. Here are my best tips for perfect results every time.
- Keep the Pastry Cold: Puff pastry is all about cold butter creating steam in the oven. If it gets too warm, it won’t puff up as much. If your kitchen is hot, pop the cut squares in the fridge for 10 minutes before you line the muffin tin.
- Don’t Overcook the Filling: The sauce will continue to thicken as it bakes. If you cook it too long on the stovetop, it can become gluey. Cook it just until it coats the back of a spoon, then take it off the heat.
- Use a Cookie Scoop: For perfectly even filling in every cup, use a medium cookie scoop or a 1/4 cup measure. It makes the process faster and ensures everyone gets the same amount of goodness.
- Watch the Bake Time: Ovens vary wildly. Start checking your pies at the 18-minute mark. You want them golden brown, not burnt. If the tops are browning too fast but the filling isn’t bubbling, tent the tin loosely with foil.
- Let Them Rest: I know it’s hard to wait, but letting the pies cool in the tin for 5-10 minutes is essential. The filling sets up a bit, and the pastry firms up, making them much easier to remove without falling apart.
My Biggest Failure: I once tried to rush the cooling process and flipped the tin over onto a cooling rack. Big mistake. Half the pies stuck, and I ended up with a pile of filling and broken pastry. It still tasted good, but it was a mess. Patience is a virtue, especially with pie.
Variations & Adaptations
This recipe is incredibly forgiving and easy to adapt to what you have on hand or what your family likes. Here are a few ways I’ve changed it up over the years.
- Vegetarian Version: Swap the chicken for a can of drained and rinsed chickpeas or a cup of cooked lentils. Use vegetable broth instead of chicken broth. The creamy sauce and flaky pastry are so good, you won’t miss the meat at all.
- Cheesy Chicken Pot Pie: For an extra layer of indulgence, stir in 1/2 cup of shredded cheddar cheese into the sauce just before adding the chicken and veggies. The cheese melts into the filling and gets all gooey. It’s a huge hit with the kids.
- Spicy Kick: Add a pinch of red pepper flakes or a dash of hot sauce to the sauce along with the thyme. A little cayenne pepper works too. It gives the classic comfort food a nice, warm finish without being overwhelming.
- Different Veggies: Feel free to swap out the peas and carrots. Diced and roasted sweet potatoes, chopped green beans, or even frozen corn are all fantastic options. It’s a great way to use up leftover vegetables from the week.
- Biscuit Topping: If you don’t have puff pastry, you can use a can of refrigerated biscuits! Just press a biscuit into the bottom of the muffin tin, add the filling, and top with another flattened biscuit. Bake as directed. It’s a different texture, but still delicious and super easy.
I personally love the cheesy version. The first time I made it, my kids asked if I could “make the chicken pie with the orange cheese every time.” It’s been a regular request ever since.
Serving & Storage Suggestions
These mini pot pies are best served warm, fresh from the oven. The contrast between the hot, creamy filling and the cool, flaky crust is pure magic.
- Serving Temperature: Serve them warm, but not piping hot. Let them rest for those 5-10 minutes so the filling doesn’t burn little mouths. They’re perfect as a main dish with a simple side salad or a pile of roasted green beans.
- Presentation: For a fun family dinner, I like to serve them right in the muffin tin on a trivet. Everyone can grab their own. For a slightly nicer presentation, transfer them to a platter and garnish with a sprig of fresh parsley or thyme.
- What to Serve With: A crisp green salad with a lemon vinaigrette is a great contrast to the rich pies. Roasted broccoli or a simple steamed vegetable like asparagus also works beautifully. For a heartier meal, serve them with mashed potatoes (yes, double carbs!) or a cup of tomato soup.
- Storage Instructions: Store any leftover mini pot pies in an airtight container in the refrigerator for up to 3 days. They actually get even better as the flavors meld together overnight.
- Reheating Methods: The best way to reheat them is in the oven or toaster oven at 350°F (175°C) for about 10-12 minutes. This will crisp the pastry back up. You can microwave them for a quick lunch, but the pastry will be soft. I find the oven method is worth the extra few minutes.
- Freezing Instructions: These freeze beautifully! Bake the pies completely, let them cool, then place them on a baking sheet and freeze until solid. Transfer them to a freezer-safe bag or container. To reheat, bake from frozen at 375°F (190°C) for 25-30 minutes, until heated through and the pastry is crispy.
Flavor Note: The flavors in the filling really deepen after a day in the fridge. If you can, make the filling a day ahead of time. It makes assembly on the day of even faster, and the taste is even better.
Nutritional Information & Benefits
While these are definitely a comfort food, they also offer some solid nutritional benefits, especially when you look at the key ingredients. Here’s a rough estimate per mini pie (based on one serving).
- Calories: Approximately 280-320 calories per pie.
- Protein: About 15-18 grams, thanks to the chicken. This makes them a satisfying meal that keeps you full.
- Carbohydrates: Around 22-25 grams, mostly from the pastry and flour.
- Fat: 15-18 grams, some from the butter and cream, but also from the healthy fats in the puff pastry.
- Fiber: 2-3 grams from the peas and carrots.
Health Benefits: The chicken is a great source of lean protein, which is essential for muscle repair and growth. The peas and carrots provide a good dose of Vitamin A and fiber. Using a rotisserie chicken is a smart way to get a home-cooked meal on the table without spending hours in the kitchen. It’s a practical, balanced meal that doesn’t feel like a compromise.
Dietary Considerations: This recipe is not gluten-free or dairy-free as written, but I’ve included easy substitutions above. It is nut-free and egg-free (aside from the egg wash, which can be skipped). For a lighter version, you can use a low-fat milk and skip the heavy cream, though the sauce will be less rich.
Conclusion
These easy mini chicken pot pies are more than just a recipe—they’re a solution. They solve the problem of what to make for dinner when you’re tired, busy, and need something that everyone will actually eat. They solve the problem of a picky eater who swears they don’t like something. And they solve the problem of wanting a comforting, homemade meal without spending hours in the kitchen.
I love this recipe because it’s forgiving, adaptable, and always delivers. It’s the kind of meal that makes you feel like a rockstar even on a Tuesday night. The flaky pastry, the creamy filling, the perfect little size—it’s a winner from every angle. I really hope you give it a try and see that look of surprise and delight on your family’s faces.
So, what do you think? Are you ready to convert a skeptic at your own table? I’d love to hear how these turn out for you. Drop a comment below and let me know if your family loved them as much as mine does. And if you come up with a fun variation, please share it! Happy cooking, friends!
Frequently Asked Questions
Can I use a different type of pastry?
Absolutely! While puff pastry gives the flakiest result, you can use refrigerated pie crust or even crescent roll dough. Just keep in mind that the texture and bake time will vary slightly. Pie crust will be sturdier, while crescent rolls will be softer and a bit sweeter.
Can I make these ahead of time for a party?
Yes, you can. You can assemble the mini pies completely (without the egg wash) up to 24 hours in advance. Keep them covered in the refrigerator. When you’re ready to bake, just brush on the egg wash and add an extra 5 minutes to the bake time.
My filling is too thin. What did I do wrong?
This usually happens if the roux wasn’t cooked long enough, or if the sauce wasn’t simmered to thicken properly. Make sure you cook the flour and butter mixture for a full minute, and let the sauce simmer for at least 3-4 minutes while whisking. If it’s still thin, you can mix 1 tablespoon of cornstarch with 2 tablespoons of cold water and stir it into the simmering sauce.
Can I add other proteins like turkey or ham?
Definitely! This is a fantastic way to use up leftover holiday turkey or ham. Just substitute the cooked chicken with an equal amount of the cooked protein of your choice. The creamy sauce and veggies pair wonderfully with both turkey and ham.
How do I prevent the tops from getting pale and doughy?
The two most important things are a good egg wash and making sure the oven is fully preheated to 400°F. The egg wash promotes browning, and the high heat helps the pastry puff and crisp quickly. Also, don’t overcrowd the tops with too much filling—leave a little room for the steam to escape.
Pin This Recipe!
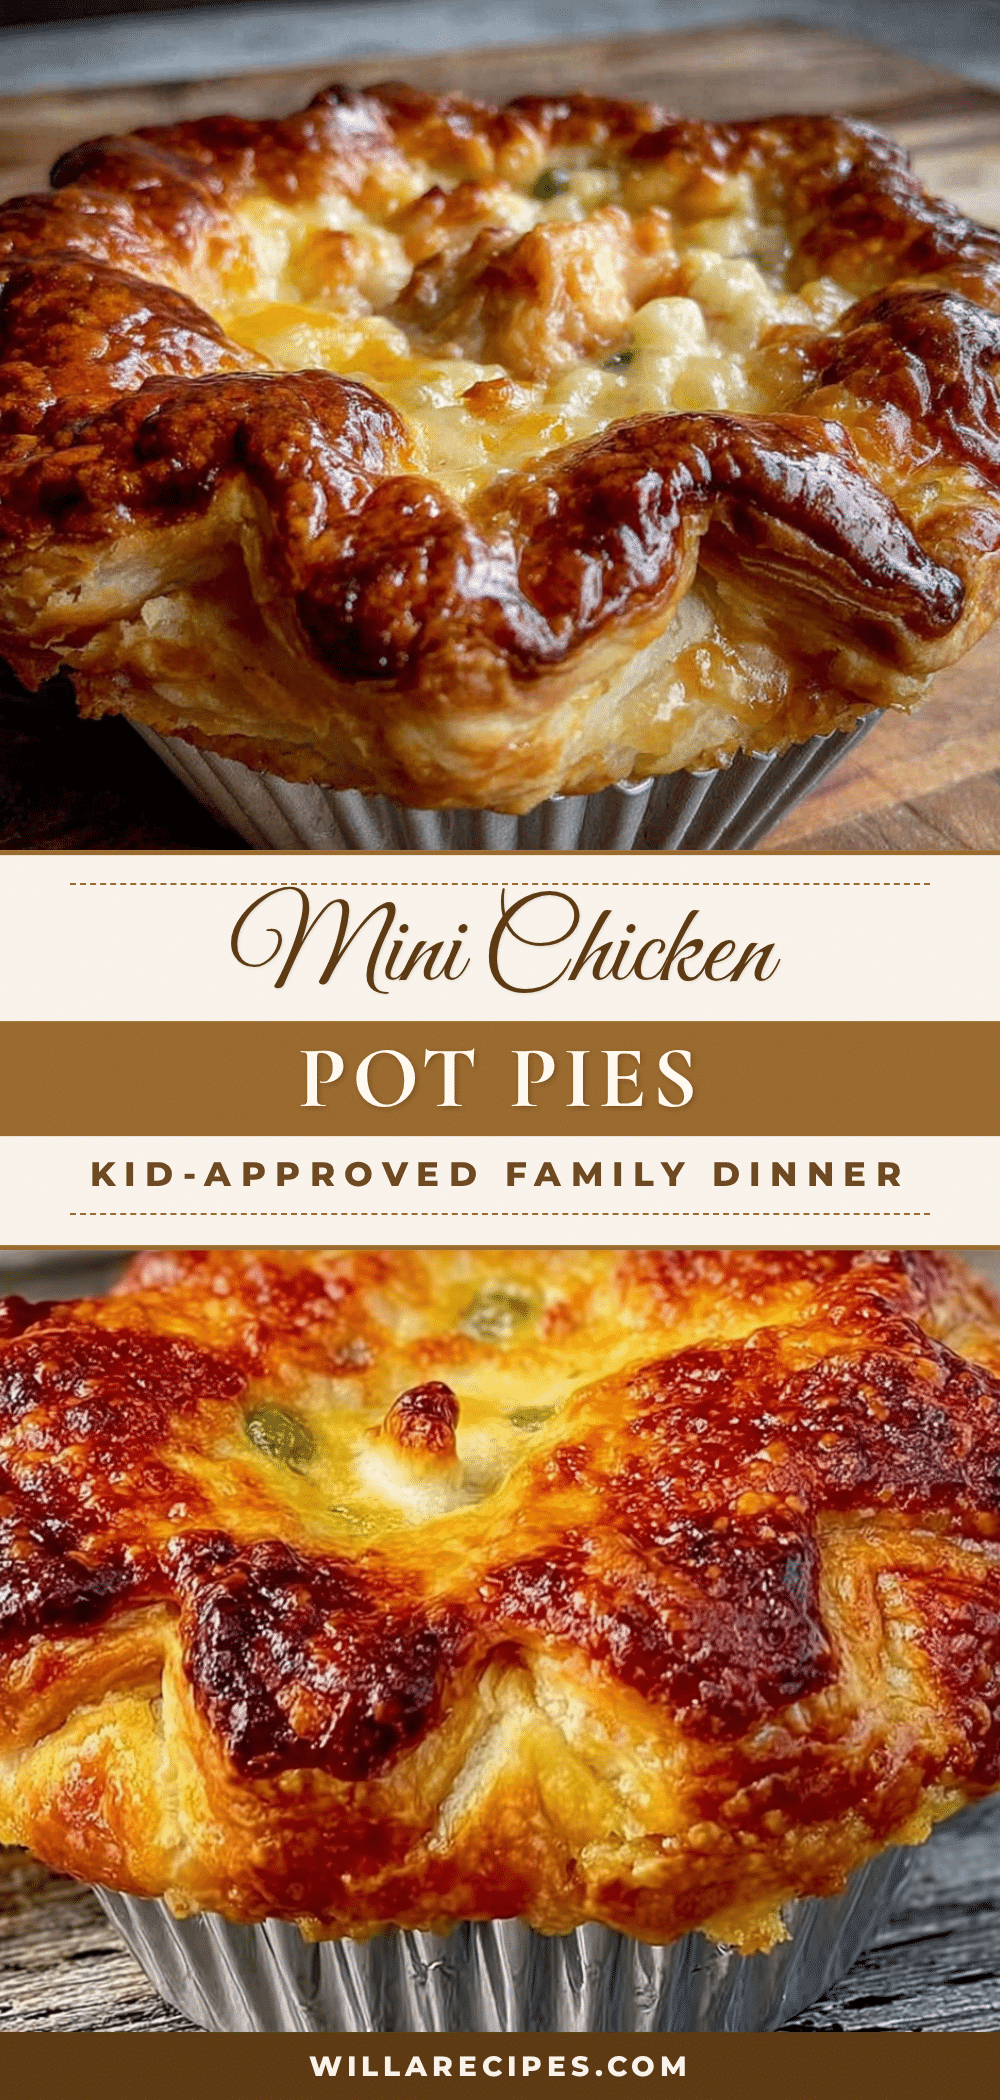
Easy Mini Chicken Pot Pies: The Best Kid-Approved Dinner

These easy mini chicken pot pies are perfectly portioned, with a flaky, golden crust and a creamy, savory filling packed with tender chicken, sweet peas, and carrots. A quick, kid-approved dinner that converts even the biggest skeptics.
- Prep Time: 15 minutes
- Cook Time: 25 minutes
- Total Time: 40 minutes
- Yield: 12 mini pies 1x
- Category: Main Course
- Cuisine: American
Ingredients
- 1 sheet puff pastry (about 9.5 x 9 inches), thawed
- 2 cups cooked chicken, shredded or diced
- 1 cup frozen peas and carrots
- 3 tablespoons unsalted butter
- 3 tablespoons all-purpose flour
- 1 cup low-sodium chicken broth
- 1/2 cup whole milk
- 1/4 cup heavy cream
- 1/2 medium yellow onion, finely diced
- 2 cloves garlic, minced
- 1/2 teaspoon dried thyme
- Salt and black pepper to taste
- 1 large egg, beaten with 1 tablespoon water (for egg wash)
Instructions
- Preheat oven to 400°F (200°C). Lightly grease a 12-cup standard muffin tin.
- In a medium saucepan, melt butter over medium heat. Add diced onion and cook 3-4 minutes until soft and translucent. Add minced garlic and cook 30 seconds until fragrant.
- Sprinkle flour over the onion mixture and stir constantly with a whisk for 1 minute to cook out the raw flour taste.
- Slowly pour in chicken broth while whisking continuously. Add milk and heavy cream, whisking until smooth and thickened, about 3-4 minutes (sauce should coat the back of a spoon).
- Stir in thyme, salt, pepper, shredded chicken, and frozen peas and carrots. Remove from heat and set aside.
- On a lightly floured surface, gently roll out the puff pastry sheet to smooth seams. Cut into 12 equal squares (3×4 grid).
- Press one square of pastry into each muffin cup, letting the corners point up. Do not stretch the dough.
- Pre-bake the crusts for 5 minutes. Remove from oven and let cool 2 minutes.
- Divide the filling evenly among the 12 pastry cups, filling to the top.
- Cut the second sheet of puff pastry into 12 smaller squares (or use a biscuit cutter for round tops). Place one on top of each filled pie.
- Brush tops with egg wash. Cut a small slit in each top to vent steam.
- Bake for 18-22 minutes until tops are deep golden brown and filling is bubbling.
- Cool in the tin for 5-10 minutes before removing. Serve warm.
Notes
Pre-baking the pastry shells for 5 minutes is crucial to prevent a soggy bottom. Keep puff pastry cold for best results. Let pies rest in the tin for 5-10 minutes before serving to allow filling to set.
Nutrition
- Serving Size: 1 mini pie
- Calories: 300
- Sugar: 4
- Sodium: 450
- Fat: 16
- Saturated Fat: 8
- Carbohydrates: 23
- Fiber: 2
- Protein: 16
Keywords: mini chicken pot pies, easy chicken pot pie, kid-friendly dinner, puff pastry pot pie, weeknight dinner, comfort food


