My Uncle Frank had claimed to hate stuffing for forty-three years. Forty-three years! Every Thanksgiving, he’d push the stuffing around his plate like a kid avoiding broccoli, muttering something about “soggy bread mess.” Then last Christmas, I made these Easy Cheesy Sausage Stuffing Balls “just for the appetizer table” and caught him sneaking a fourth one when he thought nobody was looking. His exact words? “These aren’t stuffing. These are little flavor bombs.” I didn’t have the heart to tell him they were, in fact, stuffing. Just better.
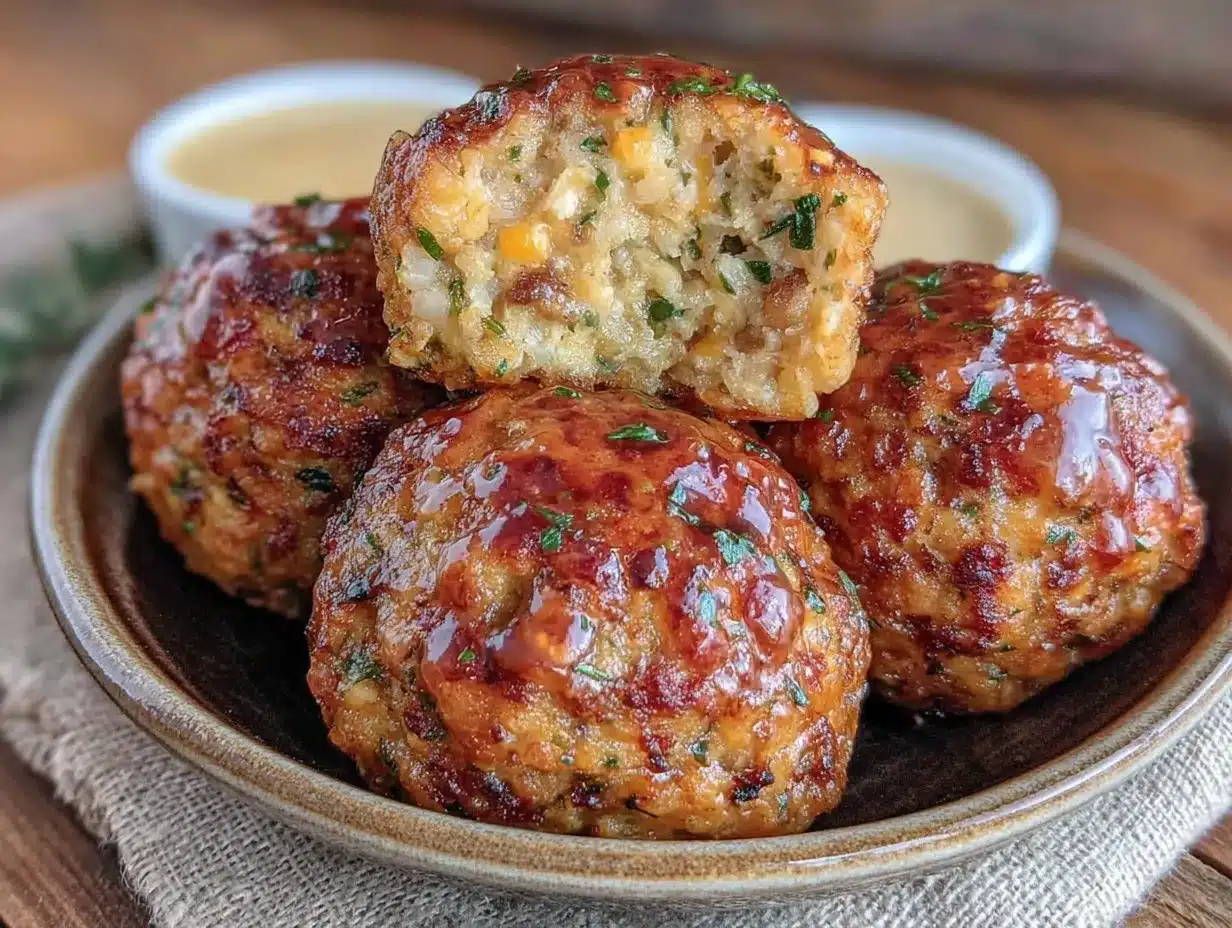
Honestly, I get where he was coming from. Traditional stuffing can be a letdown—mushy, bland, and somehow both dry and wet at the same time. But these little golden spheres? They’re a completely different animal. The outsides get perfectly crispy while the insides stay tender and packed with cheesy, savory goodness. Plus, they’re portable, which means no more fighting for space on the crowded dinner plate.
I stumbled onto this recipe on a chaotic Tuesday night when I had leftover sausage, half a bag of stale bread cubes, and a serious craving for something that felt like a hug. The first batch disappeared before I could even plate them properly. My husband actually texted me from the living room asking if I’d made “those little round things again.” That’s when I knew I had something special.
You know that feeling when you bite into something and immediately close your eyes? That’s what these do to people. They’re the appetizer equivalent of a standing ovation—every single time. Whether you’re hosting a holiday party, need a game-day snack, or just want Tuesday night dinner to feel a little more special, these little guys deliver.
Why You’ll Love These Easy Cheesy Sausage Stuffing Balls
Look, I’ve tested this recipe about a dozen times across three different ovens, two different sausage brands, and one memorable attempt with gluten-free bread that actually worked. So trust me when I say these are foolproof. Here’s why they’ll become your new go-to:
- Quick & Easy: From fridge to table in under 35 minutes. No chilling, no complicated steps, no stress. Perfect for those evenings when you walk through the door at 6 PM and need something on the table by 6:30.
- Simple Ingredients: Everything comes from your regular grocery store. No hunting down specialty items or exotic spices. I bet you have most of these in your kitchen right now.
- Perfect for Holidays & Weeknights: These work for Christmas parties, Super Bowl gatherings, potlucks, and random Tuesdays. They’re fancy enough for guests but easy enough for a regular dinner side.
- Crowd-Pleaser: I’ve served these to picky kids, foodie friends, and my grandma who “doesn’t like anything new.” Every single person asked for the recipe. Every. Single. One.
- Unbelievably Delicious: The combination of savory Italian sausage, melted cheddar, and perfectly seasoned bread cubes creates this umami bomb that keeps you coming back for “just one more.” Spoiler: it’s never just one more.
What makes these different from every other stuffing ball recipe out there? Two things. First, I use a higher ratio of sausage to bread than most recipes, which keeps them from drying out. Second, I add a secret splash of chicken broth to the mixture that creates this incredible steam effect in the oven, making the insides unbelievably tender while the outsides get beautifully golden.
These aren’t just good for an appetizer. They’re the kind of food that makes people hover around the kitchen island, pretending to help with dishes while actually just waiting for the next batch to come out of the oven. There’s something deeply satisfying about watching someone take their first bite and seeing their eyebrows shoot up in surprise.
What Ingredients You Will Need
This recipe uses simple, straightforward ingredients that work together to create something genuinely special. Most of these are pantry staples, which means you’re probably already halfway there.
For the Stuffing Balls
- 1 pound ground Italian sausage (mild or spicy, your call—I prefer Johnsonville for consistent flavor) — this is the backbone of the recipe, providing moisture and savory depth
- 3 cups seasoned bread cubes (Pepperidge Farm Herb Seasoned Stuffing works great, or use any brand you like) — these absorb all the flavors while keeping their shape
- 1 ½ cups sharp cheddar cheese, shredded — the melty, gooey element that makes these irresistible (freshly shredded melts better than pre-shredded)
- ½ cup chicken broth (low-sodium preferred so you control the salt) — this is my secret weapon for tender insides
- 2 large eggs, lightly beaten — the binder that holds everything together
- ½ cup yellow onion, finely diced — adds sweetness and texture (about half a medium onion)
- 2 cloves garlic, minced — because everything needs garlic
- ½ teaspoon dried sage — that classic stuffing flavor you’re craving
- ½ teaspoon dried thyme — earthy and aromatic
- ¼ teaspoon black pepper — freshly ground if you have it
- ¼ teaspoon salt (optional, depending on your sausage and broth saltiness)
For the Optional Garnish
- Fresh parsley, chopped — for color and freshness
- Extra shredded cheddar — because cheese makes everything better
A few ingredient notes from my kitchen to yours. First, sausage choice matters more than you think. I’ve tried turkey sausage, chicken sausage, and even plant-based options. The turkey version works but is noticeably drier. The plant-based version? Let’s just say it was an experiment that won’t be repeated. Stick with pork Italian sausage for the best results.
Second, don’t skip the fresh onion and garlic. I know it’s tempting to use the powdered versions when you’re tired, but the fresh stuff adds moisture and a sweetness that you just can’t get from dried. I learned this the hard way after one particularly sad batch that tasted like dusty bread.
Third, the bread cubes matter. If you’re using plain bread cubes, add an extra pinch of poultry seasoning or sage. The seasoned cubes already have herbs mixed in, which saves you a step. Either works, just adjust your seasonings accordingly.
For a gluten-free version, use gluten-free bread cubes and check your sausage label. For a dairy-free version, swap the cheddar for your favorite dairy-free shreds and use a dairy-free milk alternative in place of the broth (unsweetened, of course).
Equipment Needed
Nothing fancy here, which is exactly how weeknight cooking should be. Here’s what you’ll need:
- Large mixing bowl — big enough to get your hands in there and mix everything together
- Baking sheet — a standard half-sheet pan works perfectly
- Parchment paper (or aluminum foil with cooking spray) — trust me on this, cleanup is so much easier
- Measuring cups and spoons — for the broth, cheese, and seasonings
- Chef’s knife and cutting board — for dicing that onion and mincing the garlic
- Cookie scoop or tablespoon — for uniform balls that cook evenly (I use a #40 scoop, which is about 1.5 tablespoons)
- Small bowl — for beating the eggs before adding them to the mixture
If you don’t have a cookie scoop, just use two spoons or your hands. I actually prefer using my hands for the final shaping—it’s faster and you can feel if the mixture is holding together properly. Just make sure your hands are slightly damp so the mixture doesn’t stick to you.
One tip about baking sheets: if yours are dark or non-stick, check your balls a few minutes early. Dark pans absorb more heat and can brown the bottoms faster. I burned my first batch because I wasn’t paying attention. Learn from my mistakes, friends.
Preparation Method
Alright, let’s make these happen. The whole process takes about 30 minutes from start to finish, and most of that is hands-off oven time.
- Preheat your oven to 400°F (200°C). Line a baking sheet with parchment paper. If you’re using foil, give it a good spray with cooking oil. Do this first so the oven is ready when you are.
- Cook the sausage. Heat a large skillet over medium-high heat. Add the ground Italian sausage and cook, breaking it up with a wooden spoon, until it’s browned and cooked through—about 6-8 minutes. Don’t drain all the fat; leave about a tablespoon in there for flavor. Let it cool for 5 minutes. You don’t want it piping hot when you add the eggs, or you’ll end up with scrambled egg bits in your mixture.
- Prep your aromatics. While the sausage is cooking, dice that onion and mince the garlic. If you’re prone to crying while cutting onions (same, honestly), try chilling the onion for 10 minutes first or cutting it near an open window.
- Mix the dry ingredients. In that large mixing bowl, combine the bread cubes, shredded cheddar, dried sage, dried thyme, black pepper, and salt (if using). Toss everything together with your hands or a spoon so the seasonings are evenly distributed.
- Add the wet ingredients. To the bowl, add the cooked sausage, diced onion, minced garlic, beaten eggs, and chicken broth. Here’s where you get your hands dirty. Mix everything together thoroughly, squeezing gently as you go. You want the bread cubes to absorb the liquid and start breaking down slightly. The mixture should hold together when you press a handful into a ball. If it’s too dry, add another tablespoon of broth. Too wet? Add a few more bread cubes.
- Shape the balls. Using your cookie scoop or hands, form the mixture into 1.5-inch balls—about the size of a golf ball. You should get 20-24 balls depending on your scoop size. Place them on the prepared baking sheet, leaving about an inch of space between each one. They won’t spread much, but a little breathing room helps them brown evenly.
- Bake to golden perfection. Slide the baking sheet into the preheated oven and bake for 18-22 minutes. At the 15-minute mark, check on them. You’re looking for deep golden brown on the outside and an internal temperature of 165°F (74°C). If you want extra crispy tops, switch the oven to broil for the last 2 minutes—but watch them carefully, because broiling goes from perfect to burnt in about 30 seconds.
- Rest and serve. Let the stuffing balls rest on the baking sheet for 5 minutes before transferring them to a serving platter. This rest period is crucial—it lets the cheese set slightly so the balls hold their shape when you pick them up. Sprinkle with fresh parsley and extra cheese if you’re feeling fancy.
Your kitchen is going to smell absolutely incredible at this point. The combination of sage, sausage, and melted cheese is basically the official scent of comfort. Don’t be surprised if family members start wandering in, asking what’s for dinner.
Cooking Tips & Techniques
After making these more times than I care to count, I’ve picked up a few tricks that make a real difference. Here’s what I wish someone had told me before my first batch:
Don’t overmix. I know it’s tempting to keep working the mixture until everything is perfectly combined, but overmixing can make the balls dense and tough. Mix just until everything comes together—about 30 seconds of gentle squeezing and folding.
Wet hands are your friend. When shaping the balls, keep a small bowl of water nearby and dip your fingers in it periodically. The moisture prevents the mixture from sticking to your hands and helps create a smoother surface on the balls. This one trick improved my shaping game dramatically.
Make them uniform. I cannot stress this enough. Balls of different sizes cook at different rates. The small ones burn while the big ones stay raw in the middle. Use that cookie scoop! It takes two seconds and saves so much headache.
Test one before committing. If you’re unsure about your seasoning, cook one ball in a small skillet first and taste it. You can always add more salt, sage, or pepper to the remaining mixture before baking the whole batch. I learned this after making an entire tray of under-seasoned balls for a party. Never again.
Watch your oven like a hawk. Every oven runs differently. My friend’s oven runs 25 degrees hot, so her balls are done in 15 minutes. Mine takes the full 22 minutes. Get to know your oven’s personality and adjust accordingly. That first batch might take some trial and error, but that’s okay.
Make ahead tip. You can assemble these balls up to 24 hours in advance. Just shape them, place them on the baking sheet, cover with plastic wrap, and refrigerate. Add about 5 minutes to the baking time if cooking straight from the fridge. This is a lifesaver for holiday hosting.
One failure I’ll share: I once tried to double the recipe and crammed everything onto one baking sheet. The balls were crowded, steamed instead of browned, and came out pale and sad. Give them space, people. Use two sheets if you need to, and rotate them halfway through baking.
Variations & Adaptations
The beauty of this recipe is how flexible it is. Here are some variations I’ve tried and loved:
Spicy Italian Version: Use hot Italian sausage instead of mild, and add ¼ teaspoon of red pepper flakes to the mixture. The heat cuts through the richness beautifully. My husband requests this version every time we have people over for football games.
Turkey and Cranberry: Swap the Italian sausage for ground turkey (add a tablespoon of olive oil since turkey is leaner) and fold in ¼ cup of dried cranberries. The sweet-tart cranberries against the savory stuffing is a match made in holiday heaven. I made these for Friendsgiving last year and they disappeared first.
Cheese Swap: Try pepper jack for a spicy kick, smoked gouda for a deeper flavor, or a mix of mozzarella and parmesan for that Italian vibe. Each cheese changes the personality of the balls completely. The smoked gouda version is dangerously good.
Vegetarian Option: Replace the sausage with 1 cup of finely chopped mushrooms (cremini work great) and ½ cup of cooked lentils. Sauté the mushrooms with the onion and garlic until they release their liquid and start browning. The texture is surprisingly similar, and the umami is still there.
Air Fryer Method: Preheat your air fryer to 375°F (190°C). Place the balls in a single layer in the basket (work in batches if needed) and cook for 10-12 minutes, shaking the basket halfway through. They get even crispier this way! Just don’t overcrowd the basket.
Low-Carb Adaptation: Replace the bread cubes with 2 cups of almond flour and 1 cup of crushed pork rinds. The texture is different—denser and more sausage-forward—but it scratches the same itch. My keto friend devoured an entire batch by herself.
Feel free to experiment with add-ins too. Chopped apples, dried apricots, fresh rosemary, or even a handful of toasted pecans can take these in completely new directions. I once added crumbled bacon on top before baking and felt like a genius.
Serving & Storage Suggestions
These stuffing balls are incredibly versatile when it comes to serving. Here’s how to make the most of them:
Serving Temperature: Serve them warm, straight from the oven. The cheese is perfectly melty, the outsides are crispy, and everything is at its peak. That said, they’re still delicious at room temperature—perfect for parties where people are grazing over a few hours.
Presentation Ideas: Arrange them on a wooden board with little bowls of dipping sauces. A simple honey mustard, some warm marinara, or even a creamy ranch dip all work beautifully. For holidays, I like to serve them on a platter with fresh rosemary sprigs and cranberries scattered around for color.
What to Serve With: These are fantastic alongside a simple green salad for a light dinner, or as part of a larger holiday spread with roasted vegetables and mashed potatoes. They also pair beautifully with a crisp white wine or a cold beer. For non-alcoholic options, sparkling apple cider is a lovely match.
Storage Instructions: Leftover balls (if you have any!) can be stored in an airtight container in the refrigerator for up to 4 days. To reheat, pop them in a 350°F (175°C) oven for 8-10 minutes, or until warmed through. The microwave works in a pinch but will make them softer—still tasty, just less crispy.
Freezer Tips: These freeze beautifully! Arrange the baked and cooled balls in a single layer on a baking sheet and freeze until solid (about 2 hours). Transfer to a freezer bag and store for up to 3 months. To reheat from frozen, bake at 350°F (175°C) for 15-18 minutes. No need to thaw first.
Flavor Development: Here’s something interesting—the flavors actually meld and deepen overnight. Day-old stuffing balls taste even better than fresh ones, in my opinion. The sage and thyme have time to really penetrate the sausage and bread. So don’t be afraid to make these a day ahead!
Nutritional Information & Benefits
Let’s be real—these are comfort food, not health food. But they’re made with real ingredients, and there’s something to be said for that. Here’s the breakdown for one ball (based on 24 servings):
| Nutrient | Amount Per Ball |
|---|---|
| Calories | 145 |
| Protein | 8g |
| Fat | 9g |
| Carbohydrates | 8g |
| Fiber | 1g |
| Sugar | 1g |
| Sodium | 380mg |
Now, let’s look at the positives. The Italian sausage provides a solid dose of protein and B vitamins, particularly B12 which is essential for energy production. The cheddar cheese adds calcium for bone health. And the onions and garlic bring allicin and other compounds that support immune function—perfect for cold and flu season.
If you’re watching your sodium, use low-sodium broth and sausage, and skip the added salt. You can also reduce the cheese slightly, though I don’t recommend it for texture reasons. For a lighter version, bake the balls on a wire rack set over the baking sheet so excess fat drips away.
These are not gluten-free or dairy-free in their standard form, but as mentioned in the variations section, both adaptations work well. For anyone with dietary restrictions, the mushroom and lentil version is a fantastic alternative that still delivers on flavor and satisfaction.
Conclusion
Look, I’m not saying these Easy Cheesy Sausage Stuffing Balls will change your life. But I am saying they might change your relationship with appetizers, stuffing, and maybe even holiday cooking in general. They’re the kind of recipe that proves simple ingredients, handled with care, can create something truly memorable.
What I love most about this recipe is how forgiving it is. You can swap ingredients, adjust seasonings, make them ahead, freeze them, reheat them—and they still come out delicious. They’ve saved me on frantic holiday mornings, rescued impromptu gatherings, and turned ordinary weeknights into something worth looking forward to.
So whether you’re making these for a Christmas party, a Super Bowl spread, or just because it’s Tuesday and you deserve something good—go for it. Play with the variations, make them your own, and don’t forget to save a few for yourself before they disappear.
I’d love to hear how yours turn out! Drop a comment below and let me know which variation you tried, or share your own twist on these little flavor bombs. And if you’re looking for more easy appetizer ideas, check out our crispy garlic chicken bites or baked cheddar broccoli bites for another crowd-pleasing option. Happy cooking, friends!
Frequently Asked Questions
Can I make these stuffing balls ahead of time for a party?
Absolutely! You have two options. You can assemble the balls up to 24 hours in advance and refrigerate them unbaked, then add about 5 minutes to the baking time. Or you can bake them fully, cool them, and reheat at 350°F for 8-10 minutes right before serving. Both methods work great, so choose what fits your schedule.
Can I use breakfast sausage instead of Italian sausage?
You can, but the flavor profile will be different. Breakfast sausage is sweeter and often has sage and maple notes, while Italian sausage has fennel and garlic. If you use breakfast sausage, consider reducing the sage in the recipe and adding a pinch of fennel seeds to keep that classic stuffing taste.
How do I keep the stuffing balls from falling apart?
The key is getting the moisture balance right. If your mixture is too dry, add broth a tablespoon at a time until it holds together when squeezed. Also, make sure your eggs are beaten before adding them—they act as the primary binder. And don’t skip the 5-minute rest after baking; it lets the cheese set and helps the balls hold their shape.
Can I make these in a mini muffin pan instead of shaping them by hand?
Yes, and it’s actually a great shortcut! Grease the mini muffin pan well, press the mixture into each cup, and bake at 400°F for 15-18 minutes. They’ll come out as perfect little muffin-shaped balls with crispy edges all around. Just let them cool in the pan for 5 minutes before removing.
What’s the best way to reheat leftover stuffing balls?
For the crispiest results, reheat them in a 350°F oven for 8-10 minutes. An air fryer at 350°F for 4-5 minutes works even better if you have one. The microwave is the fastest option but will make them soft—still tasty, just not as crispy. If you’re in a hurry, the microwave works fine; just know the texture will be different.
Pin This Recipe!
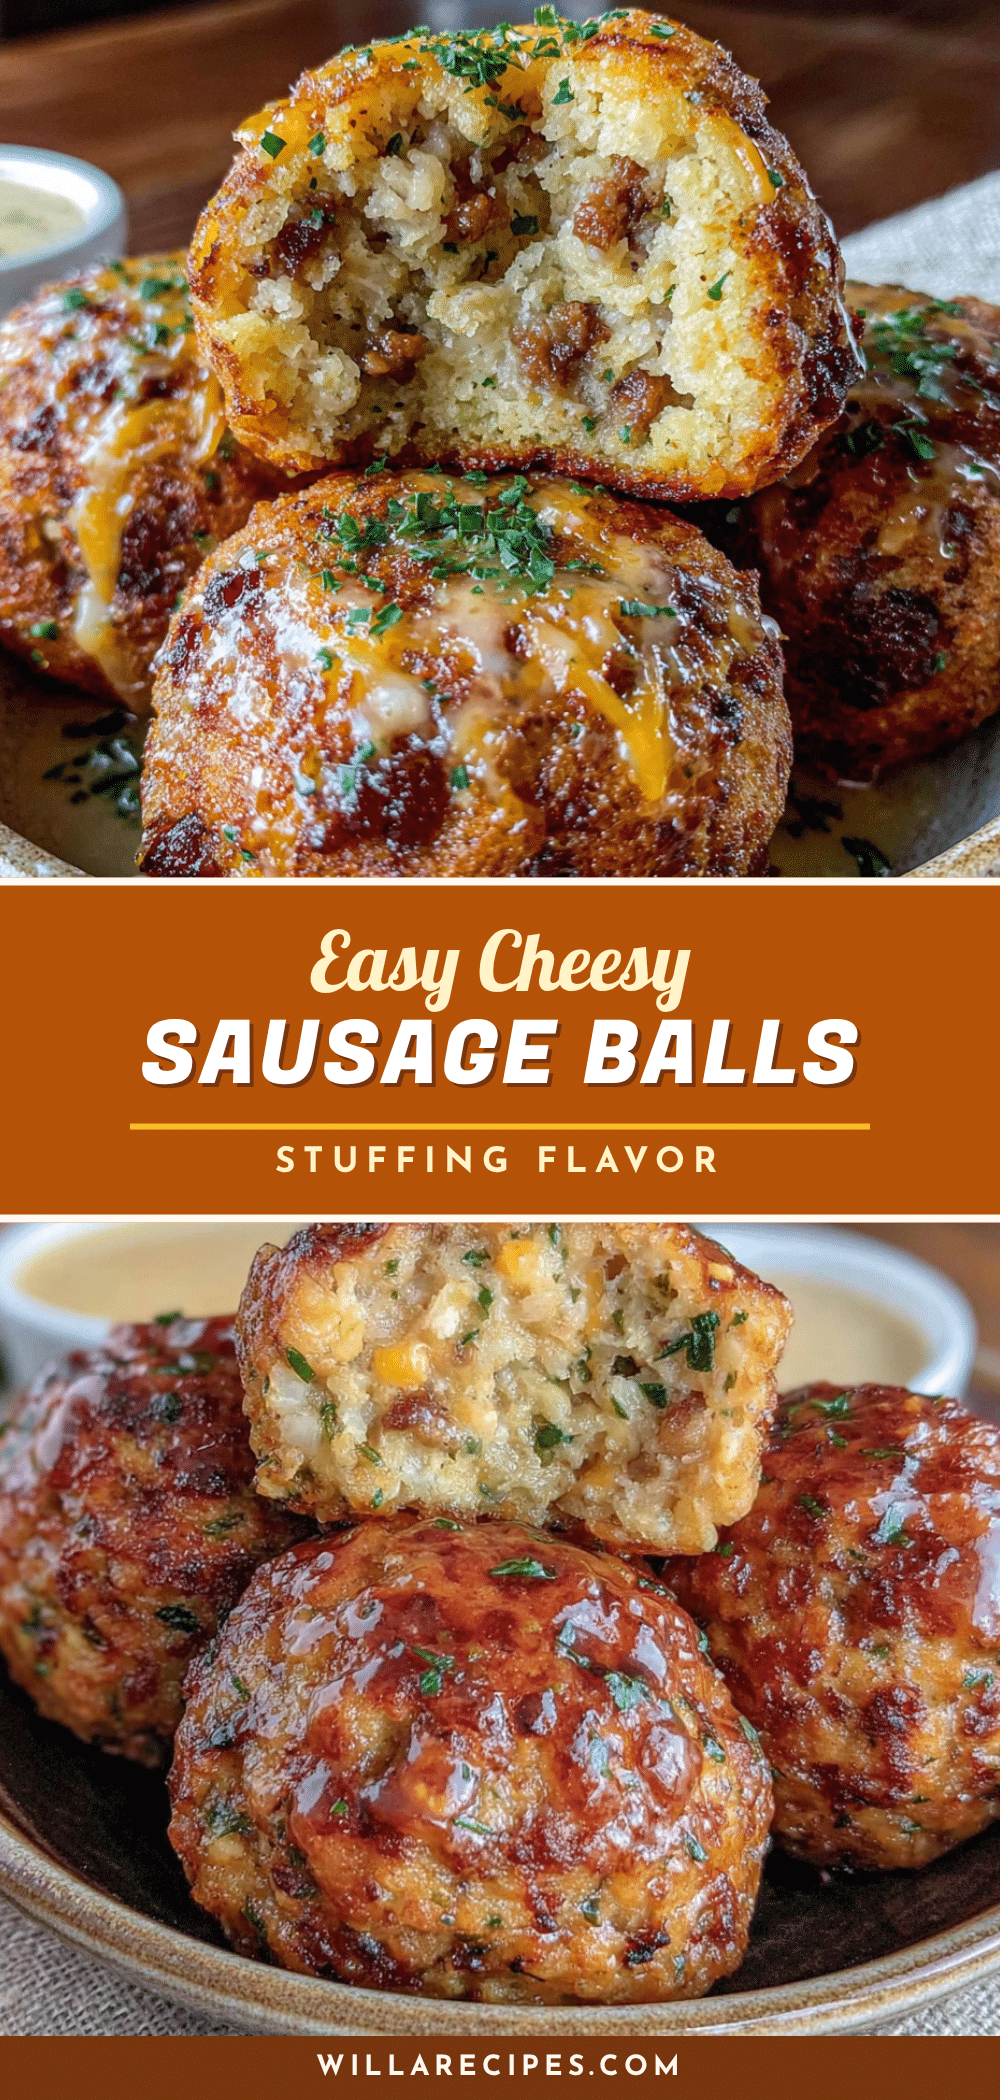
Easy Cheesy Sausage Stuffing Balls – Best Holiday Appetizer

These golden, crispy stuffing balls are packed with savory Italian sausage, melted cheddar, and perfectly seasoned bread cubes. They’re the ultimate crowd-pleasing appetizer that will convert even the most stubborn stuffing skeptics.
- Prep Time: 15 minutes
- Cook Time: 22 minutes
- Total Time: 37 minutes
- Yield: 20-24 balls 1x
- Category: Appetizer
- Cuisine: American
Ingredients
- 1 pound ground Italian sausage (mild or spicy)
- 3 cups seasoned bread cubes
- 1 ½ cups sharp cheddar cheese, shredded
- ½ cup chicken broth (low-sodium preferred)
- 2 large eggs, lightly beaten
- ½ cup yellow onion, finely diced
- 2 cloves garlic, minced
- ½ teaspoon dried sage
- ½ teaspoon dried thyme
- ¼ teaspoon black pepper
- ¼ teaspoon salt (optional)
- Fresh parsley, chopped (for garnish, optional)
- Extra shredded cheddar (for garnish, optional)
Instructions
- Preheat your oven to 400°F (200°C). Line a baking sheet with parchment paper.
- Cook the sausage: Heat a large skillet over medium-high heat. Add the ground Italian sausage and cook, breaking it up with a wooden spoon, until browned and cooked through—about 6-8 minutes. Leave about a tablespoon of fat in the pan for flavor. Let cool for 5 minutes.
- Prep your aromatics: While the sausage is cooking, dice the onion and mince the garlic.
- Mix the dry ingredients: In a large mixing bowl, combine the bread cubes, shredded cheddar, dried sage, dried thyme, black pepper, and salt (if using). Toss to distribute seasonings evenly.
- Add the wet ingredients: Add the cooked sausage, diced onion, minced garlic, beaten eggs, and chicken broth. Mix thoroughly with your hands, squeezing gently until the bread cubes absorb the liquid and the mixture holds together when pressed into a ball. If too dry, add another tablespoon of broth; if too wet, add a few more bread cubes.
- Shape the balls: Using a cookie scoop or your hands, form the mixture into 1.5-inch balls (about the size of a golf ball). You should get 20-24 balls. Place them on the prepared baking sheet, leaving about an inch of space between each.
- Bake: Bake for 18-22 minutes, until deep golden brown on the outside and the internal temperature reaches 165°F (74°C). For extra crispy tops, broil for the last 2 minutes, watching carefully.
- Rest and serve: Let the stuffing balls rest on the baking sheet for 5 minutes before transferring to a serving platter. Sprinkle with fresh parsley and extra cheese if desired.
Notes
For a gluten-free version, use gluten-free bread cubes and check your sausage label. For a dairy-free version, swap the cheddar for dairy-free shreds and use unsweetened dairy-free milk alternative in place of broth. To make ahead, assemble the balls up to 24 hours in advance, refrigerate, and add about 5 minutes to the baking time. For freezing, bake and cool completely, then freeze in a single layer and store in a freezer bag for up to 3 months. Reheat from frozen at 350°F for 15-18 minutes.
Nutrition
- Serving Size: 1 ball
- Calories: 145
- Sugar: 1
- Sodium: 380
- Fat: 9
- Saturated Fat: 4
- Carbohydrates: 8
- Fiber: 1
- Protein: 8
Keywords: stuffing balls, sausage stuffing balls, cheesy stuffing balls, holiday appetizer, easy appetizer, game day snack, Thanksgiving appetizer, Christmas appetizer


