My neighbor, Mrs. Kowalski, watched me fumbling with a piping bag at my kitchen window one December afternoon. I was attempting—and failing—to make fancy French macarons for a holiday party. She didn’t say anything at first. Then she knocked on my back door ten minutes later holding a plastic container. “These are better,” she said simply. “No fuss, no mess. Everyone fights over them.” Inside were these perfect chocolate mint cookies studded with little green flecks of Andes chips. I took one bite and honestly, I almost cried from relief. No temperamental egg whites. No finicky oven temperatures. Just pure, crowd-pleasing magic in a cookie that looked like it came from a bakery.
That was three winters ago, and I haven’t made macarons since. Mrs. Kowalski grew up in Chicago, and her mother used to make these for church potlucks. She told me the recipe traveled from a neighbor in her old building who worked at a bakery downtown. It’s one of those recipes that gets passed around not because it’s fancy—but because it works every single time. I’ve tweaked it a little over the years, swapping in a touch more vanilla and using dark chocolate cocoa powder for a richer base. But the soul of the cookie is still hers.
Maybe you’ve been there—staring down a party guest list and realizing you need something impressive but don’t have three hours to babysit a recipe. Let me tell you, these cookies are your answer. They come together in one bowl, no chilling required, and they disappear faster than almost anything I’ve ever brought to a gathering. The best part? That crackly top and the surprise of cool mint against rich chocolate. It’s the kind of cookie that makes people close their eyes on the first bite. I keep making them because they remind me that sometimes the best recipes arrive through a back door, handed over by someone who just wanted to help.
Why You’ll Love This Recipe
I’ve tested this recipe at least a dozen times across different ovens and altitudes, and it never lets me down. Here’s why this version earns a permanent spot in your hosting rotation.
- Quick & Easy: From start to finish, these cookies take about 25 minutes. No chilling, no complicated steps. Mix, scoop, bake.
- Simple Ingredients: You probably have most of these in your pantry right now. The only special item is the Andes chips, which are easy to find at any grocery store.
- Perfect for Parties: These cookies were practically designed for gatherings. They stack beautifully on platters, they don’t get soggy, and they stay fresh for days.
- Crowd-Pleaser: I’ve brought these to cookie swaps, birthday parties, and casual get-togethers. They’re always the first tray to empty. Kids and adults both grab them.
- Unbelievably Delicious: The combination of fudgy chocolate and cool mint is pure comfort food. The texture is soft in the center with slightly crisp edges—exactly what a chocolate cookie should be.
What makes this recipe different from every other chocolate mint cookie out there? Two things. First, I use a higher ratio of cocoa powder to flour, which gives you that deep, almost brownie-like flavor. Second, I fold the Andes chips in at the very end so they stay intact and create those beautiful green pockets throughout the dough. It’s a small detail, but it makes a big difference in both taste and appearance.
This isn’t just another cookie recipe. It’s the one that makes you look like you spent hours in the kitchen when you really didn’t. It’s the one that gets texted to friends who ask for the recipe before the party ends. It’s comfort food, party food, and everything in between—all in one perfect bite.
What Ingredients You Will Need
This recipe uses simple, pantry-friendly ingredients to deliver bold chocolate-mint flavor without any fuss. Most of these are staples you likely already have on hand.
- Unsalted butter, softened (1 cup / 226g) – I always use unsalted so I can control the salt level. Let it sit out for about 30 minutes before starting.
- Granulated sugar (1 cup / 200g) – Regular white sugar gives these cookies their signature crackly tops.
- Large eggs (2, room temperature) – Room temperature eggs incorporate more evenly into the butter-sugar mixture. If you forgot to take them out, place them in warm water for 5 minutes.
- Vanilla extract (2 teaspoons) – Pure vanilla makes a difference here. I prefer Nielsen-Massey for its rich flavor.
- Peppermint extract (½ teaspoon) – This is where the mint flavor comes from. Be careful not to overdo it—a little goes a long way. I recommend starting with ¼ teaspoon and tasting the dough.
- All-purpose flour (2 cups / 250g) – Spoon and level your flour for accurate measuring. Scooping directly can add too much flour and make the cookies dry.
- Unsweetened cocoa powder (¾ cup / 75g) – I use Dutch-process cocoa for a smoother, richer chocolate flavor. If you only have natural cocoa, it will still work—the cookies just won’t be as dark.
- Baking soda (1 teaspoon) – Helps the cookies spread just enough without becoming flat.
- Salt (½ teaspoon) – Balances the sweetness and enhances the chocolate.
- Andes creme de menthe baking chips (1½ cups / 255g) – These are the star of the show. You can find them in the baking aisle near the chocolate chips. If you can’t find the baking chips, chop up regular Andes mints into small pieces.
Ingredient tips from my kitchen: I’ve tested this with both natural and Dutch-process cocoa, and Dutch-process gives a noticeably deeper color and smoother taste. If you’re using natural cocoa, add an extra tablespoon of butter to compensate for the drier texture. For the Andes chips, I’ve tried the generic store brand and the name brand—the name brand melts more evenly and has a better mint flavor. It’s worth the extra dollar or two.
Substitution guidance: Need these to be gluten-free? Swap the all-purpose flour with a 1:1 gluten-free baking flour blend. I’ve used Bob’s Red Mill with great results. For a dairy-free version, use plant-based butter and check that your Andes chips are dairy-free (the original ones contain milk). The texture will be slightly different, but the flavor is still fantastic.
Equipment Needed
You don’t need fancy tools for this recipe, which is one of the reasons I love it. Here’s what you’ll need.
- Large mixing bowl – Any medium-to-large bowl will work. I use a ceramic one because it doesn’t slide around on the counter.
- Electric hand mixer or stand mixer – You can absolutely cream the butter and sugar by hand, but a mixer makes it much faster. I’ve done both, and honestly, the mixer gives a fluffier texture.
- Rubber spatula – For folding in the Andes chips gently. A wooden spoon works too, but a spatula is gentler on the chips.
- Baking sheets – Two standard half-sheet pans are ideal. If you only have one, let it cool completely between batches.
- Parchment paper or silicone baking mat – Parchment is my preference because it gives slightly crisper bottoms. Silicone mats work fine too, but the cookies might spread a little more.
- Cookie scoop (1.5 tablespoon size) – This ensures even-sized cookies that bake uniformly. If you don’t have one, use two spoons to drop rounded tablespoons of dough.
- Cooling rack – Essential for letting the cookies set properly. If you don’t have one, transfer them to a clean cutting board after a few minutes.
Budget-friendly note: I used a hand mixer for years before upgrading to a stand mixer. The cookies turned out exactly the same. Save your money for good cocoa powder and Andes chips instead.
Preparation Method
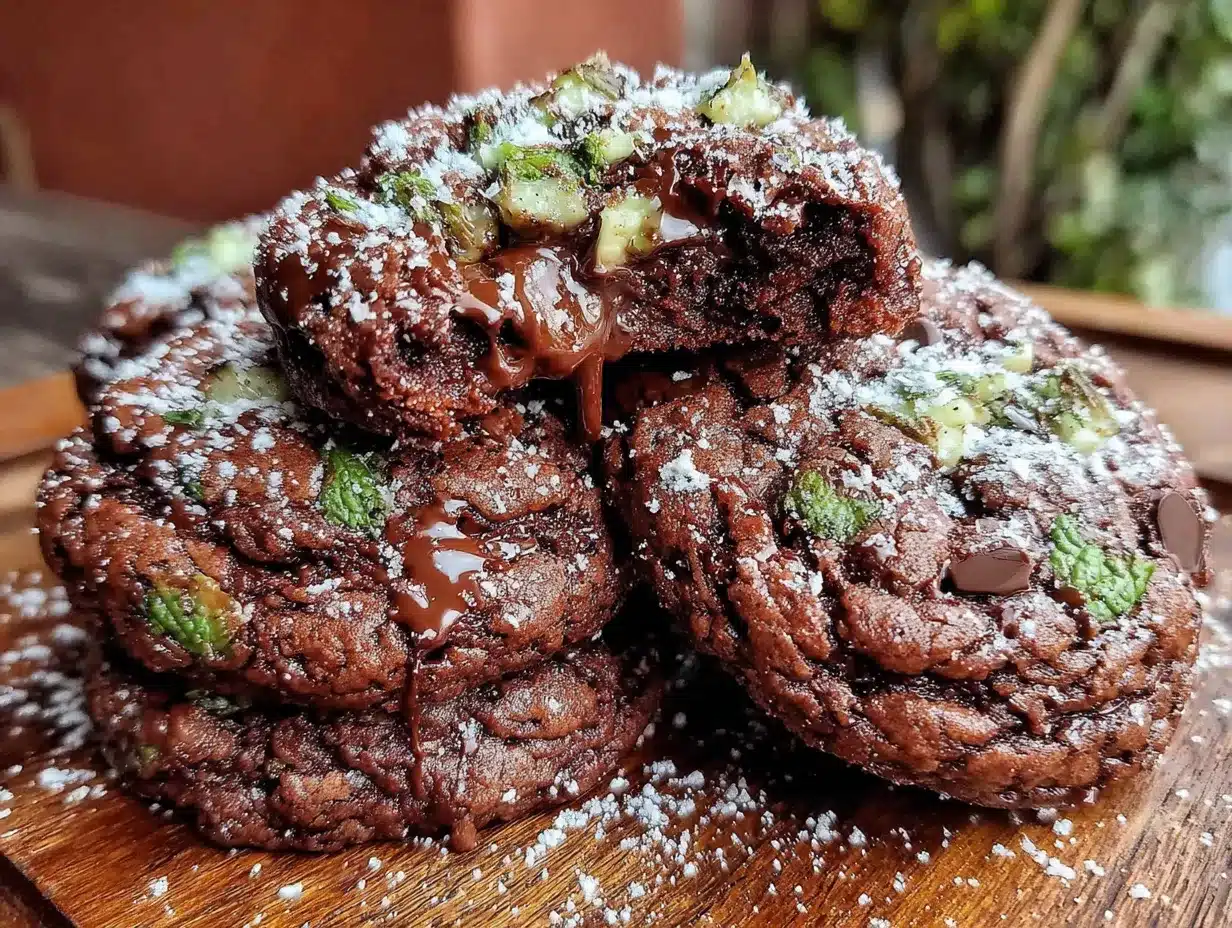
This recipe moves fast, so I recommend having all your ingredients measured and ready before you start. Preheat your oven to 350°F (175°C) and line two baking sheets with parchment paper.
- Cream the butter and sugar. In a large mixing bowl, beat the softened butter and granulated sugar together until light and fluffy, about 3–4 minutes. You want the mixture to look pale and airy. If you’re using a hand mixer, medium speed works best. Scrape down the sides of the bowl halfway through.
- Add the eggs and extracts. Beat in the eggs one at a time, making sure each is fully incorporated before adding the next. Then add the vanilla extract and peppermint extract. Mix on low speed until just combined. The dough will look slightly curdled at this point—that’s normal. Don’t overmix.
- Combine the dry ingredients. In a separate bowl, whisk together the all-purpose flour, cocoa powder, baking soda, and salt. This step is important because it distributes the leavening agent evenly. I use a fork for this—no need to dirty another whisk.
- Mix the dry ingredients into the wet. Gradually add the flour mixture to the butter mixture, mixing on low speed. Stop as soon as the flour disappears. Overmixing at this stage develops gluten and makes the cookies tough. The dough will be thick and slightly sticky.
- Fold in the Andes chips. Switch to your rubber spatula. Gently fold in the Andes creme de menthe baking chips until they’re evenly distributed throughout the dough. Be careful not to crush them—you want those green flecks to stay visible. The dough will look speckled and beautiful.
- Scoop the dough. Using your cookie scoop or two spoons, drop rounded tablespoons of dough onto the prepared baking sheets, spacing them about 2 inches apart. I fit 12 cookies per sheet. The dough won’t spread much, so you can place them relatively close together.
- Bake. Bake for 10–12 minutes, rotating the baking sheets halfway through. The cookies are done when the edges look set and the tops are crackled but still soft in the center. A toothpick inserted into the center should come out with a few moist crumbs—not wet batter. My oven runs hot, so I start checking at 9 minutes.
- Cool. Let the cookies rest on the baking sheet for 5 minutes. This is critical—they’re very fragile right out of the oven. After 5 minutes, transfer them to a wire cooling rack to cool completely. The centers will continue to set as they cool.
My personal timing tip: While the first batch bakes, scoop the second batch onto the other prepared sheet. By the time the first batch comes out, the second batch is ready to go in. This keeps your workflow smooth and prevents any dough from sitting too long.
Cooking Tips & Techniques
After making these cookies more times than I can count, I’ve collected a few tricks that make a real difference. Let me save you some trial and error.
Don’t overmix the dough. This is the number one mistake I see. Once you add the flour, mix only until it disappears. Overmixing activates the gluten and gives you tough, cakey cookies instead of soft, fudgy ones. I learned this the hard way when I brought a batch to a party and someone asked if I’d accidentally made brownie cookies. They were still good, but not the crackly, tender texture I wanted.
Watch your peppermint extract. Peppermint extract is potent—much stronger than vanilla. I once added a full teaspoon thinking more mint would be better, and the cookies tasted like toothpaste. Start with ½ teaspoon, taste the dough (it’s safe to eat a tiny bit since there are no raw eggs in this stage), and add another ¼ teaspoon if you want a stronger mint kick.
Chill if you have time, but it’s not required. I’ve made these both ways. Chilling the dough for 30 minutes gives slightly thicker cookies with more pronounced crackly tops. If you’re in a rush, scoop and bake immediately—they’ll spread a little more but still taste fantastic. For parties, I sometimes chill the scooped dough on the baking sheet for 15 minutes while the oven preheats.
Use a light hand with the Andes chips. Fold them in gently so they stay whole. Crushed chips melt into the dough and you lose those pretty green pockets. I’ve also tried chopping Andes mints by hand when I couldn’t find the chips—it works, but the pieces are uneven and some melt completely. The baking chips are worth seeking out.
Rotate your baking sheets. Every oven has hot spots. Rotating the sheets front to back and top to bottom halfway through ensures even baking. I set a timer for 5 minutes and rotate then. It’s a small step that makes a big difference in consistency.
Variations & Adaptations
One of the things I love about this recipe is how easily it adapts to different tastes and occasions. Here are a few variations I’ve tried and loved.
Double Chocolate Mint Cookies: Add ½ cup of dark chocolate chips along with the Andes chips. The extra chocolate deepens the flavor and adds more texture. I did this for a friend’s birthday party, and everyone asked for the recipe.
Mint Chocolate Thumbprints: After scooping the dough, make a small indent in the center of each cookie with your thumb. Bake as directed, then fill the indent with a dollop of mint frosting or a melted Andes mint. These look gorgeous on a dessert table and taste like little mint chocolate tarts.
Gluten-Free Version: Substitute the all-purpose flour with a 1:1 gluten-free baking blend. I’ve used King Arthur Measure for Measure with excellent results. The cookies spread slightly less, but the flavor and texture are remarkably close to the original.
Vegan Adaptation: Use plant-based butter and replace each egg with a flax egg (1 tablespoon ground flaxseed mixed with 3 tablespoons water, let sit for 5 minutes). The cookies will be a bit flatter and chewier, but the mint-chocolate flavor shines through. I made these for a vegan potluck and they were gone within 20 minutes.
Peppermint Patty Twist: Instead of Andes chips, chop up 1 cup of mini peppermint patties and fold them into the dough. The patties create gooey pockets of minty chocolate that are absolutely decadent. Just be aware that the cookies spread more because of the extra sugar in the patties.
My personal favorite variation: Around the holidays, I add ¼ cup of crushed candy canes on top of the cookies right after they come out of the oven. The candy melts slightly and creates a crunchy, festive topping. It’s a showstopper for cookie exchanges.
Serving & Storage Suggestions
These cookies are at their best when served slightly warm, but they’re honestly delicious at any temperature. Here’s how to make the most of them.
Serving temperature: If you’re serving them at a party, let them cool completely on a wire rack, then arrange them on a platter. They hold their shape well and stack beautifully. For an extra touch, dust them lightly with powdered sugar just before serving—it contrasts nicely with the dark chocolate.
What to serve alongside: These cookies pair beautifully with a cold glass of milk, a hot cup of coffee, or a peppermint mocha. For a dessert spread, I serve them alongside classic shortbread cookies and a bowl of fresh berries. The mint flavor also complements dark chocolate truffles or a simple vanilla ice cream.
Storage instructions: Store the cookies in an airtight container at room temperature for up to 5 days. Place a piece of bread in the container to keep them soft—the cookies will absorb the moisture from the bread. I’ve done this for years and it works like magic.
Freezing: These cookies freeze beautifully. Place them in a single layer in a freezer-safe container or zip-top bag, separating layers with parchment paper. They’ll keep for up to 3 months. To thaw, let them sit at room temperature for about 30 minutes. You can also freeze the unbaked dough—scoop it into balls, freeze on a baking sheet, then transfer to a bag. Bake from frozen, adding 2–3 minutes to the baking time.
How flavors develop: Honestly, these cookies taste even better the next day. The mint flavor mellows and blends with the chocolate in a way that’s incredibly satisfying. If you’re making them for a party, I recommend baking them a day ahead and storing them in an airtight container. Your future self will thank you.
Nutritional Information & Benefits
I’m not a nutritionist, but I’ve done my best to estimate the nutritional values based on the ingredients I use. Here’s what you can expect per cookie (based on 36 cookies).
| Nutrient | Amount Per Cookie |
|---|---|
| Calories | 145 |
| Total Fat | 8g |
| Saturated Fat | 5g |
| Cholesterol | 25mg |
| Sodium | 85mg |
| Total Carbohydrates | 18g |
| Dietary Fiber | 1g |
| Sugars | 12g |
| Protein | 2g |
Health benefits: Cocoa powder is rich in antioxidants called flavonoids, which can support heart health and reduce inflammation. The peppermint extract may aid digestion and provide a refreshing sensation. While these cookies are definitely a treat, using quality ingredients means you’re getting a little more than just empty calories.
Dietary considerations: This recipe contains gluten, dairy, and eggs. For gluten-free or vegan options, see the variations section above. The cookies are nut-free as written, which makes them a safe option for school parties or gatherings where allergies are a concern.
Conclusion
These party-perfect chocolate mint cookies with Andes chips have become my go-to for every gathering, and I think they’ll become yours too. They’re simple enough for a Tuesday afternoon but impressive enough for a holiday cookie exchange. The combination of rich chocolate and cool mint is timeless, and the crackly tops make them look like you spent way more effort than you actually did.
I love this recipe because it reminds me that the best things in life are often the simplest. Mrs. Kowalski didn’t give me a complicated technique or a list of hard-to-find ingredients. She gave me a recipe that works, every single time, and brings people together. That’s what cooking is really about, isn’t it?
I’d love to hear how these turn out for you. Did you try any of the variations? Did you add your own twist? Drop a comment below and let me know—I read every single one. And if you’re looking for another crowd-pleasing dessert, check out my fudgy brownie bites or these mint chocolate truffles. Happy baking, friends!
Frequently Asked Questions
Can I use regular mint chocolate chips instead of Andes chips?
Absolutely. If you can find mint chocolate chips from brands like Ghirardelli or Nestle, they work perfectly. The flavor will be slightly different—Andes chips have a milder, creamier mint taste—but the cookies will still be delicious. Just make sure to fold them in gently so they don’t break.
Why did my cookies turn out flat?
Flat cookies usually happen for one of three reasons: the butter was too soft or melted, the dough was overmixed, or the baking soda was old. Make sure your butter is softened but not greasy, mix just until the flour disappears, and check that your baking soda is within its expiration date. If all else fails, chill the dough for 20 minutes before baking.
Can I make these cookies ahead of time for a party?
Yes, and I actually recommend it. Bake them a day ahead and store them in an airtight container at room temperature. The flavors meld overnight and the cookies stay perfectly soft. You can also freeze the baked cookies for up to 3 months—just thaw them on the counter for 30 minutes before serving.
How do I get the crackly tops?
The crackly tops come from the right ratio of sugar to butter and the high cocoa content. Make sure you cream the butter and sugar thoroughly until light and fluffy—this incorporates air that helps create the cracks. Also, don’t skip the step of letting the cookies rest on the baking sheet for 5 minutes after baking. That resting time allows the cracks to set.
Can I reduce the sugar in this recipe?
You can reduce the sugar by about ¼ cup without significantly affecting the texture. The cookies will be slightly less sweet and the crackly tops may be less pronounced. I’ve tried using coconut sugar as a substitute, and it works but gives the cookies a darker color and a slightly different flavor. If you’re cutting sugar for dietary reasons, start with ¾ cup instead of 1 cup and see how you like it.
Pin This Recipe!
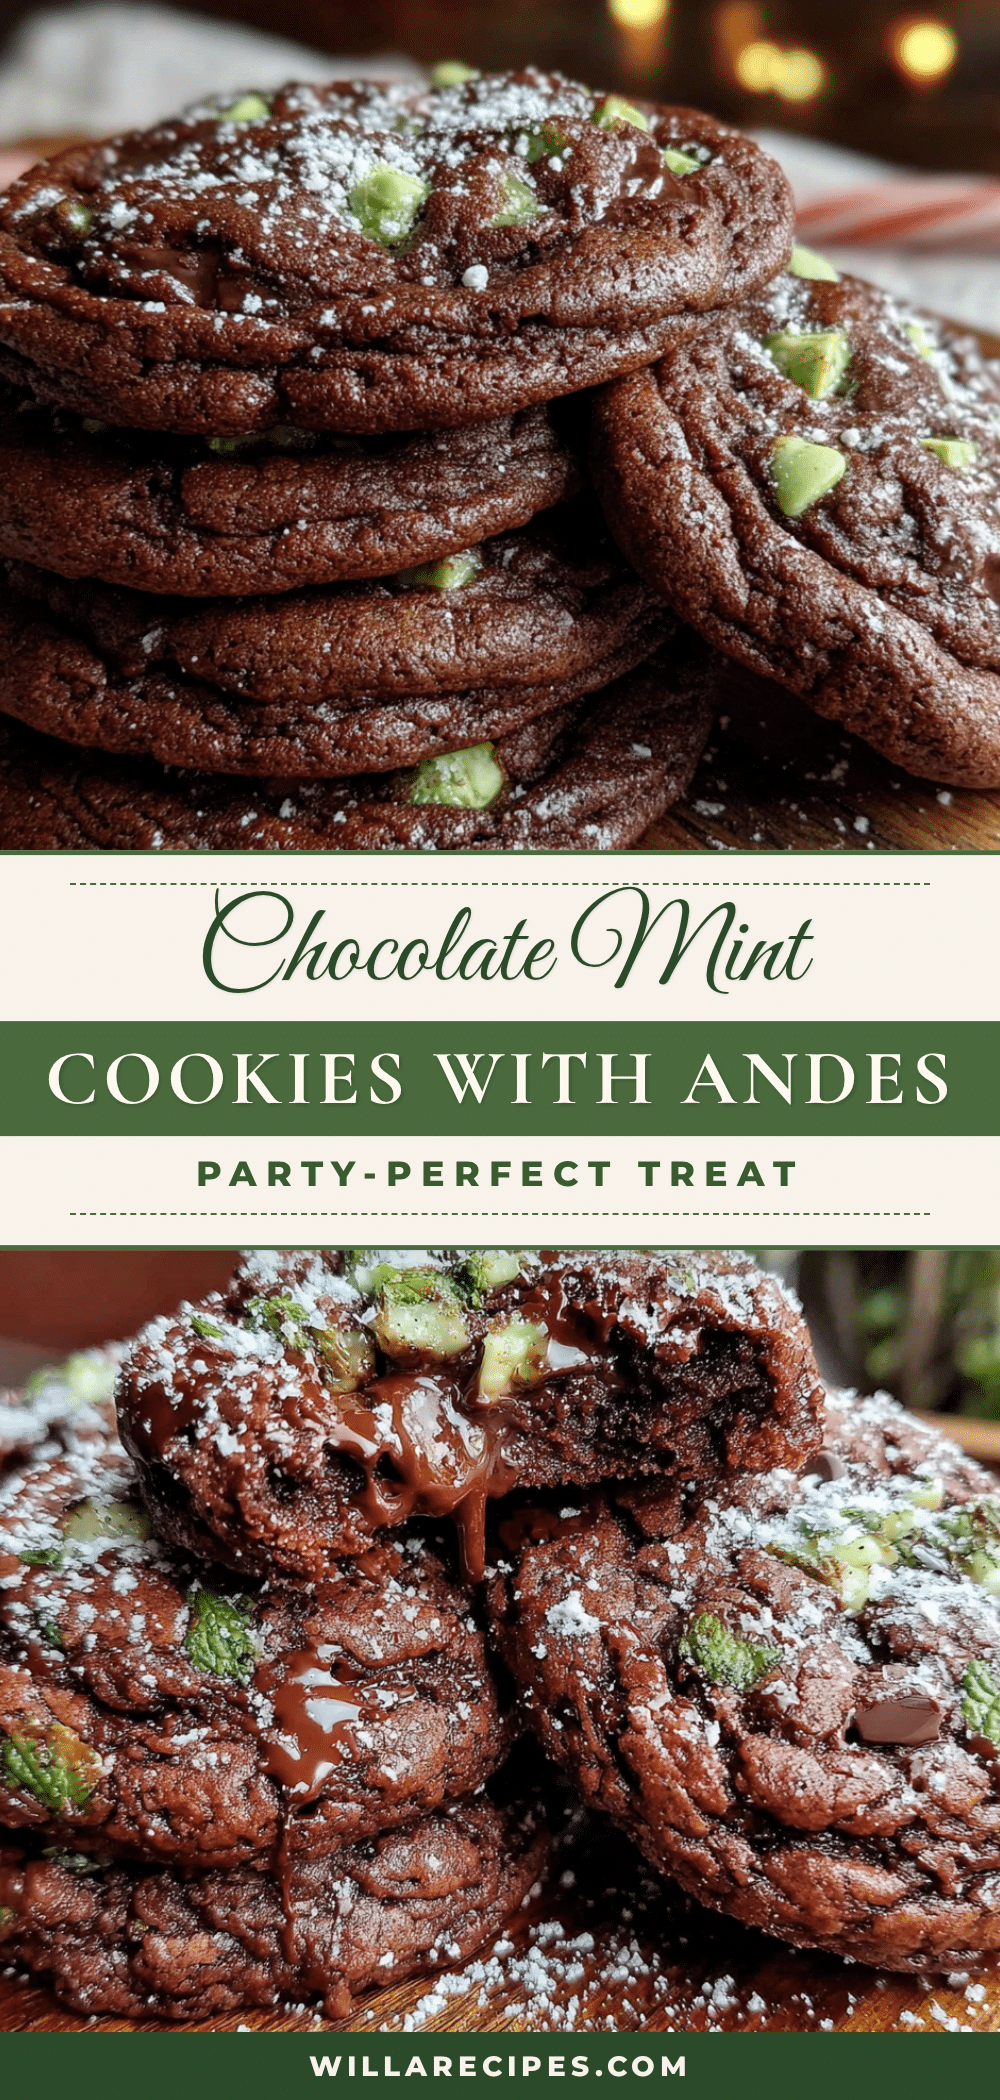
Best Easy Chocolate Mint Cookies with Andes Chips

These fudgy chocolate mint cookies with Andes chips are quick, easy, and perfect for parties. No chilling required, and they disappear fast at any gathering.
- Prep Time: 15 minutes
- Cook Time: 12 minutes
- Total Time: 27 minutes
- Yield: 36 cookies 1x
- Category: Dessert
- Cuisine: American
Ingredients
- 1 cup (226g) unsalted butter, softened
- 1 cup (200g) granulated sugar
- 2 large eggs, room temperature
- 2 teaspoons vanilla extract
- ½ teaspoon peppermint extract
- 2 cups (250g) all-purpose flour
- ¾ cup (75g) unsweetened cocoa powder (Dutch-process preferred)
- 1 teaspoon baking soda
- ½ teaspoon salt
- 1½ cups (255g) Andes creme de menthe baking chips
Instructions
- Preheat oven to 350°F (175°C). Line two baking sheets with parchment paper.
- In a large mixing bowl, beat the softened butter and granulated sugar together until light and fluffy, about 3–4 minutes.
- Beat in the eggs one at a time, then add vanilla extract and peppermint extract. Mix on low until just combined.
- In a separate bowl, whisk together flour, cocoa powder, baking soda, and salt.
- Gradually add the dry ingredients to the wet mixture, mixing on low speed until just combined. Do not overmix.
- Gently fold in the Andes chips with a rubber spatula until evenly distributed.
- Drop rounded tablespoons of dough onto prepared baking sheets, spacing them about 2 inches apart.
- Bake for 10–12 minutes, rotating sheets halfway through. Cookies are done when edges are set and tops are crackled but centers are still soft.
- Let cookies rest on baking sheet for 5 minutes, then transfer to a wire cooling rack to cool completely.
Notes
For thicker cookies with more crackly tops, chill the dough for 30 minutes before baking. Start with ½ teaspoon peppermint extract and adjust to taste. Use Dutch-process cocoa for deeper color and smoother flavor. Store in an airtight container at room temperature for up to 5 days; freeze for up to 3 months.
Nutrition
- Serving Size: 1 cookie
- Calories: 145
- Sugar: 12
- Sodium: 85
- Fat: 8
- Saturated Fat: 5
- Carbohydrates: 18
- Fiber: 1
- Protein: 2
Keywords: chocolate mint cookies, Andes chips cookies, easy cookie recipe, party cookies, holiday cookies, mint chocolate cookies


