I was standing in the grocery store aisle last October, staring at a bag of pretzel rods, when the strangest thing happened. A kid ran past me, his mom chasing after him, and the little guy was wearing these plastic witch fingers — you know, the ones with the long, green nails. And just like that, I was seven years old again, sitting on my aunt Maggie’s linoleum kitchen floor, watching her arrange a platter of food that looked like it had crawled out of a haunted house. She had these weird, knobby pretzel things that looked exactly like fingers, and I remember thinking, “There is no way I’m eating that.” But then she dipped one in this creamy, pumpkin-colored dip, and I was hooked before I even knew what hit me.
Aunt Maggie moved to Arizona a few years back, and honestly, I hadn’t thought about that snack board in ages. But standing there in that cold aisle, I could almost feel the rough salt on my tongue and hear her laugh when I asked if the fingers were real. I grabbed the pretzels, some cream cheese, and a few other things, and I went home with a mission. I mean, maybe you’ve been there — a random memory hits you so hard you have to make it happen again, right?
This Kid-Approved Witches’ Finger Pretzel Dip Board is my attempt to bring back that feeling. It’s spooky enough for Halloween but totally doable on a Tuesday night when you just need something fun. And honestly, it’s become a tradition in my house now. My kids fight over who gets to arrange the “fingernails,” and I get to watch them light up over something that took me maybe twenty minutes to throw together. That’s the kind of magic I can get behind.
Why You’ll Love This Recipe
Let’s be real for a second. Halloween snacks can be a total pain. You spend hours carving something intricate, and the kids just want the candy. This board is different. It’s the kind of thing that makes you look like a Halloween hero without actually working that hard. Here is why it works for our family — and I bet it will work for yours too.
- Quick & Easy: This comes together in under 20 minutes. No baking, no complicated steps. Just assembly and a little creativity. Perfect for those after-school Halloween parties or a last-minute spooky movie night.
- Simple Ingredients: I bet you already have most of this stuff in your pantry. Pretzels, cream cheese, sour cream — it’s all stuff you can grab without a special trip to some fancy store.
- Perfect for Halloween Fun: This is the centerpiece of any Halloween gathering. It’s creepy in a cute way, and kids absolutely lose their minds over the “finger” look.
- Crowd-Pleaser: I’ve served this at school parties, family gatherings, and even a grown-up Halloween dinner. The kids love the novelty, and the adults love that it’s actually tasty, not just a gimmick.
- Unbelievably Delicious: The combination of salty, crunchy pretzels with a creamy, slightly sweet dip is next-level comfort food. It’s the kind of snack you keep reaching for without even realizing it.
What makes this different from every other Halloween snack board out there? It’s the dip. I spent a few batches getting it just right — not too sweet, not too savory, with just a hint of pumpkin spice that screams fall without being overwhelming. It’s my best version, and I’ve tested it on a bunch of picky eaters. Trust me, it passes the kid test every single time.
This recipe isn’t just good — it’s the kind that makes you close your eyes after the first bite. It’s comfort food reimagined for a spooky season, faster than you’d think, but with the same soul-soothing satisfaction. Perfect for impressing the little monsters without stressing yourself out.
What Ingredients You Will Need
This recipe uses simple, budget-friendly ingredients to deliver that perfect Halloween vibe without the fuss. Most of these are pantry staples or easy to find at any grocery store. Here is what you need to gather.
For the “Witches’ Fingers” (The Pretzels)
- Pretzel rods: 1 standard bag (about 12-16 ounces). These are the base of your fingers. Look for the thick, sturdy ones that won’t break easily. I like the Snyder’s of Hanover brand for their consistent size.
- Sliced almonds: 1/2 cup. These become the creepy fingernails. You want the slivered or sliced kind, not whole almonds. They should be raw or lightly toasted.
- Green food coloring: A few drops. This is for tinting the cream cheese dip to look like witchy skin. Gel food coloring works best for a vibrant color without thinning the dip.
For the Creamy Pumpkin Dip
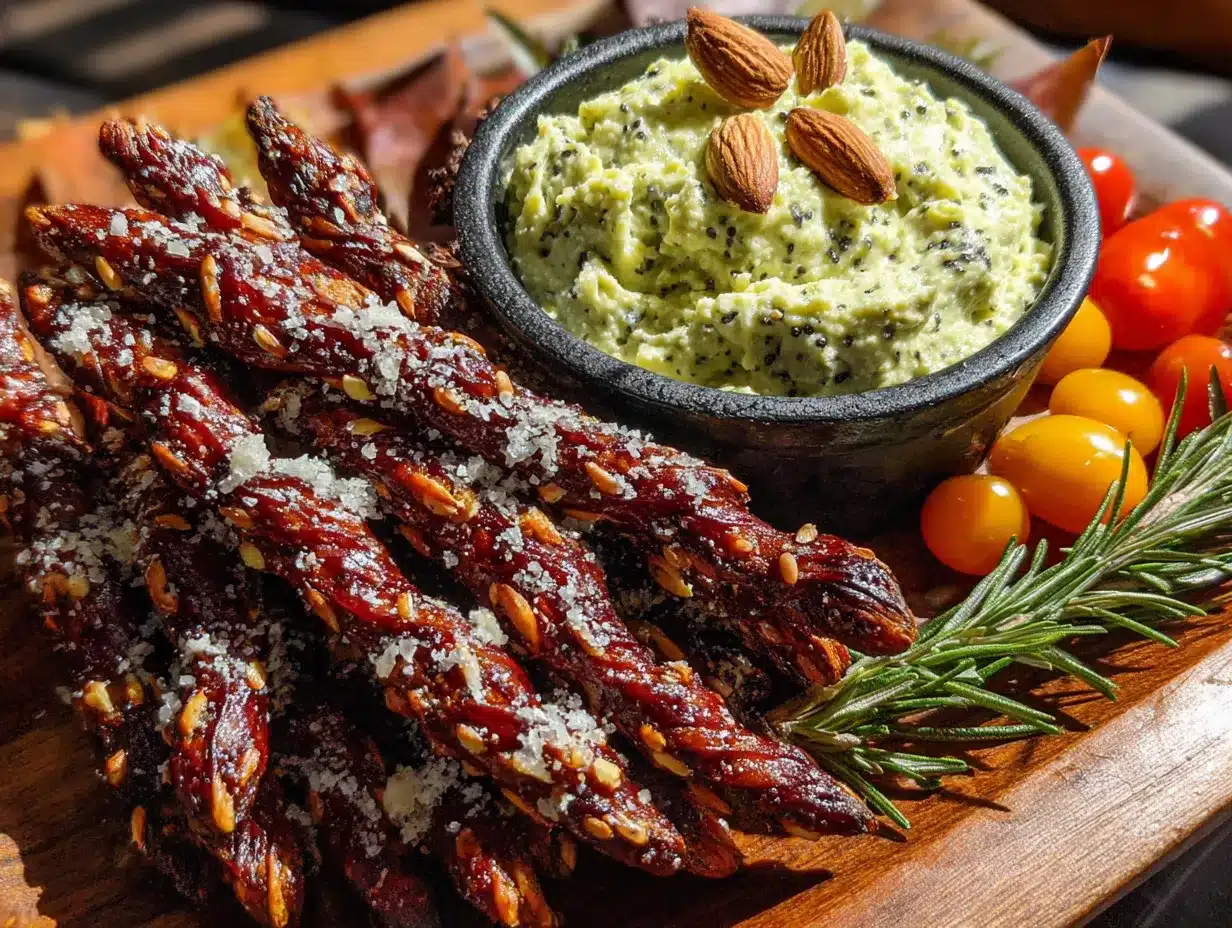
- Cream cheese: 8 ounces, softened to room temperature. This is the base of your dip. Full-fat works best for a rich, creamy texture, but reduced-fat is fine in a pinch.
- Sour cream: 1/2 cup. This adds a tangy lightness that balances the richness of the cream cheese. You can substitute plain Greek yogurt for a healthier twist.
- Pumpkin puree: 1/2 cup. Not pumpkin pie filling — just pure pumpkin. This gives the dip that beautiful orange color and a subtle earthy sweetness. I recommend Libby’s brand for consistent results.
- Powdered sugar: 1/4 cup. This sweetens the dip just enough without making it cloying. Adjust to your taste — you can use a little less if you prefer a savory dip.
- Pumpkin pie spice: 1 teaspoon. This is the secret weapon. It gives the dip that warm, cozy fall flavor. If you don’t have it, mix 1/2 teaspoon cinnamon, 1/4 teaspoon nutmeg, 1/4 teaspoon ginger, and a pinch of cloves.
- Vanilla extract: 1/2 teaspoon. Just a splash to round out the flavors. Pure vanilla is best, but imitation works fine.
For the Board Assembly
- Red grapes: 1 cup. These look like little eyeballs when placed strategically on the board. Seedless grapes are easiest.
- Apple slices: 1 apple, sliced thin. These add a fresh, crisp element. Toss them in a little lemon juice to keep them from browning.
- Orange cheese cubes: 1 cup. Cheddar or Colby Jack work well. Cut them into small cubes for easy grabbing.
- Dark chocolate chips: 1/2 cup. These look like little bugs or dirt. They add a touch of sweetness that balances the salty pretzels.
- Fresh rosemary sprigs: A few. These are purely decorative, but they make the board look like a spooky forest. Totally optional, but worth it for the presentation.
Equipment Needed
You don’t need a fancy kitchen to pull this off. Here is what you will need.
- Large serving board or platter: A wooden cutting board, a large ceramic platter, or even a baking sheet will work. The bigger the better, so you have room to spread everything out.
- Small mixing bowl: For making the dip. A medium bowl is fine too.
- Hand mixer or stand mixer: This makes whipping the cream cheese a breeze. A sturdy whisk and some elbow grease will also do the trick.
- Rubber spatula: For scraping every last bit of dip out of the bowl. Trust me, you don’t want to waste any.
- Small bowl for the dip: A ramekin or a small ceramic bowl to hold the dip on the board.
- Knife and cutting board: For slicing the apple and cheese.
- Toothpicks (optional): For securing the almond “fingernails” to the pretzel rods if they don’t stick well.
My best advice? Don’t overthink the equipment. I’ve made this board on a flimsy plastic tray from a party store, and it still looked amazing. Just use what you have.
Preparation Method
Alright, let’s get to the fun part. This is where the magic happens. Follow these steps, and you’ll have a spooky snack board that will blow the kids’ minds.
-
Make the dip first. In your mixing bowl, combine the softened cream cheese, sour cream, pumpkin puree, powdered sugar, pumpkin pie spice, and vanilla extract. Beat with your hand mixer on medium speed until everything is smooth and creamy. This should take about 2-3 minutes. Scrape down the sides of the bowl with your spatula halfway through. The dip should be a beautiful pale orange color and have a fluffy, spreadable consistency.
-
Add the witchy green color. Now, this is the step that makes it a “witches’ finger” board. Add 2-3 drops of green food coloring to the dip and mix it in. You want a light, swampy green — not neon. Think of the Wicked Witch of the West, not a highlighter. Start with a little and add more if you need it. I once added too much and ended up with a dip that looked like slime. It still tasted great, but it was a little alarming.
-
Prepare the “fingernails.” Take your sliced almonds and, if you want, give them a quick toast in a dry pan over medium heat for about 2 minutes. This brings out their nutty flavor and makes them a little crunchier. Watch them closely — they burn fast. Let them cool completely before using.
-
Assemble the fingers. This is the part the kids love to help with. Take a pretzel rod and gently press a sliced almond onto one end. The almond should look like a long, pointy fingernail. If it doesn’t stick well, use a tiny dab of cream cheese dip as “glue.” You can also use a toothpick to secure it, but I find the dip works just fine. Repeat for all the pretzel rods. I usually make about 12-16 fingers for a good-sized board.
-
Arrange the board. Place your small bowl of green dip in the center of your serving board. This is the “cauldron” of witchy goodness. Then, start arranging the witches’ fingers around the bowl, pointing outward like a sunburst. Leave some space for the other snacks.
-
Add the “eyeballs” and other creepy bits. Scatter the red grapes around the board — they look like little eyeballs peeking out. Arrange the apple slices in small piles. Place the orange cheese cubes in clusters. Sprinkle the dark chocolate chips around like little bugs or dirt. The goal is to make the board look like a spooky, overgrown forest floor.
-
Finish with the forest details. Tuck the fresh rosemary sprigs in between the fingers and the other snacks. They look like little trees or bushes. This is totally optional, but it really sells the whole “haunted forest” vibe. I once used thyme instead because that’s what I had, and it worked just as well.
-
Serve immediately. This board is best enjoyed right away, while the pretzels are still crunchy and the apple slices are fresh. Place it in the center of the table and watch everyone dig in.
Cooking Tips & Techniques
I’ve made this board about a dozen times now, and I’ve learned a few things the hard way. Here are my best tips to make your board a success.
Don’t skip softening the cream cheese. I know, it’s tempting to just throw cold cream cheese in the mixer and hope for the best. But trust me, it will be lumpy and sad. Let it sit on the counter for at least 30 minutes before you start. If you’re in a rush, cut it into small cubes and microwave it for 10 seconds at a time until it’s soft.
Watch your almond placement. The first time I made this, I pressed the almonds on too tight and they broke the pretzel rods. You want a gentle press, not a shove. If the almond doesn’t feel secure, just use a tiny bit of dip to hold it in place.
Balance your flavors. The dip is sweet and creamy, so you want the snacks around it to offer some contrast. That’s why I include salty cheese, tart apples, and bitter dark chocolate. It keeps every bite interesting.
Let the kids help. This is a messy, hands-on recipe, and kids absolutely love it. Give them the job of pressing the almonds onto the pretzels or arranging the grapes. My youngest once made a “grape tower” that was hilariously unstable, but it was a great memory.
Make it ahead of time. You can make the dip up to two days in advance and keep it in the fridge. Just bring it to room temperature before serving. The pretzel fingers can be assembled a few hours ahead, but don’t add the almond “fingernails” until just before serving, or they might get soggy.
Don’t overdo the green food coloring. I made that mistake once, and the dip looked radioactive. A little goes a long way. Start with two drops and add more if you want a deeper shade.
Variations & Adaptations
One of the best things about this board is how easy it is to adapt. Here are some ways to make it your own.
Dairy-Free Version: Use a dairy-free cream cheese and sour cream alternative. Kite Hill and Tofutti make great options. The texture might be slightly different, but the flavor is still delicious. My sister-in-law is lactose intolerant, and she loves this version.
Gluten-Free Option: Swap the pretzel rods for gluten-free pretzel sticks or even carrot sticks. The look will be a little different, but the concept is the same. I’ve also used gluten-free breadsticks in a pinch.
Spicier Dip: Add a pinch of cayenne pepper or a dash of hot sauce to the dip for a grown-up kick. It pairs surprisingly well with the sweet pumpkin and salty pretzels. My husband loves this version for Halloween parties.
Sweet Version: Skip the savory snacks and go all-in on sweets. Use the dip with graham crackers, vanilla wafers, or even marshmallows. The kids will think they’ve died and gone to candy heaven.
Different “Fingernails”: If you don’t have sliced almonds, try using sunflower seeds, pumpkin seeds, or even small pieces of dried apricot. Each gives a different look and texture. I once used dark chocolate chips as fingernails, and it was a huge hit.
Seasonal Swaps: In the summer, replace the pumpkin puree with mashed strawberries or peaches for a lighter dip. In the winter, add a little peppermint extract to the dip for a holiday twist. The possibilities are endless.
Serving & Storage Suggestions
This board is best served at room temperature, so take the dip out of the fridge about 20 minutes before you plan to serve it. Arrange everything on the board just before your guests arrive for maximum freshness.
What to serve with it: This board is a meal in itself, but you can round it out with some other Halloween favorites. A bowl of popcorn, some roasted pumpkin seeds, or a simple veggie tray with ranch dip would all work well. For drinks, apple cider or a warm pumpkin spice latte are perfect.
Storage: Leftovers are a bit tricky because the pretzels will get soft once they’re exposed to the dip. Store the dip separately in an airtight container in the fridge for up to 5 days. The pretzel rods can be kept in a ziplock bag at room temperature for a few days. The other snacks should be stored according to their individual needs.
Reheating: You don’t need to reheat anything, but if you want to refresh the pretzels, pop them in a 350°F oven for about 5 minutes. They’ll crisp right back up. Just let them cool before adding the almond “fingernails” again.
How flavors develop: The dip actually tastes better the next day. The pumpkin and spice flavors meld together overnight, making it even more delicious. Just give it a good stir before serving.
Nutritional Information & Benefits
Let’s be honest — this is a treat, not a health food. But that doesn’t mean it’s all bad. Here is a rough breakdown per serving (about 1/8 of the board).
- Calories: Approximately 320
- Fat: 18g
- Carbohydrates: 35g
- Protein: 7g
- Fiber: 3g
- Sugar: 14g
Health highlights: The pumpkin puree is packed with vitamin A and fiber. The almonds provide healthy fats and vitamin E. The grapes and apples add a dose of antioxidants and natural sweetness. It’s not a salad, but it’s not completely empty calories either.
Dietary considerations: This recipe contains dairy and gluten. With the substitutions mentioned above, it can be made dairy-free and gluten-free. It is vegetarian-friendly. If you have nut allergies, skip the almonds and use sunflower seeds or pumpkin seeds for the “fingernails.”
My take: I believe in balance. We eat healthy most of the time, but Halloween is for fun. This board lets the kids enjoy a special treat without going overboard on candy. It’s a win-win in my book.
Conclusion
So there you have it — my take on a Kid-Approved Witches’ Finger Pretzel Dip Board. It’s spooky, it’s fun, and it’s honestly one of the easiest Halloween snacks I’ve ever made. Every time I put this board together, I think of my aunt Maggie and that afternoon on her kitchen floor. I hope this recipe becomes a tradition in your house too.
Don’t be afraid to make it your own. Swap out the snacks, change the dip flavors, or let the kids go wild with the arrangement. The whole point is to have fun and make memories. And if you end up with a board that looks more like a science experiment than a haunted forest? That’s fine. It still tastes great.
I’d love to hear how yours turns out. Drop a comment below and tell me what your kids thought. Did they love the “fingernails”? Did they try to scare each other with the fingers? Share your stories and your photos — I can’t wait to see them. Happy Halloween, and happy snacking!
Frequently Asked Questions
Can I make this board ahead of time for a party?
Yes, but with some planning. You can make the dip up to two days in advance and keep it in the fridge. The pretzel “fingers” can be assembled a few hours ahead, but wait to add the almond “fingernails” until just before serving to keep them crunchy. Arrange the whole board about 30 minutes before your guests arrive.
My kids have nut allergies. What can I use for the fingernails?
Great question! You can use sunflower seeds, pumpkin seeds, or even small pieces of dried apricot or apple chips. They won’t look exactly like fingernails, but they still give that creepy, textured look. Just make sure to check all labels for cross-contamination warnings if allergies are a concern.
Can I use a different dip for this board?
Absolutely. The pumpkin dip is my favorite, but you can use any dip you like. A simple ranch dip with green food coloring works great for a more savory option. Or try a chocolate hummus for a sweet twist. Just keep the color green or orange to maintain the Halloween theme.
How do I keep the apple slices from turning brown?
Toss the sliced apples in a little lemon juice or lime juice right after cutting them. You can also use a commercial product like Fruit-Fresh. The citrus flavor actually pairs nicely with the pumpkin dip, so it’s a win-win. I usually do this right before arranging the board.
What if I can’t find pretzel rods?
No problem. You can use thick pretzel sticks, breadsticks, or even carrot sticks or celery sticks for a healthier option. The look will be different, but the concept is the same. Just make sure whatever you use is sturdy enough to hold the almond “fingernail” without breaking.
Pin This Recipe!
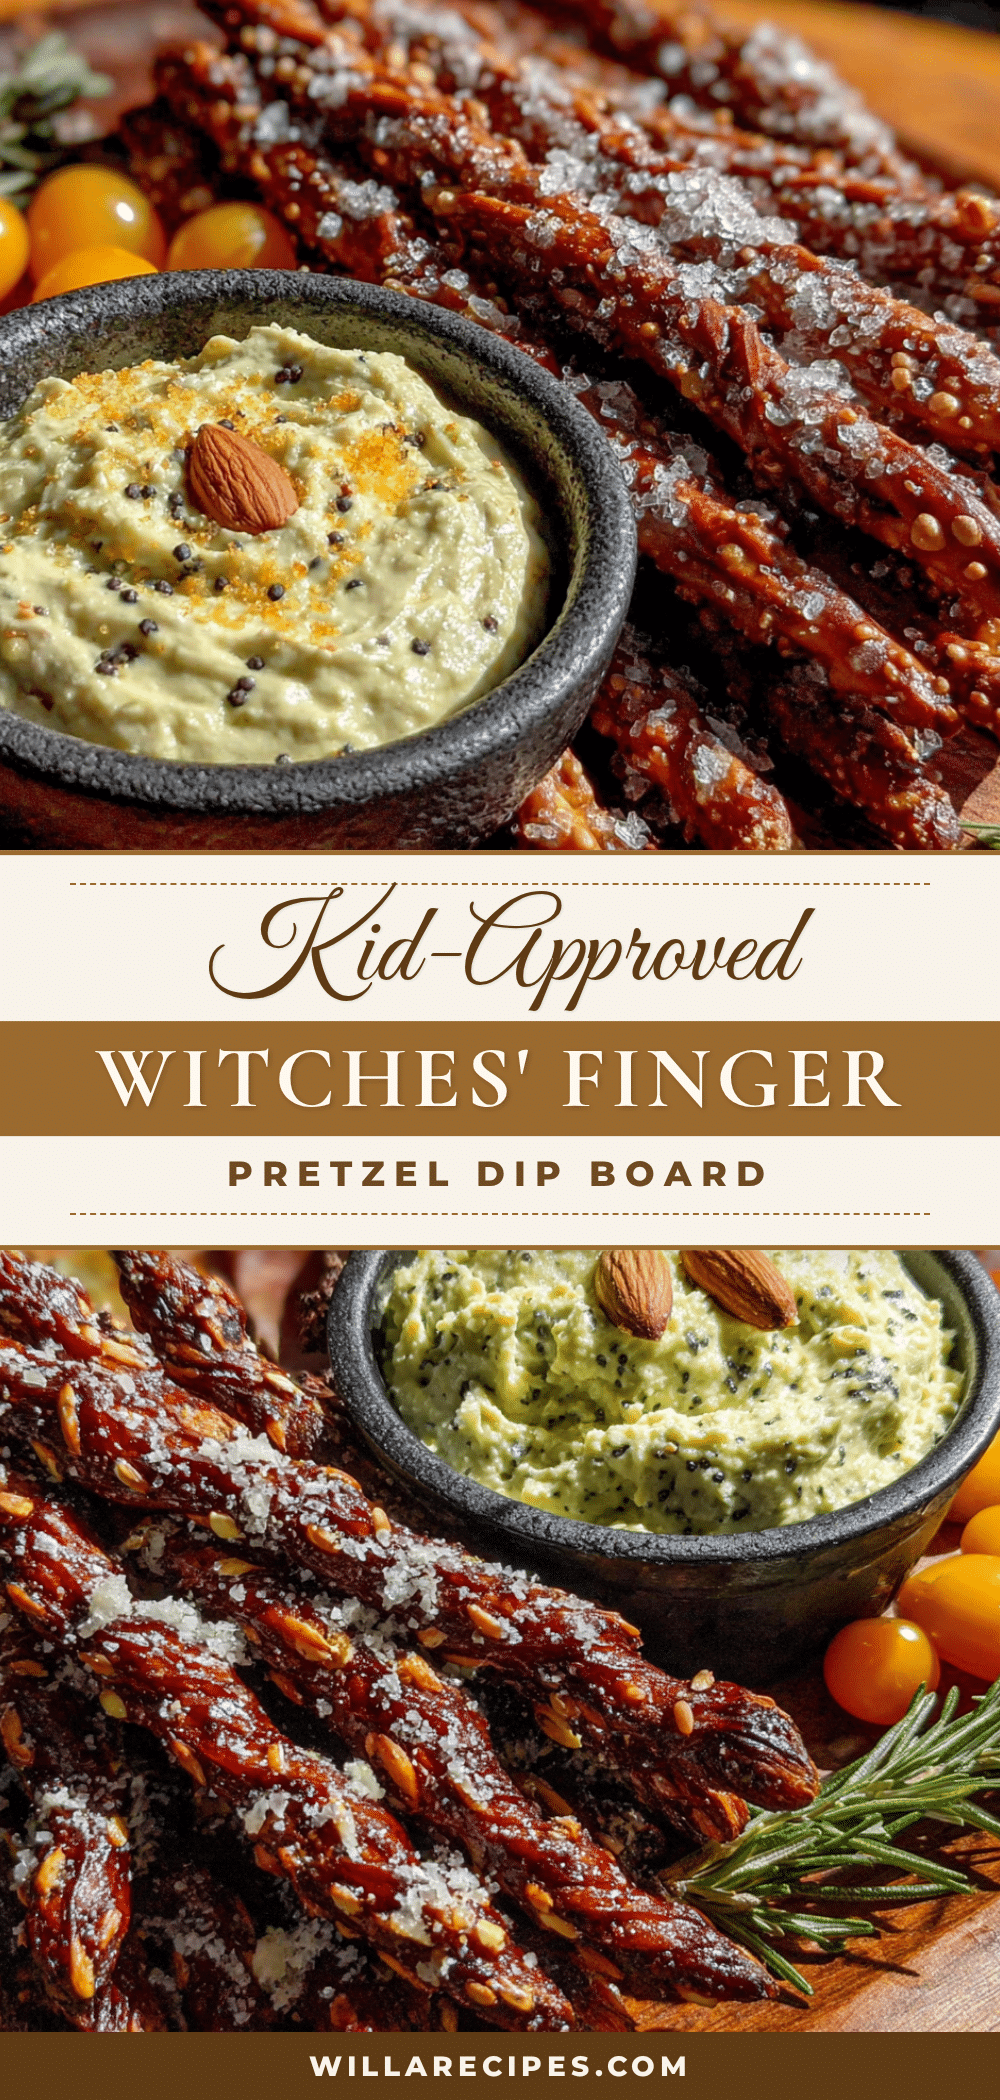
Kid-Approved Witches Finger Pretzel Dip Board: Easy Halloween Snack
A spooky, fun, and easy Halloween snack board featuring pretzel rods transformed into witches’ fingers with almond fingernails, served with a creamy pumpkin dip and surrounded by creepy-cute snacks like grape eyeballs and apple slices.
- Prep Time: 20 minutes
- Cook Time: 0 minutes
- Total Time: 20 minutes
- Yield: 8 servings 1x
- Category: Appetizer
- Cuisine: American
Ingredients
- 1 standard bag (12–16 ounces) pretzel rods
- 1/2 cup sliced almonds
- A few drops green food coloring
- 8 ounces cream cheese, softened
- 1/2 cup sour cream
- 1/2 cup pumpkin puree
- 1/4 cup powdered sugar
- 1 teaspoon pumpkin pie spice
- 1/2 teaspoon vanilla extract
- 1 cup red grapes
- 1 apple, sliced thin
- 1 cup orange cheese cubes (cheddar or Colby Jack)
- 1/2 cup dark chocolate chips
- A few fresh rosemary sprigs (optional)
Instructions
- Make the dip first. In a mixing bowl, combine the softened cream cheese, sour cream, pumpkin puree, powdered sugar, pumpkin pie spice, and vanilla extract. Beat with a hand mixer on medium speed until smooth and creamy, about 2-3 minutes. Scrape down the sides of the bowl halfway through.
- Add 2-3 drops of green food coloring to the dip and mix until you achieve a light, swampy green color.
- Prepare the ‘fingernails.’ If desired, toast the sliced almonds in a dry pan over medium heat for about 2 minutes until fragrant. Let cool completely.
- Assemble the fingers. Take a pretzel rod and gently press a sliced almond onto one end to look like a long, pointy fingernail. If it doesn’t stick, use a tiny dab of cream cheese dip as ‘glue.’ Repeat for all pretzel rods (about 12-16).
- Arrange the board. Place the small bowl of green dip in the center of a large serving board. Arrange the witches’ fingers around the bowl, pointing outward like a sunburst.
- Add the ‘eyeballs’ and other creepy bits. Scatter the red grapes around the board, arrange apple slices in small piles, place orange cheese cubes in clusters, and sprinkle dark chocolate chips around like little bugs or dirt.
- Finish with forest details. Tuck fresh rosemary sprigs in between the fingers and other snacks for a haunted forest look.
- Serve immediately while pretzels are crunchy and apple slices are fresh.
Notes
The dip can be made up to two days in advance and stored in the fridge. Bring to room temperature before serving. Assemble the pretzel fingers a few hours ahead, but add the almond ‘fingernails’ just before serving to keep them crunchy. For a dairy-free version, use dairy-free cream cheese and sour cream alternatives. For a gluten-free option, swap pretzel rods for gluten-free pretzel sticks or carrot sticks.
Nutrition
- Serving Size: 1/8 of the board
- Calories: 320
- Sugar: 14
- Sodium: 450
- Fat: 18
- Saturated Fat: 10
- Carbohydrates: 35
- Fiber: 3
- Protein: 7
Keywords: Halloween snack, witches fingers, pretzel dip board, easy Halloween recipe, kid-friendly Halloween, pumpkin dip, spooky snack board


