This was supposed to be a batch of sugar cookies. I had the butter softening, the flour measured, and I was feeling pretty good about myself—until I realized I was completely out of eggs. It was a Tuesday night, the grocery store was twenty minutes away, and honestly, I just didn’t have it in me to make the trip. I stood there staring at my mixing bowl, wondering if I could somehow will eggs into existence. Spoiler: I couldn’t.
So I did what any reasonable person would do when a baking plan falls apart. I started throwing things into a saucepan instead. Butter, sugar, a splash of milk—things that looked like they might cooperate. I figured I’d make some kind of caramel or fudge situation, something to salvage the evening. My kitchen was a mess, I was annoyed, and I was absolutely convinced this would end up in the trash.
But then something weird happened. The mixture came together smooth and creamy, and it smelled exactly like sugar cookie dough. I mean, exactly like it. I grabbed the sprinkles from the cabinet—the ones I’d bought for the cookies that never happened—and stirred them in on a whim. When I poured it into the pan and let it set, I honestly didn’t expect much. Maybe you’ve been there, standing over a kitchen experiment that feels like a waste of time, just waiting for the disappointment.
That first bite completely changed my mind. It was rich, buttery, and had that unmistakable sugar cookie flavor without any of the rolling, cutting, or baking. The sprinkles added this little crunch that made it feel festive, even on a random weeknight. I stood at the counter eating piece after piece, laughing at how the universe basically forced me into creating something better than what I’d planned. Now I make this easy sugar cookie fudge every holiday season, and honestly, I kind of owe that missing egg carton a thank you.
Why You’ll Love This Recipe
Let me tell you why this fudge has become my go-to for every holiday gathering, cookie exchange, and last-minute hostess gift. It solves so many problems at once, and it does it with sprinkles on top.
- Only 4 Ingredients: You don’t need a specialty baking aisle or a second mortgage. White chocolate chips, sweetened condensed milk, butter, and sprinkles. That’s it. You probably have most of these right now.
- No Candy Thermometer Required: Traditional fudge recipes make you babysit a pot of boiling sugar like it’s a science experiment. This one just needs melting, stirring, and pouring. No stress, no burnt sugar disasters.
- Ready in Under 15 Minutes: From start to pan, this comes together faster than you can preheat an oven. Perfect for those moments when you realize you need a dessert and you need it now.
- Tastes Like a Sugar Cookie: The flavor is uncanny. It’s buttery, sweet, and has that nostalgic bakery taste that makes everyone ask for the recipe. The sprinkles seal the deal.
- Holiday Hero Material: This easy sugar cookie fudge is the kind of thing you bring to a party and watch disappear. Kids love it, adults love it, and nobody believes it only took you ten minutes.
- Fully Customizable: Use Christmas sprinkles, birthday sprinkles, or skip them entirely. Add a drop of almond extract for extra cookie flavor. This recipe is forgiving and flexible.
What makes this different from every other fudge recipe out there? It actually tastes like a sugar cookie, not just sweet white chocolate. The ratio of butter to condensed milk creates that signature cookie flavor, and the texture is perfectly creamy without being grainy. I’ve tested this at least a dozen times, tweaking the butter amount and the melting method, and this version is the one that consistently delivers.
This is the recipe you’ll turn to when you want to impress without the pressure. It’s comfort food that feels special, but requires almost no effort. Close your eyes after that first bite—I promise it’s worth it.
What Ingredients You Will Need
This recipe uses simple, everyday ingredients to create something that tastes way more complicated than it is. Each component plays a specific role, and knowing a little about them will help you get perfect results every time.
- White Chocolate Chips (3 cups / 510g): This is the backbone of your fudge. I recommend using a good quality brand like Ghirardelli or Guittard for the smoothest melt and creamiest texture. Avoid white melting wafers or candy coating—they don’t have enough cocoa butter and can leave your fudge greasy. If you can find white chocolate bars and chop them yourself, even better. The chips melt more evenly when they’re all the same size.
- Sweetened Condensed Milk (1 can / 14 ounces / 397g): This is your secret weapon. It provides sweetness, creaminess, and helps the fudge set without needing to boil sugar. Don’t confuse it with evaporated milk—they are not the same thing. Sweetened condensed milk has sugar already added, which is what gives the fudge its structure. I use Eagle Brand or Borden, and both work perfectly.
- Unsalted Butter (2 tablespoons / 28g): Butter adds richness and that unmistakable sugar cookie flavor. I use unsalted so I can control the salt level, but if you only have salted butter, just skip adding any extra salt. Cut the butter into small pieces so it melts quickly and evenly with the chocolate.
- Sprinkles (1/3 cup / 60g): Use your favorite variety here. Jimmies (the long, skinny ones) work best because they don’t bleed their color into the fudge. Nonpareils (the tiny round ones) can sometimes bleed, so fold them in gently. For holidays, I love using themed sprinkle mixes—red and green for Christmas, pastels for Easter, or rainbow for birthdays. You can also use sanding sugar for a more subtle crunch.
- Vanilla Extract (1 teaspoon, optional): While not required, a splash of vanilla enhances the cookie flavor. Use pure vanilla extract if you have it, but imitation works fine too. For an even more authentic sugar cookie taste, add 1/4 teaspoon of almond extract along with the vanilla.
One quick note about the white chocolate: cheap brands can seize or turn grainy when melted. If you’ve had bad luck with white chocolate in the past, it was probably the brand, not you. Spend the extra dollar or two on a reputable brand, and your fudge will thank you.
For the sprinkles, I recommend keeping a few different colors on hand so you can match the occasion. I always have a jar of rainbow jimmies in my pantry for last-minute dessert emergencies. They last forever and make everything look festive.
Equipment Needed
You don’t need a fancy kitchen to make this easy sugar cookie fudge. Here’s what you’ll need:
- Medium Saucepan: A heavy-bottomed saucepan works best for even heating. Avoid thin pans that can create hot spots and scorch the chocolate.
- 8×8-Inch Baking Pan: This is the perfect size for fudge. If you don’t have one, a 9×9-inch pan works too—your fudge will just be slightly thinner. Line it with parchment paper for easy removal.
- Silicone Spatula: A heat-resistant spatula is essential for stirring without scratching your pan. I prefer silicone because it doesn’t absorb odors.
- Parchment Paper: Line your pan with parchment, leaving overhang on two sides. This creates handles that let you lift the fudge out in one piece.
- Sharp Knife: A chef’s knife or a large serrated knife works best for cutting clean squares. Run it under hot water and wipe it dry between cuts for the neatest edges.
- Measuring Cups and Spoons: For accurate ingredient amounts. I know this is obvious, but using the right measurements makes a difference.
If you don’t have a saucepan, you can melt everything in a microwave-safe bowl in 30-second bursts, stirring between each. Just be careful not to overheat the chocolate. And if you don’t have an 8×8 pan, a loaf pan works in a pinch—you’ll just get thicker fudge that takes longer to set.
Preparation Method
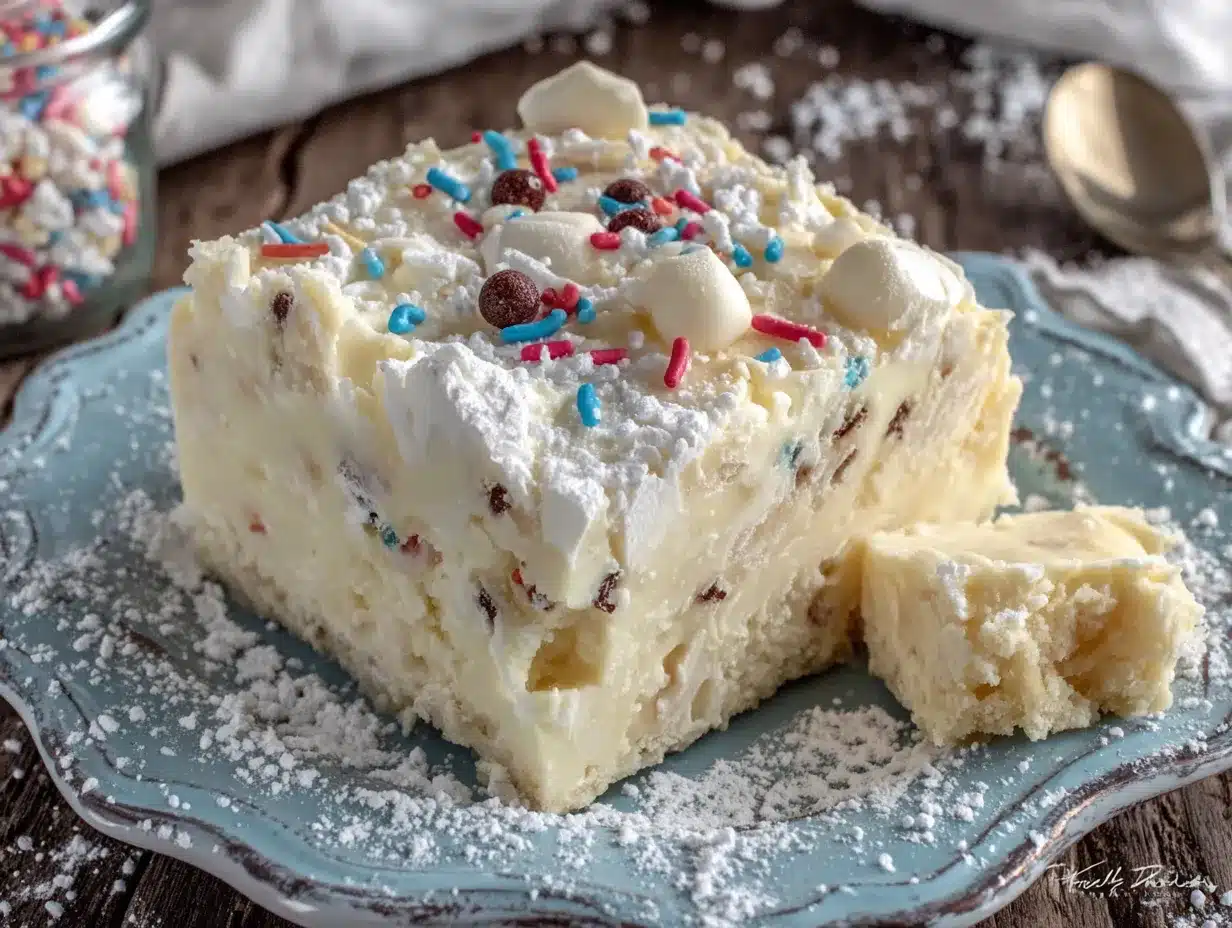
This is the easiest fudge you will ever make. Follow these steps, and you’ll have a pan of creamy, sprinkle-studded perfection in no time.
- Prepare Your Pan: Line an 8×8-inch baking pan with parchment paper. Make sure the parchment overhangs on two opposite sides—this will act as handles later. Lightly grease the parchment with a tiny bit of butter or nonstick spray, just to be safe.
- Combine the Base Ingredients: In a medium saucepan over low heat, combine the white chocolate chips, sweetened condensed milk, and butter. Yes, all three go in at the same time. Don’t turn the heat up to speed things up—low and slow is the key to smooth fudge.
- Stir Constantly: Using your silicone spatula, stir the mixture gently but continuously. The chocolate will start to melt after about 2-3 minutes. Keep scraping the bottom and sides of the pan to prevent any burning. The mixture will look lumpy at first, then gradually become smooth and glossy.
- Watch for the Right Consistency: After about 5-7 minutes, everything should be fully melted and combined. The mixture will be thick, smooth, and slightly shiny. It should coat the back of a spoon. If you see any graininess, keep stirring—it might just need another minute.
- Remove from Heat and Add Flavor: Take the pan off the burner. Stir in the vanilla extract and almond extract if you’re using them. The mixture will smell amazing at this point—buttery and sweet, just like sugar cookie dough.
- Fold in the Sprinkles: Let the mixture cool for about 1 minute (this prevents the sprinkles from melting). Then gently fold in 1/4 cup of your sprinkles. Reserve the remaining sprinkles for the top. Stir just until the sprinkles are distributed—overmixing can cause the colors to bleed.
- Pour and Spread: Pour the fudge mixture into your prepared pan. Use the spatula to spread it evenly into all corners. Tap the pan gently on the counter a few times to release any air bubbles.
- Top with Remaining Sprinkles: Sprinkle the reserved sprinkles over the top. Press them down very lightly with your fingers or the back of a spoon so they stick.
- Set and Chill: Place the pan in the refrigerator for at least 2 hours, or until the fudge is firm to the touch. For cleaner cuts, let it chill for 3-4 hours or even overnight. The fudge needs this time to fully set—don’t rush it.
- Cut and Serve: Once firm, lift the fudge out of the pan using the parchment overhang. Place it on a cutting board. Use a sharp knife to cut into 1-inch squares. For the cleanest cuts, wipe the knife clean between each slice. Serve cold or at room temperature.
A quick note: if your fudge seems soft after 2 hours, don’t panic. Some refrigerators run warmer than others. Give it another hour and check again. Also, if you’re in a humid climate, the fudge might take a bit longer to set. Patience pays off here.
Cooking Tips & Techniques
I’ve made this fudge more times than I can count, and I’ve learned a few things the hard way. Let me save you from my mistakes.
Low Heat Is Non-Negotiable: White chocolate burns easily. I mean, really easily. If you see any steam rising from the pan, your heat is too high. The mixture should melt gently, not bubble. The first time I made this, I got impatient and turned the heat to medium. I ended up with grainy, scorched fudge that went straight in the trash. Learn from me.
Stirring Technique Matters: Use a figure-eight motion with your spatula to keep everything moving. This prevents hot spots and ensures even melting. Don’t walk away from the stove—this isn’t a set-it-and-forget-it situation. Stay close and keep stirring.
Room Temperature Ingredients Help: If your butter is cold, it will take longer to melt and can cause the chocolate to seize. Let your butter sit out for 15-20 minutes before starting. Same goes for the sweetened condensed milk—room temperature blends more smoothly.
Don’t Overmix the Sprinkles: This is a lesson I learned when I made a batch for a baby shower. I stirred the sprinkles too enthusiastically, and the fudge turned a weird pastel pink. Gentle folds only. You want distinct pops of color, not tie-dye.
Use Parchment, Not Wax Paper: Wax paper can melt or stick to the fudge. Parchment paper is heat-resistant and non-stick. It’s worth the extra few cents. Also, make sure your parchment overhang is long enough—at least 2 inches on each side—so you have something to grip.
Timing Your Cuts: For the cleanest squares, cut the fudge when it’s cold but not frozen. If it’s too hard, the sprinkles can crack. Let it sit at room temperature for 5 minutes after taking it out of the fridge, then slice. Run your knife under hot water, dry it, and make each cut in one smooth motion.
Variations & Adaptations
One of the best things about this easy sugar cookie fudge is how adaptable it is. Here are some ways to make it your own.
Holiday-Themed Fudge: Switch up the sprinkles to match any occasion. Red and green for Christmas, orange and black for Halloween, pastels for Easter, or red, white, and blue for the Fourth of July. You can also add a few drops of food coloring to the fudge base for a colored fudge—just stir it in before adding the sprinkles.
Almond Sugar Cookie Fudge: Add 1/2 teaspoon of almond extract along with the vanilla. Almond extract gives the fudge a marzipan-like flavor that pairs beautifully with the buttery base. This is my personal favorite variation. I made it for a cookie exchange last year, and three people asked for the recipe.
Gluten-Free Version: This recipe is naturally gluten-free as long as you check your sprinkle labels. Some sprinkles contain wheat starch, so look for brands that are certified gluten-free. Wilton and Sweetapolita both make gluten-free options.
Vegan Adaptation: Use vegan white chocolate chips (Enjoy Life makes a good one), vegan butter, and sweetened condensed coconut milk. The texture will be slightly softer, but the flavor is still fantastic. Chill it for an extra hour to help it set properly.
Frosted Sugar Cookie Fudge: After the fudge sets, spread a thin layer of buttercream frosting on top and add more sprinkles. It’s over-the-top in the best way. This version is perfect for birthdays or when you really want to impress.
Confetti Cake Fudge: Add 1/4 teaspoon of butter extract along with the vanilla for an even stronger bakery flavor. Use rainbow sprinkles and call it confetti cake fudge. Kids absolutely lose their minds over this one.
Serving & Storage Suggestions
This fudge is versatile enough for any occasion, but a few serving tips will make it shine.
Serving Temperature: I prefer this fudge cold from the refrigerator. The texture is firmer and the flavor is cleaner. If you like a softer, creamier fudge, let it sit at room temperature for 10-15 minutes before serving. Both ways are delicious—it’s really a matter of preference.
Presentation Ideas: Arrange the fudge squares on a festive platter or in a decorative tin lined with parchment. For gift-giving, stack the squares in a small box with tissue paper between layers. Add a handwritten tag with the recipe name—people will ask for it. I like to package mine in clear cellophane bags tied with ribbon for holiday neighbor gifts.
Beverage Pairings: This fudge pairs beautifully with a hot cup of coffee, a glass of cold milk, or even a warm mug of hot chocolate. For adult gatherings, try it with a dessert wine like Moscato or a creamy Irish coffee.
Storage Instructions: Store the fudge in an airtight container in the refrigerator for up to 2 weeks. Layer the squares with parchment paper to prevent them from sticking together. If your kitchen is warm, keep the fudge refrigerated until just before serving to maintain its shape.
Freezing Instructions: This fudge freezes beautifully. Place the squares in a single layer on a baking sheet and freeze until solid (about 1 hour). Transfer to a freezer-safe bag or container, separating layers with parchment. Freeze for up to 3 months. Thaw in the refrigerator overnight before serving. The texture remains perfect—I’ve done this many times for holiday prep.
Flavor Development: The flavor actually improves after a day or two in the fridge. The butter and vanilla meld together, creating an even more authentic sugar cookie taste. So don’t worry if you make it ahead—it will only get better.
Nutritional Information & Benefits
Let’s be real—this is a treat, not a health food. But knowing what’s in it helps with mindful indulgence.
Estimated Nutritional Values (per 1-inch square, based on 36 squares):
- Calories: 145
- Total Fat: 7g
- Saturated Fat: 4.5g
- Cholesterol: 12mg
- Sodium: 35mg
- Total Carbohydrates: 19g
- Sugars: 18g
- Protein: 2g
Key Ingredient Benefits: White chocolate contains calcium and a small amount of protein from the milk solids. Sweetened condensed milk provides energy in the form of quick-digesting carbohydrates. Butter adds vitamin A and a touch of healthy fats.
Dietary Considerations: This recipe contains dairy and may contain gluten depending on your sprinkles. It is not vegan, low-fat, or low-sugar. For a lighter option, cut the squares smaller—they’re rich enough that a tiny piece satisfies a sweet craving.
My Perspective: I believe in enjoying treats without guilt. This fudge is made with real ingredients, and there’s something to be said for the joy it brings. One or two squares with a cup of tea is a lovely way to end a day. Balance is everything.
Conclusion
This easy sugar cookie fudge started as a kitchen accident, but it’s become one of my most-requested recipes. It’s proof that sometimes the best things happen when plans go wrong. With just four ingredients and about ten minutes of active work, you can create a dessert that looks like you spent hours on it.
The sprinkles make it festive, the texture is perfectly creamy, and that sugar cookie flavor is absolutely spot-on. Whether you’re making it for holiday parties, teacher gifts, or just because it’s Tuesday, this fudge delivers every single time. And honestly, it’s nice to have a recipe that works without stress—especially during the busy holiday season.
I’d love to hear how yours turns out. Did you try any of the variations? Use a fun sprinkle combination? Let me know in the comments below. And if you share a photo on social media, tag me—I love seeing your creations. Now go make some fudge. You deserve it.
Frequently Asked Questions
Can I use milk chocolate instead of white chocolate?
You can, but the flavor won’t taste like a sugar cookie. Milk chocolate fudge is delicious in its own right, but it won’t have that buttery, vanilla-forward profile. If you want to experiment, use a 50/50 mix of white and milk chocolate chips.
Why is my fudge grainy?
Grainy fudge usually means the heat was too high or the chocolate was overheated. White chocolate is sensitive and can seize if it gets too hot. Always melt on low heat and stir constantly. If your fudge is already grainy, you can try reheating it gently with a splash of heavy cream and whisking until smooth.
How do I get clean cuts without cracking the sprinkles?
Use a sharp knife and let the fudge sit at room temperature for 5 minutes after taking it out of the fridge. Run the knife under hot water, wipe it dry, and make each cut in one smooth motion. Clean the blade between cuts for the neatest edges.
Can I make this fudge in the microwave?
Absolutely. Combine the white chocolate chips, sweetened condensed milk, and butter in a microwave-safe bowl. Microwave in 30-second intervals, stirring well after each, until smooth. This usually takes about 2-3 minutes total. Be careful not to overheat—the bowl can get hot.
How long does this fudge last?
Stored in an airtight container in the refrigerator, this fudge stays fresh for up to 2 weeks. You can also freeze it for up to 3 months. The flavor actually improves after a day or two, so making it ahead is a great strategy for holiday planning.
Pin This Recipe!
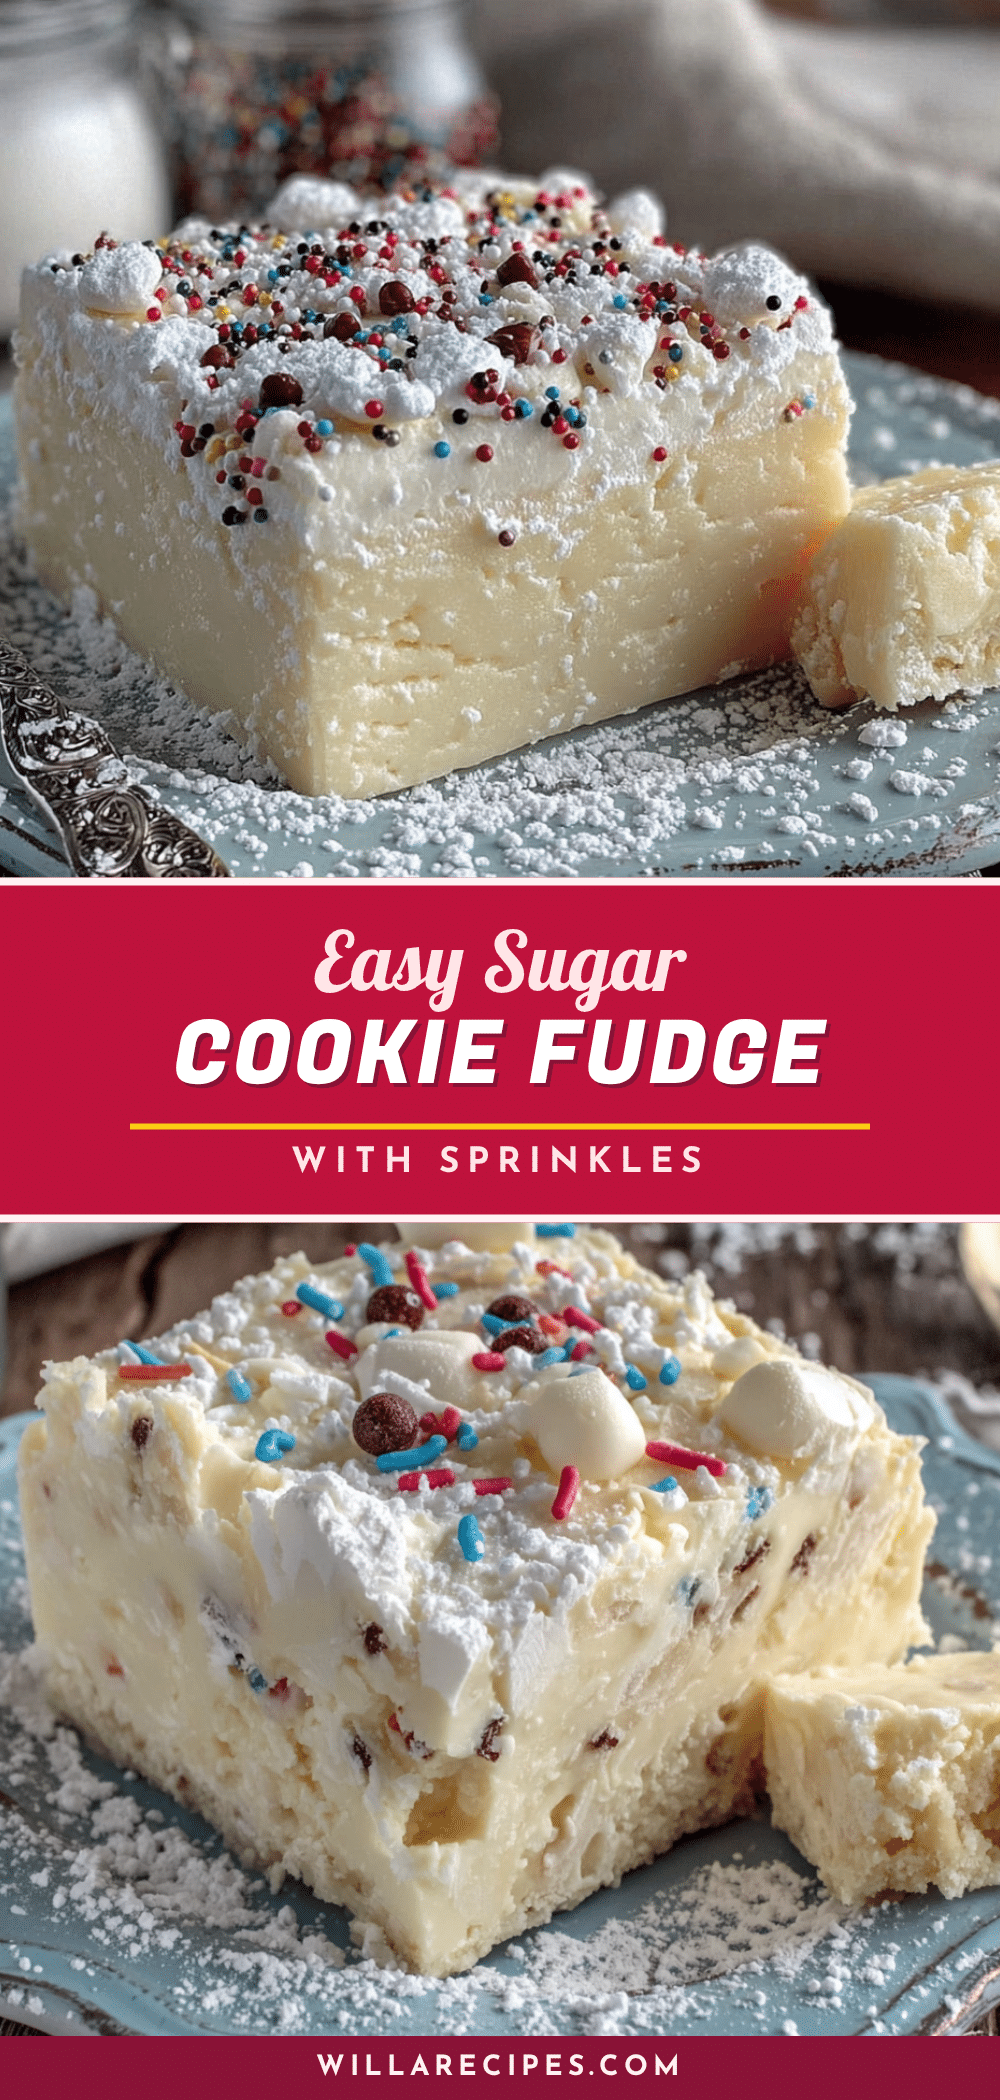
Easy Sugar Cookie Fudge: 4-Ingredient Best Holiday Treat

This easy sugar cookie fudge is a creamy, buttery, and festive treat made with just 4 ingredients. It tastes exactly like a sugar cookie but requires no rolling, cutting, or baking—perfect for holiday gatherings and last-minute desserts.
- Prep Time: 10 minutes
- Cook Time: 7 minutes
- Total Time: 2 hours 17 minutes (includes chilling)
- Yield: 36 servings 1x
- Category: Dessert
- Cuisine: American
Ingredients
- 3 cups (510g) white chocolate chips
- 1 can (14 ounces / 397g) sweetened condensed milk
- 2 tablespoons (28g) unsalted butter
- 1/3 cup (60g) sprinkles (jimmies recommended)
- 1 teaspoon vanilla extract (optional)
- 1/4 teaspoon almond extract (optional)
Instructions
- Line an 8×8-inch baking pan with parchment paper, leaving overhang on two sides. Lightly grease the parchment.
- In a medium saucepan over low heat, combine white chocolate chips, sweetened condensed milk, and butter. Stir constantly with a silicone spatula until melted and smooth, about 5-7 minutes.
- Remove from heat. Stir in vanilla extract and almond extract if using.
- Let the mixture cool for about 1 minute, then gently fold in 1/4 cup of sprinkles. Reserve the remaining sprinkles for topping.
- Pour the fudge mixture into the prepared pan and spread evenly. Tap the pan gently on the counter to release air bubbles.
- Sprinkle the reserved sprinkles over the top and press them down lightly.
- Refrigerate for at least 2 hours, or until firm (3-4 hours or overnight for cleaner cuts).
- Lift the fudge out using the parchment overhang. Cut into 1-inch squares with a sharp knife, wiping the blade clean between cuts. Serve cold or at room temperature.
Notes
Use good quality white chocolate chips (like Ghirardelli or Guittard) for the smoothest texture. Avoid white melting wafers. For clean cuts, let fudge sit at room temperature for 5 minutes after chilling, and run the knife under hot water between slices. The fudge can be stored in an airtight container in the refrigerator for up to 2 weeks, or frozen for up to 3 months.
Nutrition
- Serving Size: 1 square (1-inch)
- Calories: 145
- Sugar: 18
- Sodium: 35
- Fat: 7
- Saturated Fat: 4.5
- Carbohydrates: 19
- Protein: 2
Keywords: sugar cookie fudge, easy fudge, 4-ingredient fudge, holiday fudge, white chocolate fudge, sprinkle fudge, no-bake dessert


