It was 10:47 PM on the Wednesday before Thanksgiving, and I had a very specific craving. Not for turkey or pie, but for something creamy, cheesy, and deeply comforting that I could eat straight from the baking dish while standing over the kitchen sink. I didn’t have the energy for a complicated béchamel or a fussy custard base — the kind of mac and cheese that demands constant stirring and a thermometer. But I had a block of sharp cheddar, some leftover Gruyère from a failed fondue experiment, a half-eaten brick of cream cheese, and a bag of shredded mozzarella hiding in the back of the fridge. That’s when the idea arrived: what if I just threw caution to the wind and used all four of them together, no rules, no recipe, just vibes?
Honestly, it felt reckless at first. Four cheeses? In one dish? On Thanksgiving, of all days, when everyone has opinions about what belongs on the table? But something about the late hour loosened the usual rules. I wasn’t trying to impress anyone — I was just trying to satisfy that itch. I grabbed a box of cavatappi, butter, milk, and a little Dijon mustard from the back of the fridge door, and I started building. There was flour on my counter, a cracked measuring cup I kept meaning to replace, and a dog whining at the back door. It was a mess. But when I pulled that dish out of the oven — bubbling, golden, with a crust that crackled when I tapped it with a spoon — I knew I’d stumbled onto something special.
That late-night experiment became the best baked four-cheese mac and cheese for Thanksgiving I’ve ever made. And now, every year, it’s the dish people ask for before the turkey. There’s just something about that combination of sharp, creamy, salty, and stretchy that hits every note you want on a holiday table. Maybe you’ve been there too — staring into the fridge at 11 PM, wondering if you can make something magical out of what’s left. Let me tell you, this is that recipe. It’s not fancy, it’s not fussy, and it’s definitely not perfect-looking. But it is unforgettable.
Why You’ll Love This Recipe
This isn’t just another mac and cheese recipe. This is the one that earns a permanent spot on your Thanksgiving menu — the one guests whisper about while reaching for seconds. I’ve tested this version over five holiday seasons, tweaking the cheese ratios and baking times until it was absolutely foolproof. Here’s why it works so well:
- Stress-Free for Hosting: You can assemble this dish completely the day before. Just cover it, pop it in the fridge, and bake it while the turkey rests. No last-minute whisking or panicking over a broken sauce.
- Simple Ingredients: No fancy cheese shops required. Everything here is available at any standard grocery store. You probably already have butter, milk, and mustard in your kitchen right now.
- Perfect for a Crowd: This recipe scales beautifully. Need to feed twelve? Double it and bake in a larger dish. It holds together well and doesn’t get greasy.
- Crowd-Pleaser: Kids devour it. Adults fight over the crispy edges. Even the relative who “doesn’t like mac and cheese” will take a scoop — and then ask for the recipe.
- Unbelievably Creamy: The secret is the cream cheese. It melts into the sauce and keeps everything silky smooth, even after reheating the next day. No grainy sauce here.
What makes this recipe different from the rest is the layering technique. Most baked mac and cheese recipes just dump everything together and hope for the best. But here, we build the flavor in stages — starting with a roux, adding the cheeses in the right order, and finishing with a buttered panko topping that shatters when you bite into it. It’s comfort food reimagined: richer, creamier, and more reliable than anything you’ve tried before. Perfect for impressing your in-laws without breaking a sweat, or turning a simple side dish into the star of the Thanksgiving table.
What Ingredients You Will Need
This recipe uses simple, everyday ingredients to deliver that rich, creamy, crowd-pleasing flavor. Most of these are pantry staples or easy to find at any grocery store. Here’s what you’ll need and why each one matters:
For the Pasta:
- 1 pound cavatappi pasta (or elbow macaroni, shells, or rotini) — I prefer cavatappi because the ridges hold onto the sauce beautifully. Cook it one minute less than al dente so it doesn’t get mushy during baking.
- Salt for the pasta water — don’t skimp here. Salty pasta water is the first layer of flavor. It should taste like the sea.
For the Cheese Sauce:
- 4 tablespoons unsalted butter — the base of the roux. Use unsalted so you can control the salt level.
- 1/4 cup all-purpose flour — thickens the sauce without making it pasty. Whisk it well to avoid lumps.
- 3 cups whole milk — whole milk gives the creamiest result. You can use 2% in a pinch, but avoid skim milk. It will be watery.
- 1 cup heavy cream — this is what makes the sauce velvety and luxurious. Don’t skip it.
- 1 teaspoon Dijon mustard — you won’t taste mustard. It just sharpens the cheese flavor and adds depth. Trust me on this one.
- 1/2 teaspoon garlic powder — a subtle savory note that rounds everything out.
- 1/4 teaspoon smoked paprika — optional, but I love the faint smoky warmth it adds.
- 1/2 teaspoon salt — plus more to taste.
- 1/4 teaspoon black pepper — freshly ground is best.
The Four Cheeses:
- 2 cups sharp cheddar cheese, shredded — this is your backbone cheese. It brings the sharp, tangy flavor that defines classic mac and cheese. I recommend Tillamook or Cabot for consistent melting.
- 1 cup Gruyère cheese, shredded — nutty, creamy, and melts like a dream. It adds a sophistication that makes this dish feel special. If you can’t find Gruyère, use Swiss or Comté.
- 4 ounces cream cheese, softened and cubed — the secret weapon. It keeps the sauce ultra-creamy and prevents it from breaking or getting grainy when baked.
- 1 cup mozzarella cheese, shredded — this gives you that beautiful, stretchy pull when you lift a spoonful. Use low-moisture mozzarella, not fresh.
For the Topping:
- 1 cup panko breadcrumbs — they get crunchier than regular breadcrumbs. I’ve tried both, and panko wins every time.
- 2 tablespoons unsalted butter, melted — toss this with the panko for golden, buttery perfection.
- 1/4 cup grated Parmesan cheese — adds a salty, savory crunch to the topping. Pecorino Romano works great too.
Substitution Notes: For a gluten-free version, use gluten-free pasta and a 1:1 gluten-free flour blend. For a lighter option, swap the heavy cream for evaporated milk — it still stays creamy. And if you’re dairy-free, well, this isn’t the recipe for that. Save yourself the heartache and find a vegan mac that actually delivers.
Equipment Needed
You don’t need a fancy kitchen to pull this off. Here’s what you’ll actually use:
- Large pot for boiling pasta — at least 6 quarts. Pasta needs room to move.
- Large saucepan or Dutch oven for the cheese sauce — I use my Le Creuset Dutch oven. It holds heat evenly and the sauce never scorches on the bottom. A heavy-bottomed pot works just as well.
- 9×13-inch baking dish — this is the standard size for a full batch. For a half batch, use an 8×8-inch dish.
- Whisk — essential for a smooth roux and lump-free sauce. A silicone-coated whisk is nice because it won’t scratch your pot.
- Box grater or food processor — shred your own cheese. Pre-shredded cheese has anti-caking agents that prevent smooth melting. I learned this the hard way.
- Wooden spoon or silicone spatula for stirring the pasta into the sauce.
- Small bowl for mixing the panko topping.
- Aluminum foil — for covering the dish during the first part of baking.
Budget-friendly tip: You don’t need a fancy Dutch oven. A good-quality stainless steel saucepan will work perfectly. Just stir frequently and keep the heat at medium-low. And if you don’t have a 9×13 dish, use a cast-iron skillet or even a disposable aluminum pan — it’ll still taste amazing.
Preparation Method
- Preheat your oven to 375°F (190°C). Position the rack in the middle of the oven. While it’s heating, butter your 9×13-inch baking dish lightly — this prevents sticking and adds a tiny bit of flavor to the edges.
- Bring a large pot of salted water to a rolling boil. Add the cavatappi and cook for 1 minute less than the package directions say. For most brands, that’s about 7-8 minutes. The pasta should be firm to the bite — it will finish cooking in the oven. Drain it, but don’t rinse it. The starch on the surface helps the sauce cling.
- While the pasta cooks, start the cheese sauce. In a large saucepan over medium heat, melt the 4 tablespoons of butter. Once it’s bubbling, whisk in the flour. Keep whisking for about 2 minutes — this cooks out the raw flour taste. The mixture should look like wet sand and smell slightly nutty.
- Slowly pour in the milk and heavy cream, whisking constantly. Don’t dump it all in at once — add it in a steady stream while whisking. This prevents lumps from forming. Keep whisking until the mixture thickens, about 4-5 minutes. It should coat the back of a spoon. If it’s still thin, give it another minute.
- Reduce the heat to low. Stir in the Dijon mustard, garlic powder, smoked paprika, salt, and pepper. Now comes the cheese: add the shredded cheddar, Gruyère, and cubed cream cheese a handful at a time, stirring until each addition is fully melted before adding the next. The sauce will look glossy and smooth. Finally, stir in the mozzarella. Taste it — yes, it’s okay to taste raw sauce. Adjust the salt if needed.
- Pour the drained pasta into the sauce. Use a wooden spoon or spatula to fold everything together until every piece of pasta is coated. Don’t stir too aggressively — you don’t want to break the pasta. Just fold gently until it’s all combined.
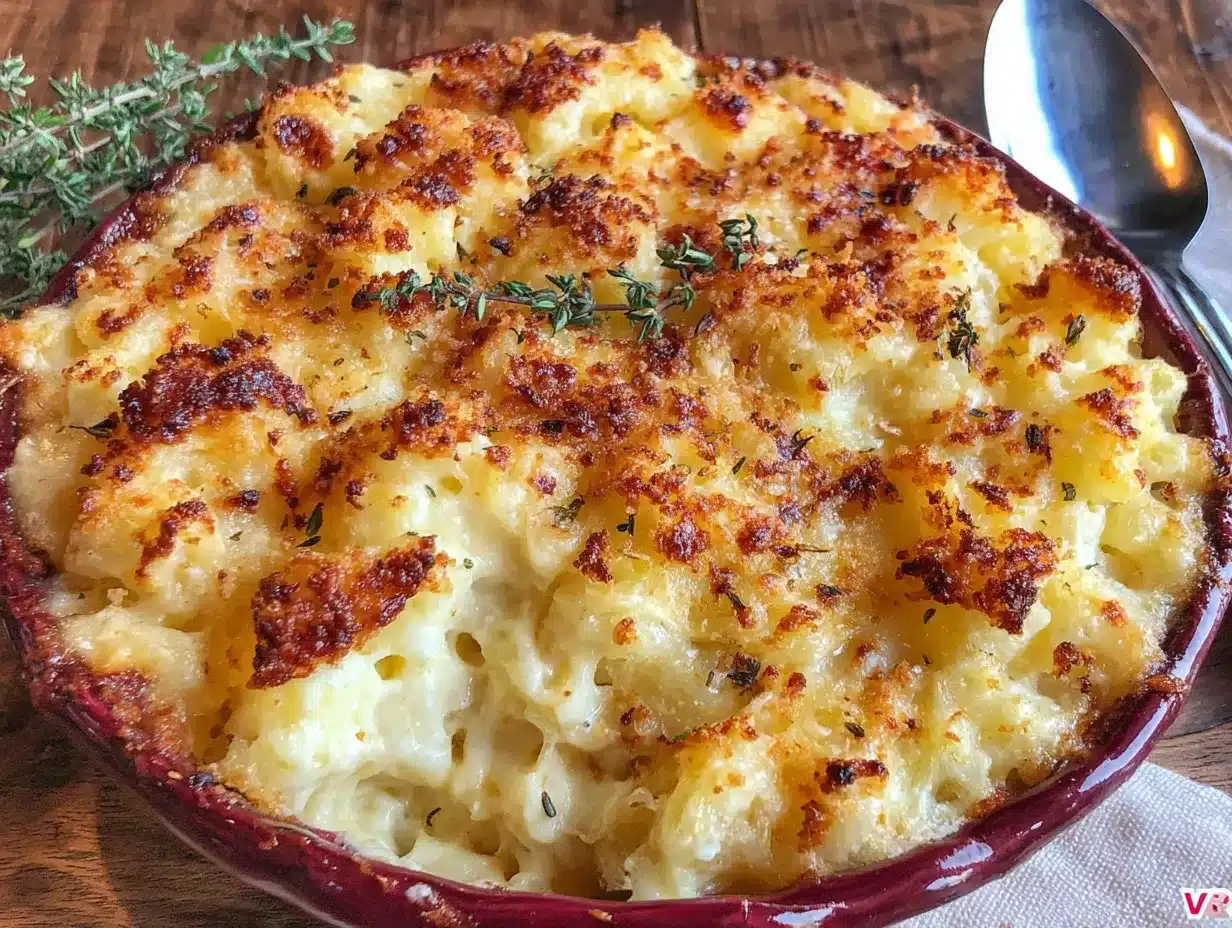
- Transfer the mixture to your prepared baking dish. Spread it into an even layer. In a small bowl, mix the panko breadcrumbs, melted butter, and grated Parmesan. Sprinkle this evenly over the top. Don’t press it down — you want it loose and crunchy.
- Bake uncovered for 20 minutes. Then, if the top is golden enough for your liking, cover loosely with foil and bake for another 10 minutes. If you want a deeper, crunchier crust, leave it uncovered the whole time. Just watch it so the panko doesn’t burn.
- Let it rest for 10 minutes before serving. I know it’s hard to wait, but this step is crucial. The sauce needs time to set up. If you serve it right away, it will be runny. After 10 minutes, it becomes thick, creamy, and perfectly scoopable.
Pro tip for hosting: If you’re making this ahead for Thanksgiving, stop after step 6. Cover the assembled dish tightly with foil and refrigerate for up to 24 hours. When you’re ready to bake, add the panko topping and bake at 375°F for 25 minutes covered, then 10 minutes uncovered. Add an extra 5-10 minutes since it’s starting from cold.
Cooking Tips & Techniques
I’ve made this recipe at least twenty times, and I’ve made every mistake in the book. Here’s what I’ve learned so you don’t have to:
Don’t overcook the pasta. This is the number one mistake people make. Undercook it by a full minute. The pasta continues to cook in the oven, and if you start with fully cooked pasta, you’ll end up with mush. Trust me, I served gluey mac and cheese to my book club once. Never again.
Shred your own cheese. I know it’s tempting to buy the pre-shredded bags. But those bags are coated with cellulose and potato starch to prevent clumping, and those same ingredients prevent smooth melting. Your sauce will turn out grainy and weird. Spend the five minutes shredding your own. Your taste buds will thank you.
Low and slow for the roux. When you’re making the butter-flour paste, keep the heat at medium. If the heat is too high, the butter will brown and the flour will burn, giving your sauce a bitter taste. You want it to bubble gently, not aggressively. If you see any dark specks, lower the heat immediately.
Let the cream cheese come to room temperature. Cold cream cheese will seize up and form lumps in your sauce. Take it out of the fridge when you start boiling the pasta. By the time you need it, it should be soft enough to squish with your finger.
Multitasking strategy for Thanksgiving: Make the cheese sauce while the pasta boils — they take about the same amount of time. While the sauce simmers and the pasta drains, prep your topping. Everything comes together in about 30 minutes of active work. Then you can relax while it bakes.
Variations & Adaptations
This recipe is flexible, and I love playing around with it depending on the season or who’s coming to dinner. Here are some variations I’ve tried and loved:
Spicy Jalapeño Popper Mac: Add 1/2 cup diced pickled jalapeños and 4 strips of cooked, crumbled bacon to the pasta before baking. The acidity of the jalapeños cuts through the richness perfectly. I made this for a Super Bowl party and it disappeared in ten minutes.
Lobster Mac for Special Occasions: Fold in 2 cups of cooked, chopped lobster meat just before transferring to the baking dish. This turns a humble side dish into a show-stopping main course. Perfect for Christmas Eve or a fancy birthday dinner.
Gluten-Free Version: Use gluten-free pasta (I like the Barilla brand) and substitute the all-purpose flour with a 1:1 gluten-free flour blend. The sauce thickens the same way, just whisk it a little longer. The panko topping can be swapped for crushed gluten-free crackers.
Veggie-Packed Mac: Add 1 cup of steamed broccoli florets or roasted butternut squash cubes to the pasta before baking. I did this last fall when I had leftover squash from a soup, and it was honestly better than the original. The sweetness of the squash balances the sharp cheddar.
Smoky Gouda Twist: Swap the Gruyère for smoked Gouda. The smoky flavor adds a whole new dimension, especially if you’re serving this alongside grilled meats or barbecue. I tried this on a whim during a summer cookout and it was a hit.
Serving & Storage Suggestions
This mac and cheese is best served warm, straight from the oven, after that crucial 10-minute rest. The top should be golden and crunchy, the inside creamy and steaming. Scoop it onto plates with a large spoon — make sure everyone gets some of those crispy edges.
What to serve alongside: On Thanksgiving, this pairs beautifully with roasted turkey, honey glazed ham, green bean casserole, and cranberry sauce. The richness of the mac and cheese balances the tartness of cranberries and the savory flavors of turkey. For non-Thanksgiving dinners, serve it with grilled chicken, steak, or a simple green salad with vinaigrette.
Storage: Leftover mac and cheese keeps in an airtight container in the refrigerator for up to 4 days. The texture will firm up as it cools, but it reheats beautifully. To reheat, add a splash of milk and microwave in 30-second intervals, stirring in between. Or, reheat in a 350°F oven for 15 minutes covered with foil.
Freezing: You can freeze this dish for up to 3 months. Assemble it completely (without the panko topping), cover tightly with foil, and freeze. When you’re ready to bake, thaw it overnight in the refrigerator, add the topping, and bake as directed. The sauce might be slightly thinner after freezing, but it’s still delicious.
Flavor development note: Honestly, this mac and cheese tastes even better the next day. The flavors meld together overnight, and the sauce thickens to a perfect consistency. If you can resist eating it all on Thanksgiving, save some for Friday lunch. You won’t regret it.
Nutritional Information & Benefits
Let’s be real: this is not a health food. It’s a celebration dish, and it should be enjoyed as such. But here’s what you’re working with per serving (based on 12 servings):
- Calories: Approximately 480
- Protein: 22g
- Fat: 28g
- Carbohydrates: 38g
- Calcium: 35% of the Daily Value
- Vitamin A: 15% of the Daily Value
The good news is that this dish packs a surprising amount of protein thanks to the four cheeses and milk. The calcium content is excellent for bone health. And if you use whole wheat pasta, you’ll add fiber and B vitamins. But honestly, I make this because it makes people happy, not because it’s a superfood. It’s comfort food, plain and simple, and there’s nothing wrong with that.
Dietary considerations: This recipe contains gluten, dairy, and eggs (if you use egg noodles). It is not suitable for vegans or those with lactose intolerance. For a lighter option, use reduced-fat cheeses and 2% milk — the texture will be slightly less creamy, but it still works.
Conclusion
This best baked four-cheese mac and cheese for Thanksgiving is more than just a side dish. It’s the recipe that makes people linger at the table, scrape the baking dish clean, and ask for the recipe before they leave. It’s the one that turns a holiday meal into a memory. I’ve made it for Thanksgiving dinners, Christmas parties, potlucks, and random Tuesday nights when I needed something warm and familiar. Every single time, it delivers.
I want you to make this your own. Use your favorite cheeses, add your own twist, serve it with whatever feels right. That’s the beauty of cooking — you take a recipe and you make it yours. And if you do try it, I’d love to hear about it. Drop a comment below and tell me how it turned out, what you changed, or just say hello. Share this recipe with a friend who needs a reliable Thanksgiving dish. Pin it for later. And most importantly, enjoy every single creamy, cheesy, crunchy bite.
Happy cooking, and happy Thanksgiving.
Frequently Asked Questions
Can I make this mac and cheese ahead of time?
Absolutely. Assemble the dish completely (without the panko topping), cover it tightly with foil, and refrigerate for up to 24 hours. Add the topping just before baking. You’ll need to add about 10 extra minutes to the baking time since it’s starting cold.
Why did my cheese sauce turn out grainy?
Grainy sauce usually happens for two reasons: the heat was too high, or you used pre-shredded cheese. Keep the heat on low when adding the cheese, and always shred your own from a block. The anti-caking agents in pre-shredded cheese are the enemy of smooth sauce.
Can I freeze this mac and cheese?
Yes, you can freeze it for up to 3 months. Assemble it without the topping, wrap it tightly in foil, and freeze. Thaw overnight in the fridge before baking. Add the topping right before it goes in the oven. The texture will be slightly softer after freezing, but it’s still delicious.
What can I substitute for Gruyère cheese?
If you can’t find Gruyère, use Swiss cheese, Comté, or even a good-quality white cheddar. The key is to use a cheese that melts well and has a nutty, slightly sweet flavor. Avoid using pre-shredded blends — they won’t melt as smoothly.
How do I get a crunchy topping without burning it?
Bake the mac and cheese uncovered for 20 minutes, then check the topping. If it’s golden brown, cover loosely with foil for the remaining bake time. If it’s still pale, leave it uncovered. Every oven runs differently, so keep an eye on it during the last 10 minutes.
Pin This Recipe!
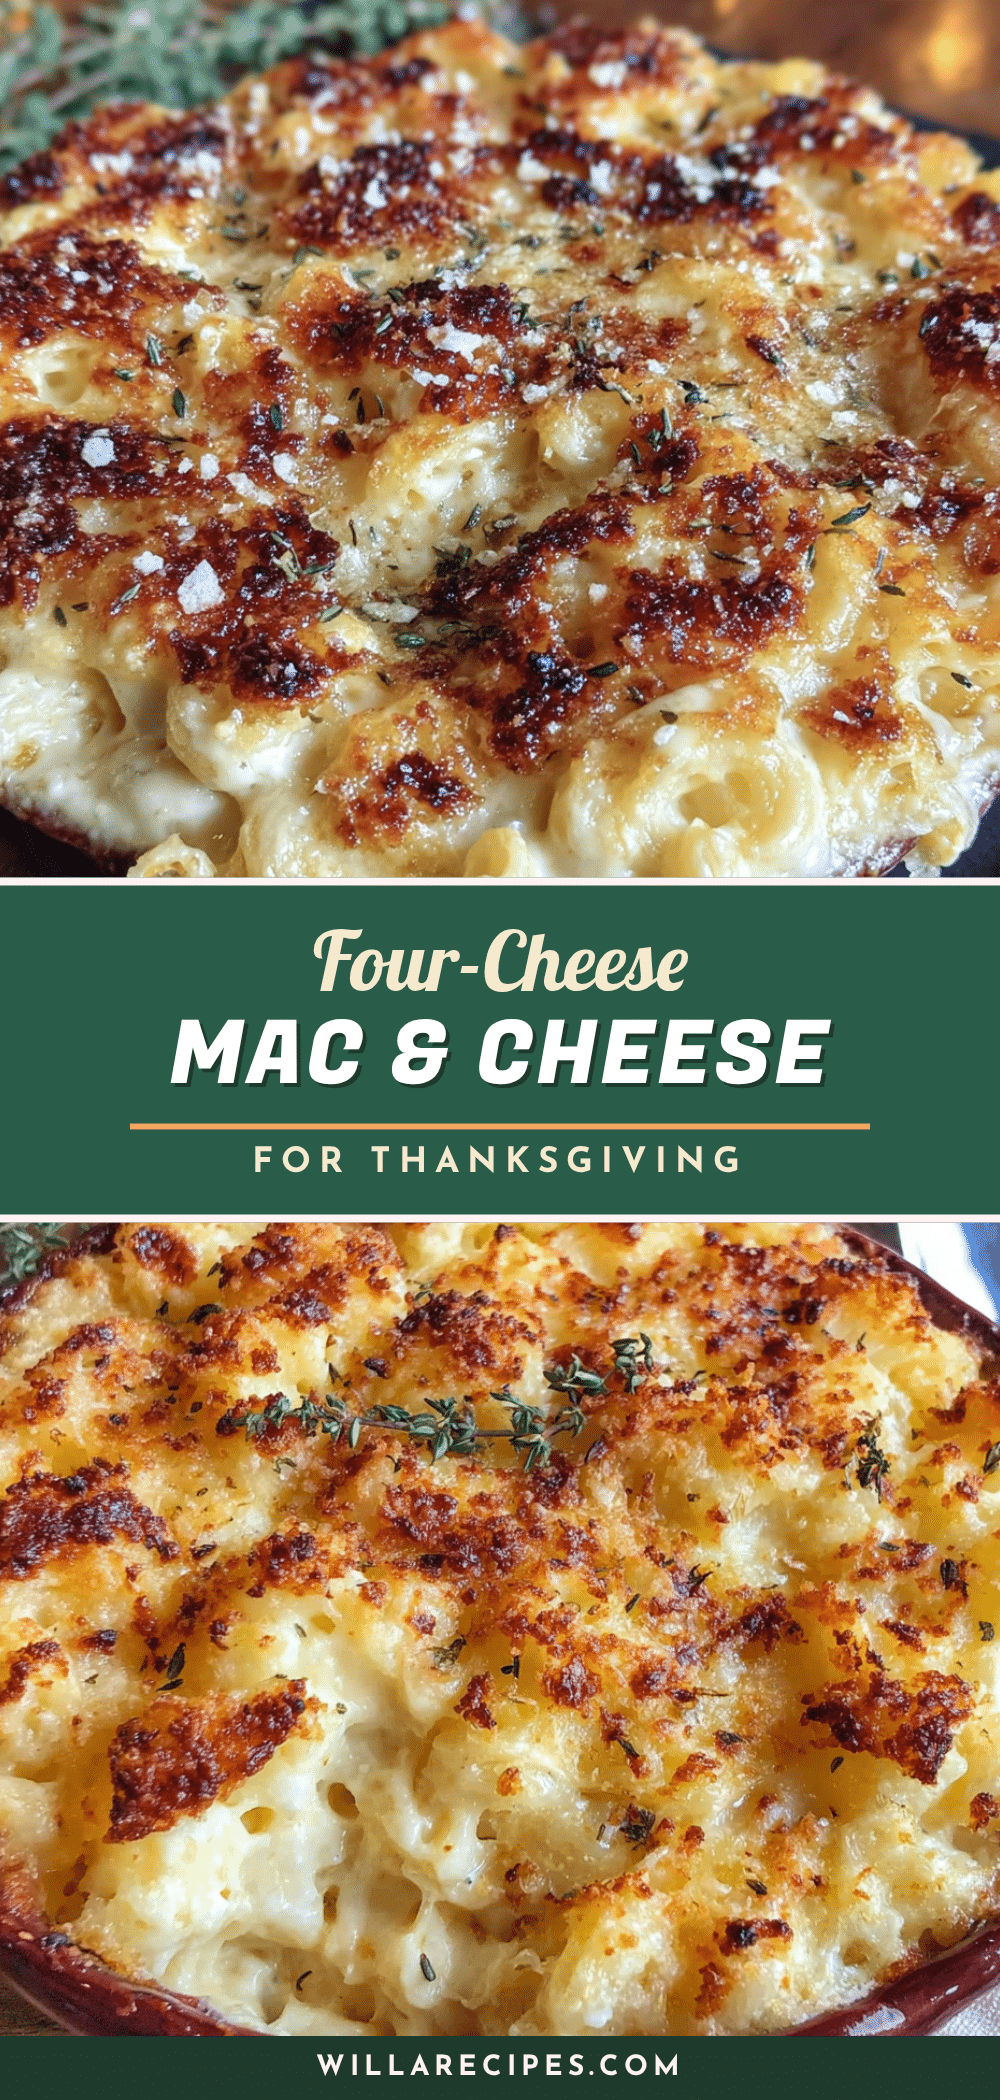
Best Baked Four-Cheese Mac and Cheese Easy Thanksgiving Side
This creamy, cheesy baked mac and cheese combines sharp cheddar, nutty Gruyère, cream cheese, and stretchy mozzarella for an unforgettable Thanksgiving side dish. It’s stress-free, make-ahead friendly, and guaranteed to be a crowd-pleaser.
- Prep Time: 15 minutes
- Cook Time: 30 minutes
- Total Time: 45 minutes
- Yield: 12 servings 1x
- Category: Side Dish
- Cuisine: American
Ingredients
- 1 pound cavatappi pasta (or elbow macaroni, shells, or rotini)
- Salt for pasta water
- 4 tablespoons unsalted butter
- 1/4 cup all-purpose flour
- 3 cups whole milk
- 1 cup heavy cream
- 1 teaspoon Dijon mustard
- 1/2 teaspoon garlic powder
- 1/4 teaspoon smoked paprika (optional)
- 1/2 teaspoon salt
- 1/4 teaspoon black pepper
- 2 cups sharp cheddar cheese, shredded
- 1 cup Gruyère cheese, shredded
- 4 ounces cream cheese, softened and cubed
- 1 cup mozzarella cheese, shredded
- 1 cup panko breadcrumbs
- 2 tablespoons unsalted butter, melted
- 1/4 cup grated Parmesan cheese
Instructions
- Preheat oven to 375°F (190°C). Lightly butter a 9×13-inch baking dish.
- Bring a large pot of salted water to a rolling boil. Cook cavatappi for 1 minute less than package directions (about 7-8 minutes). Drain without rinsing.
- In a large saucepan over medium heat, melt 4 tablespoons butter. Whisk in flour and cook for 2 minutes until mixture smells nutty.
- Slowly pour in milk and heavy cream, whisking constantly. Cook until thickened, about 4-5 minutes, until it coats the back of a spoon.
- Reduce heat to low. Stir in Dijon mustard, garlic powder, smoked paprika, salt, and pepper. Add cheddar, Gruyère, and cream cheese a handful at a time, stirring until melted. Stir in mozzarella. Adjust salt to taste.
- Pour drained pasta into sauce and fold gently until fully coated.
- Transfer mixture to prepared baking dish. In a small bowl, mix panko, melted butter, and Parmesan. Sprinkle evenly over top.
- Bake uncovered for 20 minutes. If top is golden, cover loosely with foil and bake 10 more minutes. For a crunchier top, leave uncovered.
- Let rest for 10 minutes before serving.
Notes
For make-ahead: Assemble without topping, cover, and refrigerate up to 24 hours. Add topping and bake at 375°F for 25 minutes covered, then 10 minutes uncovered. Add 5-10 extra minutes if starting cold. Shred your own cheese for smooth sauce. Undercook pasta by 1 minute to avoid mushiness.
Nutrition
- Serving Size: 1 serving (1/12 of r
- Calories: 480
- Sugar: 6
- Sodium: 620
- Fat: 28
- Saturated Fat: 16
- Carbohydrates: 38
- Fiber: 1
- Protein: 22
Keywords: baked mac and cheese, four cheese mac and cheese, Thanksgiving side dish, creamy mac and cheese, easy mac and cheese


