I wasn’t expecting baking advice from my accountant, but there I was, knee-deep in tax paperwork, listening to Mr. Henderson describe exactly how to make peanut butter blossom cookies. It was mid-April, I was stressed, and honestly, I just wanted to get my taxes done and move on with my life. But he had this twinkle in his eye as he talked about the cookies his wife used to make, and I couldn’t help but stop shuffling papers. “The trick,” he said, leaning forward like he was sharing a classified secret, “is to press the chocolate kiss in while the cookie is still hot. Wait too long, and it just slides right off.” I scribbled his instructions on a sticky note, half-convinced I’d toss it later.
Fast forward to that December, buried under holiday to-do lists, I found that crumpled sticky note. I figured, why not? I had peanut butter, I had butter, and I had a bag of Hershey kisses leftover from Halloween. The first batch came out of the oven, and let me tell you, the smell alone was enough to make me forget about the un-decorated tree and the half-written cards. That first bite—the soft, chewy peanut butter cookie with that solid, creamy chocolate kiss—was pure magic. I mean, it was the kind of cookie that makes you close your eyes and just… breathe. Maybe you’ve been there, where a simple recipe becomes a little anchor in a chaotic season. That’s what these cookies are for me now. They’re not just a treat; they’re a little moment of cozy, every single time.
Why You’ll Love This Recipe
These aren’t just any peanut butter cookies. This is the version that disappears from the cooling rack before you can even think about storing them. I’ve tested this recipe more times than I can count, tweaking the flour ratio and the chill time until it was absolutely perfect. My family has officially deemed it “the one,” and I think you’ll agree.
- Quick & Easy: From mixing bowl to cooling rack in under 30 minutes. Perfect for a last-minute bake sale or a sudden cookie craving.
- Simple Ingredients: You probably have everything in your pantry right now. No weird extracts or hard-to-find specialty items.
- Perfect for the Holidays: These are a staple on my Christmas cookie platter, but honestly, they’re welcome any time of year.
- Crowd-Pleaser: Kids love the chocolate surprise, and adults appreciate the perfect peanut butter-to-chocolate ratio. They vanish every single time.
- Unbelievably Delicious: The texture is spot-on—soft, chewy, and just a little crumbly, with that solid chocolate kiss creating the most satisfying bite.
What makes this recipe different from all the others? It’s the chill time. I know, I know, waiting is the worst part. But trust me on this one. Chilling the dough for just 15 minutes prevents the cookies from spreading too thin, giving you that perfect, puffy shape that hugs the chocolate kiss. It’s a small step that makes a huge difference. This isn’t just another version; it’s the best version.
What Ingredients You Will Need
This recipe uses simple, wholesome ingredients to deliver that classic, soul-soothing flavor. Most of these are pantry staples, which makes this the perfect recipe to whip up on a whim.
- 1/2 cup unsalted butter, softened (I prefer using unsalted so I can control the salt level. Let it sit out for about 30 minutes before you start.)
- 1/2 cup creamy peanut butter (Use a brand you love to eat. I’m partial to Skippy or Jif for baking, as natural peanut butter can sometimes make the cookies greasy.)
- 1/2 cup granulated sugar (Plus extra for rolling the dough balls. This gives the cookies that classic crinkly look.)
- 1/2 cup packed light brown sugar (Adds moisture and a hint of molasses flavor that pairs beautifully with the peanut butter.)
- 1 large egg, room temperature (If you forgot to take it out of the fridge, place it in a bowl of warm water for 5 minutes.)
- 1 teaspoon vanilla extract (Pure vanilla extract makes a difference, but imitation will work in a pinch.)
- 1 1/2 cups all-purpose flour (Spoon and level it into your measuring cup for the most accurate measurement.)
- 1 teaspoon baking soda (Make sure it’s fresh! Test it by dropping a little into vinegar—it should fizz.)
- 1/2 teaspoon salt (This balances the sweetness and enhances the peanut butter flavor.)
- About 36 Hershey’s Kisses, unwrapped (Classic milk chocolate is my go-to, but dark chocolate kisses are incredible too. Unwrapping them is the most tedious part—I usually recruit a helper for this.)
Equipment Needed
You don’t need any fancy gadgets for these cookies, which is part of their charm. Here’s what you’ll want to have on hand:
- Electric mixer (hand or stand): A hand mixer works perfectly. A stand mixer is great if you have one, but it’s not necessary.
- Large mixing bowls: You’ll need one for the wet ingredients and one for the dry.
- Baking sheets: I recommend using light-colored, non-stick baking sheets for even browning.
- Parchment paper or silicone baking mats: These prevent sticking and make cleanup a breeze. Plus, they help the cookies bake evenly.
- Cooling rack: Essential for letting the cookies cool properly so the chocolate kisses set.
- 1-inch cookie scoop or tablespoon: For uniform cookies that bake evenly. I’ve used a regular spoon in a pinch, but a scoop is way easier.
Preparation Method
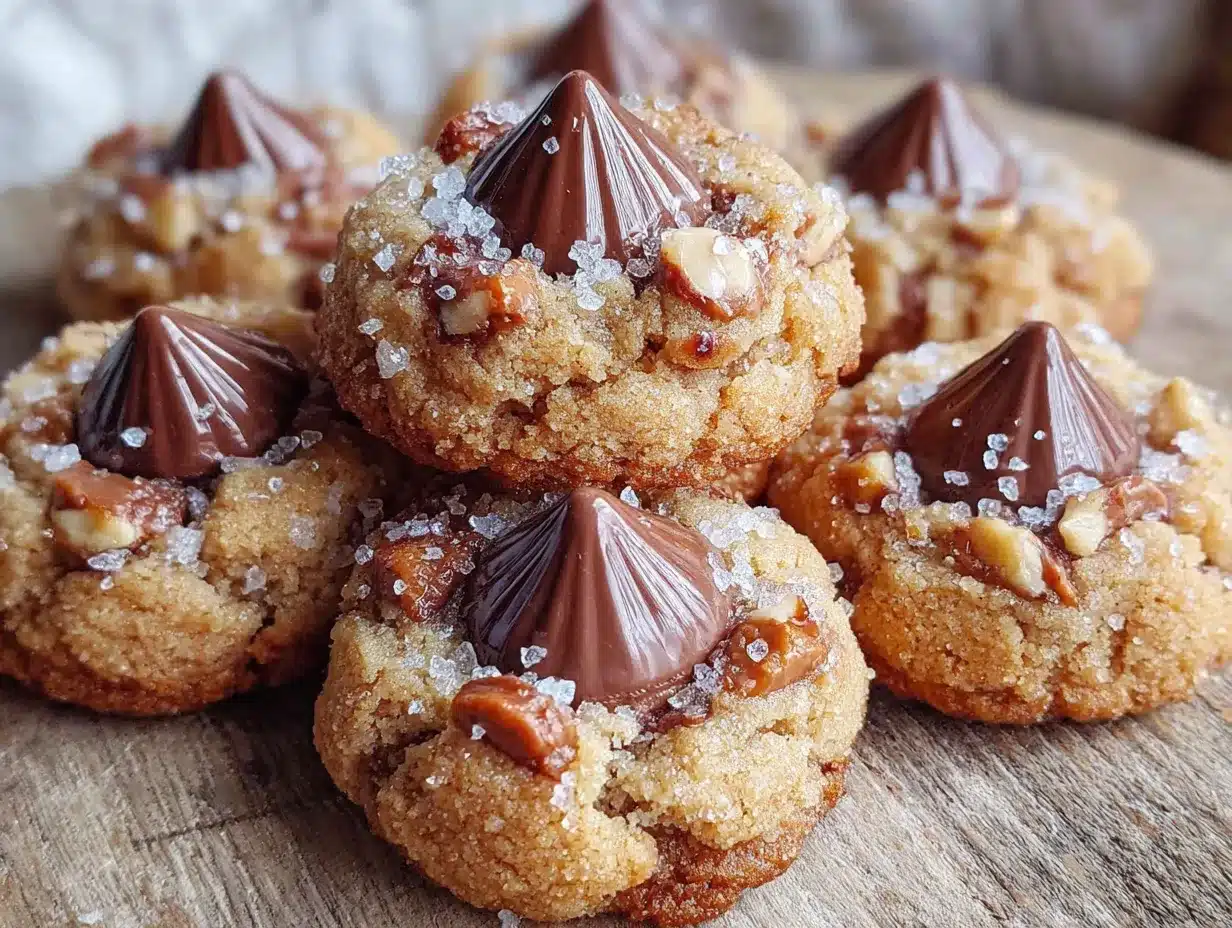
Alright, let’s get to the good part. Follow these steps, and you’ll have a batch of perfect peanut butter blossom cookies in no time.
- Preheat and Prep: Preheat your oven to 375°F (190°C). Line two baking sheets with parchment paper or silicone mats. This is a non-negotiable step for easy cleanup and perfect cookies.
- Cream the Butter and Sugars: In a large bowl, beat the softened butter, peanut butter, granulated sugar, and brown sugar together with an electric mixer on medium speed until light and fluffy. This takes about 2-3 minutes. You’re looking for a pale, creamy mixture. Don’t rush this step—it’s key to a tender cookie.
- Add the Wet Ingredients: Beat in the egg and vanilla extract until just combined. Scrape down the sides of the bowl with a spatula to make sure everything is incorporated.
- Whisk the Dry Ingredients: In a separate medium bowl, whisk together the flour, baking soda, and salt. Whisking ensures the baking soda and salt are evenly distributed throughout the flour.
- Combine Wet and Dry: Gradually add the dry ingredients to the wet ingredients, mixing on low speed until just combined. Be careful not to overmix! Overmixing develops the gluten and can make your cookies tough. Stop when you no longer see streaks of flour.
- Chill the Dough: This is the most important step! Cover the bowl with plastic wrap and refrigerate the dough for at least 15 minutes. While it chills, start unwrapping your Hershey kisses. This chill time prevents the cookies from spreading into flat discs.
- Roll in Sugar: Place about 1/4 cup of granulated sugar in a small bowl. Using a 1-inch cookie scoop or a tablespoon, scoop out rounded balls of dough. Roll each ball between your palms to make it smooth, then roll it in the sugar until completely coated.
- Bake: Place the sugar-coated dough balls about 2 inches apart on the prepared baking sheets. Bake for 10-12 minutes, or until the edges are lightly golden brown and the centers look just set. They will look a little puffy and soft—that’s perfect.
- Add the Kisses: Remove the baking sheet from the oven and let the cookies cool on the sheet for exactly 2 minutes. This is critical! If you add the kiss too soon, it will melt into a puddle. If you wait too long, it won’t stick. After 2 minutes, gently press a Hershey kiss into the center of each cookie. The cookie will crack slightly around the edges—that’s exactly what you want.
- Cool Completely: Transfer the cookies to a wire cooling rack to cool completely. This allows the chocolate to set and the cookie to firm up. Resisting the urge to eat one immediately is the hardest part of this recipe!
Cooking Tips & Techniques
I’ve made a lot of mistakes in the kitchen, and these cookies have seen their fair share. Here are the lessons I learned the hard way so you don’t have to.
- Don’t skip the chill. I once thought I could be a rebel and skip the chilling step. The result? Flat, sad cookies that spread into one giant cookie sheet. The chill time solidifies the butter, which means the cookies spread less and stay nice and puffy.
- The 2-minute rule is sacred. Set a timer the second the cookies come out of the oven. I’ve ruined a whole batch by getting distracted and waiting 5 minutes. The kisses just bounced right off. At 2 minutes, the cookie is still warm enough to soften the chocolate base just enough to make it stick, but cool enough that the kiss holds its shape.
- Use a cookie scoop for uniform size. This isn’t just about aesthetics. Cookies that are the same size bake at the same rate. You won’t have some that are overdone and some that are underdone.
- Don’t overbake. These cookies will look slightly underdone when you pull them out of the oven. That’s okay! They continue to bake on the hot baking sheet as they cool. Overbaked peanut butter cookies are dry and crumbly. You want them soft and chewy.
- Room temperature ingredients matter. A cold egg can seize the butter mixture, making it lumpy. Let your egg and butter come to room temperature for the smoothest, most cohesive dough.
Variations & Adaptations
One of the best things about this recipe is how easily it adapts to different tastes and dietary needs. Here are a few ways I’ve played around with it.
- Chocolate Swap: Try using dark chocolate, caramel-filled, or even white chocolate Hershey kisses. I made a batch with the dark chocolate kisses last Christmas, and my dad, who claims he doesn’t like sweets, ate six of them.
- Gluten-Free Version: Substitute the all-purpose flour with a 1:1 gluten-free baking flour blend. I’ve used the Bob’s Red Mill brand with great success. Just make sure the blend contains xanthan gum, which helps mimic the structure of gluten.
- Nut-Free Alternative: You can use a seed butter like sunflower seed butter in place of the peanut butter. The flavor will be different, but the texture will be similar. Be aware that sunflower seed butter can sometimes turn the cookies a slightly greenish color when baked—it’s totally safe and just a chemical reaction!
- Flavor Twist: Add 1/2 teaspoon of cinnamon to the dry ingredients for a warm, spiced note. It pairs surprisingly well with the peanut butter and chocolate. I tried this on a whim one rainy afternoon, and it was a total game-changer.
Serving & Storage Suggestions
These cookies are best served at room temperature, with a tall glass of cold milk or a warm cup of coffee. The contrast between the cold milk and the soft, sweet cookie is pure comfort.
For storage, place the completely cooled cookies in an airtight container at room temperature. They will stay fresh and soft for up to 5 days. I layer them between sheets of wax paper to prevent the chocolate kisses from sticking together.
These cookies also freeze beautifully! Place the cooled cookies in a single layer on a baking sheet and freeze for an hour. Then, transfer them to a freezer-safe bag or container. They’ll keep for up to 3 months. To thaw, just leave them on the counter for about 30 minutes. The flavor actually seems to get even better after a few days, as the peanut butter and chocolate flavors meld together. If you can manage to keep them around that long!
Nutritional Information & Benefits
While we don’t eat these cookies for their health benefits, it’s good to know what’s in them. The following is an estimate per cookie (based on 36 cookies).
| Nutrient | Amount Per Cookie |
|---|---|
| Calories | ~120 |
| Fat | 7g |
| Saturated Fat | 3.5g |
| Carbohydrates | 14g |
| Sugar | 9g |
| Protein | 2g |
Peanut butter does provide a small amount of protein and healthy fats, along with vitamin E and magnesium. The Hershey kiss, well, it provides a little bit of happiness, which I think is an important part of a balanced life. These cookies are a treat, meant to be enjoyed in moderation as part of a cozy, joyful moment.
Conclusion
These peanut butter blossom cookies are more than just a recipe—they’re a little piece of comfort you can hold in your hand. They’re the cookie you bake on a rainy Sunday, the one you bring to a holiday party, the one that makes a bad day instantly better. The combination of soft, chewy peanut butter cookie and a solid chocolate kiss is simply timeless.
I hope you make these and love them as much as I do. Don’t be afraid to make them your own—swap the chocolate, add a sprinkle of sea salt, or just follow the recipe exactly as written. They’re forgiving and always delicious. I’d love to hear how they turn out for you! Drop a comment below and let me know if you tried any fun variations. Happy baking, friend!
Frequently Asked Questions
Why did my cookies spread too much?
The most common culprit is not chilling the dough. The butter needs to be cold when it hits the oven so the cookies hold their shape. Also, make sure your butter wasn’t too soft when you started. It should be softened, not melted.
Can I use natural peanut butter?
You can, but the cookies may be greasier and spread more. Natural peanut butters have a different fat-to-solid ratio. For the best results, stick with a classic processed peanut butter like Jif or Skippy.
My Hershey kisses keep falling off. What am I doing wrong?
This is almost always a timing issue. You need to press the kiss into the cookie exactly 2 minutes after it comes out of the oven. Too soon, and it melts. Too late, and it won’t stick. Set a timer!
Can I freeze the dough instead of the baked cookies?
Absolutely! Scoop the dough into balls, roll them in sugar, and place them on a baking sheet. Freeze until solid, then transfer to a freezer bag. You can bake them straight from frozen, just add 1-2 minutes to the baking time.
How do I keep the cookies soft?
Store them in an airtight container at room temperature. Adding a slice of bread to the container will help absorb excess moisture and keep the cookies extra soft. Just replace the bread every day or two.
Pin This Recipe!
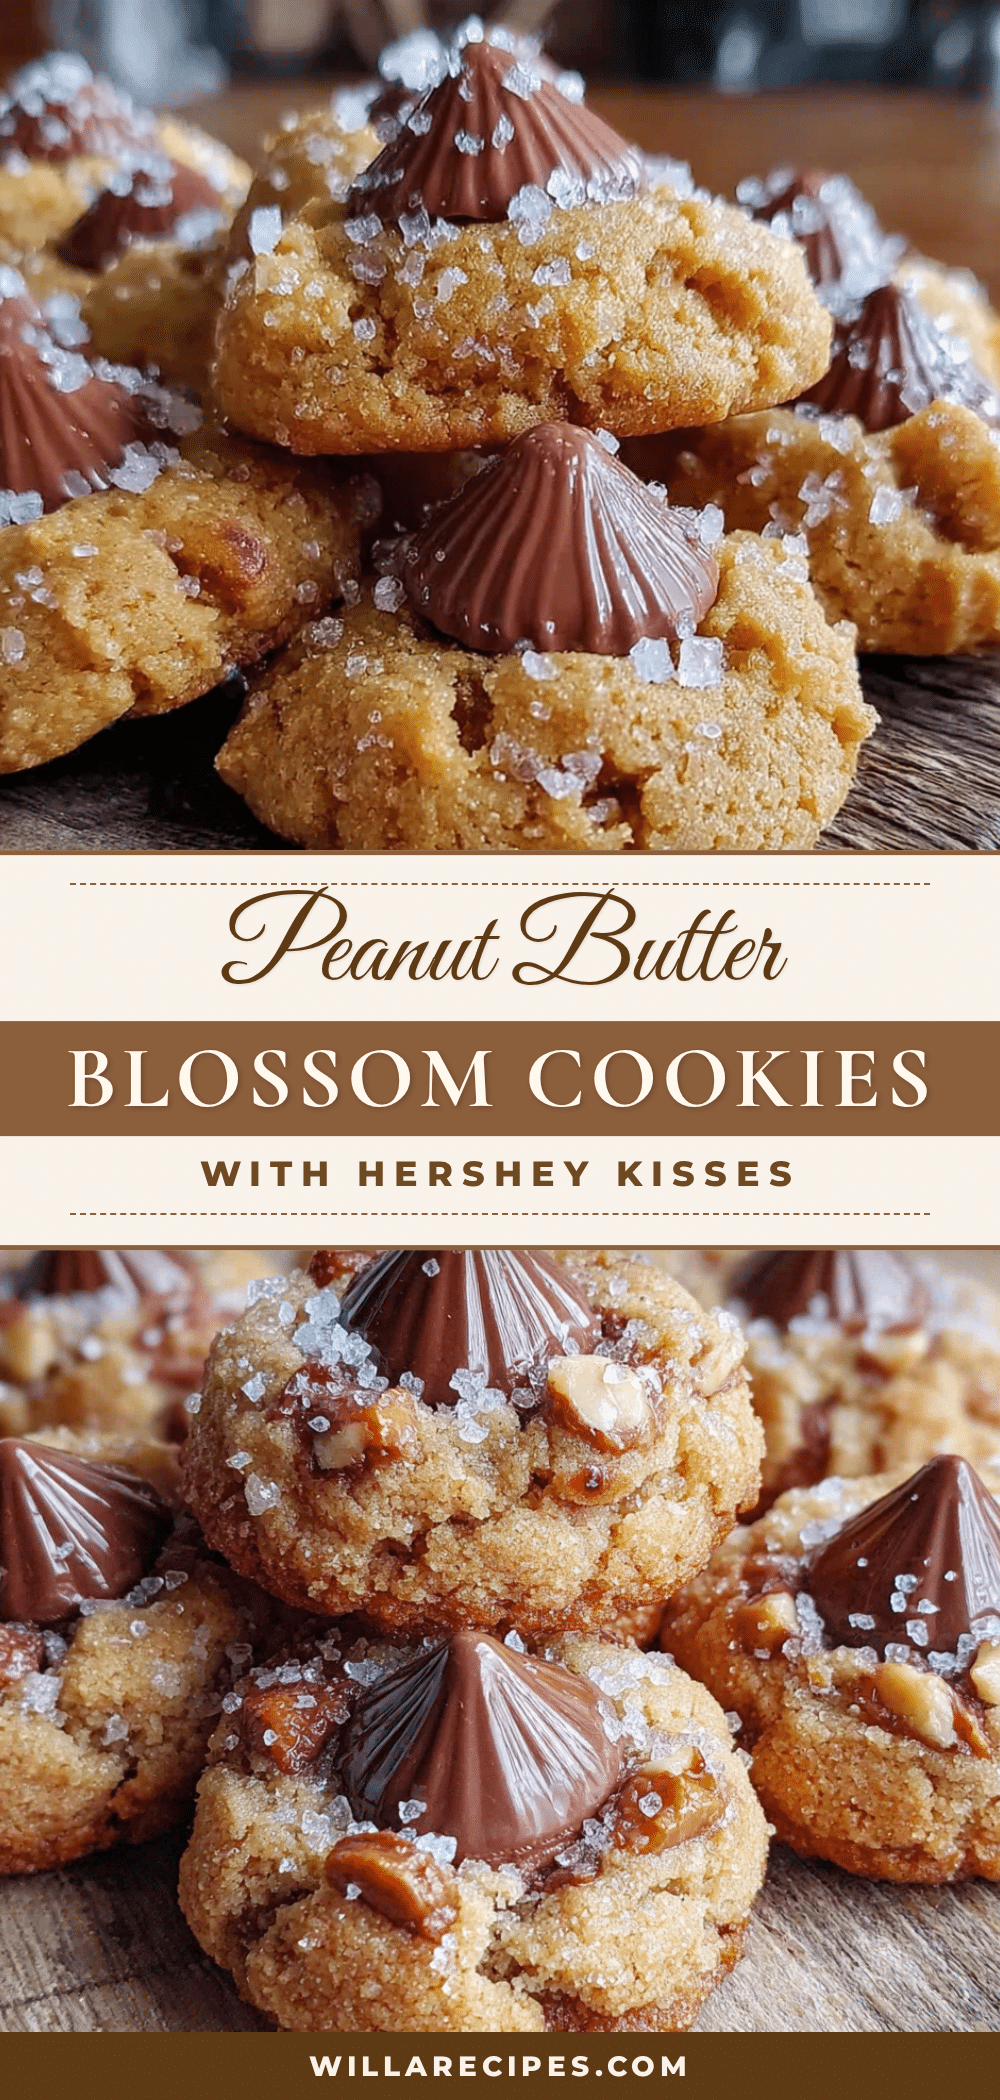
Best Easy Peanut Butter Blossom Cookies Recipe

Soft, chewy peanut butter cookies topped with a solid chocolate kiss. This quick and easy recipe is perfect for the holidays or any time you need a comforting treat.
- Prep Time: 15 minutes
- Cook Time: 12 minutes
- Total Time: 27 minutes
- Yield: 36 cookies 1x
- Category: Dessert
- Cuisine: American
Ingredients
- 1/2 cup unsalted butter, softened
- 1/2 cup creamy peanut butter
- 1/2 cup granulated sugar (plus extra for rolling)
- 1/2 cup packed light brown sugar
- 1 large egg, room temperature
- 1 teaspoon vanilla extract
- 1 1/2 cups all-purpose flour
- 1 teaspoon baking soda
- 1/2 teaspoon salt
- About 36 Hershey’s Kisses, unwrapped
Instructions
- Preheat oven to 375°F (190°C). Line two baking sheets with parchment paper or silicone mats.
- In a large bowl, beat the softened butter, peanut butter, granulated sugar, and brown sugar together with an electric mixer on medium speed until light and fluffy, about 2-3 minutes.
- Beat in the egg and vanilla extract until just combined. Scrape down the sides of the bowl.
- In a separate medium bowl, whisk together the flour, baking soda, and salt.
- Gradually add the dry ingredients to the wet ingredients, mixing on low speed until just combined. Do not overmix.
- Cover the bowl with plastic wrap and refrigerate the dough for at least 15 minutes.
- Place about 1/4 cup of granulated sugar in a small bowl. Using a 1-inch cookie scoop or tablespoon, scoop out rounded balls of dough. Roll each ball between your palms to make it smooth, then roll it in the sugar until completely coated.
- Place the sugar-coated dough balls about 2 inches apart on the prepared baking sheets. Bake for 10-12 minutes, or until the edges are lightly golden brown and the centers look just set.
- Remove the baking sheet from the oven and let the cookies cool on the sheet for exactly 2 minutes. Gently press a Hershey kiss into the center of each cookie.
- Transfer the cookies to a wire cooling rack to cool completely.
Notes
Chilling the dough for at least 15 minutes is crucial to prevent spreading. Press the chocolate kiss into the cookie exactly 2 minutes after removing from the oven for best results. For uniform cookies, use a cookie scoop. Store in an airtight container at room temperature for up to 5 days, or freeze for up to 3 months.
Nutrition
- Serving Size: 1 cookie
- Calories: 120
- Sugar: 9
- Sodium: 85
- Fat: 7
- Saturated Fat: 3.5
- Carbohydrates: 14
- Protein: 2
Keywords: peanut butter blossom cookies, easy cookie recipe, Christmas cookies, peanut butter cookies, Hershey kiss cookies


