The Thanksgiving potluck at my son’s school was in three hours and I’d completely forgotten. Everyone else would be bringing those picture-perfect full-sized pies, the kind with crimped crusts and lattice tops that looked like they belonged on a magazine cover. I had a single can of pumpkin puree, some pre-made pie crust in the back of the fridge, and honestly, a mild panic setting in. My neighbor Karen, who always brings those gorgeous apple roses, was going to show me up again.
I mean, I couldn’t show up with a sad, store-bought pie. But I also didn’t have time for all that rolling and chilling and blind baking nonsense. So I did what any reasonable person in a time crunch would do — I grabbed a muffin tin, cut some circles out of that cold dough, and just… shoved them in. It felt a little desperate, honestly. But you know that feeling when you’re just hoping something works out? That was me, praying to the baking gods as the little tart shells puffed up in the oven.
The best part? These mini pumpkin pie tarts not only saved me, they stole the show. I kid you not, Karen asked for the recipe before we even sat down for the turkey sandwich lunch. There’s something about the individual portions — everyone gets their own perfect little tart, no fighting over the end piece or the middle slice. And the buttery, flaky crust-to-filling ratio? Let’s just say a full-sized pie has nothing on these little guys. Now they’re my secret weapon for every Thanksgiving, whether it’s a school potluck or our family dinner. Sometimes the best recipes come from a moment of pure panic, you know?
Why You’ll Love This Recipe
Let me tell you why these mini pumpkin pie tarts have become my most-requested Thanksgiving recipe. I’ve tested this about six times now — once with a friend who’s a pastry chef, once for a gluten-free version, and even a vegan adaptation that actually worked. So trust me when I say these are foolproof.
- Quick & Easy: From start to finish, you’re looking at about 45 minutes. No chilling the dough, no blind baking, no complicated techniques. Perfect for when you’re juggling a million other Thanksgiving dishes.
- Simple Ingredients: You probably have everything already. Pumpkin puree, eggs, cream, sugar, and pie crust. No trips to three different grocery stores required.
- Perfect for Thanksgiving: These little tarts are made for the holiday table. Individual servings mean no slicing, no mess, and everyone gets their own. Plus they look adorable on a platter.
- Crowd-Pleaser: Kids love them because they’re tiny and cute. Adults love them because they’re perfectly portioned. I’ve never seen leftovers with these.
- Unbelievably Delicious: The filling is silky smooth with that classic pumpkin spice flavor, and the crust stays perfectly flaky. It’s like the best bite of pumpkin pie, every single time.
What makes this recipe different from the dozens of other pumpkin tart recipes out there? It’s the cream cheese in the filling. I know, it sounds weird, but trust me — it adds this subtle tanginess that balances the sweetness perfectly. Plus it makes the filling incredibly creamy, almost like a pumpkin cheesecake hybrid. A friend who’s a nutritionist actually approved the portion size too — these are small enough to feel indulgent without overdoing it.
This isn’t just another pumpkin pie recipe. It’s the kind that makes you close your eyes after the first bite and just… sigh. It’s comfort food reimagined — smaller, cuter, but with the same soul-soothing satisfaction. Perfect for impressing guests without stress, or turning a simple Thanksgiving dinner into something memorable.
What Ingredients You Will Need
This recipe uses simple, wholesome ingredients to deliver that classic pumpkin pie flavor in a perfectly portable form. Most of these are pantry staples, especially during the fall season.
For the Tart Crust
- 1 package (14 ounces) refrigerated pie crusts (I prefer Pillsbury for convenience, but homemade works too) — (makes 12 tarts)
- 1 tablespoon unsalted butter, melted — (for brushing the crusts before baking, adds richness)
- 1 tablespoon granulated sugar — (for sprinkling on the crust edges)
For the Pumpkin Filling
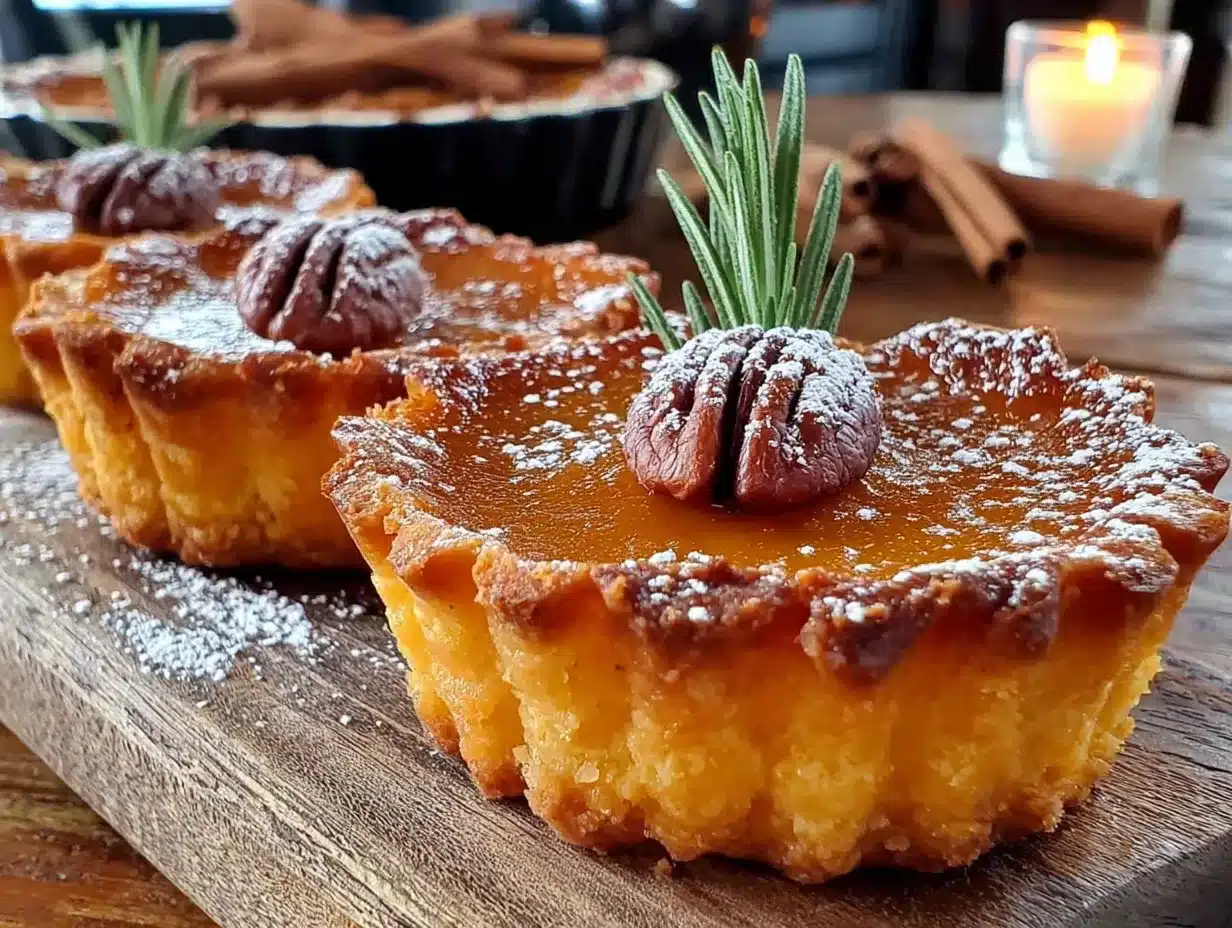
- 1 cup (240g) pumpkin puree (not pumpkin pie filling — make sure it’s 100% pumpkin) — (I recommend Libby’s for consistent texture)
- 1/2 cup (100g) granulated sugar
- 1/4 cup (50g) light brown sugar, packed
- 2 large eggs, room temperature
- 1/2 cup (120ml) heavy cream (or evaporated milk for a lighter version)
- 2 ounces (56g) cream cheese, softened — (this is my secret ingredient!)
- 1 teaspoon vanilla extract
- 1 1/2 teaspoons pumpkin pie spice (or make your own with cinnamon, ginger, nutmeg, and cloves)
- 1/4 teaspoon salt
For the Topping (Optional but Recommended)
- 1/2 cup (120ml) heavy cream, cold — (for whipped cream)
- 1 tablespoon powdered sugar
- 1/2 teaspoon vanilla extract
- Ground cinnamon or nutmeg, for dusting
Ingredient Tips: Look for a pumpkin puree that’s thick and not watery. If you’re using a different brand, you might need to drain it slightly on paper towels. For the cream cheese, make sure it’s truly softened — about 30 minutes at room temperature. Cold cream cheese will leave lumps in your filling. And if you can’t find pumpkin pie spice, just mix 1 teaspoon cinnamon, 1/4 teaspoon ginger, 1/4 teaspoon nutmeg, and a pinch of cloves. Easy!
Substitution Guidance: For a dairy-free version, use coconut cream instead of heavy cream and a dairy-free cream cheese alternative. For a gluten-free option, use a gluten-free pie crust mix — just follow the package directions for rolling. And if you’re feeling adventurous, you can swap the pumpkin puree for sweet potato puree for a slightly different flavor profile.
Equipment Needed
You don’t need much for these mini tarts, which is honestly my favorite part. Here’s what you’ll need:
- 12-cup standard muffin tin — The non-stick kind works best, but you can use a regular one with some buttering
- 3-inch round cookie cutter or biscuit cutter — Or use a drinking glass with a 3-inch diameter in a pinch
- Rolling pin — Even with pre-made crust, you’ll want to roll it slightly thinner
- Small bowl — For mixing the filling
- Whisk — A fork works too if you’re in a rush
- Measuring cups and spoons
- Pastry brush — For the butter and egg wash (optional but helpful)
- Cooling rack — So the bottoms don’t get soggy
Budget-Friendly Options: If you don’t have a cookie cutter, just use the rim of a glass. No pastry brush? Use a paper towel dipped in melted butter. And if you don’t have a cooling rack, just let them cool in the pan for 10 minutes, then transfer to a plate. I’ve made these in a friend’s apartment with zero proper baking tools and they still turned out great.
Personal Note: I’ve tried these in both non-stick and regular muffin tins. The non-stick ones definitely make removal easier, but if you’re using a regular tin, just butter it really well. Like, don’t be shy with the butter. My first batch stuck something terrible and I had to eat them with a fork straight from the pan. Still delicious, but not very pretty.
Preparation Method
Alright, let’s make these little beauties. The whole process takes about 45 minutes, and I promise it’s easier than a full-sized pie.
- Preheat your oven to 375°F (190°C). Position the rack in the center of the oven. Lightly grease your muffin tin with butter or non-stick spray — don’t skip this step even if it’s non-stick.
- Prepare the crusts. Let the refrigerated pie crusts sit at room temperature for about 15 minutes — they’re easier to work with when they’re not ice cold. Unroll them onto a lightly floured surface. If they seem thick, roll them out just a tiny bit thinner, about 1/8 inch. Using your 3-inch cutter, cut out 12 circles. You might need to gather and re-roll the scraps to get all 12.
- Press the circles into the muffin tin. Gently press each circle into a cup of the muffin tin, making sure it goes all the way to the bottom and up the sides. Don’t stretch the dough — just ease it in. You want little tart shells with the edges peeking just above the rim. Prick the bottoms a few times with a fork to prevent puffing. Brush the edges with melted butter and sprinkle with a pinch of sugar.
- Pre-bake the crusts. Pop the muffin tin in the oven and bake for 8-10 minutes, until the crusts are just starting to turn golden at the edges. They’ll look a little puffy — that’s fine. Remove from the oven and let them cool slightly while you make the filling. Keep the oven on.
- Make the filling. In a medium bowl, beat the softened cream cheese with a whisk until smooth — about 30 seconds. Add the granulated sugar and brown sugar, and whisk until combined. It should look like a thick paste. Add the eggs one at a time, whisking well after each. Then add the pumpkin puree, heavy cream, vanilla, pumpkin pie spice, and salt. Whisk until everything is smooth and silky. Don’t overmix — just until there are no streaks.
- Fill the tart shells. Pour the filling into each pre-baked shell, filling them almost to the top — about 3 tablespoons each. They’ll puff up slightly but won’t overflow if you don’t overfill. Tap the pan gently on the counter to release any air bubbles.
- Bake the tarts. Bake at 375°F (190°C) for 18-22 minutes. You’ll know they’re done when the edges are set and the center jiggles just slightly, like Jell-O. A toothpick inserted near the center should come out mostly clean with just a tiny bit of moisture. The filling will continue to set as they cool.
- Cool completely. Let the tarts cool in the pan for 10 minutes. Then carefully run a knife around the edges and lift them out onto a cooling rack. Let them cool completely — at least 30 minutes. The filling will sink slightly as it cools, which is totally normal and gives them that classic tart look.
- Make the whipped cream (optional). In a chilled bowl, whip the cold heavy cream, powdered sugar, and vanilla until soft peaks form. About 2-3 minutes with an electric mixer. Don’t over-whip or you’ll get butter!
- Serve and enjoy. Top each tart with a dollop of whipped cream and a dusting of cinnamon or nutmeg. Serve at room temperature or slightly warm. These are best the day they’re made, but they keep well too.
Sensory Cues: When the crusts are pre-baked, you should smell that warm, buttery pastry aroma. The filling will look glossy and smooth before baking. During baking, your kitchen will smell like a fall candle — all cinnamon, nutmeg, and pumpkin. When done, the tops will be slightly cracked and matte, not shiny.
Troubleshooting: If your crusts shrink during pre-baking, you probably stretched the dough when pressing it in. Next time, ease it in gently. If the filling cracks on top, you overbaked them slightly — they’re still delicious, just not as pretty. And if the tarts stick to the pan, let them cool a few more minutes before trying to remove them.
Cooking Tips & Techniques
I’ve made these mini pumpkin pie tarts about a dozen times now, and I’ve learned a few things the hard way. Let me save you some trouble.
Don’t skip the pre-bake. I tried skipping it once because I was in a hurry. Big mistake. The bottoms came out soggy and the crust wasn’t fully cooked. That 8-minute pre-bake is non-negotiable — it creates a barrier that keeps the crust crisp.
Room temperature ingredients matter. I know, I know, everyone says this. But with the cream cheese especially, if it’s cold, you’ll get lumps in your filling. And cold eggs can make the filling seize up. Just take everything out 30 minutes before you start. Set a timer if you’re forgetful like me.
Use a cookie scoop for filling. This is my favorite tip. A 1.5-tablespoon cookie scoop makes filling the tarts so much cleaner and faster. No drips, no mess, and every tart gets exactly the same amount. I found mine at a kitchen supply store for like $8.
Watch the edges. The crust edges can burn before the filling is done if you’re not careful. If you notice them getting too dark around the 15-minute mark, tent the whole pan loosely with foil. This happened to my second batch and I had to scrape the burnt edges off — not my finest moment.
Let them cool properly. I know it’s hard to wait, but if you try to eat these hot, the filling will be runny and the crust will fall apart. They need that full 30 minutes to set up. I usually make them the morning of Thanksgiving and let them sit on the counter until dinner.
Variations & Adaptations
One of the best things about this recipe is how easy it is to tweak. Here are some variations I’ve tried and loved:
Vegan Version: Use a vegan pie crust (many store-bought options are accidentally vegan), replace the eggs with 2 tablespoons of cornstarch mixed with 1/4 cup water, use coconut cream instead of heavy cream, and a vegan cream cheese. I tested this for a friend’s vegan Thanksgiving and honestly, it was almost indistinguishable from the original.
Pecan Pumpkin Tarts: Before baking, sprinkle a few chopped pecans on top of each tart. They toast during baking and add this amazing crunch. I did this for a “Friendsgiving” and they disappeared first. You could also drizzle a little maple syrup over the pecans for extra sweetness.
Chocolate Pumpkin Tarts: Add 1/4 cup melted dark chocolate to the filling. Sounds weird, tastes incredible. The chocolate deepens the pumpkin flavor somehow. I discovered this accidentally when I was making both chocolate and pumpkin tarts and some filling got mixed. Happy accident!
Gingerbread Crust: Swap the regular pie crust for a gingerbread or graham cracker crust. For a quick version, mix 1 1/2 cups crushed gingersnaps with 1/4 cup melted butter and press into the muffin tin. Bake for 5 minutes before adding the filling. The spicy ginger pairs beautifully with the pumpkin.
Spiced Whipped Cream: Add a pinch of cinnamon, nutmeg, and a tiny bit of cardamom to your whipped cream. It takes the whole thing to another level. I did this for a Thanksgiving brunch and people were asking what was in the cream.
Serving & Storage Suggestions
These mini pumpkin pie tarts are best served at room temperature or slightly warm. If you’ve made them ahead, just let them sit out for about 20 minutes before serving. The whipped cream should be added right before serving — it’ll deflate if it sits too long.
Presentation Ideas: Arrange them on a large platter or cake stand in a circular pattern. Dust with cinnamon or nutmeg through a fine-mesh sieve for a professional look. You can even drizzle a little caramel sauce over the top for extra decadence. For Thanksgiving, I like to place them on a wooden board with some fresh cranberries and rosemary sprigs around them — very Pinterest, I know, but it works.
What to Serve With Them: These tarts are perfect on their own, but they pair beautifully with a cup of hot coffee, spiced cider, or even a glass of bourbon. For a full Thanksgiving dessert spread, serve them alongside a classic apple pie and some vanilla ice cream. They’re also great with a side of fresh fruit — the tartness of cranberries or raspberries cuts through the richness.
Storage: Store the tarts (without whipped cream) in an airtight container in the refrigerator for up to 3 days. The crust might soften slightly, but they’ll still be delicious. To refresh them, pop them in a 300°F oven for 5 minutes — it crisps the crust back up.
Freezing: These freeze beautifully! Freeze the baked, cooled tarts on a baking sheet until solid, then transfer to a freezer bag. They’ll keep for up to 2 months. Thaw in the refrigerator overnight and reheat in a 300°F oven for 5-7 minutes. Add fresh whipped cream after reheating. I always make a double batch and freeze half for those random pumpkin cravings in January.
Flavor Development: Honestly, these tarts taste even better the next day. The flavors meld together and the pumpkin spice becomes more pronounced. So don’t stress about making them fresh — day-old tarts are actually my preference.
Nutritional Information & Benefits
Here’s the approximate nutritional breakdown for one mini tart (without whipped cream):
| Nutrient | Amount per Tart |
|---|---|
| Calories | 185 |
| Total Fat | 10g |
| Saturated Fat | 5g |
| Cholesterol | 45mg |
| Sodium | 180mg |
| Total Carbohydrates | 22g |
| Dietary Fiber | 2g |
| Sugars | 12g |
| Protein | 3g |
| Vitamin A | 70% DV |
Health Benefits: Pumpkin is packed with vitamin A (great for your eyes and immune system), fiber, and antioxidants. The cream cheese adds a bit of calcium, and the eggs provide protein. These tarts are portion-controlled, so you can enjoy a sweet treat without going overboard. Plus, making them at home means you control the ingredients — no preservatives or artificial flavors.
Dietary Considerations: This recipe contains gluten, dairy, and eggs. For gluten-free, use a gluten-free pie crust. For dairy-free, use coconut cream and vegan cream cheese. For egg-free, try the vegan version mentioned above. The original recipe is vegetarian-friendly.
Personal Perspective: I love that these tarts let me enjoy a classic Thanksgiving dessert without feeling like I need a nap afterward. The smaller portion is just right — satisfying without being overwhelming. And honestly, knowing exactly what’s in them makes me feel better about having two. Or three. No judgment here.
Conclusion
These mini pumpkin pie tarts have become my go-to Thanksgiving dessert for a reason. They’re easier than a full-sized pie, they look adorable on a platter, and everyone gets their own perfect little tart. No fighting over slices, no messy cutting, just pure pumpkin pie bliss in every bite.
I love how customizable they are — you can stick with the classic version or try any of the variations I mentioned. The pecan pumpkin version is my personal favorite, but honestly, every batch disappears just as fast. There’s something so satisfying about seeing that platter of golden tarts on the table, knowing you made them in under an hour.
So go ahead and give these a try for your Thanksgiving dinner. Or for a random Tuesday when you’re craving fall flavors. Trust me, once you make these, you’ll never go back to full-sized pie. And if you come up with your own variation, I’d love to hear about it! Drop a comment below and let me know how they turned out. Happy baking, friends!
Frequently Asked Questions
Can I use canned pumpkin pie filling instead of pumpkin puree?
I wouldn’t recommend it. Pumpkin pie filling already has sugar and spices added, so it’ll throw off the sweetness and spice levels in this recipe. Stick with 100% pumpkin puree and add your own sugar and spices — you’ll have much better control over the flavor.
How do I keep the crust from getting soggy?
The pre-baking step is key here. Those 8-10 minutes in the oven before adding the filling create a barrier that keeps the crust crisp. Also, make sure your filling isn’t too watery — if your pumpkin puree seems thin, pat it dry with paper towels before mixing.
Can I make these ahead of time?
Absolutely! You can make the tarts (without whipped cream) up to 2 days ahead and store them in the refrigerator. Or freeze them for up to 2 months. Just add the whipped cream right before serving. I actually think they taste even better the next day.
My filling cracked on top. What went wrong?
This usually means you overbaked them slightly. Next time, pull them out when the center still has a slight jiggle — it’ll set as they cool. If they do crack, don’t worry! A dollop of whipped cream covers it perfectly, and they’ll still taste amazing.
Can I use a different size muffin tin?
You can use a mini muffin tin for bite-sized tarts, but you’ll need to adjust the baking time — check them at 10-12 minutes. For jumbo muffin tins, you’ll get fewer, larger tarts and need to bake them a few minutes longer. Just keep an eye on the edges of the crust to prevent burning.
Pin This Recipe!
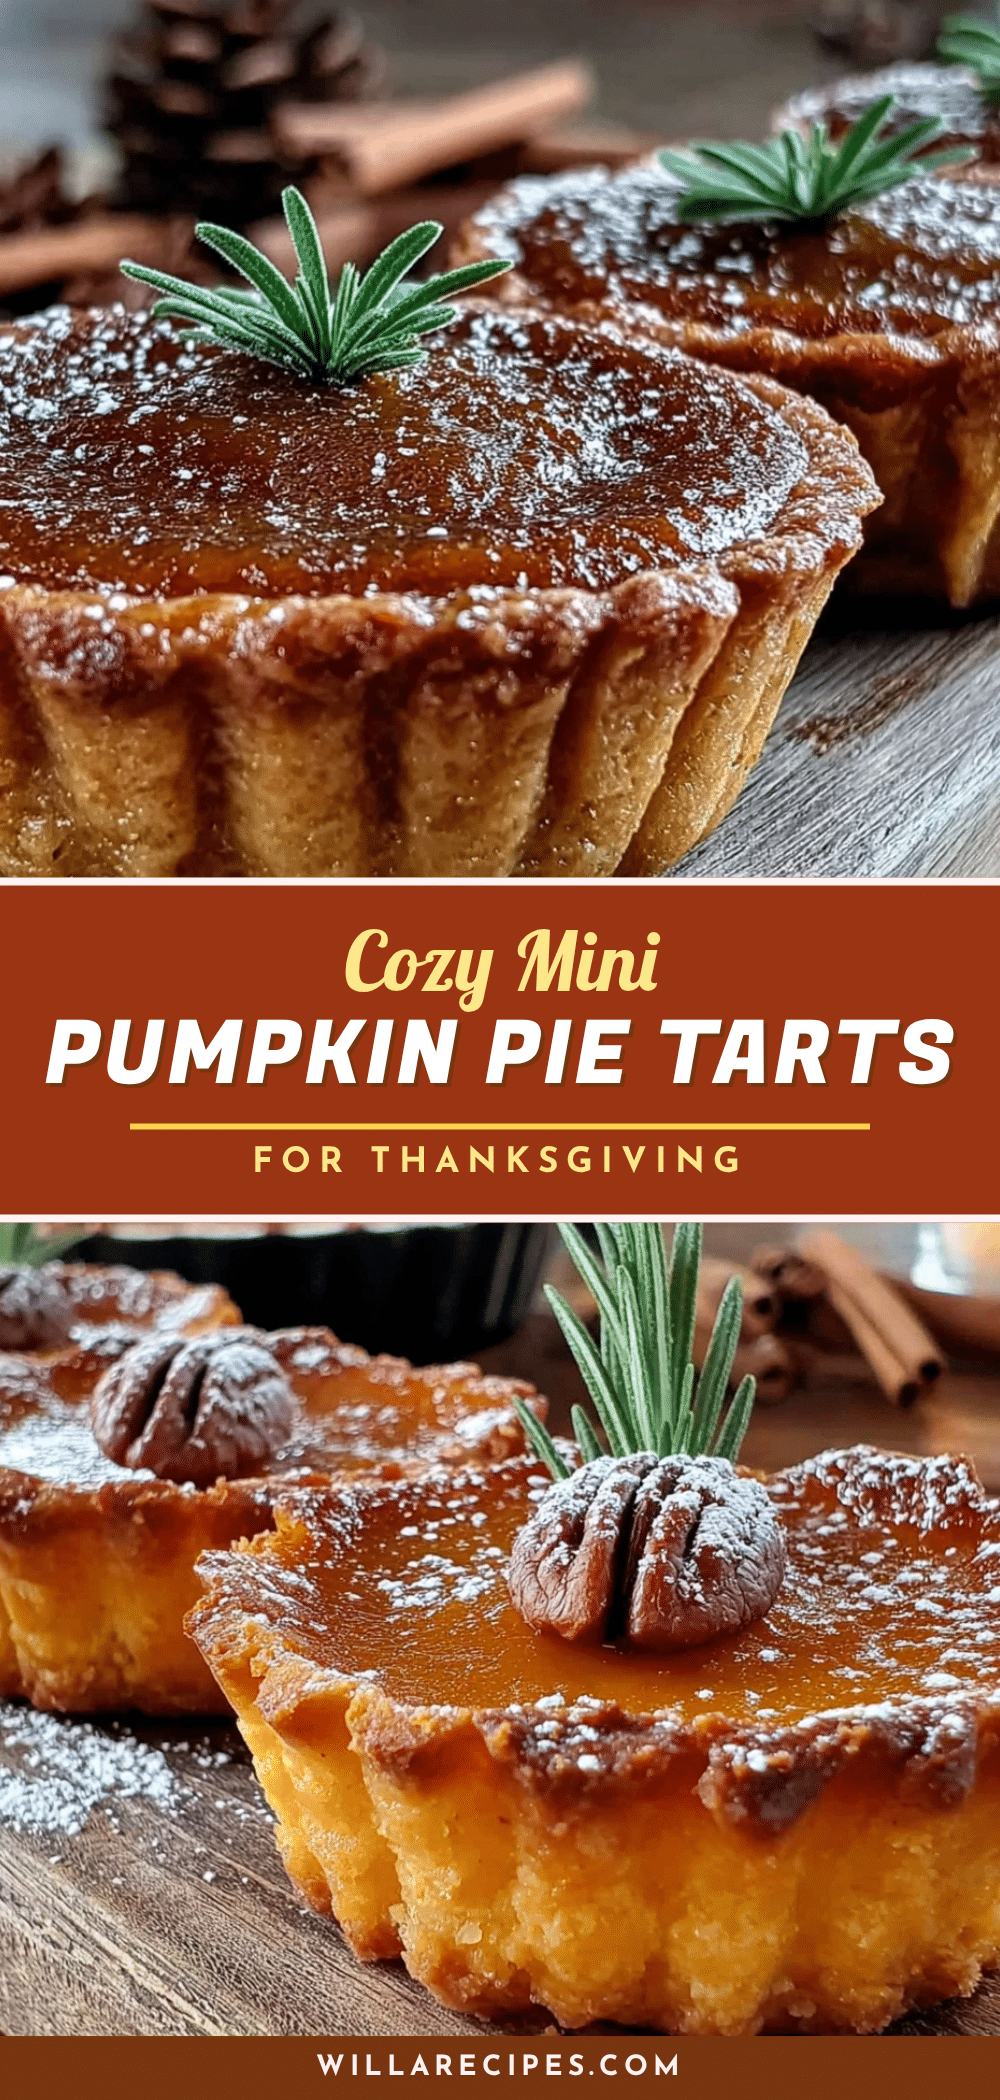
Best Mini Pumpkin Pie Tarts for Thanksgiving Dinner
These mini pumpkin pie tarts are the perfect individual dessert for Thanksgiving. With a buttery, flaky crust and a silky smooth pumpkin filling made with a secret cream cheese ingredient, they’re quick, easy, and guaranteed to impress.
- Prep Time: 15 minutes
- Cook Time: 30 minutes
- Total Time: 45 minutes
- Yield: 12 servings 1x
- Category: Dessert
- Cuisine: American
Ingredients
- 1 package (14 ounces) refrigerated pie crusts (makes 12 tarts)
- 1 tablespoon unsalted butter, melted
- 1 tablespoon granulated sugar
- 1 cup (240g) pumpkin puree (not pumpkin pie filling)
- 1/2 cup (100g) granulated sugar
- 1/4 cup (50g) light brown sugar, packed
- 2 large eggs, room temperature
- 1/2 cup (120ml) heavy cream (or evaporated milk for a lighter version)
- 2 ounces (56g) cream cheese, softened
- 1 teaspoon vanilla extract
- 1 1/2 teaspoons pumpkin pie spice
- 1/4 teaspoon salt
- 1/2 cup (120ml) heavy cream, cold (for whipped cream)
- 1 tablespoon powdered sugar
- 1/2 teaspoon vanilla extract
- Ground cinnamon or nutmeg, for dusting
Instructions
- Preheat your oven to 375°F (190°C). Position the rack in the center of the oven. Lightly grease your muffin tin with butter or non-stick spray.
- Let the refrigerated pie crusts sit at room temperature for about 15 minutes. Unroll them onto a lightly floured surface. If they seem thick, roll them out just a tiny bit thinner, about 1/8 inch. Using a 3-inch cutter, cut out 12 circles. You might need to gather and re-roll the scraps to get all 12.
- Gently press each circle into a cup of the muffin tin, making sure it goes all the way to the bottom and up the sides. Don’t stretch the dough. Prick the bottoms a few times with a fork. Brush the edges with melted butter and sprinkle with a pinch of sugar.
- Bake the crusts for 8-10 minutes, until they are just starting to turn golden at the edges. Remove from the oven and let them cool slightly while you make the filling. Keep the oven on.
- In a medium bowl, beat the softened cream cheese with a whisk until smooth — about 30 seconds. Add the granulated sugar and brown sugar, and whisk until combined. Add the eggs one at a time, whisking well after each. Then add the pumpkin puree, heavy cream, vanilla, pumpkin pie spice, and salt. Whisk until everything is smooth and silky.
- Pour the filling into each pre-baked shell, filling them almost to the top — about 3 tablespoons each. Tap the pan gently on the counter to release any air bubbles.
- Bake at 375°F (190°C) for 18-22 minutes. The edges should be set and the center jiggles just slightly. A toothpick inserted near the center should come out mostly clean with just a tiny bit of moisture.
- Let the tarts cool in the pan for 10 minutes. Then carefully run a knife around the edges and lift them out onto a cooling rack. Let them cool completely — at least 30 minutes.
- In a chilled bowl, whip the cold heavy cream, powdered sugar, and vanilla until soft peaks form. About 2-3 minutes with an electric mixer.
- Top each tart with a dollop of whipped cream and a dusting of cinnamon or nutmeg. Serve at room temperature or slightly warm.
Notes
Don’t skip the pre-bake of the crusts to avoid sogginess. Use room temperature ingredients for a smooth filling. If the crust edges brown too quickly, tent with foil. Let tarts cool completely before serving to allow the filling to set.
Nutrition
- Serving Size: 1 tart
- Calories: 185
- Sugar: 12
- Sodium: 180
- Fat: 10
- Saturated Fat: 5
- Carbohydrates: 22
- Fiber: 2
- Protein: 3
Keywords: mini pumpkin pie tarts, Thanksgiving dessert, pumpkin tarts, individual pumpkin pie, easy pumpkin dessert


