I had a very specific, very stubborn position on chocolate lava cakes for years. They were a restaurant dessert, period. Something you ordered on a date night or a birthday, something that arrived at the table with a little bit of ceremony and a price tag that made you wince just a little. I figured the whole molten center thing was a trick you needed fancy equipment and a pastry chef’s patience to pull off at home. So I never tried. Not once.
Then, last December, a Tuesday night, the kind of cold that seeps through the windows. My neighbor, a woman named Clara who gardens in November and has strong opinions about pie crust, texted me a photo. It was a single ramekin, cracked on the rim, containing what looked like a small, perfect volcano of chocolate. The caption just said, “I made these for myself. Changed my life.”
Honestly, I laughed. But I also drove over. She handed me a warm ramekin and a spoon, and I took that first bite. The outer cake was this delicate, almost ethereal structure, and then the center just… broke. Warm, dark chocolate flowed out, not too sweet, ridiculously rich. I sat there on her slightly lumpy couch, eating a molten chocolate lava cake for two (well, for one, in that moment), and I had to admit I was completely wrong. This wasn’t a restaurant trick. It was a Tuesday night miracle. And I’ve been making my own version ever since, especially when I need that cozy, “just for us” feeling.
Why You’ll Love This Recipe
This isn’t just another dessert recipe. This is the one that changes your mind about what you can pull off in your own kitchen on a random weeknight. Let me tell you why this version works so well.
- Quick & Easy: From mixing bowl to table in about 15 minutes. No stand mixer, no complicated techniques, just a whisk and a few bowls. Perfect for those moments when a craving hits hard and fast.
- Simple Ingredients: You probably have most of this in your pantry right now. Butter, chocolate, eggs, sugar, a little flour. No fancy extracts or hard-to-find items. It’s the kind of recipe that saves you when you need it most.
- Perfect for Two: This recipe is scaled intentionally small. No leftovers, no temptation to eat four cakes. It’s intimate, it’s special, and it feels like a little secret you’re sharing.
- Crowd-Pleaser: I’ve served these to friends who “don’t really like chocolate” and watched them scrape the ramekin clean. The texture is just so satisfying—that contrast between the fluffy cake and the liquid center gets everyone.
- Unbelievably Delicious: The flavor is deep, dark, and complex. It’s not a sugary bomb. The quality of the chocolate really shines here, and the slight bitterness from the cocoa powder balances everything perfectly.
What makes this recipe different from all the others? It’s the timing, honestly. I’ve tested this dozens of times to find that perfect sweet spot where the outside is set and the inside is still gloriously runny. No guessing, no praying to the dessert gods. You’ll get it right the first time.
This is the kind of dessert that makes you close your eyes after that first bite. It’s comfort, reimagined as something elegant and simple all at once. Perfect for a cozy night in, an anniversary, or just because it’s Tuesday.
What Ingredients You Will Need
This recipe uses simple, everyday ingredients that come together to create something truly special. The magic is in the technique, not in a long shopping list. Each ingredient plays a crucial role in building that perfect texture and deep chocolate flavor.
- 3.5 ounces (100g) high-quality dark chocolate (60-70% cacao), roughly chopped – This is the star of the show. Don’t use chocolate chips, as they often have stabilizers that affect melting. I really like using a bar of Guittard or Lindt for the best flavor and melt. The quality of your chocolate directly impacts the final taste, so splurge a little here.
- 4 tablespoons (60g) unsalted butter, cut into small cubes – Butter adds richness and helps create that tender, cake-like exterior. Make sure it’s unsalted so you can control the salt level. Cut it into small cubes so it melts evenly with the chocolate.
- 1 large egg + 1 large egg yolk, at room temperature – The whole egg gives structure, while the extra yolk adds incredible richness and helps create that fudgy, almost pudding-like texture around the center. Room temperature eggs are important here—they emulsify much better into the batter, giving you a smoother, more consistent result.
- 3 tablespoons (35g) granulated sugar – Just enough to sweeten the cake without overwhelming the chocolate’s natural bitterness. It also helps create that slightly crisp, shiny top that cracks beautifully when you dig in.
- 1 tablespoon (8g) all-purpose flour – A very small amount. This is what gives the cake just enough structure to hold its shape while the center stays liquid. Too much flour and you’ll have a solid chocolate muffin. Too little, and it won’t hold together at all.
- 1 tablespoon (5g) unsweetened cocoa powder, plus more for dusting the ramekins – The cocoa powder intensifies the chocolate flavor without adding extra fat or sugar. It’s also what you’ll use to coat the buttered ramekins, which helps the cakes release cleanly and adds a little extra chocolate hit to the outside.
- Pinch of flaky sea salt (like Maldon) – This is optional but highly recommended. A tiny sprinkle on top right before serving balances the sweetness and makes the chocolate flavor pop. It’s a small detail that makes a big difference.
Substitution Notes: For a dairy-free version, you can use a high-quality vegan butter stick (like Miyoko’s) in place of the dairy butter. The texture will be slightly different but still delicious. If you’re out of dark chocolate, you can use semi-sweet chocolate chips in a pinch, just know the result will be a bit sweeter and the texture might be slightly less smooth.
Equipment Needed
You don’t need a lot of fancy gear for this recipe, which is part of its charm. Here’s what you’ll actually use:
- Two 6-ounce (180ml) ramekins – This is the perfect size for individual lava cakes. If you only have larger ramekins, you can still use them, but the cakes will be thinner and will bake faster. I found a set of four at a thrift store for three dollars, and they work perfectly.
- Small baking sheet – Placing the ramekins on a baking sheet makes it easier to get them in and out of the oven, and it catches any potential overflow.
- Medium microwave-safe bowl or small saucepan – For melting the chocolate and butter. I prefer the microwave for speed, but a double boiler works beautifully if you’re patient.
- Whisk – A simple wire whisk is all you need to combine the eggs and sugar and then fold everything together.
- Pastry brush (optional but helpful) – For buttering the ramekins. You can also use a paper towel or your fingers, but a brush gives a nice, even coating.
- Measuring cups and spoons – Accuracy matters in a small batch recipe, so use proper measuring tools.
- Small spatula or spoon – For scraping every last bit of batter into the ramekins.
If you don’t have ramekins, you can use a muffin tin. Just butter and cocoa the cups well, and reduce the baking time by a minute or two since they’ll be slightly smaller. It’s not quite as elegant, but it works in a pinch.
Preparation Method
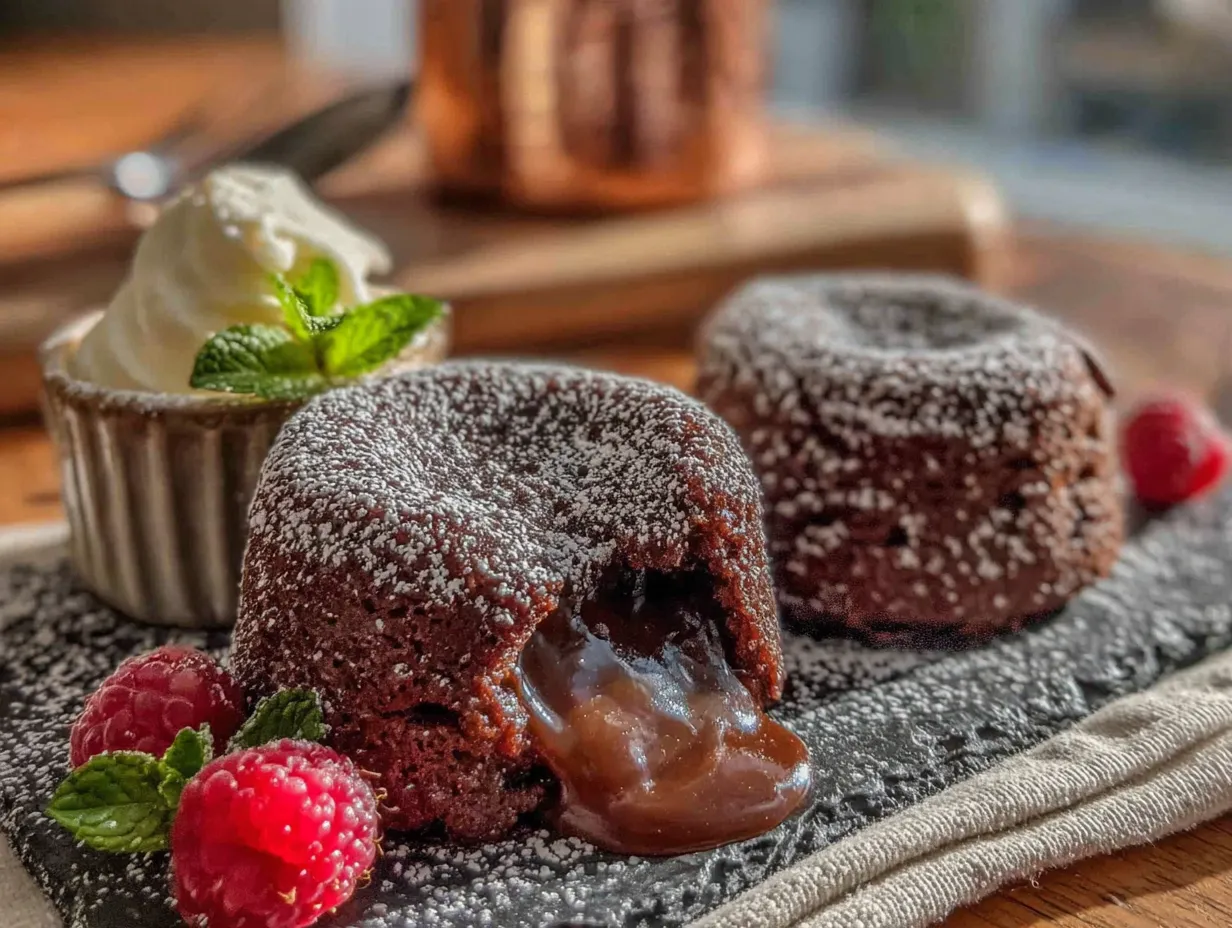
This is where the magic happens. Follow these steps carefully, and you’ll have perfect molten lava cakes every single time. Trust me on the timing—it’s everything.
- Preheat and prep your ramekins. First, preheat your oven to 425°F (220°C). While it’s heating up, generously butter the inside of two 6-ounce ramekins. Make sure you get every nook and cranny, especially the bottom edges. Then, add a teaspoon of cocoa powder to each ramekin, tilt and tap to coat the buttered surface completely, and tap out the excess. This step is non-negotiable—it ensures your cakes will slide out beautifully after baking.
- Melt the chocolate and butter. Place the chopped dark chocolate and cubed butter in a medium microwave-safe bowl. Microwave in 30-second bursts, stirring well after each burst, until the mixture is completely smooth and glossy. This usually takes about 60 to 90 seconds total. Be careful not to overheat it, or the chocolate can seize. If you’re using a double boiler, just whisk constantly over simmering water until melted. Set aside to cool slightly while you work on the eggs.
- Whisk the eggs and sugar. In a separate medium bowl, combine the whole egg, egg yolk, and granulated sugar. Whisk vigorously for about 1 to 2 minutes, until the mixture is pale, thick, and falls in a ribbon when you lift the whisk. You’re looking for a light, airy texture here—this is what gives the cake its structure. It doesn’t need to be as thick as a full-on sabayon, but it should look noticeably different from when you started.
- Combine the mixtures. Pour the slightly cooled chocolate mixture into the egg mixture. Fold gently with a spatula or whisk until just combined. Don’t overmix here, or you’ll deflate all that air you just worked into the eggs. You want a smooth, uniform batter with no streaks of egg.
- Add the dry ingredients. Sift the flour and cocoa powder directly over the batter. Yes, sifting is important—it prevents lumps and ensures even distribution. Fold everything together gently but thoroughly. The batter will be thick, glossy, and smell absolutely incredible. This is the moment where you’ll want to just eat it with a spoon, but resist the urge.
- Fill the ramekins. Divide the batter evenly between the two prepared ramekins. It should come about three-quarters of the way up the sides. Place the ramekins on a small baking sheet. If you’re not baking them immediately, you can cover and refrigerate them at this point for up to 24 hours—just add an extra minute or two to the baking time if baking from cold.
- Bake to perfection. Bake for exactly 12 to 14 minutes. The edges should look set and firm, and the center should jiggle slightly when you gently shake the ramekin. The top will look slightly puffed and cracked in places. This is the most critical part of the whole process. Underbake them, and you’ll have chocolate soup. Overbake them, and you’ll have a solid chocolate cake. Trust the jiggle test—it’s your best friend.
- Rest and serve. Remove the baking sheet from the oven and let the ramekins rest for exactly 1 minute. This brief rest allows the cake to pull away from the sides of the ramekin slightly, making it easier to unmold. Run a thin knife around the edge of each ramekin to loosen the cake. Place a small plate upside down on top of the ramekin, then carefully invert the whole thing. Give it a gentle shake, and the cake should release onto the plate. If it sticks, just give the ramekin a little tap on the bottom.
- Finish and serve immediately. Sprinkle a tiny pinch of flaky sea salt on top of each cake, if you like. Serve immediately while the center is still warm and flowing. This dessert waits for no one, and honestly, why would you want it to?
Cooking Tips & Techniques
I’ve made this recipe more times than I can count, and I’ve definitely learned a few things the hard way. Here are my best tips for getting it right every time.
The jiggle test is everything. I cannot stress this enough. The first time I made these, I was so nervous I overbaked them by two minutes. The center was still moist but completely set. They were still good, don’t get me wrong, but they weren’t lava cakes. Now, I set a timer for 11 minutes and start checking. When the edges look firm and the center wobbles like a gentle wave, they’re done. You’ll get a feel for it after one or two tries.
Don’t skip the room temperature eggs. This is one of those tips that sounds fussy but actually matters. Cold eggs don’t emulsify as well into the warm chocolate mixture, which can lead to a denser, less tender cake. Just leave your eggs on the counter for 30 minutes before you start, or place them in a bowl of warm water for 5 minutes if you’re in a hurry.
Butter and cocoa the ramekins thoroughly. I learned this lesson the messy way. I once rushed through the prepping step, and my cake stuck to the ramekin so badly I had to serve it in a bowl with a spoon. It still tasted amazing, but it was not the elegant presentation I was going for. Take the extra 30 seconds to really coat every surface.
You can make the batter ahead of time. This is a game-changer for entertaining. You can prepare the batter, fill the ramekins, cover them with plastic wrap, and refrigerate for up to 24 hours. When you’re ready to bake, just add about 2 minutes to the baking time. Your guests will think you’re a culinary genius.
Use good chocolate. This is not the place for bargain-brand chocolate. The flavor of these cakes is almost entirely dependent on the chocolate you use. A good-quality bar with 60 to 70 percent cacao will give you a deep, complex, not-too-sweet result. I’ve tried it with cheaper chocolate, and the difference is night and day.
Variations & Adaptations
Once you’ve mastered the basic recipe, there are so many ways to make it your own. Here are a few of my favorite variations.
Flavor Variations:
- Mint Chocolate: Add 1/4 teaspoon of peppermint extract to the egg mixture. The cool mint pairs beautifully with the dark chocolate. It’s like a thin mint in cake form.
- Orange & Spice: Add 1 teaspoon of orange zest and a pinch of cinnamon to the dry ingredients. The citrus brightens the chocolate, and the cinnamon adds a warm, cozy note. This is my go-to winter variation.
- Spiked Lava Cake: Add 1 tablespoon of your favorite liqueur to the chocolate mixture after melting. Grand Marnier, Kahlúa, or even a good bourbon all work wonderfully. Just reduce the resting time by 30 seconds to account for the extra liquid.
Dietary Adaptations:
- Gluten-Free: Simply swap the all-purpose flour for a gluten-free 1-to-1 baking flour blend. I’ve tested this with Bob’s Red Mill, and the texture is almost identical. Just make sure your blend contains xanthan gum for structure.
- Dairy-Free: Use a high-quality vegan butter stick and a dairy-free dark chocolate. The texture will be slightly less tender, but the flavor is still fantastic.
Method Variations: If you don’t have ramekins, you can bake these in a well-buttered muffin tin. Fill each cup about three-quarters full and bake for 10 to 12 minutes. They won’t be as tall, but they’ll still have that glorious molten center. You can also try baking them in small oven-safe coffee cups for a fun, casual presentation.
Serving & Storage Suggestions
These lava cakes are best enjoyed warm, straight from the oven. The contrast between the warm, flowing center and the tender cake is a fleeting pleasure, so don’t let them sit around.
Serving Ideas: I like to serve each cake on a small plate with a dollop of lightly sweetened whipped cream or a scoop of vanilla ice cream. The cold creaminess is the perfect counterpoint to the warm, rich chocolate. A few fresh raspberries or strawberries on the side add a bright, tart note that cuts through the richness beautifully. For a truly indulgent experience, drizzle a little warm caramel sauce over the top.
Storage: These cakes are really best eaten fresh. However, if you have leftovers (unlikely, but possible), you can cover the ramekins with plastic wrap and refrigerate for up to 2 days. To reheat, microwave them in 15-second bursts until the center is warm and flowing again. The texture won’t be quite as perfect as fresh-baked, but it’s still a very good dessert.
Freezing: You can freeze the unbaked batter in the ramekins. Just wrap them tightly in plastic wrap and then foil. They’ll keep for up to 3 months. To bake from frozen, add about 5 to 7 minutes to the baking time and keep a close eye on the jiggle test. The flavor actually deepens a little after freezing, which is a nice surprise.
Flavor Development: If you’re making the batter ahead of time, you might notice the flavor is even more intense after a day in the fridge. The chocolate and sugar have time to meld together, creating a deeper, more complex taste. It’s a happy accident that makes planning ahead even more rewarding.
Nutritional Information & Benefits
Let’s be honest—this is a decadent dessert, not a health food. But that doesn’t mean it can’t have a place in a balanced diet. Here’s a rough breakdown of what you’re looking at per serving (one cake).
| Nutrient | Amount Per Serving |
|---|---|
| Calories | ~380 |
| Fat | 26g |
| Saturated Fat | 15g |
| Carbohydrates | 32g |
| Fiber | 3g |
| Sugar | 24g |
| Protein | 7g |
Dark chocolate is actually a source of antioxidants, particularly flavonoids, which can support heart health. It also contains iron, magnesium, and zinc. The eggs provide high-quality protein and healthy fats. So while this isn’t a salad, it’s not empty calories either. It’s a treat that nourishes the soul, and sometimes that’s exactly what you need.
Dietary Considerations: This recipe is naturally vegetarian. For a gluten-free version, use a gluten-free flour blend. For a dairy-free version, use vegan butter and dairy-free chocolate. It contains eggs and dairy, so it’s not suitable for a vegan diet.
Conclusion
So there you have it. The dessert that changed my mind about what’s possible in a home kitchen. These molten chocolate lava cakes for two are proof that you don’t need a restaurant kitchen or a pastry chef’s diploma to create something truly special. You just need good chocolate, a little patience, and the willingness to trust that jiggle test.
I love this recipe because it feels like a secret weapon. It’s impressive enough for a special occasion but simple enough for a random Tuesday night. It’s intimate, it’s indulgent, and it’s absolutely worth every single bite. Whether you’re making it for a partner, a friend, or just for yourself (no judgment here), I hope you love it as much as I do.
Now I want to hear from you! Have you tried making lava cakes before? Did this recipe change your mind? Leave a comment below and let me know how yours turned out. And if you come up with a brilliant variation, please share it—I’m always looking for new ideas. Happy baking, friends!
Frequently Asked Questions
Can I use milk chocolate instead of dark chocolate?
You can, but the result will be much sweeter and the center might not be as runny. Milk chocolate has a different fat content and more sugar, which can affect the texture. If you do use milk chocolate, reduce the sugar in the recipe by about 1 tablespoon.
Why did my lava cake not have a molten center?
This is almost always a matter of overbaking. The edges should be set, but the center should still jiggle when you shake the ramekin. Next time, try reducing your baking time by 1 to 2 minutes. Every oven is different, so keep a close eye on them.
Can I make this recipe in a microwave?
I don’t recommend it. The texture will be completely different—more like a mug cake than a delicate lava cake. The oven is really the best tool for getting that perfect contrast between the set exterior and the liquid center.
How do I know when the ramekins are properly buttered and dusted?
You should see a thin, even coating of cocoa powder on all the interior surfaces. It should look like a light dusting of snow. If you see any bare spots, add a little more butter and cocoa. This step is crucial for easy unmolding.
Can I double this recipe for more people?
Absolutely. This recipe scales perfectly. Just double all the ingredients and bake in four ramekins. The baking time should remain about the same, but always rely on the jiggle test to determine doneness. You might need to bake in two batches if your oven can’t fit all the ramekins at once.
Pin This Recipe!
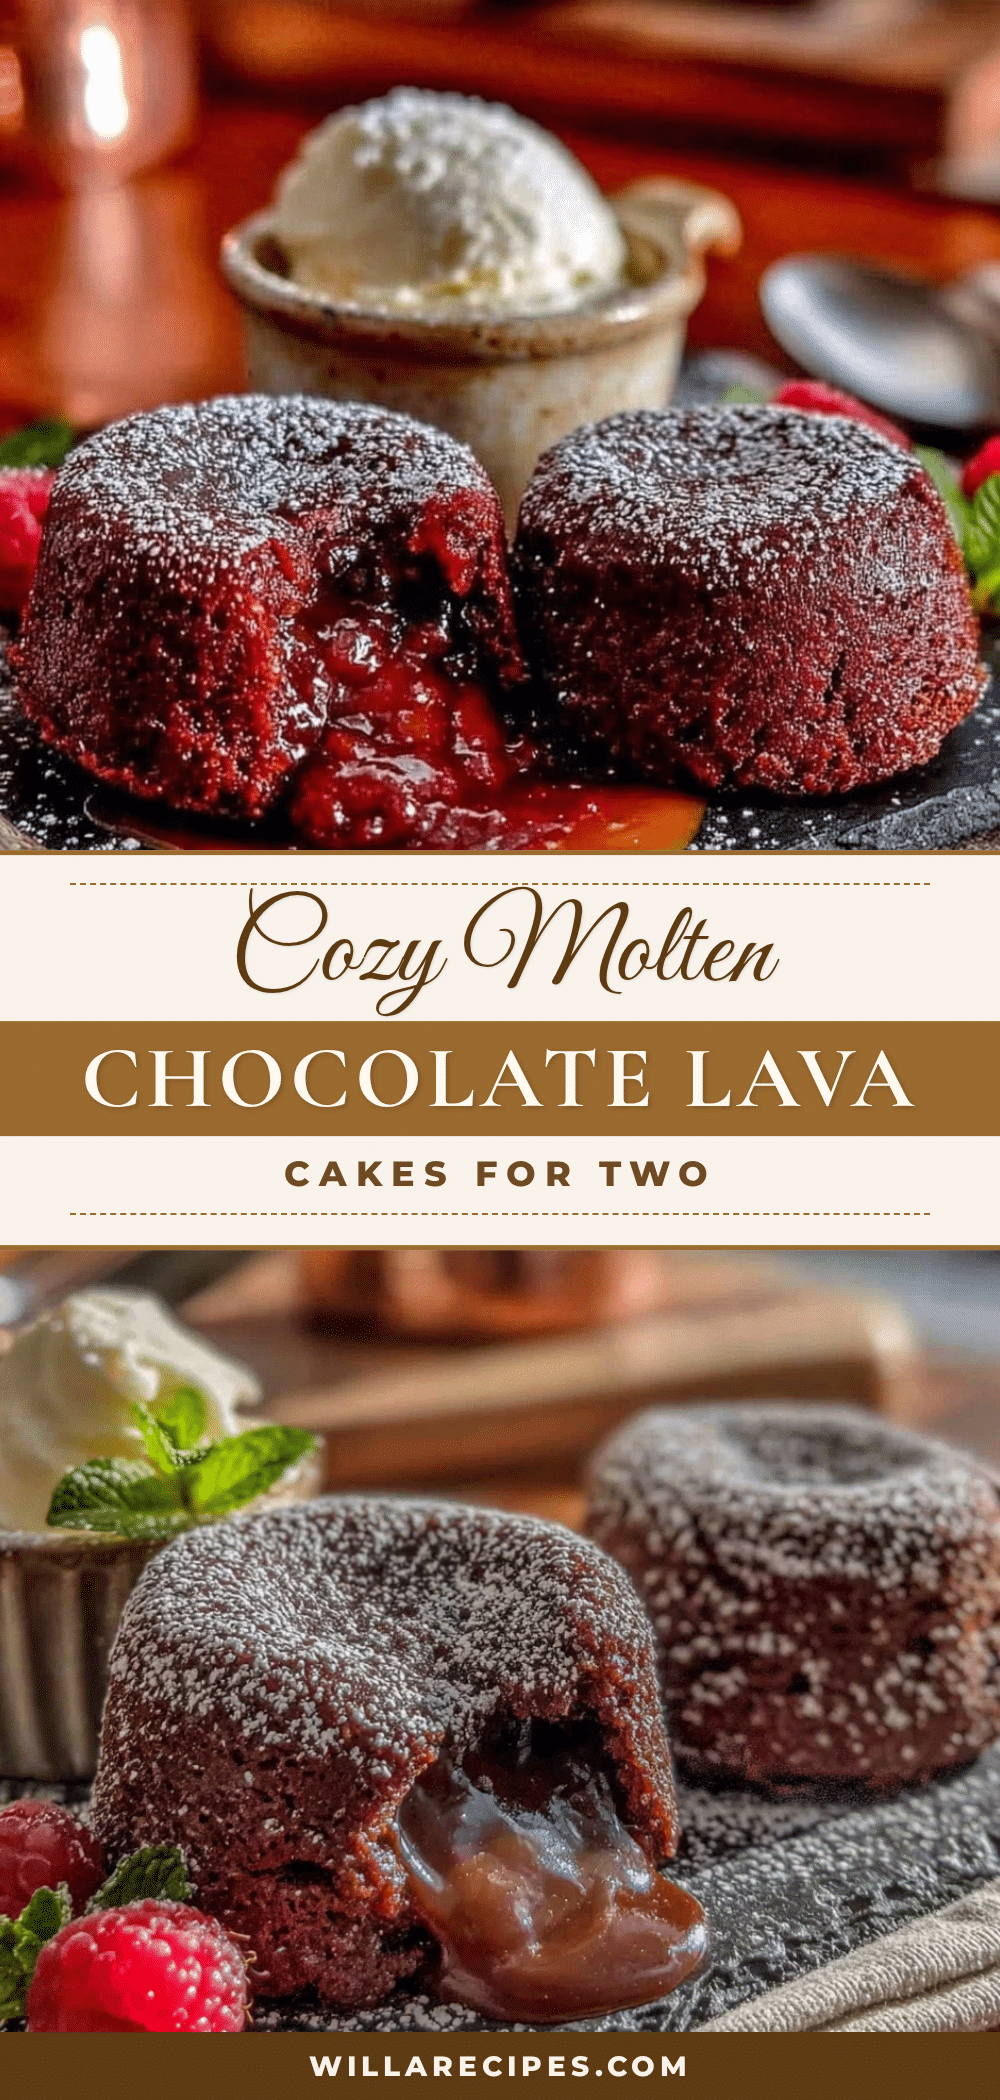
Best Molten Chocolate Lava Cakes for Two – Easy 15-Minute Dessert
Rich, decadent molten chocolate lava cakes for two that come together in just 15 minutes. Perfect for a cozy night in or a special occasion, with a perfectly runny center every time.
- Prep Time: 5 minutes
- Cook Time: 12-14 minutes
- Total Time: 17-19 minutes
- Yield: 2 servings 1x
- Category: Dessert
- Cuisine: American
Ingredients
- 3.5 ounces (100g) high-quality dark chocolate (60-70% cacao), roughly chopped
- 4 tablespoons (60g) unsalted butter, cut into small cubes
- 1 large egg + 1 large egg yolk, at room temperature
- 3 tablespoons (35g) granulated sugar
- 1 tablespoon (8g) all-purpose flour
- 1 tablespoon (5g) unsweetened cocoa powder, plus more for dusting the ramekins
- Pinch of flaky sea salt (like Maldon)
Instructions
- Preheat your oven to 425°F (220°C). Generously butter the inside of two 6-ounce ramekins, then add a teaspoon of cocoa powder to each, tilt and tap to coat, and tap out the excess.
- Place the chopped dark chocolate and cubed butter in a medium microwave-safe bowl. Microwave in 30-second bursts, stirring well after each, until completely smooth and glossy (about 60-90 seconds). Set aside to cool slightly.
- In a separate medium bowl, combine the whole egg, egg yolk, and granulated sugar. Whisk vigorously for 1-2 minutes until pale, thick, and falls in a ribbon when you lift the whisk.
- Pour the slightly cooled chocolate mixture into the egg mixture. Fold gently with a spatula until just combined.
- Sift the flour and cocoa powder directly over the batter. Fold gently but thoroughly until smooth and glossy.
- Divide the batter evenly between the two prepared ramekins (about three-quarters full). Place on a small baking sheet.
- Bake for exactly 12-14 minutes. The edges should look set and firm, and the center should jiggle slightly when you gently shake the ramekin.
- Remove from the oven and let rest for exactly 1 minute. Run a thin knife around the edge of each ramekin to loosen the cake.
- Place a small plate upside down on top of the ramekin, then carefully invert. Give it a gentle shake to release the cake.
- Sprinkle a tiny pinch of flaky sea salt on top of each cake, if desired. Serve immediately.
Notes
The jiggle test is everything—when edges look firm and center wobbles like a gentle wave, they’re done. Don’t skip room temperature eggs for best texture. Butter and cocoa the ramekins thoroughly to prevent sticking. Batter can be made ahead and refrigerated for up to 24 hours (add 2 minutes to baking time). Use good quality chocolate (60-70% cacao) for best results.
Nutrition
- Serving Size: 1 cake
- Calories: 380
- Sugar: 24
- Fat: 26
- Saturated Fat: 15
- Carbohydrates: 32
- Fiber: 3
- Protein: 7
Keywords: molten chocolate lava cake, lava cake for two, easy dessert, chocolate dessert, 15-minute dessert, romantic dessert


