My neighbor, Mrs. Kowalski, watched me struggle with a batch of collapsing macarons one sweltering July afternoon and didn’t say anything at first. Then she shuffled back inside her house and returned with a small, crinkled index card, the edges soft from years of use. “Try these,” she said, her accent still thick after forty years in the country. “You can’t mess them up. You put them in the oven, turn it off, and forget about them. That’s the whole trick.” I was skeptical, honestly. I mean, meringues are fussy things, right? They demand perfect humidity, precise temperatures, and the patience of a saint.
But these “Forgotten Cookies” were different. They were the opposite of everything I thought I knew about baking. You whip up a simple meringue, dollop it on a tray, slide it into a preheated oven, and then—this is the wild part—you turn the oven off and walk away. You forget them. The residual heat slowly dries them out overnight, creating these impossibly light, airy pillows that shatter when you bite into them. No fuss, no stress, no watching through the oven door like a hawk.
I made a mess of my kitchen that first time, got meringue on the cupboard door, and accidentally used salted butter instead of unsalted for something else entirely. But those cookies? They came out perfect. Mrs. Kowalski passed away two years ago, but every time I make these for a potluck or a family dinner, I think about her standing in her doorway, nodding with satisfaction. Maybe you’ve been there—staring at a recipe that seems too simple to actually work, but trusting it anyway because someone you trusted handed it to you. That’s exactly what these cookies are. A little piece of trust, baked into something sweet.
Why You’ll Love This Recipe
Let me tell you, after testing this recipe for a dozen different gatherings, from my niece’s birthday party to a last-minute book club meeting, I understand exactly why these cookies have been a family secret for generations. They are the ultimate crowd-pleaser for hosts who want to impress without the stress.
- Completely No-Bake Effort: You literally turn off the oven and walk away. The oven does all the work while you sleep or prep for your party. No hovering, no checking, no worrying.
- Pantry Staples Only: You likely have everything in your kitchen right now. Eggs, sugar, vanilla, and a pinch of salt. That’s it. No special trips to the store required.
- Perfect for Dinner Parties and Potlucks: These cookies are light, elegant, and naturally gluten-free. They’re the perfect end to a heavy meal, and guests always ask for the recipe.
- Unbelievably Delicious Texture: The outside is crisp and delicate, while the inside stays slightly chewy, almost like a marshmallow. The texture combination is next-level comfort food.
- Crowd-Pleaser Guaranteed: I’ve served these to kids who usually only eat chocolate chip cookies and to adults who claim they don’t eat dessert. Every single person goes back for seconds.
What makes this recipe different from the rest? It’s the technique of using the residual oven heat. Most meringue recipes require hours of low-temperature baking, but this method is foolproof. I’ve tested it in gas ovens, electric ovens, and even a temperamental convection oven at a friend’s cabin. It works every single time. Honestly, it’s the kind of recipe that makes you close your eyes after the first bite and just smile.
What Ingredients You Will Need
This recipe uses simple, wholesome ingredients to deliver bold flavor and satisfying texture without the fuss. You probably have most of these in your pantry right now, which makes these perfect for last-minute hosting.
- 3 large egg whites, room temperature (cold eggs don’t whip as well, so let them sit out for 30 minutes)
- ¾ cup (150g) granulated sugar (I prefer organic cane sugar for a cleaner taste, but any white sugar works)
- 1 teaspoon vanilla extract (use pure vanilla extract, not imitation—it makes a real difference in flavor)
- ¼ teaspoon cream of tartar (this stabilizes the meringue and helps it hold its shape; you can substitute with ½ teaspoon lemon juice if needed)
- Pinch of salt (I use fine sea salt; it balances the sweetness without making the cookies salty)
- Optional: ½ cup (80g) mini chocolate chips or finely chopped nuts (fold these in at the end for variation; I love using mini chocolate chips because they distribute evenly without sinking)
For the best results, I recommend using fresh eggs from a trusted source. Older egg whites actually whip up better and hold more volume, so if your eggs are a few days old, that’s actually perfect. I’ve made these with eggs from my local farmers’ market, and the difference in texture is noticeable—they whip up fluffier and hold their shape better.
If you’re hosting a dinner party and want to impress guests with dietary restrictions, these cookies are naturally gluten-free and dairy-free. Just make sure your chocolate chips are certified gluten-free if that’s a concern. I’ve also made these with coconut sugar instead of granulated sugar, and while the texture is slightly different (a bit more dense), the flavor is incredible—like caramel and vanilla combined.
Equipment Needed
You don’t need fancy equipment for these cookies, which is part of their charm. Here’s what you’ll need:
- Electric mixer (stand mixer or hand mixer both work; I’ve used both and prefer my stand mixer for hands-free whipping, but a hand mixer is perfectly fine)
- Large mixing bowl (make sure it’s completely clean and dry—any grease will prevent the egg whites from whipping properly)
- Baking sheet (I use a standard half-sheet pan; line it with parchment paper for easy cleanup)
- Rubber spatula (for folding in any add-ins gently)
- Cookie scoop or two spoons (for portioning the meringue; I use a small cookie scoop for uniform cookies)
- Cooling rack (optional, but helps the cookies cool completely if you’re impatient like me)
Honestly, the most important tool is your oven. Make sure it’s clean and preheated properly. I once tried making these in a friend’s oven that had a faulty temperature gauge, and the cookies came out slightly brown on the bottom. Still delicious, but not as pretty. If you’re unsure about your oven temperature, use an oven thermometer to double-check.
Preparation Method
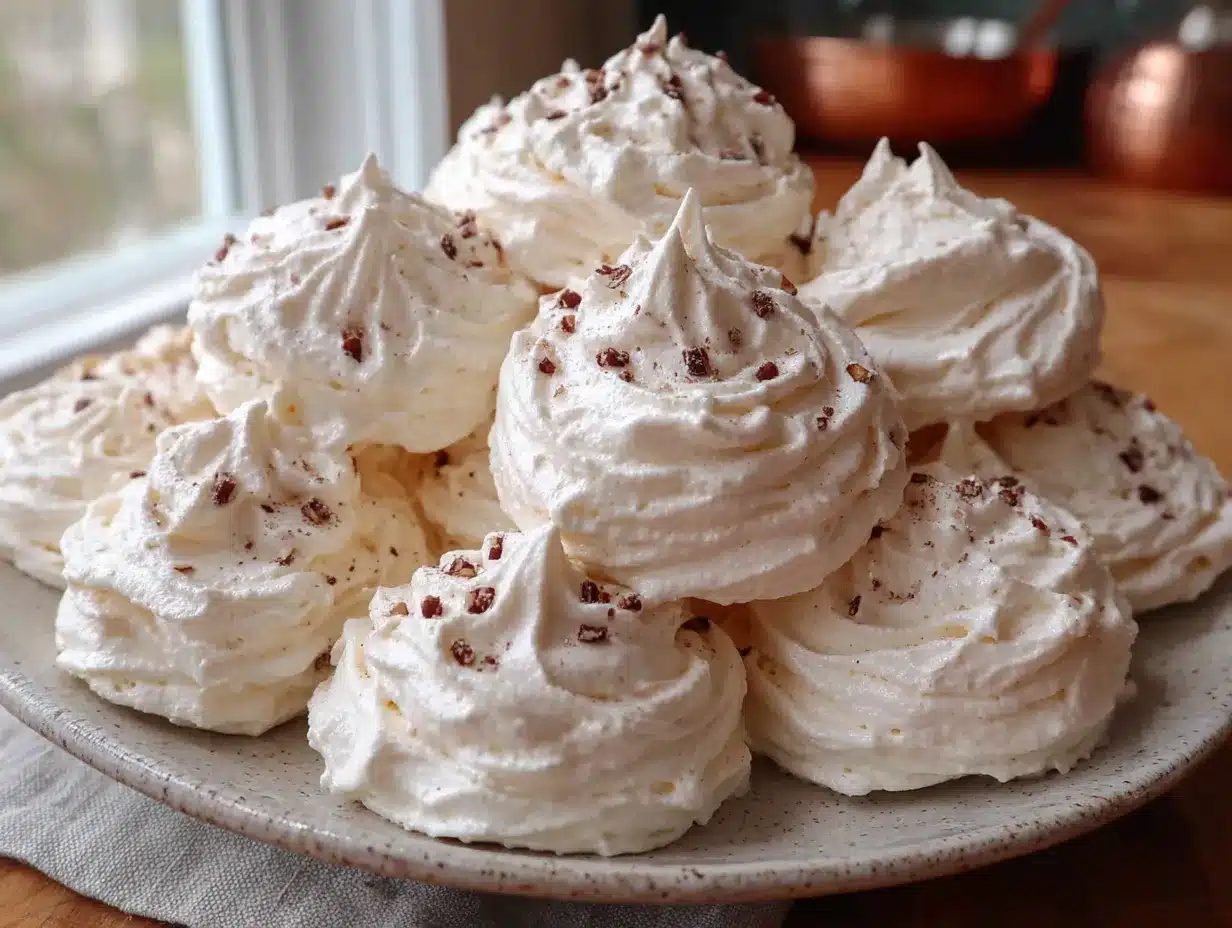
Follow these steps carefully, and you’ll have perfect forgotten cookies every time. The key is patience and attention to detail during the whipping stage.
- Preheat your oven to 350°F (175°C). Line a baking sheet with parchment paper and set it aside. Make sure your oven rack is in the middle position.
- Prepare your mixing bowl and beaters. Wipe them down with a little lemon juice or vinegar on a paper towel to remove any trace of grease. This is crucial—any fat will prevent the egg whites from whipping into stiff peaks. I learned this the hard way after a disastrous batch that never got past the frothy stage.
- Separate the eggs carefully. Make sure no yolk gets into the whites. Even a tiny bit of yolk can ruin the meringue. I separate each egg into a small bowl first, then transfer the white to the mixing bowl. That way, if one yolk breaks, you haven’t wasted all your eggs.
- Start whipping the egg whites on medium speed until they become frothy and bubbly, about 1-2 minutes. Add the cream of tartar and salt, then continue whipping.
- Gradually add the sugar, about one tablespoon at a time, while continuing to whip on medium-high speed. This slow addition is important—if you dump all the sugar in at once, the meringue won’t hold its structure. The mixture should look thick and glossy after about 3-4 minutes.
- Increase speed to high and whip until stiff, glossy peaks form. You’ll know it’s ready when you lift the beaters and the meringue stands up straight without drooping. The mixture should feel smooth and silky, not grainy. This usually takes another 3-5 minutes. Rub a little between your fingers—if it feels gritty, keep whipping.
- Add the vanilla extract and whip for another 30 seconds to incorporate it evenly. If you’re adding chocolate chips or nuts, fold them in gently with a rubber spatula now. Be careful not to deflate the meringue—use a gentle folding motion, cutting through the center and lifting from the bottom.
- Drop spoonfuls of meringue onto the prepared baking sheet, spacing them about 2 inches apart. I use a small cookie scoop for uniform cookies, but two spoons work fine. Aim for about 1.5 tablespoons per cookie. You should get about 24-30 cookies depending on size.
- Place the baking sheet in the preheated oven, then immediately turn the oven OFF. Do not open the oven door again. This is the “forgotten” part—you’re leaving them in the residual heat to dry out slowly.
- Let the cookies sit in the closed oven for at least 6 hours or overnight. I usually make them right before bed and wake up to perfectly dried meringues. The longer they sit, the crispier they get. Eight hours is ideal.
- Remove the cookies from the oven and let them cool completely on the baking sheet before transferring to an airtight container. They should lift easily off the parchment paper without sticking.
The first time I made these, I was so nervous that I kept peeking into the oven every hour. Don’t do that! Opening the door lets the heat escape and can cause the cookies to collapse. Trust the process. I promise, they’re in there working their magic.
Cooking Tips & Techniques
After making these cookies at least two dozen times, I’ve picked up a few tricks that make the process smoother and the results more consistent.
Room temperature eggs are non-negotiable. Cold egg whites don’t whip as well and won’t hold as much air. Take your eggs out of the fridge about 30 minutes before you start. If you’re in a hurry, place them in a bowl of warm water for 5 minutes.
Humidity is your enemy. Meringues are sensitive to moisture. If it’s a rainy or humid day, these cookies might take longer to dry out in the oven, or they might end up chewy instead of crisp. I’ve made that mistake on a rainy summer day, and the cookies were still delicious, just not as crunchy. If you’re in a humid climate, try leaving them in the turned-off oven for a full 12 hours.
Don’t over-whip the meringue. There’s a fine line between stiff peaks and over-whipped meringue that starts to look grainy and separate. If you see the mixture starting to look curdled or watery, you’ve gone too far. Stop immediately at the glossy, stiff peak stage.
Use parchment paper, not wax paper. Wax paper can melt in the residual heat, and silicone baking mats can make the cookies spread too much. Parchment paper is the perfect surface—non-stick and heat-safe.
Make these ahead of time for parties. These cookies are perfect for hosts because they can be made days in advance. Just store them in an airtight container at room temperature, and they’ll stay fresh for up to two weeks. I always make a double batch before Thanksgiving and Christmas—they disappear fast.
Variations & Adaptations
One of the best things about this recipe is how easy it is to customize. Here are some of my favorite variations that I’ve tested over the years.
Chocolate Mint Forgotten Cookies
Add ½ teaspoon peppermint extract along with the vanilla, and fold in ½ cup mini chocolate chips. The combination of cool mint and rich chocolate is incredible, especially during the holidays. I made these for a Christmas party last year, and they were gone within 20 minutes.
Lemon Raspberry Forgotten Cookies
Replace the vanilla with 1 teaspoon lemon extract and fold in ¼ cup freeze-dried raspberries (crushed slightly). The tartness of the raspberries balances the sweetness beautifully. This is my go-to summer variation for backyard barbecues.
Coffee Almond Forgotten Cookies
Dissolve 1 teaspoon instant espresso powder in the vanilla extract before adding it to the meringue. Fold in ¼ cup finely chopped toasted almonds. The coffee flavor adds depth, and the almonds give a lovely crunch. I serve these after dinner parties with espresso—they’re a perfect pairing.
Vegan Adaptation
Use aquafaba (the liquid from a can of chickpeas) instead of egg whites. Whip ½ cup of aquafaba with ½ teaspoon cream of tartar until stiff peaks form, then proceed with the recipe. The texture is slightly different—a bit more chewy—but still delicious. I’ve tested this for a vegan friend’s birthday, and everyone loved them.
Serving & Storage Suggestions
These cookies are best served at room temperature. They’re delicate, so handle them gently when transferring to a serving plate. I like to arrange them on a simple white platter for a clean, elegant look that works for any occasion.
For dinner parties, I serve these alongside fresh berries and a dollop of whipped cream for a light, impressive dessert. They also pair beautifully with a cup of coffee or tea—the sweetness of the meringue balances the bitterness of coffee perfectly.
If you’re making these for a potluck or picnic, pack them carefully in a single layer in a sturdy container. They’re fragile, so avoid stacking them on top of each other. I’ve learned this the hard way after arriving at a gathering with a container full of broken cookies. Still delicious, just not as pretty.
Storage: Place the cookies in an airtight container at room temperature. They’ll stay fresh for up to two weeks. Do not refrigerate them—the moisture in the fridge will make them sticky and soft. If they do get soft, you can re-crisp them by placing them in a 200°F (90°C) oven for 10 minutes, then letting them cool completely.
These cookies also freeze beautifully. Place them in a single layer in a freezer-safe container, separating layers with parchment paper. They’ll keep for up to three months. Thaw at room temperature for about 30 minutes before serving.
The flavors actually develop over time. I’ve noticed that cookies that have been stored for a few days taste even better—the vanilla flavor deepens and the texture becomes more uniformly crisp. So don’t be afraid to make them well in advance of your event.
Nutritional Information & Benefits
Here’s the estimated nutritional information for one forgotten cookie (based on 24 cookies, without add-ins):
- Calories: 35
- Fat: 0g
- Carbohydrates: 8g
- Sugar: 8g
- Protein: 1g
- Sodium: 15mg
These cookies are naturally gluten-free, dairy-free, and low in fat. They’re a great option for guests with dietary restrictions, and because they’re so light, they don’t weigh you down after a heavy meal. The egg whites provide a small amount of protein, and the sugar gives you a quick energy boost.
From a wellness perspective, I love that these cookies satisfy my sweet tooth without making me feel sluggish. They’re not health food by any means, but they’re a lighter alternative to butter-laden cookies and cakes. I feel good serving them to my family and friends, knowing they’re getting a treat that’s simple and wholesome.
Potential allergens include eggs. If you’re using the vegan aquafaba version, they’re completely allergen-friendly. Always check your chocolate chips or other add-ins for potential allergens if serving to guests with sensitivities.
Conclusion
These forgotten cookies have become a staple in my kitchen, and I honestly can’t imagine hosting a gathering without them. They’re the kind of recipe that makes you look like a hero with almost no effort—perfect for busy hosts who want to impress without spending hours in the kitchen.
I love that this recipe came from a simple conversation with a neighbor, a shared moment of kitchen frustration turned into a lifelong baking secret. Every time I make them, I’m reminded that the best recipes aren’t complicated—they’re the ones that work, the ones you can trust, the ones that let you focus on what really matters: spending time with the people you care about.
I’d love to hear how these turn out for you! Have you tried any variations? Did you serve them at a dinner party or potluck? Drop a comment below and share your experience. And if you’re looking for another crowd-pleasing dessert, try my easy lemon bars or no-bake chocolate oatmeal cookies—they’re both perfect for hosting.
Happy baking, and don’t forget to forget your cookies!
Frequently Asked Questions
Can I make these cookies in a humid climate?
Yes, but you might need to leave them in the turned-off oven for a full 12 hours to ensure they dry out completely. You can also try adding an extra tablespoon of sugar to help absorb moisture. If they come out chewy instead of crisp, just pop them back in a 200°F oven for 10 minutes to re-crisp.
Why did my meringue not whip into stiff peaks?
This usually happens because of grease or fat in the bowl or on the beaters. Make sure your equipment is completely clean and dry. Also, check that no egg yolk got into the whites. If you’re still having trouble, add an extra ¼ teaspoon of cream of tartar to help stabilize the meringue.
Can I double this recipe?
Absolutely! I double this recipe all the time for parties. Just make sure your mixing bowl is large enough to accommodate the increased volume. You might need to whip the meringue a bit longer to reach stiff peaks. Also, you’ll likely need to use two baking sheets and rotate them halfway through the resting time if your oven is small.
How do I know when the cookies are done?
After at least 6 hours in the turned-off oven, the cookies should lift easily off the parchment paper without sticking. They should feel dry and crisp on the outside, with a slight give when you press them. If they still feel soft or sticky, leave them in the oven for another hour or two.
Can I add food coloring to these cookies?
Yes! Gel food coloring works best because it doesn’t add extra liquid. Add it along with the vanilla extract and whip until evenly distributed. I’ve made pink cookies for Valentine’s Day and green ones for St. Patrick’s Day. They’re always a hit with kids and adults alike.
Pin This Recipe!
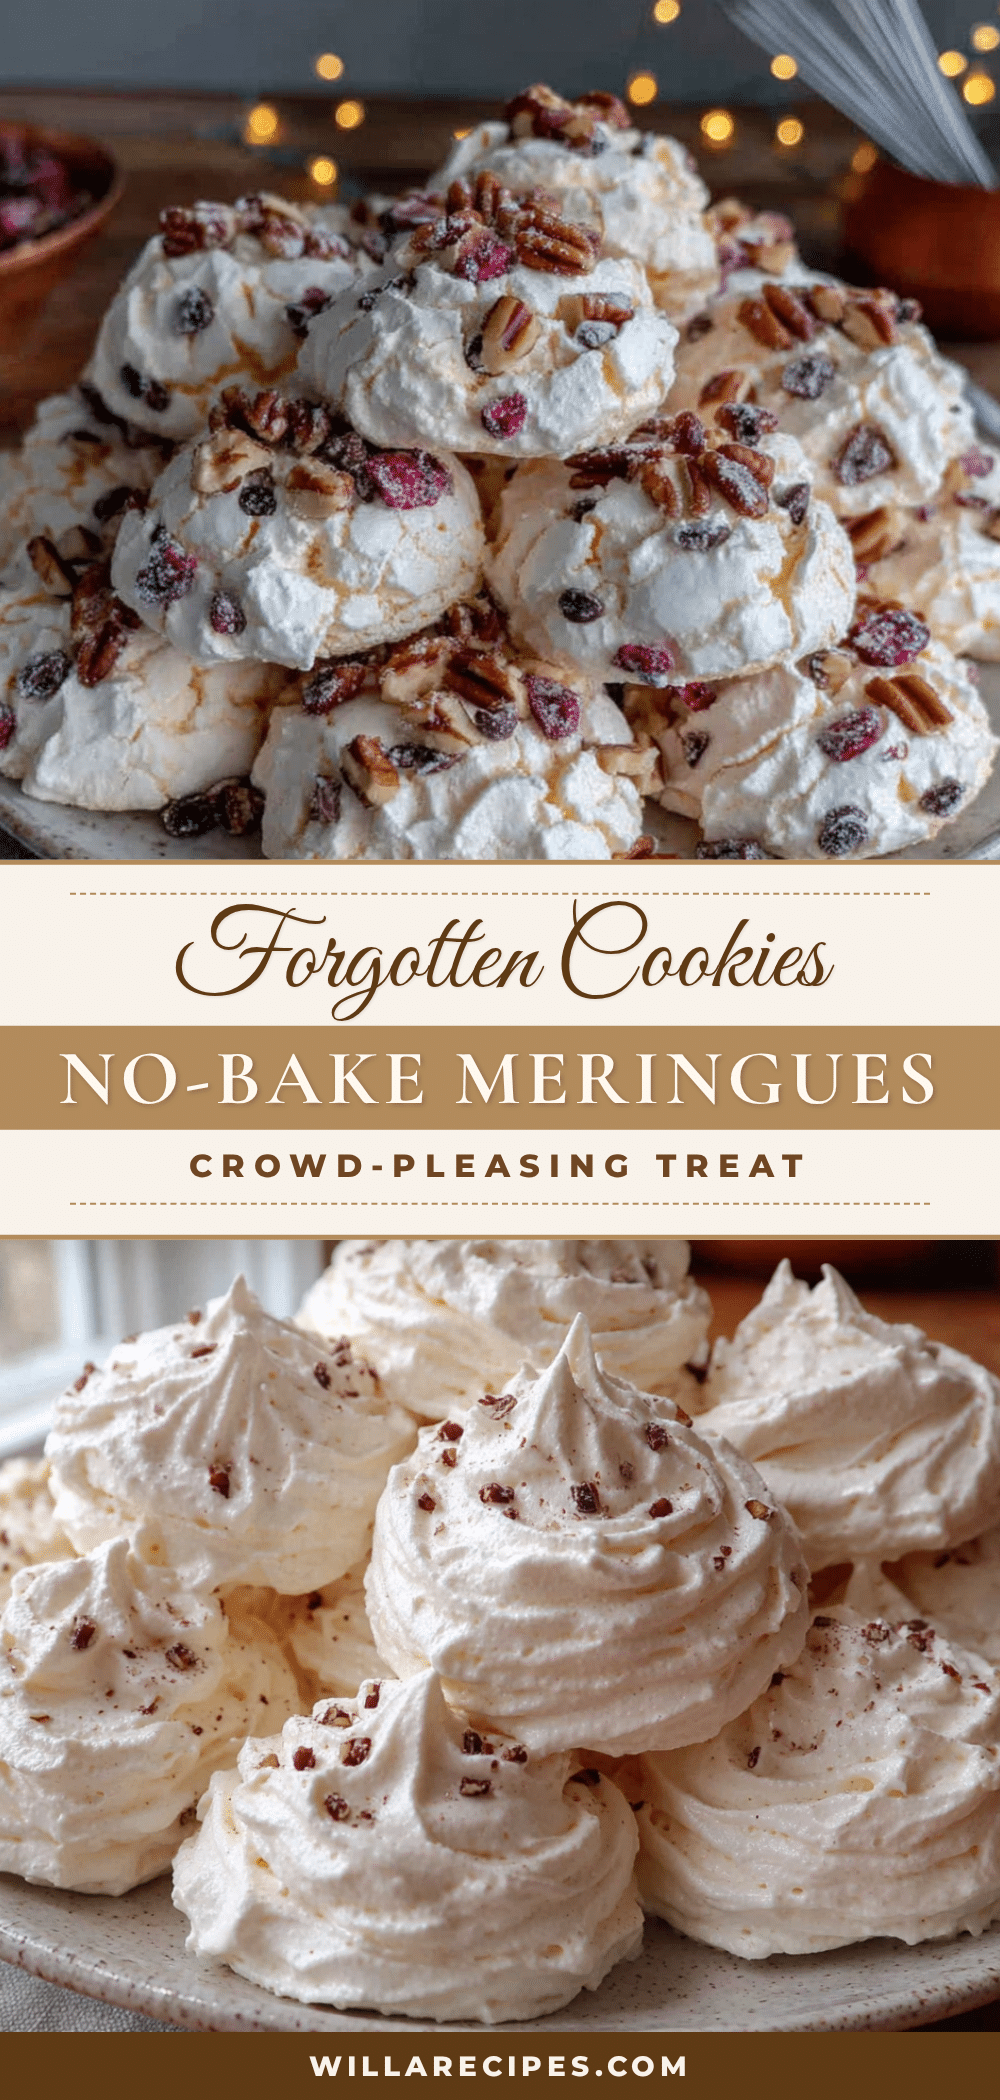
Best No-Bake Forgotten Cookies: Easy Meringue Recipe

These no-bake forgotten cookies are impossibly light, airy meringues that you simply whip up, place in a preheated oven, turn off the heat, and forget about overnight. They’re the ultimate crowd-pleaser for hosts who want to impress without the stress.
- Prep Time: 15 minutes
- Cook Time: 0 minutes (oven is turned off)
- Total Time: 6 hours 15 minutes (includes overnight resting)
- Yield: 24-30 cookies 1x
- Category: Dessert
- Cuisine: American
Ingredients
- 3 large egg whites, room temperature
- ¾ cup (150g) granulated sugar
- 1 teaspoon vanilla extract (pure, not imitation)
- ¼ teaspoon cream of tartar
- Pinch of fine sea salt
- Optional: ½ cup (80g) mini chocolate chips or finely chopped nuts
Instructions
- Preheat your oven to 350°F (175°C). Line a baking sheet with parchment paper and set it aside. Make sure your oven rack is in the middle position.
- Prepare your mixing bowl and beaters. Wipe them down with a little lemon juice or vinegar on a paper towel to remove any trace of grease.
- Separate the eggs carefully. Make sure no yolk gets into the whites. Separate each egg into a small bowl first, then transfer the white to the mixing bowl.
- Start whipping the egg whites on medium speed until they become frothy and bubbly, about 1-2 minutes. Add the cream of tartar and salt, then continue whipping.
- Gradually add the sugar, about one tablespoon at a time, while continuing to whip on medium-high speed. The mixture should look thick and glossy after about 3-4 minutes.
- Increase speed to high and whip until stiff, glossy peaks form. You’ll know it’s ready when you lift the beaters and the meringue stands up straight without drooping. This usually takes another 3-5 minutes.
- Add the vanilla extract and whip for another 30 seconds to incorporate it evenly. If you’re adding chocolate chips or nuts, fold them in gently with a rubber spatula now.
- Drop spoonfuls of meringue onto the prepared baking sheet, spacing them about 2 inches apart. Use a small cookie scoop or two spoons. Aim for about 1.5 tablespoons per cookie. You should get about 24-30 cookies.
- Place the baking sheet in the preheated oven, then immediately turn the oven OFF. Do not open the oven door again.
- Let the cookies sit in the closed oven for at least 6 hours or overnight. Eight hours is ideal.
- Remove the cookies from the oven and let them cool completely on the baking sheet before transferring to an airtight container.
Notes
Room temperature eggs are non-negotiable. Humidity is your enemy—if it’s humid, leave cookies in turned-off oven for 12 hours. Don’t over-whip the meringue. Use parchment paper, not wax paper. Make these ahead of time for parties; they stay fresh for up to two weeks in an airtight container at room temperature. Do not refrigerate. If they get soft, re-crisp in a 200°F (90°C) oven for 10 minutes.
Nutrition
- Serving Size: 1 cookie
- Calories: 35
- Sugar: 8
- Sodium: 15
- Carbohydrates: 8
- Protein: 1
Keywords: forgotten cookies, no-bake cookies, meringue cookies, easy meringue, gluten-free cookies, dairy-free cookies, egg white cookies, light dessert, party cookies, potluck dessert


