“Why can’t you just use a spoon and make them right now?” my six-year-old nephew asked, staring at a bowl of cookie dough I was about to shove in the fridge for an hour. I started to explain the science of chilling—how it solidifies the butter, how it prevents spreading, how it develops flavor. Then I stopped. Honestly? I had no good reason. I was just following rules I’d never actually tested. So I scooped, baked, and braced for flat, greasy discs. What came out of the oven were the best small-batch chocolate chip cookies I’d ever made. Gooey centers, crispy edges, and zero waiting. I learned more from that impatient kid than I did from any baking textbook. If you’ve been told you absolutely must chill your cookie dough, let me tell you—you don’t. These kid-approved small-batch chocolate chip cookies prove it. And they’re ready in under 20 minutes, which means fewer meltdowns and more “warm cookie” moments.
Why You’ll Love This Recipe
I’ve tested this recipe about fifteen times over the past three months. I wanted to be absolutely sure the no-chill thing wasn’t a fluke. It’s not. Here’s why these cookies work so well for real families:
- No Chilling Required : From bowl to oven in under 10 minutes. Perfect for after-school cravings or sudden cookie emergencies.
- Small Batch, Big Flavor : Makes exactly 8 cookies. No endless dough in your fridge, no temptation to eat raw dough for days.
- Kid-Approved Texture : Soft centers, slightly crispy edges, and just the right amount of chocolate in every bite.
- Pantry-Friendly Ingredients : You likely have everything already. No specialty flours, no obscure extracts.
- Budget-Conscious : Uses standard butter and chocolate chips. No expensive European butter required—I tested it with store-brand and it works beautifully.
What makes these different from every other no-chill cookie recipe? The ratio. I played with the butter-to-flour balance until the cookies held their shape without spreading into puddles. The brown sugar content is slightly higher than usual, which gives them that chewy texture even without resting. Plus, I add a tiny splash of milk—something I learned from a mistake when my measuring cup slipped. It actually helps the cookies stay soft for days.
These cookies are the kind that make you close your eyes after the first bite. They’re comfort food at its simplest—warm, chocolatey, and ready when you are. No stress, no fancy techniques, just honest baking that works.
What Ingredients You Will Need
This recipe uses simple, everyday ingredients. Nothing fancy, nothing expensive. Here’s what you’ll need and why each one matters:
For the Cookie Dough:
- Unsalted butter, melted (4 tablespoons, 57g) — Melted butter is key here. It creates a denser, chewier cookie compared to creaming room-temperature butter. I use unsalted so I control the salt level. If you only have salted, reduce the added salt to ⅛ teaspoon.
- Light brown sugar, packed (¼ cup, 50g) — Brown sugar adds moisture and that deep, molasses-like flavor. It also helps keep cookies soft longer. I prefer light brown sugar for a milder flavor, but dark works too if you want a more intense taste.
- Granulated sugar (2 tablespoons, 25g) — A small amount of white sugar adds just enough crispness to the edges without making the cookies crunchy all the way through.
- Large egg yolk (1 yolk, about 18g) — Using only the yolk gives richness without extra moisture that would make the dough too sticky. Save the white for scrambled eggs tomorrow.
- Vanilla extract (½ teaspoon) — Pure vanilla is worth it here. Imitation works in a pinch, but the flavor won’t be as warm and rounded.
- Whole milk (1 tablespoon, 15ml) — This is my secret ingredient. A tiny splash keeps the cookies tender and prevents them from drying out during baking. I’ve tested with 2% milk and it works fine. Almond milk also works if that’s what you have.
- All-purpose flour (¾ cup, 96g) — Standard all-purpose flour gives the best structure. Don’t substitute with bread flour or whole wheat unless you’re prepared for denser cookies. If you need gluten-free, use a 1:1 gluten-free baking flour blend.
- Baking soda (¼ teaspoon) — Helps the cookies spread just enough and gives them that slightly craggy top.
- Salt (¼ teaspoon) — Balances the sweetness. I use fine sea salt. If you use kosher salt, increase to ⅓ teaspoon.
- Semi-sweet chocolate chips (⅓ cup, 60g) — I recommend Ghirardelli or Toll House for consistent melting. If you prefer milk chocolate, use the same amount but expect sweeter cookies. Dark chocolate fans can use 60% cacao chips.
Optional Add-Ins:
- Flaky sea salt for sprinkling on top — This is not required, but it takes the cookies from good to “wow.” Just a tiny pinch on each cookie before baking.
That’s it. Eight ingredients, no weird stuff, no trips to specialty stores. You probably have everything except maybe the brown sugar, and honestly, you can sub in all white sugar if you’re desperate. The cookies will be slightly less chewy, but they’ll still be delicious.
Equipment Needed
You don’t need a stand mixer or fancy gadgets for these cookies. Here’s what actually works:
- Medium mixing bowl — Any bowl works, but a wider bowl makes mixing easier. I use a ceramic one because it doesn’t slide around.
- Whisk or fork — For mixing the wet ingredients. A fork works perfectly if you don’t want to dirty a whisk.
- Rubber spatula or wooden spoon — For folding in the flour and chocolate chips. A spatula is gentler and prevents overmixing.
- Baking sheet — A standard half-sheet pan works. No need for nonstick—just line it with parchment paper.
- Parchment paper — Essential for easy cleanup and preventing sticking. Silicone baking mats also work, but cookies spread slightly more on them.
- Cookie scoop or tablespoon — A #40 cookie scoop (about 1.5 tablespoons) gives evenly sized cookies. If you don’t have one, use a regular tablespoon and level it off.
- Cooling rack — Optional but helpful. If you don’t have one, let cookies cool on the baking sheet for 5 minutes, then transfer to a plate.
- Small microwave-safe bowl — For melting butter. A liquid measuring cup also works.
That’s genuinely all you need. I’ve made these in a friend’s kitchen with mismatched spoons and a warped baking sheet, and they still turned out great. Don’t let lack of fancy equipment stop you.
Preparation Method
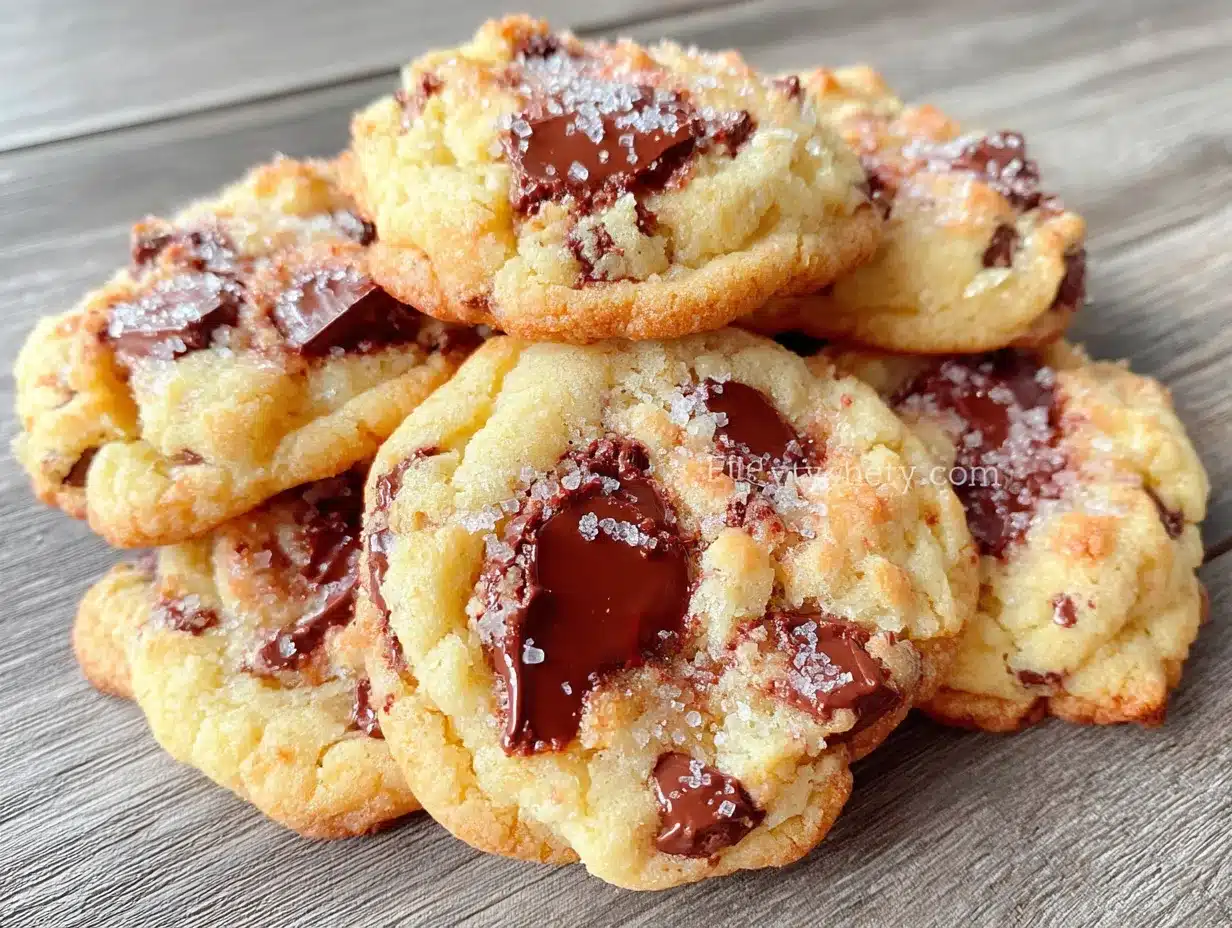
Preheat your oven to 350°F (175°C). Line a baking sheet with parchment paper. This takes 2 minutes and saves you 10 minutes of scrubbing later.
- Melt the butter. Place 4 tablespoons (57g) of unsalted butter in a microwave-safe bowl. Microwave in 15-second bursts until just melted—about 30 seconds total. Don’t let it boil. You want it liquid but not hot. Let it cool for 1 minute while you gather other ingredients.
- Mix the wet ingredients. In a medium bowl, whisk together the melted butter, ¼ cup (50g) packed light brown sugar, and 2 tablespoons (25g) granulated sugar. Whisk until smooth and slightly thickened, about 30 seconds. The mixture should look like wet sand. Add 1 large egg yolk, ½ teaspoon vanilla extract, and 1 tablespoon (15ml) whole milk. Whisk until fully combined. The mixture will be glossy and smooth.
- Add the dry ingredients. Sprinkle ¾ cup (96g) all-purpose flour, ¼ teaspoon baking soda, and ¼ teaspoon salt over the wet mixture. Use a rubber spatula to fold everything together. Stir gently until just combined—about 10 to 12 strokes. A few streaks of flour are okay. Overmixing at this stage makes tough cookies.
- Fold in the chocolate chips. Add ⅓ cup (60g) semi-sweet chocolate chips. Fold 4 to 5 times until evenly distributed. The dough will be soft and slightly sticky. That’s perfect. If it feels too sticky to handle, refrigerate for 10 minutes—but honestly, it shouldn’t need it.
- Scoop the dough. Using a cookie scoop or tablespoon, portion the dough into 8 equal balls. Each ball should be about 1.5 tablespoons (roughly 30g). Place them on the prepared baking sheet, spacing them about 2 inches apart. Don’t flatten them—they’ll spread on their own.
- Optional: Add flaky sea salt. Sprinkle a tiny pinch of flaky sea salt on top of each dough ball. This step is optional but highly recommended. It balances the sweetness and makes the cookies look bakery-quality.
- Bake. Place the baking sheet on the middle rack of your preheated oven. Bake for 9 to 11 minutes. At 9 minutes, the edges will be golden and the centers will look slightly underdone and puffy. That’s exactly what you want. For crisper cookies, bake 11 minutes. For softer cookies, pull them at 9 minutes.
- Cool on the pan. Let the cookies rest on the baking sheet for 5 minutes. They will continue to set during this time. Don’t skip this step—moving them too early will cause them to fall apart. After 5 minutes, transfer to a cooling rack or a plate. Serve warm or at room temperature.
The first time I made these, I pulled them at 8 minutes because I got impatient. They were still delicious, just slightly underbaked. If you prefer a more set center, stick to the full 9 to 11 minutes. Your kitchen will smell like vanilla and butter, and someone will probably wander in asking what you’re baking.
Cooking Tips & Techniques
I’ve made this recipe at least once a week for three months. Here’s what I’ve learned the hard way so you don’t have to:
Measure flour correctly. Spoon it into your measuring cup and level it off with a knife. Scooping directly from the bag packs the flour and leads to dry, crumbly cookies. I learned this after a batch that looked like gravel. If you have a kitchen scale, 96 grams is your target.
Don’t skip the milk. I know it seems like a weird addition, but that single tablespoon makes a noticeable difference. Without it, the cookies are slightly drier and don’t stay soft as long. I forgot it once and my husband asked why the cookies were “different.” He couldn’t pinpoint it, but he noticed.
Use room temperature egg yolk. Cold egg yolk can seize the melted butter and make the dough lumpy. Let your egg sit out for 10 minutes, or place it in a bowl of warm water for 2 minutes. It’s a small step that prevents big problems.
Watch the baking time. Ovens vary wildly. My friend’s oven runs hot and her cookies are done at 8 minutes. Mine takes the full 11. Start checking at 9 minutes and look for golden edges with puffy, slightly underdone centers. The cookies will look underbaked when you pull them out—that’s the goal.
Double the batch if needed. This recipe makes 8 cookies. If you’re feeding more than 4 people, double everything. The no-chill rule still applies. I’ve made a double batch for school bake sales and they disappeared in 10 minutes.
Let them cool completely if storing. Warm cookies in a sealed container create steam, which makes them soggy. Let them cool fully on a rack before moving to an airtight container. They’ll stay soft for up to 3 days at room temperature.
Variations & Adaptations
This base recipe is forgiving. Here are some ways to change it up:
Gluten-Free Version: Substitute the all-purpose flour with a 1:1 gluten-free baking flour blend. I’ve used Bob’s Red Mill and King Arthur brands with good results. The cookies will be slightly more crumbly, but the taste is nearly identical. Add an extra tablespoon of milk if the dough seems dry.
Vegan Adaptation: Use vegan butter sticks (not tub margarine) and replace the egg yolk with 1 tablespoon of aquafaba (chickpea brine) or a flax egg (1 tablespoon ground flaxseed mixed with 2.5 tablespoons water, let sit for 5 minutes). Use plant-based milk instead of dairy. The cookies will be slightly less rich but still delicious.
Chocolate Variations: Swap semi-sweet chips for milk chocolate, dark chocolate, or white chocolate. For a fun twist, use half chocolate chips and half chopped peanut butter cups. My kids love the peanut butter cup version—it’s their go-to request for movie nights.
Add-In Options: Fold in ¼ cup of chopped walnuts, pecans, or shredded coconut along with the chocolate chips. Toasted nuts add wonderful crunch. I’ve also added 2 tablespoons of mini M&Ms for a colorful, kid-friendly version that’s perfect for birthday parties.
Flavor Twists: Add ¼ teaspoon of cinnamon or espresso powder along with the dry ingredients. Cinnamon gives a cozy warmth, while espresso powder enhances the chocolate flavor without making the cookies taste like coffee. I’ve done both and they’re equally good.
Bigger Batch: To make 16 cookies, double all ingredients. Use 2 egg yolks instead of 1 whole egg. Bake in two batches or on two separate baking sheets. The timing stays the same.
Serving & Storage Suggestions
These cookies are best served warm, about 5 minutes after they come out of the oven. The chocolate is still melty, the edges are crisp, and the centers are soft. Pair them with a cold glass of milk for the classic experience, or serve with a scoop of vanilla ice cream for an indulgent dessert.
For a casual gathering, arrange the cookies on a wooden board with fresh berries and a bowl of whipped cream. They also make excellent lunchbox treats—just let them cool completely before packing.
Storage: Place completely cooled cookies in an airtight container at room temperature. They stay fresh for up to 3 days. Layer them with parchment paper if stacking to prevent sticking. Do not refrigerate—the fridge dries them out.
Freezing: You can freeze either baked cookies or raw dough balls. For baked cookies, freeze in a single layer on a baking sheet, then transfer to a freezer bag. They keep for up to 3 months. Thaw at room temperature for 15 minutes or microwave for 10 seconds. For raw dough, scoop into balls, freeze on a baking sheet, then store in a freezer bag. Bake from frozen, adding 2 minutes to the baking time.
Reheating: Microwave a single cookie for 10 seconds to restore that just-baked softness. For a whole batch, warm them in a 300°F oven for 3 to 5 minutes. The flavor actually improves after a day—the brown sugar deepens and the vanilla becomes more pronounced. Day-old cookies are still fantastic.
Nutritional Information & Benefits
Per cookie (based on 8 servings): Approximately 185 calories, 10g fat (6g saturated), 35mg cholesterol, 115mg sodium, 24g carbohydrates, 1g fiber, 15g sugar, 3g protein.
These cookies are a treat, not a health food, but they do offer some redeeming qualities. The brown sugar provides a small amount of molasses, which contains trace minerals like calcium and iron. Semi-sweet chocolate chips contain antioxidants called flavonoids, which support heart health. The butter gives you vitamin A, and the egg yolk is rich in choline, which is good for brain function.
This recipe is vegetarian and can be made gluten-free or vegan with the substitutions listed above. It contains dairy, eggs, and gluten in its standard form. If you’re avoiding refined sugar, you can substitute coconut sugar for both the brown and white sugars, though the texture will be slightly different.
I believe in balance. These cookies are part of a happy childhood and a happy family life. They’re not an everyday food, but they’re a wonderful occasional treat that brings people together. And honestly, the joy of baking with your kids is worth every calorie.
Conclusion
These small-batch chocolate chip cookies prove that you don’t need complicated techniques or hours of chilling to make something truly delicious. They’re quick, they’re easy, and they’re made with ingredients you probably already have. The no-chill method works—I’ve tested it enough times to be absolutely certain. And the best part? You get warm cookies in under 20 minutes, which means more time enjoying them and less time waiting.
I love this recipe because it reminds me that sometimes the simplest approach is the best. That impatient six-year-old was right all along. You don’t need to follow rules just because someone told you to. Sometimes you just need a spoon, a bowl, and a warm oven.
Try these cookies with your family this week. Let the kids scoop the dough, sprinkle the salt, and sneak a few chocolate chips. Make a mess, laugh about it, and enjoy every warm, gooey bite. And when you do, come back and tell me how they turned out. I’d love to hear about your variations, your successes, and your happy eaters.
Frequently Asked Questions
Can I use salted butter instead of unsalted?
Yes, but reduce the added salt to ⅛ teaspoon. The cookies will still taste great, just slightly saltier. If you’re using salted butter, I recommend skipping the flaky sea salt topping to avoid over-salting.
Why are my cookies spreading too much?
This usually happens if the butter was too hot when you mixed it, or if the dough was too warm going into the oven. Let the melted butter cool for at least 1 minute before mixing. If your kitchen is very warm, refrigerate the scooped dough for 10 minutes before baking.
Can I make these cookies with whole wheat flour?
You can substitute up to half the all-purpose flour with whole wheat flour. Using 100% whole wheat will result in denser, drier cookies. I’ve tested it with a 50/50 blend and the texture was good, though slightly nuttier in flavor.
How do I make these cookies dairy-free?
Use vegan butter sticks (I recommend Earth Balance or Miyoko’s) and replace the milk with any plant-based milk like almond, oat, or soy. The cookies will spread slightly more, so refrigerate the dough for 10 minutes before baking. The taste is still excellent.
Can I use this recipe to make cookie bars?
Absolutely. Press the dough into a greased 8×8-inch baking pan and bake at 350°F for 15 to 18 minutes. Check for doneness when the edges are golden and a toothpick inserted in the center comes out with a few moist crumbs. Let cool completely before cutting into squares.
Pin This Recipe!
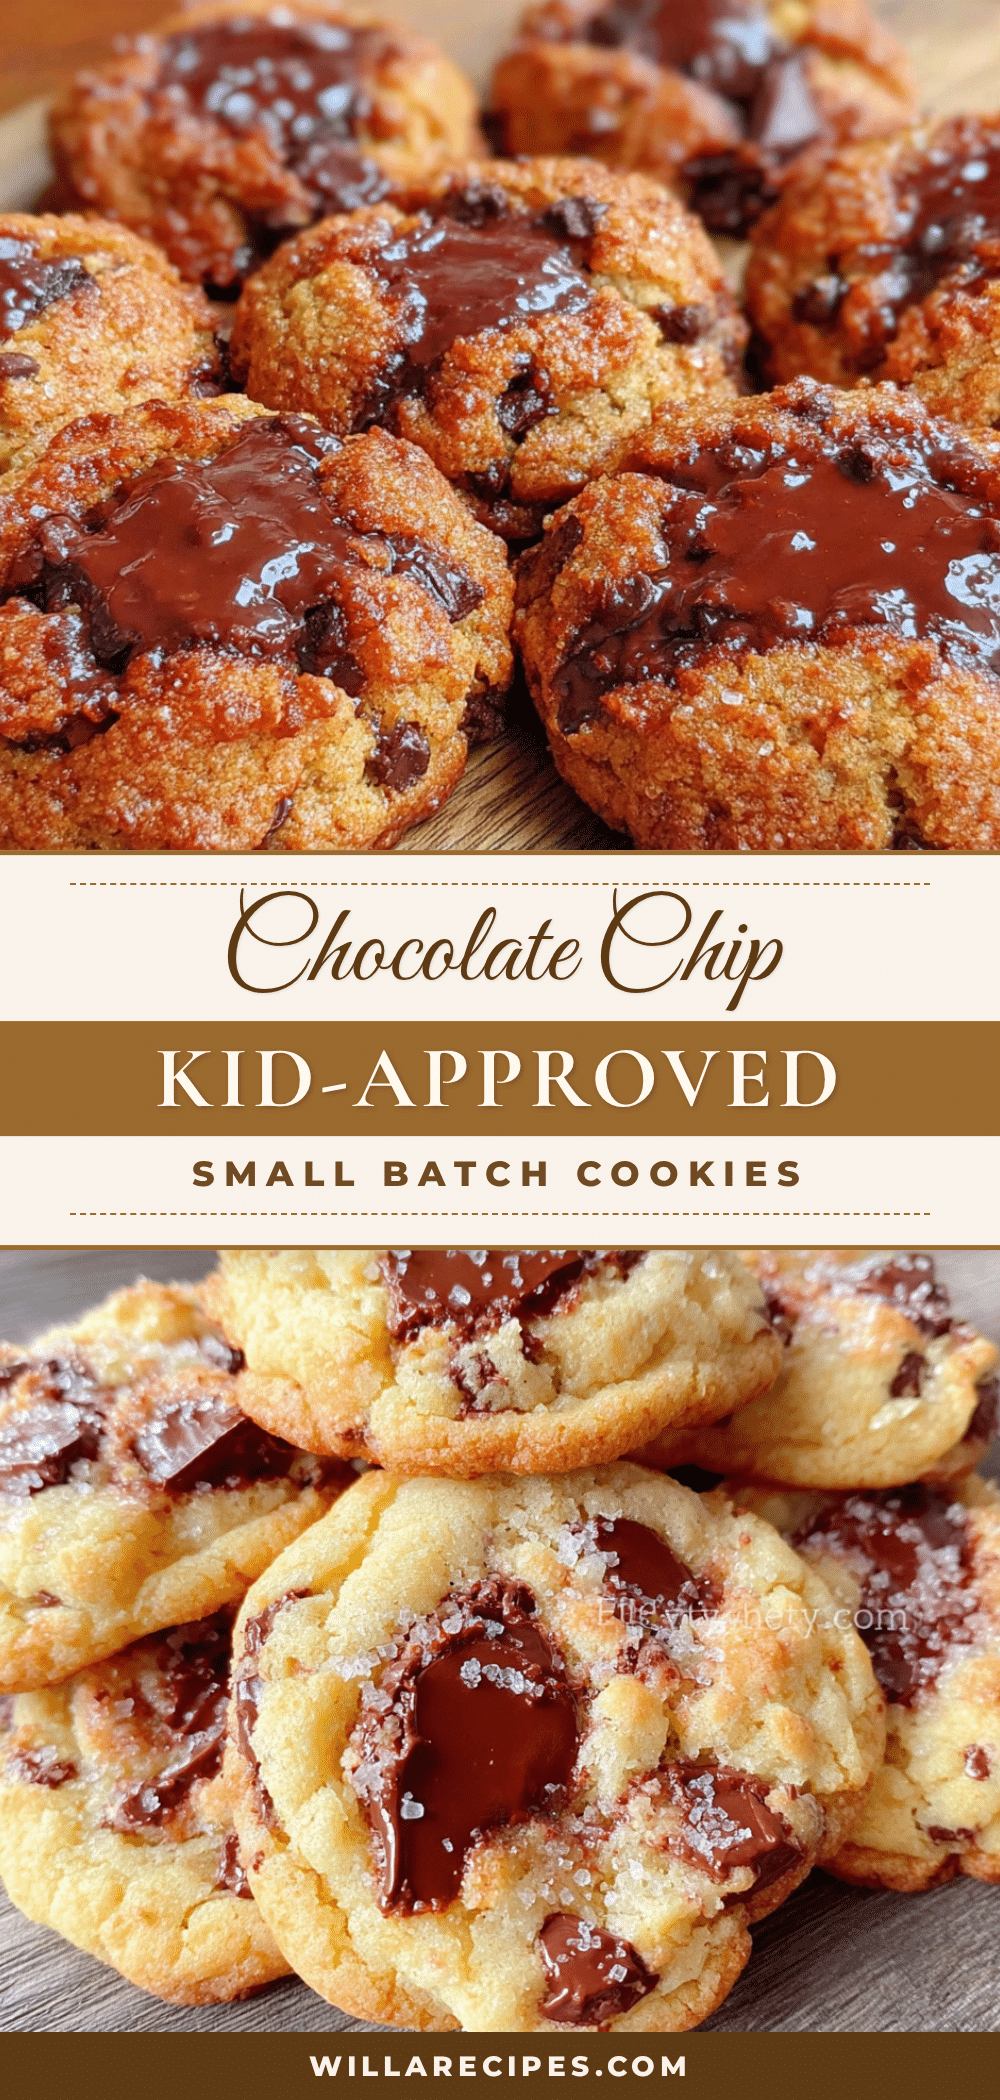
Best Small-Batch Chocolate Chip Cookies (Kid-Approved, No Chill)

These small-batch chocolate chip cookies are ready in under 20 minutes with no chilling required. They have gooey centers, crispy edges, and are made with simple pantry ingredients.
- Prep Time: 10 minutes
- Cook Time: 9-11 minutes
- Total Time: 20 minutes
- Yield: 8 cookies 1x
- Category: Dessert
- Cuisine: American
Ingredients
- 4 tablespoons (57g) unsalted butter, melted
- ¼ cup (50g) light brown sugar, packed
- 2 tablespoons (25g) granulated sugar
- 1 large egg yolk (about 18g)
- ½ teaspoon vanilla extract
- 1 tablespoon (15ml) whole milk
- ¾ cup (96g) all-purpose flour
- ¼ teaspoon baking soda
- ¼ teaspoon salt
- ⅓ cup (60g) semi-sweet chocolate chips
- Flaky sea salt for sprinkling (optional)
Instructions
- Preheat your oven to 350°F (175°C). Line a baking sheet with parchment paper.
- Melt the butter: Place 4 tablespoons (57g) of unsalted butter in a microwave-safe bowl. Microwave in 15-second bursts until just melted—about 30 seconds total. Let it cool for 1 minute.
- Mix the wet ingredients: In a medium bowl, whisk together the melted butter, ¼ cup (50g) packed light brown sugar, and 2 tablespoons (25g) granulated sugar until smooth and slightly thickened, about 30 seconds. Add 1 large egg yolk, ½ teaspoon vanilla extract, and 1 tablespoon (15ml) whole milk. Whisk until fully combined and glossy.
- Add the dry ingredients: Sprinkle ¾ cup (96g) all-purpose flour, ¼ teaspoon baking soda, and ¼ teaspoon salt over the wet mixture. Use a rubber spatula to fold together gently until just combined—about 10 to 12 strokes. A few streaks of flour are okay.
- Fold in the chocolate chips: Add ⅓ cup (60g) semi-sweet chocolate chips. Fold 4 to 5 times until evenly distributed. The dough will be soft and slightly sticky.
- Scoop the dough: Using a cookie scoop or tablespoon, portion the dough into 8 equal balls (about 1.5 tablespoons or 30g each). Place them on the prepared baking sheet, spacing them about 2 inches apart. Do not flatten them.
- Optional: Sprinkle a tiny pinch of flaky sea salt on top of each dough ball.
- Bake: Place the baking sheet on the middle rack. Bake for 9 to 11 minutes. At 9 minutes, the edges will be golden and the centers will look slightly underdone and puffy. For crisper cookies, bake 11 minutes; for softer cookies, pull them at 9 minutes.
- Cool on the pan: Let the cookies rest on the baking sheet for 5 minutes. They will continue to set during this time. After 5 minutes, transfer to a cooling rack or plate. Serve warm or at room temperature.
Notes
Measure flour correctly by spooning it into the measuring cup and leveling off with a knife. Use room temperature egg yolk to prevent the melted butter from seizing. Start checking cookies at 9 minutes as ovens vary. Let cookies cool completely before storing in an airtight container at room temperature for up to 3 days. For freezing, scoop dough into balls and freeze on a baking sheet, then store in a freezer bag; bake from frozen adding 2 minutes to baking time.
Nutrition
- Serving Size: 1 cookie
- Calories: 185
- Sugar: 15
- Sodium: 115
- Fat: 10
- Saturated Fat: 6
- Carbohydrates: 24
- Fiber: 1
- Protein: 3
Keywords: small-batch chocolate chip cookies, no chill cookies, kid-approved cookies, easy cookie recipe, quick cookies


