There used to be a tiny bakery tucked between a laundromat and a used bookstore on the corner of Elm Street. It was called “The Flour Pot,” and it had this single glass display case that held the most ridiculous chocolate chip cookies I’ve ever tasted. When they closed three years ago—the owner retired to Maine, I heard—I actually went through a mourning period. I mean, I stood outside that dark storefront like a crazy person, peering through the window. After nineteen tries—nineteen, let me tell you, some of them were downright sad—I finally got it. This recipe is the one. It’s the cookie that tastes like a hug from someone who really knows how to bake.
Honestly, the first few batches were disasters. Too flat, too cakey, too sweet, not sweet enough. I almost gave up after batch number seven, which tasted like a salted sugar cookie with a bad attitude. But I kept thinking about that first bite of a Flour Pot cookie—the way the edges crunched just slightly, the way the middle stayed soft and almost gooey, the way the chocolate melted into every single crevice. It wasn’t just a cookie. It was an experience. And I was determined to bring that experience back into my own kitchen.
Maybe you’ve been there, chasing a flavor from your past. A specific bakery, a grandparent’s kitchen, a diner that closed decades ago. That feeling of “I need this again” is real, and it’s powerful. This cozy bakery-style chocolate chip cookies recipe is my love letter to The Flour Pot, and I think you’re going to love it just as much. It’s the kind of cookie that makes you close your eyes after the first bite, and honestly, that’s the highest compliment I can give.
Why You’ll Love This Recipe
Let’s be honest—there are a million chocolate chip cookie recipes out there. What makes this one different? Well, I’ve spent years testing and tweaking, and I can tell you with confidence that this is the version you’ll come back to again and again. It’s not just another cookie. It’s the cookie.
- Quick & Easy: From start to finish, these cookies come together in about 30 minutes. No complicated techniques, no fancy equipment. Just good, honest baking.
- Simple Ingredients: You probably have most of these in your pantry right now. Butter, sugar, eggs, flour—the basics. No hunting down obscure ingredients at specialty stores.
- Perfect for Cozy Evenings: Whether it’s a rainy Sunday afternoon, a cold winter night, or just a Tuesday that needs a little extra warmth, these cookies deliver. They’re the definition of comfort food.
- Crowd-Pleaser: I’ve brought these to potlucks, family dinners, and office parties. They disappear every single time. Kids and adults alike go crazy for them.
- Unbelievably Delicious: That texture—crispy edges, soft and chewy center, pools of melted chocolate. It’s next-level comfort food, and it’s all thanks to one little trick I learned after those nineteen attempts.
What makes this recipe stand out is the technique. Most recipes have you cream the butter and sugar together and call it a day. But I found that browning the butter first—just until it turns golden and smells nutty—adds a depth of flavor that’s absolutely incredible. It’s a small extra step, but it makes a huge difference. This isn’t just another version of chocolate chip cookies. It’s my best version, and I’m so excited to share it with you.
This recipe is the kind that makes you close your eyes after the first bite. It’s comfort food reimagined—faster than a trip to the bakery, but with the same soul-soothing satisfaction. Perfect for impressing guests without any stress, or turning a simple evening into something memorable.
What Ingredients You Will Need
This recipe uses simple, wholesome ingredients to deliver bold flavor and satisfying texture without any fuss. Everything listed here is a pantry staple, so you can whip up a batch whenever the craving strikes.
- Unsalted butter: 1 cup (2 sticks, 226 grams). I prefer unsalted so I can control the salt level. Browning the butter is key here, so don’t skip it.
- Dark brown sugar: 1 cup, packed (200 grams). This gives the cookies that deep, molasses-like flavor and chewy texture. I like using dark brown sugar for a richer taste.
- Granulated sugar: ½ cup (100 grams). For sweetness and that slight crunch on the edges.
- Large eggs: 2, at room temperature. Room temperature eggs mix in more evenly, which helps with the texture.
- Vanilla extract: 2 teaspoons. Pure vanilla extract is best, but imitation will work in a pinch.
- All-purpose flour: 2 ¼ cups (280 grams). Spoon and level your flour—don’t scoop directly from the bag, or you’ll end up with dry cookies.
- Baking soda: 1 teaspoon. For lift and spread.
- Salt: 1 teaspoon. I use fine sea salt. It balances the sweetness perfectly.
- Semi-sweet chocolate chips: 2 cups (340 grams). I recommend Ghirardelli or Guittard for the best melt and flavor. You can also chop up a chocolate bar for those beautiful pools of chocolate.
- Flaky sea salt (optional): For sprinkling on top before baking. It takes these cookies to another level.
Ingredient Tips: For the brown sugar, make sure it’s fresh and soft. If it’s hard as a rock, microwave it with a damp paper towel for 15 seconds. For the eggs, if you forgot to take them out of the fridge, place them in a bowl of warm water for 5 minutes. And for the chocolate, don’t be afraid to mix chip sizes—use a combination of mini chips and regular chips for chocolate in every bite.
Substitution Guidance: If you’re out of dark brown sugar, light brown sugar works too, but the cookies won’t be as rich. For a dairy-free option, use vegan butter (I like Miyoko’s). For a gluten-free version, swap the all-purpose flour with a 1:1 gluten-free baking flour blend. The texture will be slightly different, but still delicious.
Equipment Needed
You don’t need a professional bakery setup to make these cookies. Here’s what you’ll need:
- Large mixing bowl: For combining your wet and dry ingredients.
- Medium mixing bowl: For whisking your dry ingredients together.
- Whisk: To evenly distribute the baking soda and salt in the flour.
- Rubber spatula: For folding in the chocolate chips without overmixing.
- Baking sheets: 2 large, rimmed baking sheets. I prefer light-colored ones for even browning.
- Parchment paper: Or silicone baking mats. Parchment paper is my go-to for easy cleanup.
- Cookie scoop: A 2-tablespoon scoop (size #40) for uniform cookies. If you don’t have one, just use two spoons.
- Cooling rack: For letting the cookies cool properly without getting soggy on the bottom.
- Small saucepan: For browning the butter. A light-colored pan helps you see the color change.
I’ve made these cookies with just a bowl and a spoon before, and they still turned out great. The cookie scoop is a nice-to-have, not a must. If you’re on a budget, a regular spoon works perfectly fine.
Preparation Method
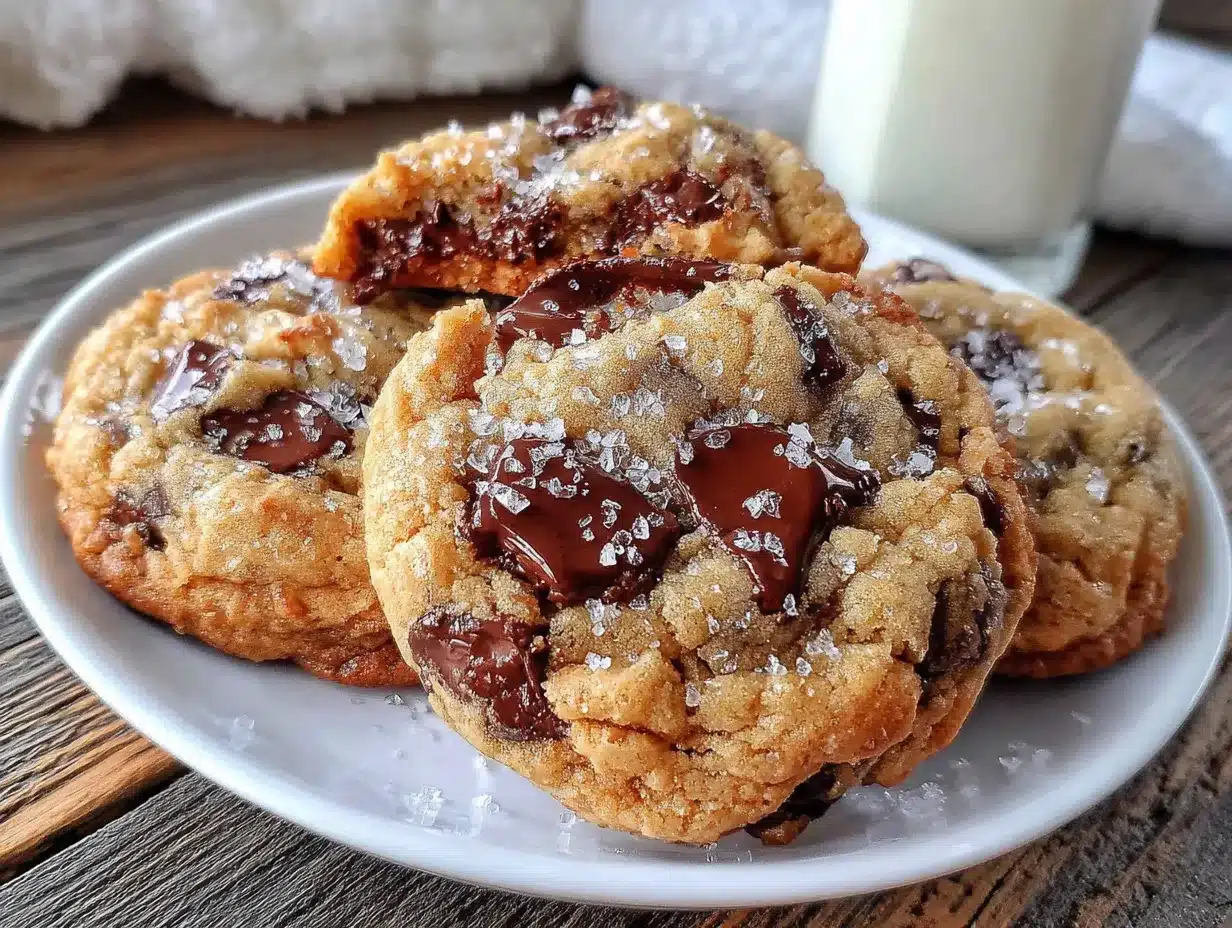
Alright, let’s get to the good part. Follow these steps, and you’ll have the best cozy bakery-style chocolate chip cookies of your life.
- Brown the butter: Place the butter in a small saucepan over medium heat. Stir constantly as it melts. It will foam up, then start to crackle. Keep stirring until you see brown specks forming at the bottom and the butter smells nutty—about 5-7 minutes. Immediately pour it into a large mixing bowl to stop the cooking. Let it cool for 10 minutes. (Don’t skip this step—it’s the secret to that deep, toasty flavor.)
- Mix the sugars: Add the dark brown sugar and granulated sugar to the browned butter. Whisk vigorously for about 2 minutes until the mixture looks like wet sand and has slightly cooled. This helps dissolve the sugar for a chewier cookie.
- Add the eggs and vanilla: Crack the eggs into the bowl, one at a time, whisking well after each. Add the vanilla extract and whisk until the mixture is smooth and glossy. It should look like caramel.
- Combine the dry ingredients: In a separate medium bowl, whisk together the all-purpose flour, baking soda, and salt. Make sure there are no clumps.
- Fold in the flour: Gradually add the dry ingredients to the wet ingredients, folding gently with a rubber spatula. Mix just until you see a few streaks of flour remaining—do not overmix, or your cookies will be tough.
- Add the chocolate chips: Pour in the semi-sweet chocolate chips and fold them in until evenly distributed. The dough will be thick and slightly sticky.
- Chill the dough (optional but recommended): Cover the bowl with plastic wrap and refrigerate for at least 30 minutes, or up to 72 hours. Chilling the dough prevents the cookies from spreading too much and deepens the flavor. If you’re in a hurry, you can skip this, but your cookies will be flatter.
- Preheat the oven: Preheat your oven to 375°F (190°C). Line two baking sheets with parchment paper.
- Scoop the dough: Use a 2-tablespoon cookie scoop to portion the dough into balls. Place them 3 inches apart on the prepared baking sheets. If you want that bakery-style look, press a few extra chocolate chips onto the tops of the dough balls.
- Bake: Bake one sheet at a time for 10-12 minutes, or until the edges are golden brown and the centers look slightly underdone. The cookies will continue to set on the baking sheet. For softer cookies, bake for 10 minutes. For crunchier edges, go for 12 minutes.
- Cool: Let the cookies cool on the baking sheet for 5 minutes, then transfer them to a cooling rack. Sprinkle with flaky sea salt while they’re still warm, if desired.
Sensory Cues: When you brown the butter, you’ll see it go from yellow to golden to amber, and you’ll smell a nutty, toasty aroma. When you mix the sugars, it should feel like wet sand between your fingers. When you fold in the flour, the dough should be thick and slightly tacky, not dry. And when the cookies come out of the oven, the edges should be set and golden, but the centers should still look soft and puffy.
Personal Tip: I always bake one test cookie first—just one—to check the spread and texture. If it spreads too much, I chill the dough longer. If it doesn’t spread enough, I press the dough balls down slightly. It saves me from ruining a whole batch!
Cooking Tips & Techniques
After nineteen batches, I’ve learned a thing or two. Here are my best tips for perfect cookies every time.
Don’t overmix the dough. This is the number one mistake I see. Once you add the flour, mix just until it disappears. Overmixing develops gluten, which makes cookies tough and cakey. We want tender, chewy cookies here.
Use a kitchen scale. I know, I know—it’s an extra step. But measuring flour by weight is so much more accurate than using cups. A cup of flour can vary by 30 grams depending on how you scoop it. For consistent results, weigh your ingredients.
Chill the dough. I cannot stress this enough. Chilling solidifies the butter, which means the cookies spread less and bake up thicker. It also gives the flavors time to meld together. I once made a batch after chilling the dough for 48 hours, and they were the best cookies I’ve ever made.
Rotate your baking sheet. Halfway through baking, rotate the sheet 180 degrees. This ensures even browning, especially if your oven has hot spots.
Let them cool on the sheet. Those first few minutes on the hot baking sheet are crucial. The cookies are still setting up, and moving them too early can cause them to break or flatten. Be patient!
My biggest failure: Batch number four. I forgot to add the baking soda. The cookies came out like flat, greasy discs. I mean, they still tasted okay, but they looked sad. So check your ingredients twice, folks.
Variations & Adaptations
This recipe is a great base for all kinds of twists. Here are a few of my favorites.
Double Chocolate Chip: Replace ¼ cup of the all-purpose flour with ¼ cup of unsweetened cocoa powder. Use white chocolate chips instead of semi-sweet for a beautiful contrast. These are dangerously good.
Nutty Delight: Add 1 cup of toasted, chopped pecans or walnuts along with the chocolate chips. Toast them in a dry pan for 3-4 minutes until fragrant—it makes a huge difference in flavor.
Gluten-Free Version: Use a 1:1 gluten-free baking flour blend. I’ve tested this with King Arthur’s Measure for Measure flour, and the texture is almost identical to the original. Add an extra tablespoon of milk if the dough seems too dry.
Vegan Adaptation: Substitute the butter with vegan butter, use two flax eggs (2 tablespoons ground flaxseed + 6 tablespoons water, let sit for 5 minutes), and use dairy-free chocolate chips. The cookies will be slightly less chewy, but still delicious.
Personal Variation: My husband loves when I add a teaspoon of instant espresso powder to the dry ingredients. It doesn’t make the cookies taste like coffee—it just deepens the chocolate flavor. Try it, you won’t regret it.
Serving & Storage Suggestions
These cookies are best served warm, straight from the oven. That moment when the chocolate is still melty and the edges are perfectly crisp—that’s cookie heaven.
How to Serve: Pair these cookies with a cold glass of milk, a hot cup of coffee, or a cozy mug of hot chocolate. For a real treat, sandwich two cookies with a scoop of vanilla ice cream for an indulgent dessert.
Storage: Store cooled cookies in an airtight container at room temperature for up to 5 days. To keep them soft, add a slice of bread to the container—the cookies will absorb the moisture from the bread.
Freezing: You can freeze the baked cookies for up to 3 months. Just place them in a freezer-safe bag or container. To reheat, pop them in a 300°F (150°C) oven for 5 minutes, or microwave for 10 seconds. You can also freeze the raw dough balls on a baking sheet, then transfer them to a freezer bag. Bake from frozen, adding 2 minutes to the baking time.
Flavor Development: Honestly, these cookies taste even better the next day. The flavors meld together, and the texture softens slightly. If you can resist eating them all on day one, you’re in for a treat on day two.
Nutritional Information & Benefits
Let’s be real—these are not health cookies. But knowing what’s in them is still helpful, especially if you have dietary concerns.
Per cookie (based on 24 cookies): Approximately 220 calories, 12g fat, 28g carbohydrates, 2g protein, 18g sugar. These values are estimates and can vary based on specific ingredients used.
Health Benefits: Dark chocolate is rich in antioxidants and can improve heart health. Butter provides fat-soluble vitamins like A, D, and E. And let’s not forget the emotional benefits—sometimes, a cookie is exactly what your soul needs.
Dietary Considerations: This recipe contains gluten, dairy, and eggs. For gluten-free or vegan options, see the variations section above. For a lower-sugar version, reduce the granulated sugar to ¼ cup and use sugar-free chocolate chips.
Allergen Note: If you’re baking for someone with allergies, always double-check your ingredient labels. Cross-contamination can occur with chocolate chips and other packaged goods.
I believe in balance. These cookies are a treat, not a daily staple. Enjoy them mindfully, savor every bite, and don’t feel an ounce of guilt. Life is too short for bad cookies.
FAQs
1. Can I use salted butter instead of unsalted?
Yes, you can. Just reduce the added salt in the recipe to ½ teaspoon. The cookies might be slightly saltier, but that’s not a bad thing in my book.
2. Why did my cookies turn out flat?
Flat cookies are usually caused by butter that’s too warm or dough that hasn’t been chilled. Make sure your browned butter has cooled before mixing, and always chill the dough for at least 30 minutes.
3. Can I use margarine instead of butter?
I don’t recommend it. Margarine has a higher water content, which can lead to flat, greasy cookies. Stick with real butter for the best flavor and texture.
4. How do I make my cookies chewier?
Use more brown sugar than white sugar (which this recipe already does), and don’t overbake them. Pull them out when the centers still look slightly underdone. The residual heat will finish the job.
5. Can I make the dough ahead of time?
Absolutely! You can refrigerate the dough for up to 72 hours. In fact, the flavor improves over time. You can also freeze the dough balls for up to 3 months—just bake them straight from the freezer, adding a minute or two to the baking time.
Conclusion
These cozy bakery-style chocolate chip cookies are more than just a recipe—they’re a little piece of my heart. After nineteen tries, I finally cracked the code, and now I get to share it with you. The browned butter, the perfect balance of sugars, the melty chocolate—it all comes together to create a cookie that’s truly unforgettable.
I hope you’ll give this recipe a try and make it your own. Add your favorite mix-ins, adjust the sweetness, or just follow the recipe exactly as written. Either way, I promise you won’t be disappointed. And when you take that first bite and close your eyes, I hope it brings you the same warmth and joy it brings me.
If you make these cookies, I’d love to hear about it. Leave a comment below, tag me in your photos, or share your own twist on the recipe. Happy baking, friends—and remember, the best cookies are the ones made with love.
Pin This Recipe!
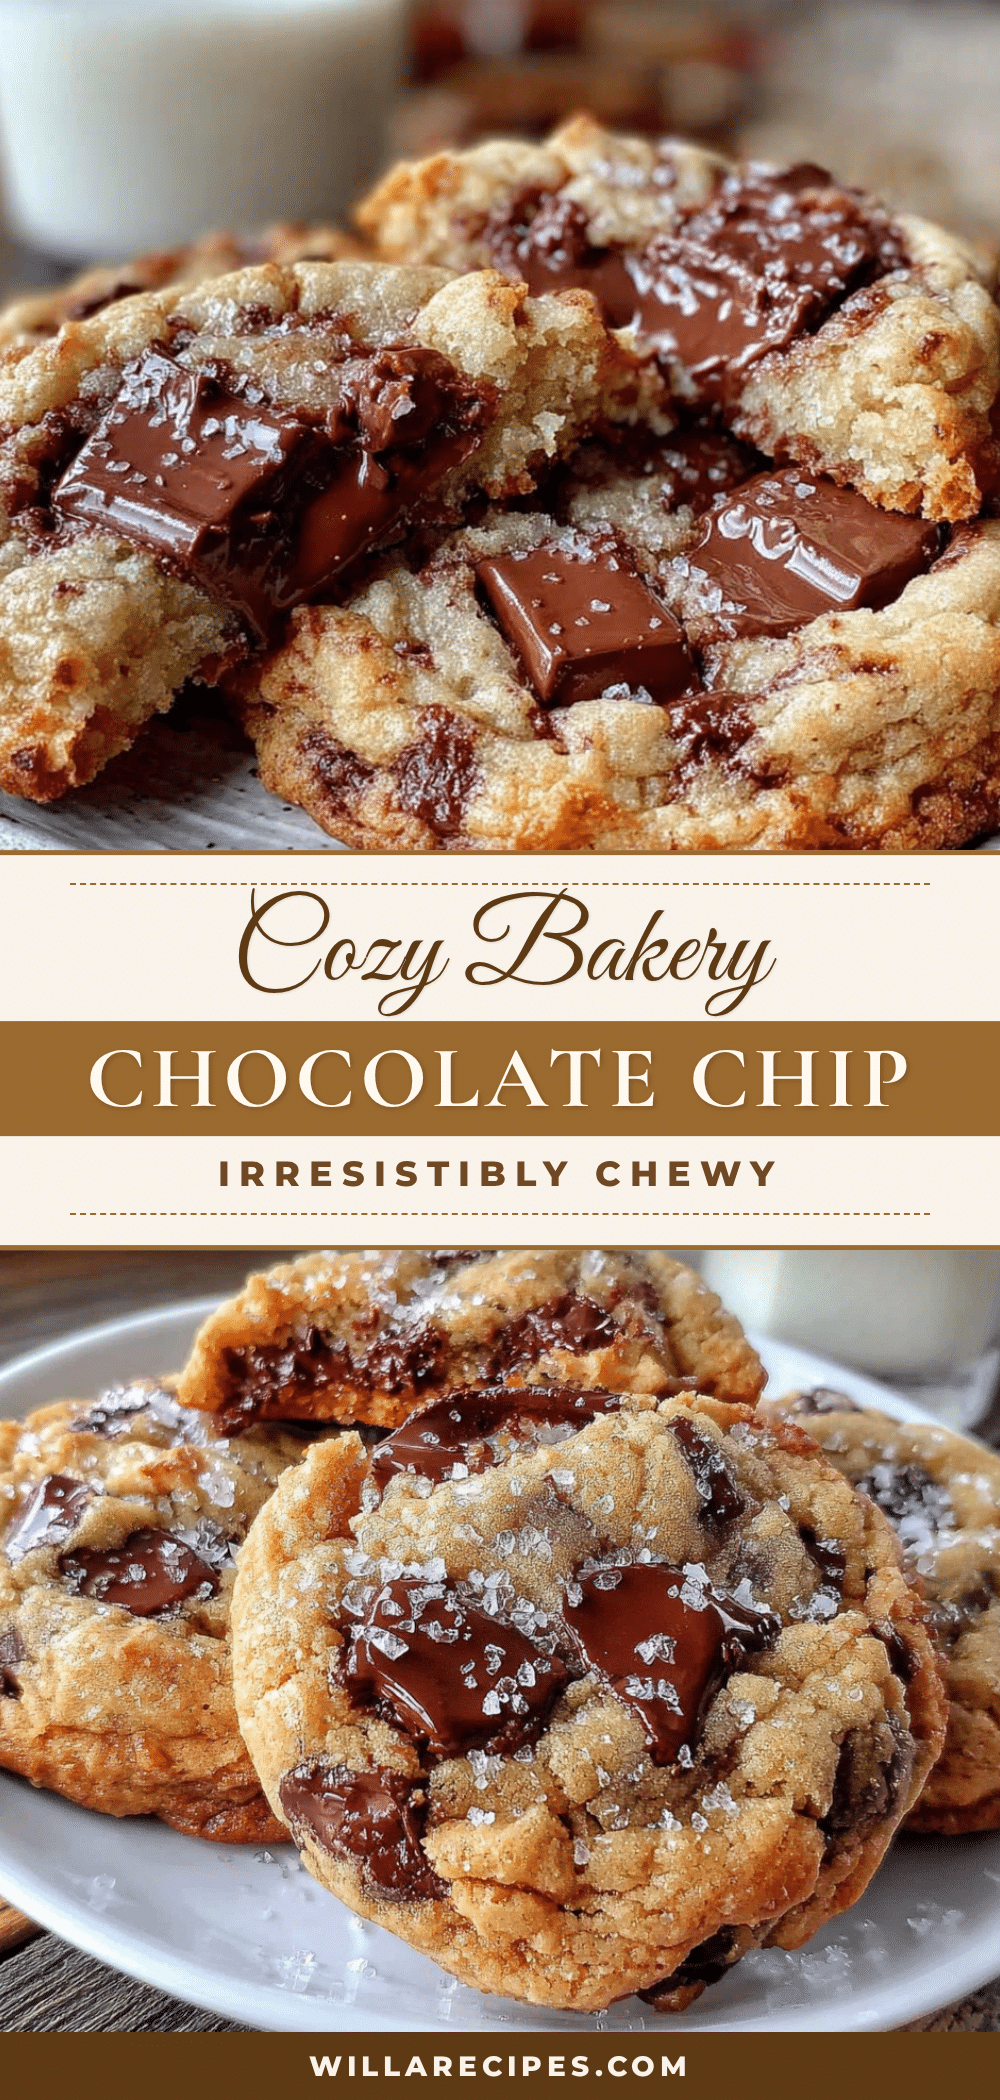
Cozy Bakery-Style Chocolate Chip Cookies: Easy Best Recipe

After nineteen attempts, this recipe recreates the perfect chocolate chip cookie from a beloved bakery. With browned butter for depth, crispy edges, and a soft, gooey center, these cookies are the ultimate comfort food.
- Prep Time: 15 minutes
- Cook Time: 12 minutes
- Total Time: 27 minutes (plus optional chilling time)
- Yield: 24 cookies 1x
- Category: Dessert
- Cuisine: American
Ingredients
- 1 cup (2 sticks, 226 grams) unsalted butter
- 1 cup (200 grams) dark brown sugar, packed
- ½ cup (100 grams) granulated sugar
- 2 large eggs, at room temperature
- 2 teaspoons vanilla extract
- 2 ¼ cups (280 grams) all-purpose flour
- 1 teaspoon baking soda
- 1 teaspoon fine sea salt
- 2 cups (340 grams) semi-sweet chocolate chips
- Flaky sea salt (optional, for sprinkling)
Instructions
- Brown the butter: Place the butter in a small saucepan over medium heat. Stir constantly as it melts. It will foam up, then start to crackle. Keep stirring until you see brown specks forming at the bottom and the butter smells nutty—about 5-7 minutes. Immediately pour it into a large mixing bowl to stop the cooking. Let it cool for 10 minutes.
- Mix the sugars: Add the dark brown sugar and granulated sugar to the browned butter. Whisk vigorously for about 2 minutes until the mixture looks like wet sand and has slightly cooled.
- Add the eggs and vanilla: Crack the eggs into the bowl, one at a time, whisking well after each. Add the vanilla extract and whisk until the mixture is smooth and glossy.
- Combine the dry ingredients: In a separate medium bowl, whisk together the all-purpose flour, baking soda, and salt.
- Fold in the flour: Gradually add the dry ingredients to the wet ingredients, folding gently with a rubber spatula. Mix just until you see a few streaks of flour remaining—do not overmix.
- Add the chocolate chips: Pour in the semi-sweet chocolate chips and fold them in until evenly distributed. The dough will be thick and slightly sticky.
- Chill the dough (optional but recommended): Cover the bowl with plastic wrap and refrigerate for at least 30 minutes, or up to 72 hours.
- Preheat the oven: Preheat your oven to 375°F (190°C). Line two baking sheets with parchment paper.
- Scoop the dough: Use a 2-tablespoon cookie scoop to portion the dough into balls. Place them 3 inches apart on the prepared baking sheets. If desired, press a few extra chocolate chips onto the tops.
- Bake: Bake one sheet at a time for 10-12 minutes, or until the edges are golden brown and the centers look slightly underdone.
- Cool: Let the cookies cool on the baking sheet for 5 minutes, then transfer them to a cooling rack. Sprinkle with flaky sea salt while still warm, if desired.
Notes
Chilling the dough is optional but recommended for thicker cookies and deeper flavor. For best results, use a kitchen scale to measure flour. Brown the butter until it smells nutty and has brown specks. Bake one test cookie first to check spread.
Nutrition
- Serving Size: 1 cookie
- Calories: 220
- Sugar: 18
- Sodium: 150
- Fat: 12
- Saturated Fat: 7
- Carbohydrates: 28
- Fiber: 1
- Protein: 2
Keywords: chocolate chip cookies, bakery-style cookies, browned butter cookies, easy cookie recipe, homemade cookies


