I was at the community garden last fall, trying to gently negotiate with a woman named Clara over the last bunch of Tuscan kale. I was failing, honestly, because she had this calm, firm way of explaining why she needed it more. We ended up splitting it, and as we stood there comparing our haul, I mentioned I had a counter full of bananas turning brown faster than I could think about them. Clara didn’t say much at first. She just gave a little nod, finished tying up her kale, and then said, almost as an afterthought, “Brown the butter first. It changes everything.” She didn’t give me a recipe. She just said that one sentence and walked off toward the compost bin. It stuck with me, though. That tiny, quiet piece of advice felt like a secret. I went home, looked at my sad bananas, and decided to trust the stranger from the garden. And let me tell you, she was right. This Cozy Browned Butter Banana Bread (No Mixer Needed) is the direct result of that conversation. It’s the kind of recipe that feels like a warm hug in loaf form, and the best part? You don’t need any fancy equipment to make it happen. Maybe you’ve been there, staring at overripe fruit, wondering if you have the energy for a complicated bake. This one is for you.
Why You’ll Love This Recipe
This isn’t just another banana bread recipe. I’ve tested a lot of them over the years, and this version stands out for a few very specific reasons. The browned butter brings a nutty, almost caramel-like depth that plain melted butter just can’t touch. It’s a small step that makes a huge difference.
- No Mixer Required: You can literally make this with a whisk and a bowl. No hauling out the stand mixer or fighting with a hand mixer that’s missing a beater. It’s a one-bowl, one-whisk situation that makes cleanup a breeze.
- Simple Pantry Ingredients: You probably have everything you need right now. Flour, sugar, eggs, baking soda, salt, and those sad bananas on your counter. The only “special” ingredient is butter, and I bet you have that too.
- Perfect for Cozy Mornings: This bread tastes like a slow weekend morning, even if you make it on a Tuesday night. It fills your kitchen with the most incredible toasty, sweet smell.
- Unbelievably Moist: The combination of browned butter and very ripe bananas creates a texture that is incredibly tender and moist. It stays that way for days, too.
This recipe is my best version because it skips the fuss and focuses on flavor. That nutty butter, the sweet banana, the soft crumb—it all comes together in a way that feels both familiar and special. It’s comfort food, made a little bit better.
What Ingredients You Will Need
This recipe uses simple, wholesome ingredients to deliver a loaf that’s deeply flavorful and perfectly tender. Most of these are probably already in your kitchen, ready to go.
- Unsalted Butter (½ cup / 113g): This is the star. We’re browning it, which means we’re cooking it until the milk solids turn golden and smell like toasted nuts. I use unsalted so I can control the salt level in the final bread.
- Very Ripe Bananas (3 medium, about 1 ½ cups / 340g mashed): The riper, the better. We’re talking brown spots, maybe even completely black skins. That’s where the sweetness and moisture live. Mash them well with a fork.
- Granulated Sugar (¾ cup / 150g): Adds sweetness and helps create that soft, tender crumb. It also helps the top get that lovely golden crust.
- Large Egg (1, room temperature): Binds everything together and adds structure. A room-temperature egg incorporates into the batter much more smoothly than a cold one.
- Vanilla Extract (1 teaspoon): Enhances the sweetness and adds a warm, aromatic flavor that pairs beautifully with the browned butter and banana.
- Plain Yogurt or Sour Cream (¼ cup / 60g): This is my secret for extra moisture. It adds a slight tang that balances the sweetness and keeps the bread from drying out. I’ve used both and prefer full-fat for the best texture.
- All-Purpose Flour (1 ½ cups / 188g): The base of our bread. I use standard all-purpose flour for the perfect, tender crumb.
- Baking Soda (1 teaspoon): This is our leavening agent. It reacts with the acid in the yogurt and bananas to help the bread rise.
- Salt (½ teaspoon): Don’t skip it! Salt enhances all the other flavors and balances the sweetness. I use fine sea salt.
- Optional Mix-ins (½ cup): Chopped walnuts, pecans, or chocolate chips are all fantastic. I often add a handful of dark chocolate chips for a little extra treat.
Equipment Needed
One of the best things about this recipe is how little equipment it requires. You don’t need a stand mixer or a food processor. This is a truly low-fuss bake.
- Medium Saucepan: For browning the butter. A light-colored pan is best so you can see the color change.
- Large Mixing Bowl: For making the batter.
- Whisk: For combining the wet and dry ingredients.
- Rubber Spatula: For folding the ingredients together and scraping the bowl clean.
- 9×5-inch Loaf Pan: The standard size for this recipe. I recommend a metal or glass pan.
- Parchment Paper: Lining the pan makes lifting the bread out perfectly clean every time. It’s a small step that saves a lot of frustration.
- Cooling Rack: Essential for letting the bread cool evenly so it doesn’t get a soggy bottom.
Preparation Method
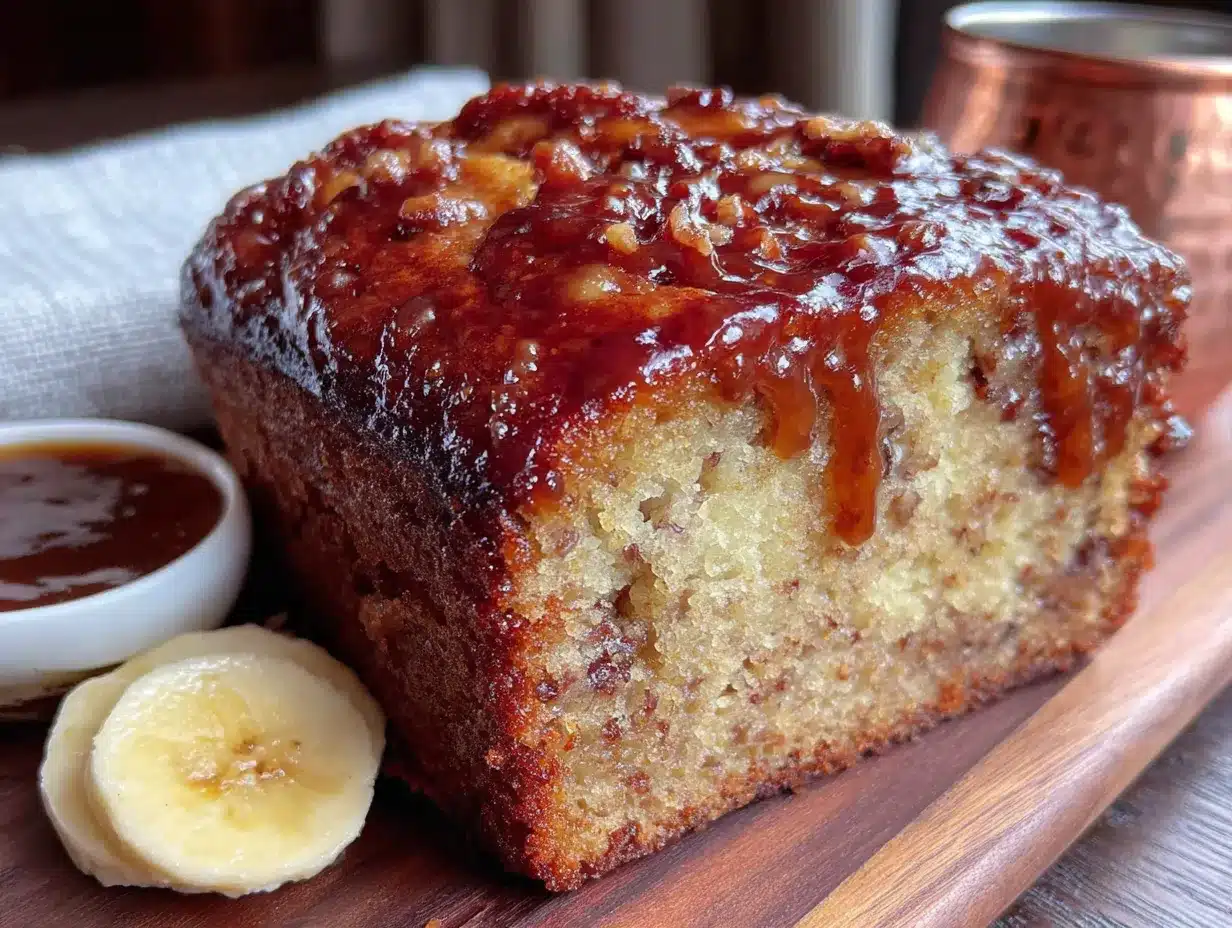
Let’s get baking. This is a straightforward process, but I’ll walk you through each step so you get a perfect loaf every time. The whole process takes about 15 minutes of active prep, then the oven does the rest.
- Brown the Butter: Place the ½ cup of butter in a medium saucepan over medium heat. Let it melt completely, then continue cooking, swirling the pan occasionally. It will start to foam and sputter—that’s normal. After a few minutes, the foam will subside and you’ll see little golden specks forming on the bottom of the pan. The butter will smell nutty and amazing. As soon as it turns a light amber color and you smell that toasty aroma, remove it from the heat immediately. Pour it into a heatproof bowl (like the one you’ll mix the batter in) to stop the cooking process. Let it cool for about 10 minutes. Don’t walk away from it while it’s browning—it can go from perfect to burnt in seconds.
- Preheat and Prep: While the butter cools, preheat your oven to 350°F (175°C). Line your 9×5-inch loaf pan with a strip of parchment paper, leaving a little overhang on the long sides. This will be your handle for lifting the bread out later.
- Mash the Bananas: In a small bowl, mash your three very ripe bananas with a fork until they are mostly smooth. A few small lumps are totally fine—they add texture. You should have about 1 ½ cups (340g) of mashed banana.
- Mix the Wet Ingredients: To the bowl with the cooled browned butter, add the ¾ cup of granulated sugar, the room-temperature egg, 1 teaspoon of vanilla extract, and ¼ cup of yogurt or sour cream. Whisk everything together until it’s smooth, well combined, and slightly paler in color. This takes about 30 seconds of vigorous whisking.
- Add the Bananas: Add the mashed bananas to the wet mixture and whisk until they are fully incorporated. The batter will look a little looser and lumpy—that’s perfect.
- Combine the Dry Ingredients: In a separate, small bowl, whisk together the 1 ½ cups of all-purpose flour, 1 teaspoon of baking soda, and ½ teaspoon of salt. This ensures the baking soda and salt are evenly distributed throughout the flour.
- Fold It All Together: Pour the dry ingredients into the bowl with the wet ingredients. Using your rubber spatula, gently fold the mixture together. Stir only until you see the last streaks of flour disappear. Do not overmix! Overmixing develops the gluten and will make your banana bread tough and dense. A few lumps are okay. If you’re adding mix-ins like chocolate chips or nuts, fold them in at this point.
- Bake: Pour the batter into your prepared loaf pan and spread it into an even layer. Bake for 50 to 60 minutes, or until a toothpick inserted into the center comes out clean or with just a few moist crumbs attached. If the top is browning too quickly after 40 minutes, tent the pan loosely with a piece of aluminum foil.
- Cool: Let the bread cool in the pan on a cooling rack for about 15 minutes. Then, using the parchment paper overhang, lift the bread out of the pan and transfer it to the rack to cool completely before slicing. This is the hardest part—waiting—but it’s worth it for clean slices.
Cooking Tips & Techniques
I’ve made this bread more times than I can count, and I’ve learned a few things along the way. Here are my best tips to ensure your success.
- Don’t Rush the Butter: The first time I tried browning butter, I got distracted by a phone call and ended up with black, acrid butter. I had to start over. Keep your eyes on that pan. The moment it smells like toasted hazelnuts and turns a golden-amber, it’s done. Swirl the pan constantly towards the end for even browning.
- Use a Light-Colored Pan: A dark non-stick pan makes it really hard to see the color change of the butter as it browns. A stainless steel or light-colored saucepan is your best friend here.
- Room Temperature Matters: I know it’s a pain, but taking your egg out of the fridge 30 minutes before you start really does make a difference. A cold egg can cause the butter to seize up and create a lumpy batter. Same goes for the yogurt or sour cream.
- The “Muffin Method” Works: This recipe uses what bakers call the “muffin method”—mix the wet ingredients, mix the dry ingredients, then combine them gently. It’s the key to a tender loaf. Overmixing is the enemy of good banana bread.
- Check for Doneness: Every oven runs a little differently. Start checking your bread at the 50-minute mark. If the toothpick comes out with wet batter, give it another 5 minutes. If it has a few moist crumbs, it’s done. Overbaking will dry it out.
Variations & Adaptations
This recipe is a fantastic base that you can tweak to make your own. Here are a few of my favorite ways to change it up.
- Gluten-Free Version: Substitute the all-purpose flour with a high-quality 1:1 gluten-free baking flour blend (like the one from Bob’s Red Mill or King Arthur). I’ve tested this, and it works beautifully. The texture will be slightly more delicate, but just as delicious.
- Vegan Adaptation: You can make this vegan by using a vegan butter (like Miyoko’s) for browning. Replace the egg with a flax egg (1 tablespoon ground flaxseed mixed with 3 tablespoons water, let sit for 5 minutes). Use a plant-based yogurt or sour cream. The flavor will be slightly different, but the browned butter magic still works.
- Spiced-Up Version: Add 1 teaspoon of cinnamon, ½ teaspoon of nutmeg, and ¼ teaspoon of ground ginger to the dry ingredients. It gives the bread a lovely, warm chai-like flavor that’s perfect for fall and winter.
- Chocolate Lover’s Version: Reduce the flour by 2 tablespoons and add 2 tablespoons of unsweetened cocoa powder. Fold in ½ cup of dark chocolate chips. It’s a chocolate-banana dream.
- Nutty Crunch: Toast ½ cup of chopped walnuts or pecans in a dry skillet over medium heat for 3-4 minutes until fragrant. Let them cool, then fold them into the batter. The toasty nuts pair perfectly with the browned butter.
Serving & Storage Suggestions
This banana bread is wonderful warm, but it truly shines at room temperature. The flavors have a chance to meld together.
- Serving: I love a thick slice, toasted lightly in a skillet or toaster, with a generous pat of salted butter melting into it. It’s also incredible with a smear of cream cheese or a dollop of Greek yogurt and a drizzle of honey. It’s perfect for breakfast, an afternoon snack, or even dessert.
- Storage: Store any leftover bread in an airtight container at room temperature. It will stay moist and delicious for up to 4 days. If you live in a very humid climate, you can store it in the refrigerator, but let slices come to room temperature before eating for the best flavor and texture.
- Freezing: This bread freezes beautifully. Let it cool completely, then wrap it tightly in a layer of plastic wrap, followed by a layer of aluminum foil. Freeze for up to 3 months. To thaw, let it sit on the counter overnight, still wrapped. You can also freeze individual slices for quick breakfasts or snacks.
- Flavor Development: Honestly, this bread is even better on day two. The flavors have time to settle and deepen. So don’t be sad if you have leftovers—you’re in for a treat.
Nutritional Information & Benefits
While this is a treat, it does have some redeeming qualities. Here’s a rough estimate of the nutritional breakdown per slice (based on 10 slices).
- Calories: ~290 kcal
- Fat: 14g
- Carbohydrates: 39g
- Protein: 4g
- Fiber: 2g
- Sugar: 21g
Bananas are a great source of potassium and vitamin B6, which are important for heart health and energy metabolism. The yogurt or sour cream adds a little calcium and protein. The browned butter might not be a health food, but it does add a rich, satisfying flavor that means you’ll feel perfectly content with just one slice. This recipe can be made gluten-free or vegan, as noted in the variations section. It contains dairy, eggs, and gluten in its standard form.
Conclusion
This Cozy Browned Butter Banana Bread (No Mixer Needed) has become a staple in my kitchen, and I have a feeling it will become one in yours, too. It’s everything you want in a comfort bake: deeply flavorful, incredibly easy, and made with ingredients you already have. The browned butter is a small step that delivers a huge payoff, turning a simple loaf into something truly special. I hope you give it a try this weekend or whenever you have a few spotty bananas looking for a purpose. Don’t be afraid to make it your own—add your favorite mix-ins, try a gluten-free version, or just enjoy it plain. I’d love to hear how it turns out! Drop a comment below and let me know if you added chocolate chips or went the nutty route. Happy baking!
Frequently Asked Questions
Can I use frozen bananas for this recipe?
Absolutely! Frozen bananas are perfect for banana bread. Thaw them completely, then drain off any excess liquid before mashing. They will be very soft and almost liquid, which is exactly what you want.
Why did my banana bread sink in the middle?
This usually happens for one of two reasons: the bread was underbaked, or the batter was overmixed. Make sure you’re using a toothpick to test for doneness in the center. Also, be gentle when folding the dry ingredients into the wet—overmixing creates too much gluten, which can cause the bread to rise unevenly and then collapse.
Can I use salted butter instead of unsalted?
You can, but you’ll need to adjust the added salt. If using salted butter, reduce the ½ teaspoon of salt in the recipe to just ¼ teaspoon. The browned butter flavor will still be fantastic.
How do I know when the butter is properly browned?
You’re looking for two key signs: color and smell. The butter will turn a light amber color, and you’ll see tiny brown specks at the bottom of the pan. It will also smell incredibly nutty and toasty. The whole process takes about 5-7 minutes over medium heat.
Can I make this into muffins instead of a loaf?
Yes, this batter makes excellent muffins! Line a 12-cup muffin tin with paper liners. Fill each cup about ¾ full. Bake at 350°F (175°C) for 18-22 minutes, or until a toothpick inserted into the center of a muffin comes out clean. This is a great option for portion control or for packing in lunchboxes.
Pin This Recipe!
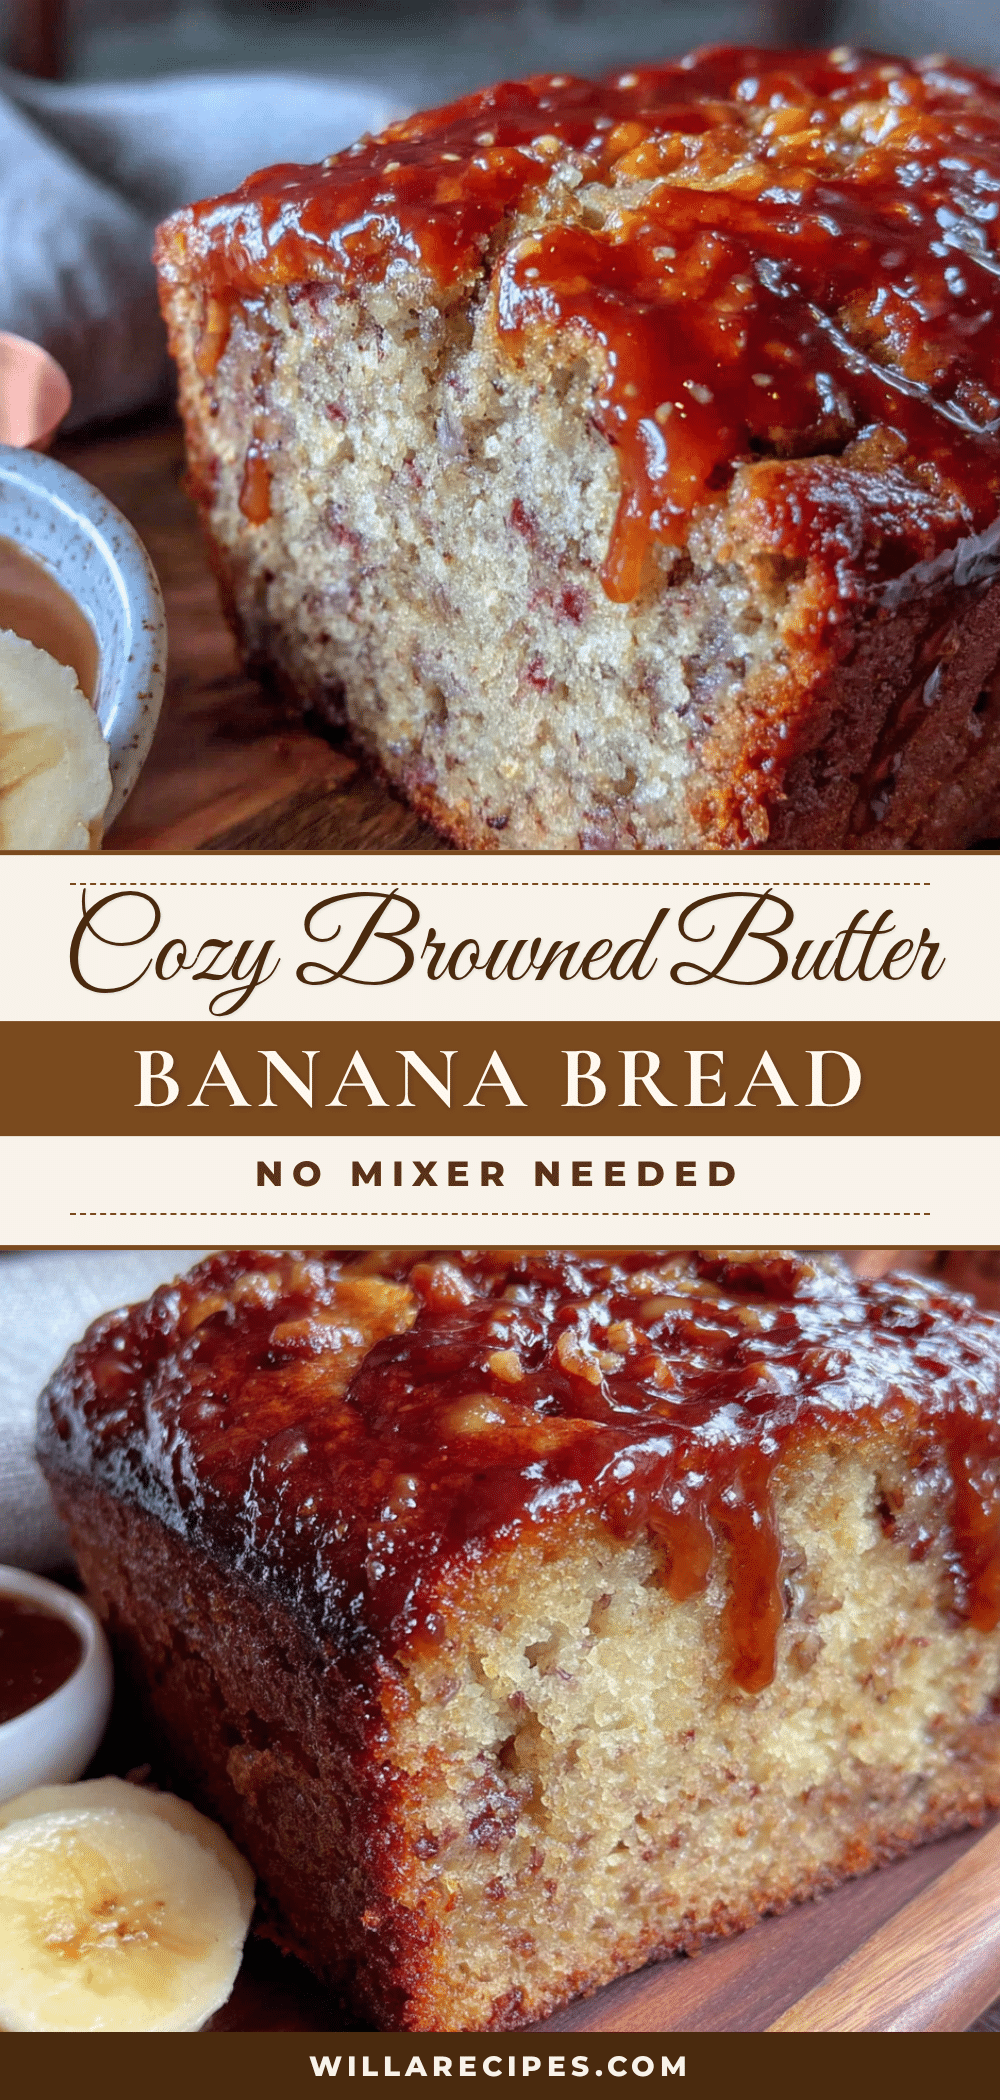
Cozy Browned Butter Banana Bread: Easy No-Mixer Recipe
This no-mixer banana bread uses browned butter for a nutty, caramel-like depth. It’s incredibly moist, simple to make with pantry ingredients, and perfect for cozy mornings.
- Prep Time: 15 minutes
- Cook Time: 55 minutes
- Total Time: 1 hour 10 minutes
- Yield: 10 servings 1x
- Category: Dessert
- Cuisine: American
Ingredients
- ½ cup (113g) unsalted butter
- 3 medium very ripe bananas (about 1½ cups / 340g mashed)
- ¾ cup (150g) granulated sugar
- 1 large egg, room temperature
- 1 teaspoon vanilla extract
- ¼ cup (60g) plain yogurt or sour cream
- 1½ cups (188g) all-purpose flour
- 1 teaspoon baking soda
- ½ teaspoon fine sea salt
- ½ cup optional mix-ins (chopped walnuts, pecans, or chocolate chips)
Instructions
- Brown the butter: Place ½ cup butter in a medium saucepan over medium heat. Melt completely, then continue cooking, swirling occasionally, until it foams, subsides, and turns a light amber color with golden specks and a nutty aroma. Immediately pour into a heatproof bowl to stop cooking. Let cool for about 10 minutes.
- Preheat oven to 350°F (175°C). Line a 9×5-inch loaf pan with parchment paper, leaving overhang on the long sides.
- Mash bananas in a small bowl with a fork until mostly smooth (a few lumps are fine). You should have about 1½ cups (340g).
- To the bowl with cooled browned butter, add sugar, egg, vanilla, and yogurt/sour cream. Whisk until smooth, well combined, and slightly paler, about 30 seconds.
- Add mashed bananas to the wet mixture and whisk until fully incorporated. Batter will be loose and lumpy.
- In a separate small bowl, whisk together flour, baking soda, and salt.
- Pour dry ingredients into wet ingredients. Using a rubber spatula, gently fold until just combined and no streaks of flour remain. Do not overmix. Fold in optional mix-ins if using.
- Pour batter into prepared loaf pan and spread evenly. Bake for 50–60 minutes, or until a toothpick inserted in the center comes out clean or with a few moist crumbs. If top browns too quickly after 40 minutes, tent loosely with foil.
- Cool in pan on a wire rack for 15 minutes. Then lift bread out using parchment overhang and transfer to rack to cool completely before slicing.
Notes
Don’t walk away while browning butter—it can burn quickly. Use a light-colored pan to see color change. Room temperature egg and yogurt/sour cream prevent butter from seizing. Overmixing leads to tough bread. Bread is even better on day two. Store in an airtight container at room temperature for up to 4 days, or freeze for up to 3 months.
Nutrition
- Serving Size: 1 slice
- Calories: 290
- Sugar: 21
- Sodium: 280
- Fat: 14
- Saturated Fat: 8
- Carbohydrates: 39
- Fiber: 2
- Protein: 4
Keywords: banana bread, browned butter, no mixer, easy banana bread, moist banana bread, comfort food


