I was at my local hardware store last February, of all places, buying a new showerhead. The guy behind the counter—his nametag said “Doug”—had a cast iron skillet sitting on a hot plate near the register, and the smell was absolutely wrecking me. I asked what he was making, half expecting him to say something about seasoning the pan. Instead, he launched into a full breakdown of his weeknight dinner routine, complete with hand gestures and a very specific opinion about garlic-to-butter ratios. I stood there for twenty minutes, showerhead forgotten, while Doug explained how he gets his kids to eat rice without complaint. This recipe came from that conversation.
Doug’s secret? You don’t sauté the garlic first. You let it melt into the butter as the rice cooks, so the flavor spreads evenly instead of burning in spots. I’ve made this one-pan garlic butter chicken and rice at least twice a month since that day, and honestly, it’s become my emergency dinner for those nights when cooking feels like the last thing I want to do. The rice comes out fluffy, the chicken stays juicy, and the whole thing comes together in one pan with minimal cleanup. Maybe you’ve had those nights where you stare into the fridge and nothing looks like a meal. This is the recipe that solves that problem.
The best part? Doug had no idea he was handing over a family staple. He just wanted to talk about dinner. I keep making it because it’s the kind of meal that feels like you fussed, but you really didn’t. It’s cozy, it’s garlicky, and it’s exactly what a Tuesday night needs.
Why You’ll Love This Recipe
This one-pan garlic butter chicken and rice isn’t just another weeknight dinner—it’s the one you’ll actually look forward to making. I’ve tested it in different pans, with different rice varieties, and even with frozen chicken thighs (which work great, by the way). Here’s why this version stands out:
- 30-Minute Meal: From start to table in about half an hour, including prep. Perfect for those evenings when hangry is a real mood.
- One Pan, Minimal Mess: Everything cooks in a single skillet or Dutch oven. No colander to wash, no extra pot for rice. Your future self will thank you.
- Simple Pantry Ingredients: Chicken, rice, butter, garlic, broth, and a few seasonings. You probably have most of this already, which makes it perfect for last-minute dinner decisions.
- Kid-Approved and Crowd-Pleasing: The garlic butter flavor is rich but not overwhelming, and the rice soaks up all the savory goodness. I’ve served this to picky eaters and dinner guests alike—empty plates every time.
- Built-In Flexibility: You can swap chicken thighs for breasts, use brown rice (with adjusted liquid), or add vegetables like peas or spinach right at the end. It adapts to what you have.
What makes this recipe different from other one-pan chicken and rice dishes is the technique. Instead of browning the chicken separately and then building the rice, you let the chicken render its fat into the pan first, then cook the rice in that same flavorful base. The garlic doesn’t get added until the rice starts to toast, which means it infuses the dish without burning. It’s a small shift, but it makes a big difference in the final flavor.
This is the recipe that made me stop ordering takeout on busy nights. It’s comfort food that comes together faster than delivery, with ingredients you actually recognize. That first bite—the tender chicken, the buttery rice, the garlicky warmth—it’s the kind of meal that makes you close your eyes and just enjoy the moment.
What Ingredients You Will Need
This recipe relies on simple, wholesome ingredients to deliver big flavor without complicated steps. Most of these are pantry staples, which is exactly what you want for a busy weeknight dinner.
- Chicken thighs (boneless, skinless): 1.5 pounds (about 4-6 thighs). I prefer thighs over breasts here because they stay juicier during the cooking process and add more flavor to the rice. If you only have chicken breasts, go for it—just reduce the cooking time by a few minutes and check doneness early.
- Long-grain white rice: 1 cup (200 grams). Basmati or jasmine work beautifully here. The long grains stay separate and fluffy, which is what you want. Avoid short-grain or sushi rice, as they’ll turn gummy. I’ve used regular white rice from the grocery store with great results—no need for specialty brands.
- Chicken broth: 2 cups (480 ml). Low-sodium is best so you can control the salt level. If you only have bouillon cubes, dissolve one in boiling water according to package directions. Homemade broth works too, but store-bought is perfectly fine for this recipe.
- Unsalted butter: 4 tablespoons (56 grams). Unsalted lets you control the seasoning. If you only have salted butter, reduce the added salt in the recipe by about ¼ teaspoon.
- Garlic: 6 cloves, minced (about 2 tablespoons). Fresh garlic is non-negotiable here—the pre-minced stuff in jars has a different flavor and won’t give you the same result. I buy whole heads and mince them myself. It takes two minutes and makes a real difference.
- Yellow onion: 1 medium, finely diced (about 1 cup). The onion adds sweetness and depth as it cooks. You can substitute with a shallot if that’s what you have, but yellow onion is standard here.
- Dried thyme: 1 teaspoon. Thyme pairs beautifully with garlic and chicken. If you have fresh thyme, use 1 tablespoon of leaves. Oregano or rosemary also work in a pinch.
- Paprika: 1 teaspoon. I use sweet paprika for color and mild flavor. Smoked paprika gives a deeper, earthier taste if you want to change things up.
- Salt: 1 teaspoon, plus more to taste. I use kosher salt. If you’re using table salt, start with ¾ teaspoon and adjust.
- Black pepper: ½ teaspoon, freshly ground. Pre-ground works, but fresh cracked pepper adds more aroma.
- Fresh parsley: For garnish (optional but nice). A handful, chopped. It adds color and a fresh note that balances the richness.
- Optional vegetables: A handful of frozen peas or spinach stirred in at the end adds color and nutrients without extra effort.
Ingredient selection tip: Look for chicken thighs that are similar in size so they cook evenly. If some are much larger than others, you can pound them gently to even thickness or cut them in half. For the rice, rinsing it before cooking removes excess starch and helps prevent clumping. I rinse mine in a fine-mesh strainer until the water runs clear, which takes about 30 seconds.
Substitution note: For a dairy-free version, use olive oil or avocado oil instead of butter. The flavor will be different but still delicious. For a gluten-free option, this recipe is naturally gluten-free as long as your chicken broth is certified gluten-free.
Equipment Needed
You don’t need much for this one-pan garlic butter chicken and rice, which is part of the appeal. Here’s what you’ll need:
- Large skillet or Dutch oven: A 12-inch skillet with a tight-fitting lid is ideal. I use my cast iron skillet for this recipe because it holds heat evenly and gives the chicken a nice sear. A stainless steel or non-stick pan works too. If you’re using non-stick, be careful not to scratch it when stirring the rice.
- Wooden spoon or spatula: For stirring the rice and scraping up the browned bits from the bottom of the pan. Those bits are flavor gold.
- Cutting board and knife: For dicing the onion and mincing the garlic. A sharp knife makes this part much faster.
- Measuring cups and spoons: For accurate measurements, especially for the rice and broth. Rice-to-liquid ratio matters here.
- Fine-mesh strainer: For rinsing the rice (optional but recommended).
If you don’t have a lid that fits your pan, you can use a sheet of aluminum foil crimped tightly around the edges. It won’t be as snug, but it’ll work. I’ve done this more times than I’d like to admit, and the rice still comes out fine. Budget-friendly tip: A good cast iron skillet can be found at thrift stores for under $20, and it’ll last a lifetime with proper care.
Preparation Method
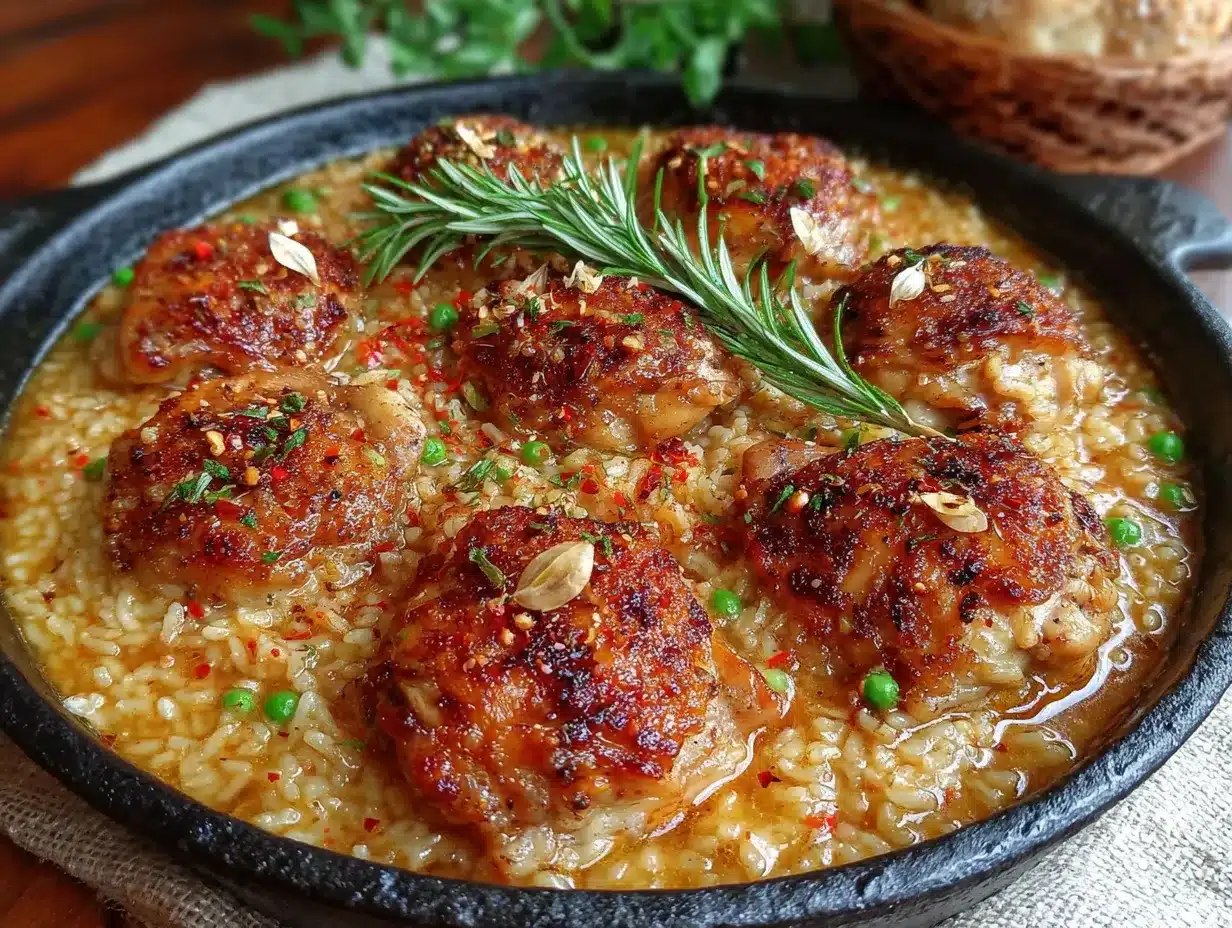
Let’s get cooking. This one-pan garlic butter chicken and rice comes together in about 30 minutes, and most of that time is hands-off while everything simmers.
- Prep your ingredients first: Dice the onion, mince the garlic, and rinse the rice in a fine-mesh strainer until the water runs clear. Pat the chicken thighs dry with paper towels, then season both sides with ½ teaspoon of salt and ¼ teaspoon of black pepper. Having everything ready before you start cooking makes the process smooth and stress-free.
- Heat the pan and sear the chicken: Place your skillet over medium-high heat and add 1 tablespoon of the butter. Once it’s melted and shimmering, add the chicken thighs in a single layer. Don’t crowd the pan—if your thighs are large, you may need to do this in two batches. Let them cook undisturbed for 4-5 minutes until the bottom is golden brown and releases easily from the pan. Flip and cook for another 3-4 minutes on the second side. The chicken won’t be fully cooked through yet, and that’s fine. Transfer the thighs to a plate and set aside.
- Sauté the onion: Reduce the heat to medium. Add another tablespoon of butter to the pan. Once it melts, add the diced onion. Scrape up any browned bits from the bottom of the pan as the onion cooks—that’s where so much flavor lives. Sauté for 3-4 minutes until the onion is soft and translucent.
- Toast the rice: Add the rinsed rice to the pan with the onions. Stir it around for 1-2 minutes until the grains start to look slightly opaque and you hear a faint crackling sound. This toasting step helps the rice stay separate and fluffy instead of turning mushy.
- Add garlic and seasonings: Push the rice to one side of the pan and add the remaining 2 tablespoons of butter. Once it melts, add the minced garlic, dried thyme, paprika, and the remaining ½ teaspoon of salt and ¼ teaspoon of pepper. Stir everything together for about 30 seconds until the garlic is fragrant. Be careful not to let it burn—burnt garlic turns bitter fast.
- Add the broth and return the chicken: Pour in the chicken broth and give everything a good stir. Nestle the chicken thighs back into the rice, skin side up (or the side that was seared first). Any juices that collected on the plate should go into the pan too—that’s extra flavor.
- Simmer and cover: Bring the liquid to a boil, then reduce the heat to low. Cover the pan with a tight-fitting lid and let it simmer for 15-18 minutes. Don’t lift the lid during this time—the steam is what cooks the rice evenly.
- Rest and fluff: After 15 minutes, check the rice. It should be tender and the liquid should be absorbed. If the rice is still firm and there’s liquid left, cover and cook for another 2-3 minutes. Once done, remove the pan from the heat and let it sit, covered, for 5 minutes. This resting period lets the rice finish absorbing steam and sets the texture. After resting, fluff the rice with a fork, taste for seasoning, and adjust with more salt or pepper if needed.
- Garnish and serve: Sprinkle chopped fresh parsley over the top if you’re using it. Serve the chicken and rice directly from the pan—that’s the beauty of one-pan cooking. The chicken should be tender and juicy, the rice fluffy and fragrant with garlic and butter.
Sensory cue: When you lift the lid after simmering, you should see steam rise and smell the garlic and thyme immediately. The rice grains should look separate and slightly glossy, not clumped together. If the rice seems wet, let it sit uncovered for a minute or two to let excess moisture evaporate.
Cooking Tips & Techniques
I’ve made this one-pan garlic butter chicken and rice more times than I can count, and I’ve learned a few things the hard way. Here are the tips that make the biggest difference:
Don’t skip the rice rinsing. I know it’s an extra step, but rinsing removes the surface starch that makes rice gummy. I forgot to rinse once and ended up with a sticky, porridge-like texture that was nothing like the fluffy rice I wanted. Rinse until the water runs clear—it takes 30 seconds and saves the dish.
Let the chicken develop a proper sear. That golden-brown crust isn’t just for looks—it adds deep flavor to the entire dish. Don’t move the chicken around in the pan. Let it sit for a full 4-5 minutes before trying to flip. If it sticks, it’s not ready yet. It will release naturally when it’s properly browned.
Toast the rice before adding liquid. This step is easy to skip when you’re in a hurry, but it makes a noticeable difference. Toasting the rice in the butter and onion mixture for a minute or two gives it a nutty flavor and helps the grains stay separate during cooking.
Watch the garlic. Garlic burns quickly, especially in butter. Add it after the rice has toasted and stir it in quickly before adding the broth. If you see it turning brown, you’ve waited too long. When I first made this, I added the garlic with the onions and ended up with bitter, acrid garlic bits throughout the dish. Live and learn.
Resist the urge to peek. I know it’s tempting to lift the lid and check on things, but every time you do, you release steam and heat. The rice needs that trapped steam to cook evenly. Trust the process and keep the lid on until the timer goes off.
Multitasking strategy: While the chicken sears, dice your onion and mince your garlic. While the rice simmers, set the table or prep a quick side salad. The active cooking time is only about 10 minutes; the rest is hands-off.
Variations & Adaptations
This one-pan garlic butter chicken and rice is flexible enough to adapt to different tastes, diets, and what you have in the fridge. Here are a few variations I’ve tried and loved:
Lemon Herb Version: Add the zest of one lemon and 2 tablespoons of lemon juice along with the broth. Swap the thyme for dried oregano or basil. The brightness cuts through the richness of the butter beautifully. I made this version last spring and it was perfect for those transitional weather days.
Vegetable-Packed Version: Add 1 cup of frozen peas and 1 cup of chopped carrots along with the broth. Or stir in a handful of fresh spinach right at the end of cooking—it wilts into the rice in about a minute. This is my go-to when I want to sneak extra vegetables into dinner without anyone complaining.
Creamy Version: Stir in ¼ cup of heavy cream or full-fat coconut milk after the rice has cooked, just before serving. This turns the rice into something almost risotto-like in texture. It’s indulgent, but sometimes that’s exactly what you need.
Spicy Version: Add ½ teaspoon of red pepper flakes along with the garlic, or stir in a diced jalapeño with the onions. The heat pairs surprisingly well with the butter and garlic. My neighbor tried this version and now makes it every other week.
Dietary Adaptations: For a dairy-free version, substitute the butter with olive oil or a plant-based butter. For a lower-carb option, swap the rice for cauliflower rice—just reduce the cooking time significantly (about 5-7 minutes covered) and check for doneness early. For a gluten-free version, ensure your chicken broth is certified gluten-free.
Serving & Storage Suggestions
This one-pan garlic butter chicken and rice is best served hot, straight from the skillet. The rice is at its fluffiest right after the resting period, and the chicken is at its juiciest. I like to serve it with a simple side of steamed green beans or a crisp green salad dressed with lemon vinaigrette to balance the richness.
For presentation, sprinkle fresh parsley over the top and serve directly from the pan. It’s rustic and inviting, and it saves you from washing extra dishes. If you’re feeling fancy, a wedge of lemon on the side lets everyone add a squeeze of brightness to their own serving.
Storage: Leftovers keep well in an airtight container in the refrigerator for up to 4 days. The rice may absorb more moisture and become slightly softer, but the flavor holds up beautifully. I’ve found that the garlic flavor actually deepens overnight, making leftovers almost better than the first serving.
Reheating: The best way to reheat is in a skillet over medium-low heat with a splash of chicken broth or water to rehydrate the rice. Cover and heat for 5-7 minutes, stirring occasionally. You can also use the microwave—just cover the dish and heat in 30-second bursts, stirring between each, until hot. Add a small pat of butter on top before reheating to bring back some of the richness.
Freezing: This dish freezes well for up to 3 months. Let it cool completely, then transfer to a freezer-safe container. To thaw, place it in the refrigerator overnight and reheat as directed above. The texture of the rice will be slightly softer after freezing, but the flavor remains excellent.
Flavor development note: The garlic and herb flavors meld together more after a day in the fridge. I sometimes make a double batch on purpose just for the leftovers.
Nutritional Information & Benefits
Here’s an approximate nutritional breakdown for one serving of this one-pan garlic butter chicken and rice (based on 4 servings):
| Nutrient | Amount Per Serving |
|---|---|
| Calories | 485 |
| Protein | 32g |
| Fat | 18g |
| Saturated Fat | 8g |
| Carbohydrates | 45g |
| Fiber | 1g |
| Sugar | 2g |
| Sodium | 680mg |
This recipe offers a balanced mix of protein, carbohydrates, and healthy fats. Chicken thighs provide iron, zinc, and B vitamins, while garlic is known for its immune-supporting properties. The butter adds fat-soluble vitamins A, D, E, and K, which help your body absorb nutrients from the other ingredients.
Dietary considerations: This recipe is naturally gluten-free (verify your broth). For lower sodium, use low-sodium broth and reduce the added salt. For a lighter option, use chicken breasts instead of thighs and reduce the butter to 3 tablespoons. The nutritional values will shift, but the dish will still be satisfying.
My personal perspective: This isn’t a health food, and it doesn’t pretend to be. It’s a comforting, nourishing meal that uses real ingredients and fits into a balanced diet. Sometimes the healthiest thing you can do is sit down to a warm, home-cooked dinner with people you care about.
Conclusion
This one-pan garlic butter chicken and rice started with a conversation in a hardware store, of all places. Doug probably doesn’t remember me, but I think about his tip every time I make this dish. It’s become my go-to for busy nights, lazy Sundays, and everything in between. The garlic butter seeps into every grain of rice, the chicken stays tender, and the whole thing comes together in one pan with minimal fuss.
I hope you give this recipe a try and make it your own. Maybe you’ll add extra vegetables, swap in different herbs, or serve it with a side you love. That’s the beauty of a simple, solid recipe—it leaves room for your own touches. If you make it, I’d love to hear how it turned out. Drop a comment below and let me know what variations you tried, or share your own one-pan dinner secrets. Doug would approve.
Happy cooking, and here’s to more meals that feel like a hug in a bowl.
Frequently Asked Questions
Can I use chicken breasts instead of thighs?
Absolutely. Chicken breasts will work, but they cook faster and can dry out more easily. Reduce the simmering time by about 3-5 minutes and check the internal temperature with a meat thermometer—165°F is the target. I recommend pounding thicker breasts to even thickness for more consistent cooking.
Why is my rice mushy or undercooked?
Mushy rice usually means too much liquid or the lid was lifted during cooking. Undercooked rice means not enough liquid or cooking time. Stick to the 2:1 liquid-to-rice ratio (2 cups broth to 1 cup rice) and keep the lid on during simmering. If your rice is undercooked after 18 minutes, add 2 tablespoons of hot broth, cover, and cook for another 3 minutes.
Can I make this recipe in a slow cooker or Instant Pot?
For the Instant Pot, use the sauté function to brown the chicken and toast the rice, then pressure cook on high for 5 minutes with a natural release. For a slow cooker, brown the chicken first, then add all ingredients and cook on low for 3-4 hours. The rice texture will be softer in a slow cooker, so it’s not my preferred method, but it works in a pinch.
What can I substitute for the butter to make it dairy-free?
Olive oil or avocado oil work beautifully. Use 3 tablespoons of oil instead of 4 tablespoons of butter. The flavor will be different—less rich, more fruity or neutral depending on the oil—but still delicious. I’ve also used vegan butter with good results.
Can I add vegetables directly to the pan?
Yes, and I do it often. Add frozen peas or chopped carrots along with the broth so they cook with the rice. For delicate vegetables like spinach or zucchini, stir them in during the last 2-3 minutes of cooking, just until wilted or tender. This keeps them from turning to mush.
Pin This Recipe!
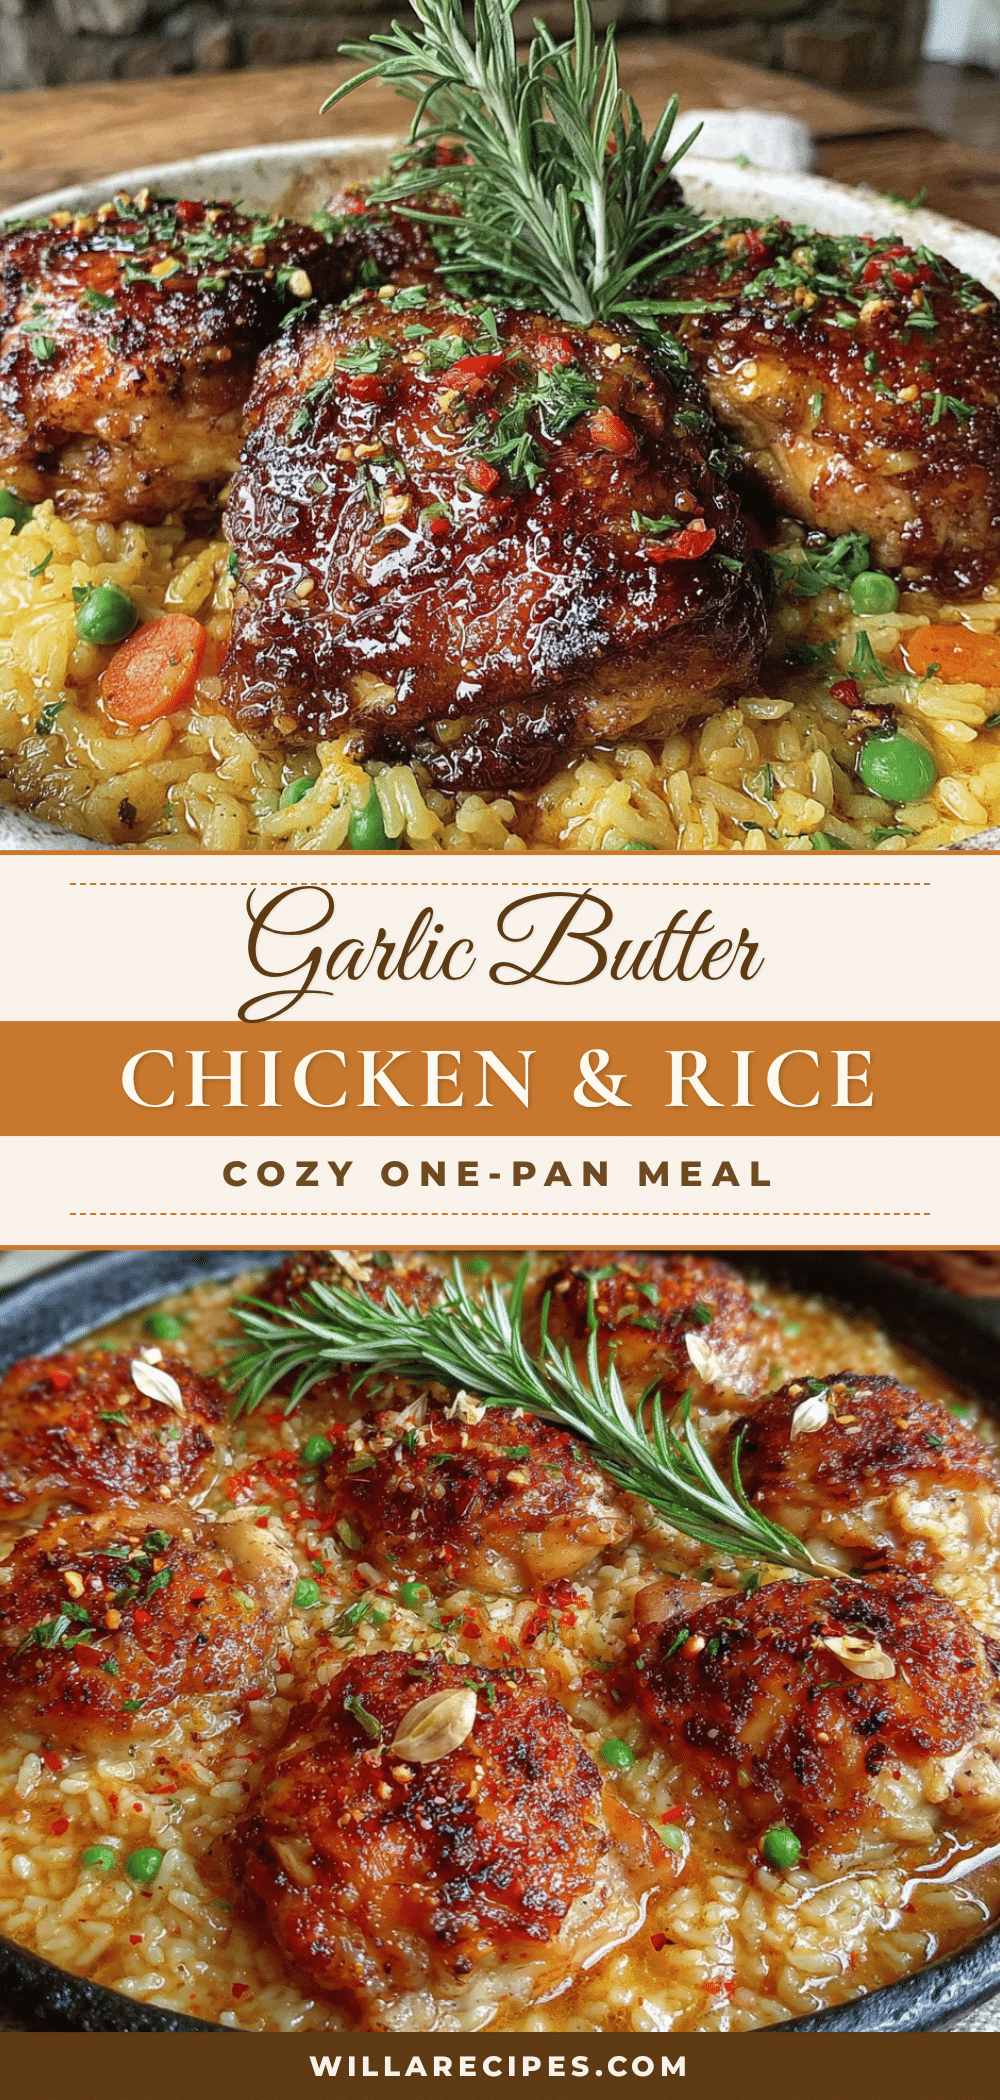
Cozy One-Pan Garlic Butter Chicken and Rice: Easy 30-Minute Dinner

A quick and comforting one-pan meal featuring juicy chicken thighs and fluffy rice infused with garlic butter. Perfect for busy weeknights, this 30-minute recipe requires minimal cleanup and uses simple pantry ingredients.
- Prep Time: 10 minutes
- Cook Time: 20 minutes
- Total Time: 30 minutes
- Yield: 4 servings 1x
- Category: Main Course
- Cuisine: American
Ingredients
- 1.5 pounds boneless, skinless chicken thighs (about 4–6 thighs)
- 1 cup long-grain white rice (200 grams), rinsed
- 2 cups low-sodium chicken broth (480 ml)
- 4 tablespoons unsalted butter (56 grams), divided
- 6 cloves garlic, minced (about 2 tablespoons)
- 1 medium yellow onion, finely diced (about 1 cup)
- 1 teaspoon dried thyme
- 1 teaspoon sweet paprika
- 1 teaspoon kosher salt, plus more to taste
- ½ teaspoon freshly ground black pepper
- Fresh parsley, chopped (for garnish, optional)
- Optional: handful of frozen peas or spinach
Instructions
- Prep your ingredients first: Dice the onion, mince the garlic, and rinse the rice in a fine-mesh strainer until the water runs clear. Pat the chicken thighs dry with paper towels, then season both sides with ½ teaspoon of salt and ¼ teaspoon of black pepper.
- Heat the pan and sear the chicken: Place your skillet over medium-high heat and add 1 tablespoon of the butter. Once melted and shimmering, add the chicken thighs in a single layer. Cook undisturbed for 4-5 minutes until golden brown, then flip and cook for another 3-4 minutes. Transfer the chicken to a plate and set aside.
- Sauté the onion: Reduce heat to medium. Add another tablespoon of butter to the pan. Once melted, add the diced onion and scrape up any browned bits. Sauté for 3-4 minutes until soft and translucent.
- Toast the rice: Add the rinsed rice to the pan with the onions. Stir for 1-2 minutes until the grains look slightly opaque and you hear a faint crackling sound.
- Add garlic and seasonings: Push the rice to one side, add the remaining 2 tablespoons of butter. Once melted, add the minced garlic, dried thyme, paprika, and remaining ½ teaspoon salt and ¼ teaspoon pepper. Stir for about 30 seconds until fragrant.
- Add the broth and return the chicken: Pour in the chicken broth and stir. Nestle the chicken thighs back into the rice, along with any juices from the plate.
- Simmer and cover: Bring to a boil, then reduce heat to low. Cover with a tight-fitting lid and simmer for 15-18 minutes. Do not lift the lid during this time.
- Rest and fluff: After 15 minutes, check the rice. If tender and liquid is absorbed, remove from heat and let sit covered for 5 minutes. If still firm, cook 2-3 more minutes. Fluff with a fork and adjust seasoning.
- Garnish and serve: Sprinkle with fresh parsley if desired. Serve directly from the pan.
Notes
Don’t skip rinsing the rice to prevent gumminess. Let the chicken develop a proper sear without moving it. Toast the rice before adding liquid for a nutty flavor. Add garlic after rice is toasted to avoid burning. Resist lifting the lid during simmering. For dairy-free, substitute butter with olive or avocado oil. Leftovers keep in the fridge for up to 4 days or freeze for up to 3 months.
Nutrition
- Serving Size: 1 serving (about 1/4
- Calories: 485
- Sugar: 2
- Sodium: 680
- Fat: 18
- Saturated Fat: 8
- Carbohydrates: 45
- Fiber: 1
- Protein: 32
Keywords: one-pan dinner, garlic butter chicken, chicken and rice, 30-minute meal, easy weeknight dinner, one skillet meal, comfort food