I had refused to eat cooked squash for the better part of a decade. My mother still brings it up at Thanksgiving, the way I’d push butternut squash soup around my bowl like a sulky teenager, claiming it was “too sweet” and “why can’t we just have the rolls.” Then last October, I found myself standing in my neighbor Maria’s kitchen, and she was shoving a forkful of something golden-brown into my face. “Just try it,” she said. “Stop being dramatic.” And I took a bite. And then I took another. And then I asked her what on earth she had done to that squash.
It was a honeynut squash, which I’d never even heard of before. She’d roasted it until the edges were caramelized and sticky, then drizzled it with brown butter and crispy sage leaves. I stood there eating straight off the baking sheet, honestly not caring that I was burning my tongue. The squash was creamy and nutty, the butter was toasty and rich, and the sage—I had always thought sage tasted like a Christmas candle, but fried in butter it becomes this whole other thing. Crispy and savory and perfect.
I walked home with two honeynut squashes and a mission. Maybe you’ve been there—that moment when a food you’ve written off completely suddenly makes sense, and you realize you’ve been missing out for years. This recipe is why I stopped being a squash hater. It’s why I now keep sage in my fridge at all times. And honestly, it’s the kind of dish that makes you want to invite someone over just so you can watch them take that first bite and see their face change.
Why You’ll Love This Recipe
This is not your average roasted squash situation. This is the version that turns squash skeptics into believers—I’ve tested it on at least six people now, and every single one has asked for the recipe. Here’s what makes it special:
- Fast and Foolproof: Ready in about 35 minutes, with only 10 minutes of hands-on work. Perfect for a Tuesday night when you want something that feels special but doesn’t require a whole production.
- Five Simple Ingredients: Honeynut squash, butter, fresh sage, salt, and pepper. That’s it. No fancy trips to a specialty store.
- Perfect for Cozy Nights: This is the dish you make when the weather turns cold and you need something warm and comforting. It pairs beautifully with roast chicken, pork chops, or a simple grain bowl.
- Always Impresses: The brown butter and crispy sage look and taste like you spent way more effort than you actually did. It’s my go-to for dinner guests who claim they “don’t really like squash.”
- Unbelievably Delicious: The combination of sweet, caramelized squash with nutty, savory brown butter and those crispy sage leaves is pure comfort food magic. I mean, I’ve eaten this for dinner straight from the pan more times than I care to admit.
What makes this recipe different from every other roasted squash out there is the technique. Most recipes just toss squash with oil and call it a day. But browning the butter first—letting it foam and turn amber and smell like toasted hazelnuts—changes everything. The sage gets fried in that butter until it’s crackly and translucent. Then everything gets roasted together, so the squash soaks up all that nutty, herby flavor while it caramelizes. It’s not just roasted squash. It’s roasted squash that tastes like someone really thought about it.
This is comfort food reimagined. It’s simple enough for a Wednesday night but elegant enough for a holiday table. And it’s the kind of recipe that makes you close your eyes after the first bite, because it just hits that spot.
What Ingredients You Will Need
This recipe uses a short list of simple ingredients, but each one plays a crucial role. The magic is in how they come together. Here’s what you’ll need:
- Honeynut Squash (2 medium): These little guys are the star of the show. Honeynut squashes are smaller and sweeter than butternut squash, with a thinner skin that doesn’t need peeling. They have a creamy, almost buttery texture when roasted. Look for ones that feel heavy for their size and have a deep orange color. If you can’t find honeynut squash, you can substitute butternut squash—just peel and cube it first, and expect a slightly longer roasting time.
- Unsalted Butter (4 tablespoons, or half a stick): This is what becomes the brown butter. I use unsalted so I can control the salt level. The butter gets cooked until the milk solids turn golden brown and smell nutty and amazing. It’s the backbone of the whole dish. I prefer Kerrygold for its rich flavor, but any good-quality unsalted butter works.
- Fresh Sage Leaves (about 12-15 leaves): Fresh sage is non-negotiable here. Dried sage won’t give you that crispy texture or the bright, peppery flavor. Look for leaves that are vibrant green and not wilted. You’ll fry them in the brown butter until they’re crisp, and they become these little savory chips that are honestly the best part.
- Kosher Salt (1 teaspoon, plus more for finishing): I use Diamond Crystal kosher salt because it’s less salty by volume, which gives me more control. The salt draws out the squash’s natural sweetness and balances the richness of the butter.
- Freshly Ground Black Pepper (½ teaspoon, plus more for finishing): Freshly ground pepper has a floral, pungent kick that pre-ground pepper just doesn’t have. Don’t skip it—it cuts through the richness beautifully.
- Optional Flaky Sea Salt (for finishing): A sprinkle of Maldon or another flaky sea salt right before serving adds a lovely crunch and a burst of saltiness that makes the sweetness of the squash pop.
Ingredient Selection Tips: When picking honeynut squash, look for ones that are about 4-6 inches long and have a deep, rich orange color. The skin should be smooth and firm, without any soft spots. If you press on it, it should feel hard, not give way. Fresh sage should smell peppery and slightly floral—if it smells musty or has no smell at all, it’s past its prime.
Substitution Guidance: If you’re dairy-free, you can use a good-quality vegan butter for the brown butter. Just be aware that it won’t brown quite the same way, and the flavor will be slightly different. For the sage, you can substitute fresh thyme or rosemary in a pinch, but the texture won’t be quite as crispy. And if you absolutely cannot find honeynut squash, a small butternut squash, peeled and cubed into 1-inch pieces, will work—just add about 10 minutes to the roasting time.
Equipment Needed
You don’t need much for this recipe, which is part of why I love it. Here’s what you’ll need:
- Baking Sheet (half-sheet pan): A rimmed baking sheet is ideal. The rim catches any butter that might spill, and the flat surface allows the squash to caramelize evenly. I use a Nordic Ware aluminum half-sheet pan—it’s inexpensive and heats beautifully. If you don’t have one, any rimmed baking sheet will do.
- Small Skillet or Saucepan: For browning the butter and frying the sage. A light-colored skillet is actually better here because you can see the butter change color. I use a small stainless steel saucepan, but a non-stick skillet works fine too. Just avoid dark non-stick pans—you won’t be able to see when the butter is properly browned.
- Chef’s Knife: A sharp chef’s knife makes cutting the squash much safer and easier. Honeynut squash have thin skins, but they’re still dense. A dull knife is a dangerous knife.
- Cutting Board: Any cutting board will work. I prefer a wooden one because it’s gentler on my knives.
- Mixing Bowl (medium): For tossing the squash with the brown butter mixture.
- Spatula or Wooden Spoon: For stirring the butter as it browns. A silicone spatula is great for scraping every last bit of that buttery goodness onto the squash.
- Measuring Spoons: For the salt and pepper. Eyeballing is fine for experienced cooks, but measuring ensures consistency.
Budget-Friendly Options: You really don’t need fancy equipment here. A basic baking sheet from the grocery store works perfectly. If you don’t have a small skillet, use a small saucepan instead. The key is just having something to brown the butter in. I’ve made this in a cast iron skillet before, and it worked great—just keep a close eye on the butter because cast iron holds heat and can brown the butter faster than you’d expect.
Preparation Method
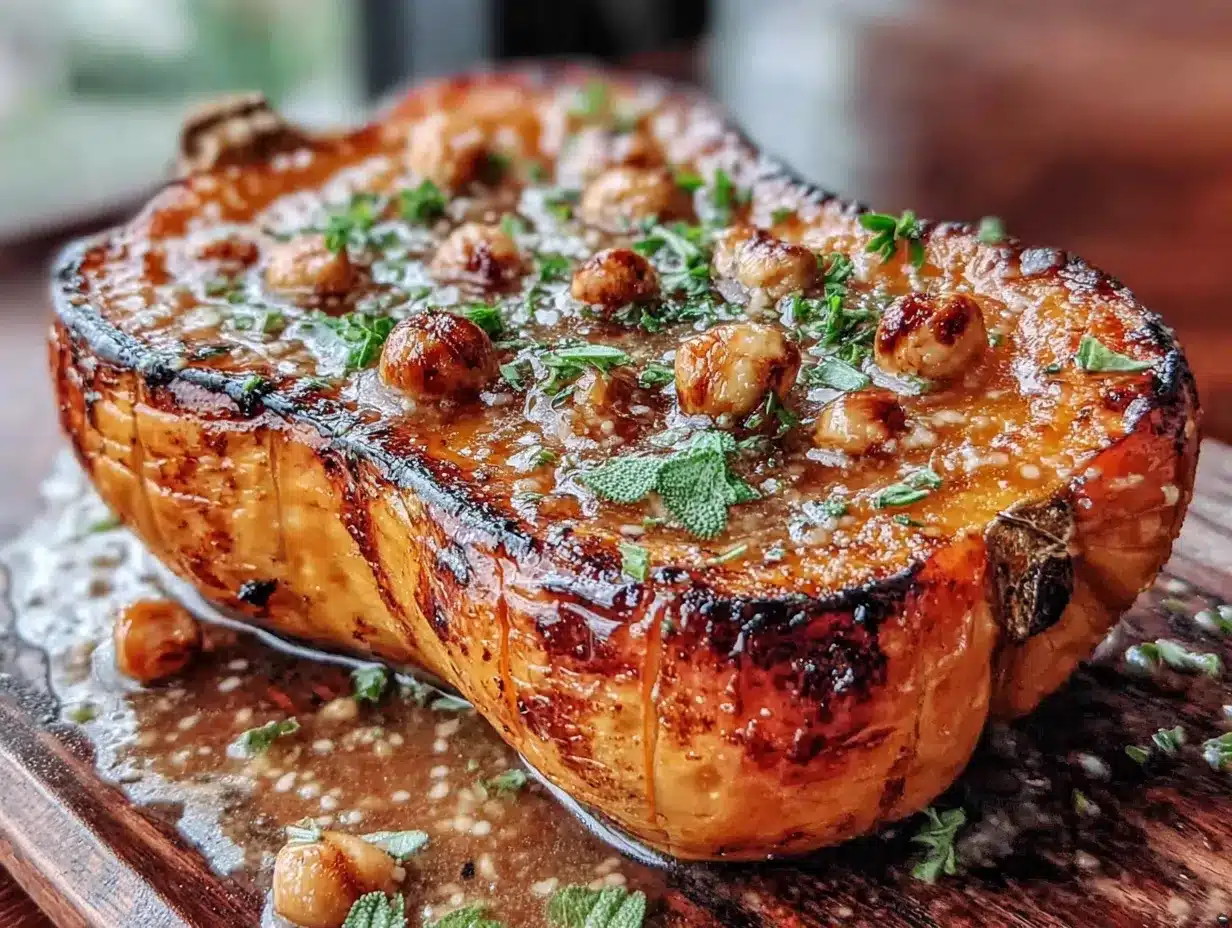
Let me walk you through this step by step. I’ve made this recipe at least twenty times now, so these are the exact notes I follow myself.
- Preheat your oven to 425°F (220°C). Get the oven nice and hot—this high heat is what gives the squash those beautiful caramelized edges. While the oven heats, position a rack in the middle.
- Prepare the squash. Using a sharp chef’s knife, carefully cut each honeynut squash in half lengthwise. The skin is thin, so this should be easier than cutting a butternut squash, but still go slow and keep your fingers clear. Use a spoon to scoop out the seeds and stringy bits. Don’t rinse the squash—just scrape out the seeds. Then slice each half into 1-inch thick half-moons. If the pieces are uneven, don’t stress—they’ll still roast fine, just check the smaller pieces a few minutes early. You want them all roughly the same size for even cooking.
- Start the brown butter. Place your small skillet or saucepan over medium heat. Add the 4 tablespoons of butter. Let it melt completely, swirling the pan occasionally. Once melted, the butter will start to foam. This is normal. Keep cooking, swirling every 10-15 seconds. After about 3-4 minutes, the foam will subside and you’ll see little brown specks forming at the bottom of the pan. The butter will smell nutty and toasty. This is the moment—don’t walk away now, because brown butter can go from perfect to burnt in about 30 seconds. As soon as you see those brown specks and smell that nutty aroma, remove the pan from the heat immediately.
- Fry the sage. Right after you take the butter off the heat, drop the sage leaves into the hot butter. They’ll sizzle and crisp up in about 15-20 seconds. Use a fork to flip them once. As soon as they stop sizzling, use the fork to transfer them to a paper towel-lined plate. They’ll continue to crisp as they cool. Don’t leave them in the butter or they’ll get soggy.
- Combine the squash and brown butter. Place the squash pieces in your mixing bowl. Pour the warm brown butter over them—every last drop, including those browned milk solids at the bottom of the pan. Add 1 teaspoon of kosher salt and ½ teaspoon of black pepper. Use your hands (or a spatula if you’re squeamish) to toss everything together until each piece of squash is evenly coated. The brown butter solids will stick to the squash, which is exactly what you want.
- Arrange on the baking sheet. Spread the squash pieces in a single layer on your baking sheet. Make sure they’re not touching each other—crowding the pan will cause them to steam instead of caramelize. If you have too many pieces, use two baking sheets or roast in batches. Trust me, the caramelization is worth the extra pan.
- Roast for 20-25 minutes. Place the baking sheet in the preheated oven. After 12 minutes, use a spatula to flip each piece of squash. This ensures even browning on both sides. Roast for another 10-13 minutes, until the squash is tender when pierced with a fork and the edges are deep golden brown and caramelized. The exact time will depend on how thick your pieces are. Start checking at 20 minutes.
- Finish and serve. Transfer the roasted squash to a serving platter. Crumble the crispy sage leaves over the top. Sprinkle with a pinch of flaky sea salt and a few grinds of fresh black pepper. Serve immediately, while the squash is still warm and the edges are at their crispiest.
Sensory Cues: When the butter is browning, you’ll smell something like toasted hazelnuts and caramel. The sage leaves will go from soft and velvety to brittle and translucent—you should be able to snap one in half easily. The squash is done when a fork slides in with almost no resistance, and the cut sides are sticky and golden, with dark caramelized edges that look almost burnt but taste incredible.
My Personal Tip: I always make extra sage leaves. They’re the first thing to disappear, and having a few extra to snack on while you’re plating is a chef’s privilege you deserve.
Cooking Tips & Techniques
After making this recipe more times than I can count, I’ve learned a few things the hard way. Let me save you some trouble.
The Brown Butter Trap: The first time I made brown butter, I burnt it. It went from golden to black in what felt like seconds. Here’s the secret: use medium heat, not high. And use a light-colored pan so you can actually see what’s happening. The butter will foam, then the foam will subside, and then you’ll see little brown flecks appear. That’s your window. Pull it off the heat immediately. If you’re nervous, you can even take it off the heat a little early—the residual heat in the pan will continue to cook it.
Don’t Skip the Flip: I know it’s tempting to just let the squash roast without touching it, but flipping halfway through is non-negotiable. The side sitting on the hot pan gets way more caramelization than the top. If you don’t flip, half your squash will be soft and pale, and the other half will be beautifully browned. Flip them, and every piece gets that perfect caramelized edge.
The Sage Situation: Fresh sage leaves vary in size. If you have really large leaves, tear them in half before frying. Small leaves can go in whole. And don’t overcrowd the pan—the leaves need room to crisp up. If you have a lot of sage, fry them in batches. They cook so fast that it takes almost no extra time.
Timing and Multitasking: Here’s how I organize this dish. While the oven preheats, I cut the squash. While the butter browns, I arrange the baking sheet. While the squash roasts, I clean up the kitchen. The whole thing comes together in about 35 minutes, and only about 10 of those minutes require active work. It’s the perfect side dish to make while something else is cooking—like a roast chicken or a pork tenderloin.
My Biggest Failure: I once tried to make this with pre-cut butternut squash from the grocery store. It was a disaster. The pieces were uneven, some were too small and burnt, others were too large and stayed hard. If you’re going to make this recipe, take the five minutes to cut the squash yourself. It makes a real difference.
Variations & Adaptations
This recipe is pretty perfect as-is, but I’ve played around with it enough to offer some fun variations. Here are a few of my favorites:
- Maple-Bourbon Version: Add 1 tablespoon of maple syrup and 1 tablespoon of bourbon to the brown butter after you take it off the heat. Stir to combine, then proceed with the recipe. The maple enhances the squash’s natural sweetness, and the bourbon adds a warm, smoky depth. I made this for Friendsgiving last year and it was the first thing to disappear.
- Spicy Honey Variation: Drizzle the finished squash with a mixture of 1 tablespoon of honey and a pinch of cayenne pepper or red pepper flakes. The heat cuts through the richness of the brown butter beautifully, and the honey adds a glossy finish. This is my go-to when I want something a little more exciting.
- Herb-Forward Twist: Add 2 sprigs of fresh thyme and 1 sprig of fresh rosemary to the brown butter while it’s browning. Remove them before tossing with the squash. The herbs infuse the butter with their flavor, and the result is a more complex, savory dish that pairs beautifully with roasted meats.
- Dairy-Free Adaptation: Use a high-quality vegan butter for the brown butter. I’ve had good results with Miyoko’s European Style Cultured Vegan Butter. It browns reasonably well and has a rich, buttery flavor. The texture won’t be exactly the same, but it’s still delicious.
- Grain Bowl Addition: Leftover roasted squash is incredible on a grain bowl. Toss it with cooked farro or quinoa, some arugula, toasted pumpkin seeds, and a drizzle of tahini dressing. It’s a whole different meal, but equally comforting.
Serving & Storage Suggestions
This dish is best served warm, right out of the oven, when the edges are still crispy and the sage leaves are at their crunchiest. I like to arrange the squash on a large platter, scatter the crispy sage over the top, and finish with a generous sprinkle of flaky sea salt and a few cracks of black pepper. It’s stunning on a holiday table alongside roast turkey or glazed ham, but it’s equally at home on a weeknight next to a simple roasted chicken or pan-seared pork chops.
Complementary Dishes: This squash pairs beautifully with rich, savory mains. Try it alongside my rosemary garlic roast chicken, or serve it with a simple roast pork tenderloin. For a vegetarian meal, pile it onto a bowl of creamy polenta or serve it alongside a hearty lentil stew. A crisp green salad with a lemony vinaigrette cuts through the richness perfectly.
Storage Instructions: Leftover roasted squash keeps well in an airtight container in the refrigerator for up to 4 days. The crispy sage will lose its crunch, unfortunately, but the squash itself will still be delicious. To reheat, spread the squash on a baking sheet and warm it in a 350°F (175°C) oven for about 8-10 minutes. The microwave will work in a pinch, but the squash will be softer and won’t have that caramelized edge.
Freezer Notes: You can freeze the roasted squash for up to 3 months. Let it cool completely, then transfer to a freezer-safe container or bag. To reheat, thaw in the refrigerator overnight, then warm in a 350°F oven until heated through. The texture will be slightly softer, but the flavor will still be wonderful.
Flavor Development: Honestly, the squash is even better the next day. The flavors meld together overnight, and the brown butter seems to soak deeper into the squash. I often make a double batch just so I have leftovers for lunch the next day. Cold, straight from the fridge, it’s also surprisingly good—like a savory-sweet squash candy.
Nutritional Information & Benefits
Here’s the nutritional breakdown for one serving (about half a honeynut squash with the brown butter and sage):
| Nutrient | Amount |
|---|---|
| Calories | 185 |
| Total Fat | 12g |
| Saturated Fat | 7g |
| Carbohydrates | 20g |
| Fiber | 4g |
| Sugar | 8g |
| Protein | 2g |
| Vitamin A | 280% DV |
| Vitamin C | 35% DV |
| Potassium | 450mg |
Honeynut squash is a nutritional powerhouse. It’s packed with vitamin A (from beta-carotene, which gives it that gorgeous orange color), vitamin C, and potassium. The fiber content helps keep you full and supports healthy digestion. And while this recipe does use butter, a little bit of healthy fat actually helps your body absorb the fat-soluble vitamins in the squash. It’s comfort food that’s actually good for you.
Dietary Considerations: This recipe is naturally gluten-free and vegetarian. To make it vegan, use a high-quality vegan butter. It’s also low-carb friendly, with only 20g of carbohydrates per serving, 4g of which are fiber. The only potential allergen is dairy, from the butter.
Conclusion
This cozy roasted honeynut squash with brown butter and sage is the recipe that turned me from a squash skeptic into someone who actively looks forward to squash season. It’s simple enough for a busy weeknight but impressive enough for company. The brown butter adds a nutty richness that makes the squash taste almost caramelized, and those crispy sage leaves are the perfect savory counterpoint.
I hope you give this recipe a try, especially if you’ve always thought you didn’t like squash. Maybe you’ll be surprised, like I was. And if you already love squash, well—this version might just become your new favorite way to make it. I’d love to hear how it turns out for you. Did you try any of the variations? Did you serve it with something amazing? Drop a comment below and let me know—I read every single one, and I love hearing about your kitchen victories.
Until next time, happy cooking. And don’t forget to make extra sage leaves. You’ll thank me later.
Frequently Asked Questions
Can I use butternut squash instead of honeynut squash?
Absolutely. Honeynut squash is smaller and sweeter, but butternut squash is a great substitute. Just peel it and cube it into 1-inch pieces. You’ll need to roast it for about 5-10 minutes longer, and you might want to add a tiny pinch of sugar to mimic the honeynut’s natural sweetness.
Can I make the brown butter ahead of time?
Yes! You can brown the butter up to a week in advance. Let it cool completely, then store it in an airtight container in the refrigerator. When you’re ready to use it, gently warm it on the stovetop or in the microwave until it’s liquid again. The sage leaves should be fried fresh, though—they lose their crunch if stored.
How do I prevent the sage from burning?
The key is to take the butter off the heat before adding the sage. The residual heat in the pan is enough to crisp the leaves without burning them. If the butter is still on the heat, the sage can go from perfect to black in seconds. Also, make sure the sage leaves are dry before adding them—wet leaves will cause the butter to splatter and can lead to uneven cooking.
Can I double this recipe for a crowd?
Definitely. For a crowd, I recommend using two baking sheets and roasting them on separate oven racks. Swap the pans halfway through roasting to ensure even cooking. You’ll need to brown the butter in two batches or use a larger pan—just be careful not to overcrowd the pan, or the butter won’t brown evenly.
What can I do with leftover honeynut squash seeds?
Don’t throw them away! Rinse the seeds to remove the stringy bits, pat them dry, and toss them with a little olive oil and salt. Roast them on a separate baking sheet at 350°F for about 10-12 minutes, until golden and crispy. They make a fantastic snack or salad topping.
Pin This Recipe!
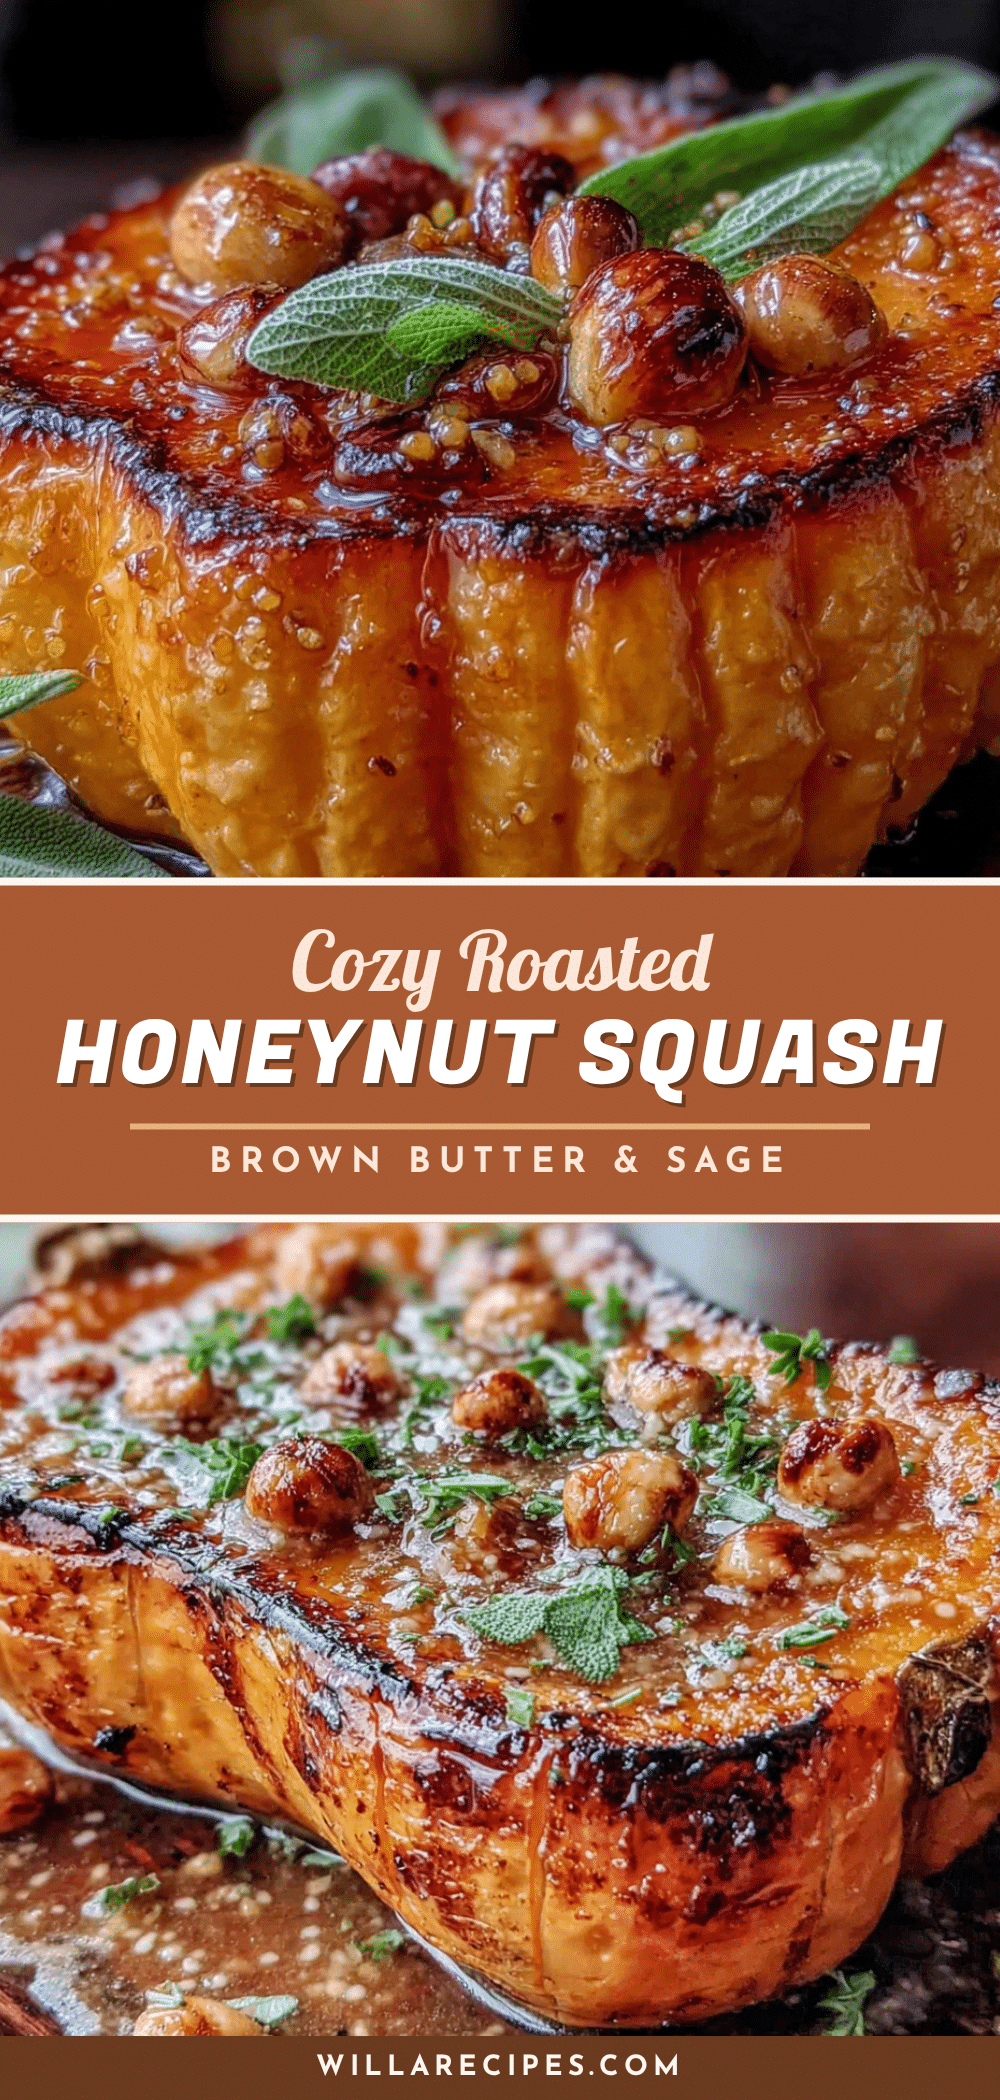
Cozy Roasted Honeynut Squash with Brown Butter and Sage

This roasted honeynut squash with brown butter and crispy sage is the dish that turns squash skeptics into believers. Ready in about 35 minutes with only 10 minutes of hands-on work, it’s simple enough for a weeknight but impressive enough for company.
- Prep Time: 10 minutes
- Cook Time: 25 minutes
- Total Time: 35 minutes
- Yield: 4 servings 1x
- Category: Side Dish
- Cuisine: American
Ingredients
- 2 medium honeynut squashes
- 4 tablespoons unsalted butter (half a stick)
- 12–15 fresh sage leaves
- 1 teaspoon kosher salt, plus more for finishing
- ½ teaspoon freshly ground black pepper, plus more for finishing
- Optional: flaky sea salt for finishing
Instructions
- Preheat your oven to 425°F (220°C). Position a rack in the middle.
- Using a sharp chef’s knife, carefully cut each honeynut squash in half lengthwise. Scoop out the seeds and stringy bits with a spoon. Slice each half into 1-inch thick half-moons.
- Place a small skillet or saucepan over medium heat. Add the butter and let it melt completely, swirling occasionally. Continue cooking until the butter foams, then the foam subsides and brown specks form at the bottom (about 3-4 minutes). Remove from heat immediately when it smells nutty and toasty.
- Drop the sage leaves into the hot butter. They will sizzle and crisp in about 15-20 seconds. Flip once with a fork, then transfer to a paper towel-lined plate.
- Place the squash pieces in a mixing bowl. Pour the warm brown butter over them, including the browned milk solids. Add 1 teaspoon kosher salt and ½ teaspoon black pepper. Toss until evenly coated.
- Spread the squash pieces in a single layer on a rimmed baking sheet, ensuring they are not touching.
- Roast for 20-25 minutes, flipping each piece after 12 minutes, until the squash is tender and the edges are deep golden brown and caramelized.
- Transfer to a serving platter. Crumble the crispy sage leaves over the top. Sprinkle with flaky sea salt and a few grinds of black pepper. Serve immediately.
Notes
Make extra sage leaves—they’re the first to disappear. For best caramelization, don’t crowd the pan. The squash is even better the next day as flavors meld.
Nutrition
- Serving Size: 1 serving (about hal
- Calories: 185
- Sugar: 8
- Sodium: 450
- Fat: 12
- Saturated Fat: 7
- Carbohydrates: 20
- Fiber: 4
- Protein: 2
Keywords: roasted honeynut squash, brown butter sage squash, easy squash recipe, fall side dish, vegetarian squash


