The neighborhood Halloween potluck was in twelve hours and I’d completely forgotten. Everyone else would be bringing those elaborate Pinterest-perfect treats — you know the ones, with fondant and edible glitter and hours of labor. I had a bag of pretzel rods, some almond slivers, and a jar of green candy melts that had been sitting in my pantry since last year’s failed attempt at making grasshoppers. Honestly, I almost just grabbed a bag of chips and called it a day. But then I remembered my grandma’s old trick — sometimes the simplest things get the biggest reaction. So I threw together these witch finger pretzel rods, and let me tell you, they were gone in fifteen minutes. The woman who brought the three-tier monster cake actually asked me for the recipe. Me, with my last-minute pantry raid! That’s the thing about Halloween — it’s not about perfection, it’s about the fun of it all. These little guys are creepy, crunchy, and ridiculously easy to make. Maybe you’ve been there too, staring at your kitchen counter wondering how to impress a crowd with almost no time left. This is your answer.
Why You’ll Love This Recipe
Look, I’ve tested a lot of Halloween snacks over the years. Some look amazing but taste like cardboard. Others taste great but look like a toddler assembled them. These witch finger pretzel rods hit that sweet spot where creepy meets delicious. Here’s why they’ve become my go-to for every Halloween gathering:
- Quick & Easy : Comes together in under 30 minutes, perfect for last-minute party prep or when you’ve got a house full of hungry ghouls.
- Simple Ingredients : No fancy grocery trips needed. Pretzel rods, candy melts, and almond slivers — that’s it.
- Perfect for Halloween Parties : Great for potlucks, school parties, office gatherings, or just a spooky movie night at home.
- Crowd-Pleaser : Kids love the creepy factor, adults love the salty-sweet combo. I’ve never brought these anywhere without someone asking for the recipe.
- Unbelievably Delicious : The contrast between the crunchy pretzel, the smooth candy coating, and the nutty almond “fingernail” is next-level snacking.
What makes these different from every other Halloween treat recipe out there? It’s the texture, honestly. Most witch finger recipes use cookies or breadsticks, but pretzel rods give you that satisfying snap when you bite into them. Plus, they don’t get stale as fast, which means you can make them a day ahead without worrying. I’ve tried the cookie versions and they always end up crumbling or getting soft. These hold up beautifully, even in a party spread that’s been sitting out for hours.
This recipe is the kind that makes you close your eyes after the first bite. It’s salty, sweet, and just the right amount of creepy. Perfect for impressing guests without stress, or turning a simple snack into something memorable.
What Ingredients You Will Need
This recipe uses simple, everyday ingredients to deliver big flavor and spooky style without the fuss. Most of these are probably already in your pantry, which is exactly the point. Here’s what you’ll need:
For the Witch Fingers
- 1 package (12 ounces) pretzel rods — Look for thick, straight rods. I prefer the Snyder’s of Hanover brand because they’re consistently straight and sturdy. Avoid the thin, twisty ones — they break too easily when you’re dipping.
- 1 bag (10-12 ounces) green candy melts — Wilton makes a great green that looks properly witchy. You can also use white candy melts with green food coloring, but the pre-colored ones give a more consistent shade. I learned that the hard way when my homemade green turned out looking more like swamp water.
- 1/2 cup almond slivers — These become the fingernails. Look for ones that are relatively flat and wide. The sliced almonds work better than the slivered ones because they look more like actual nails. I’ve used both and the sliced ones are definitely more convincing.
For Decoration (Optional but Fun)
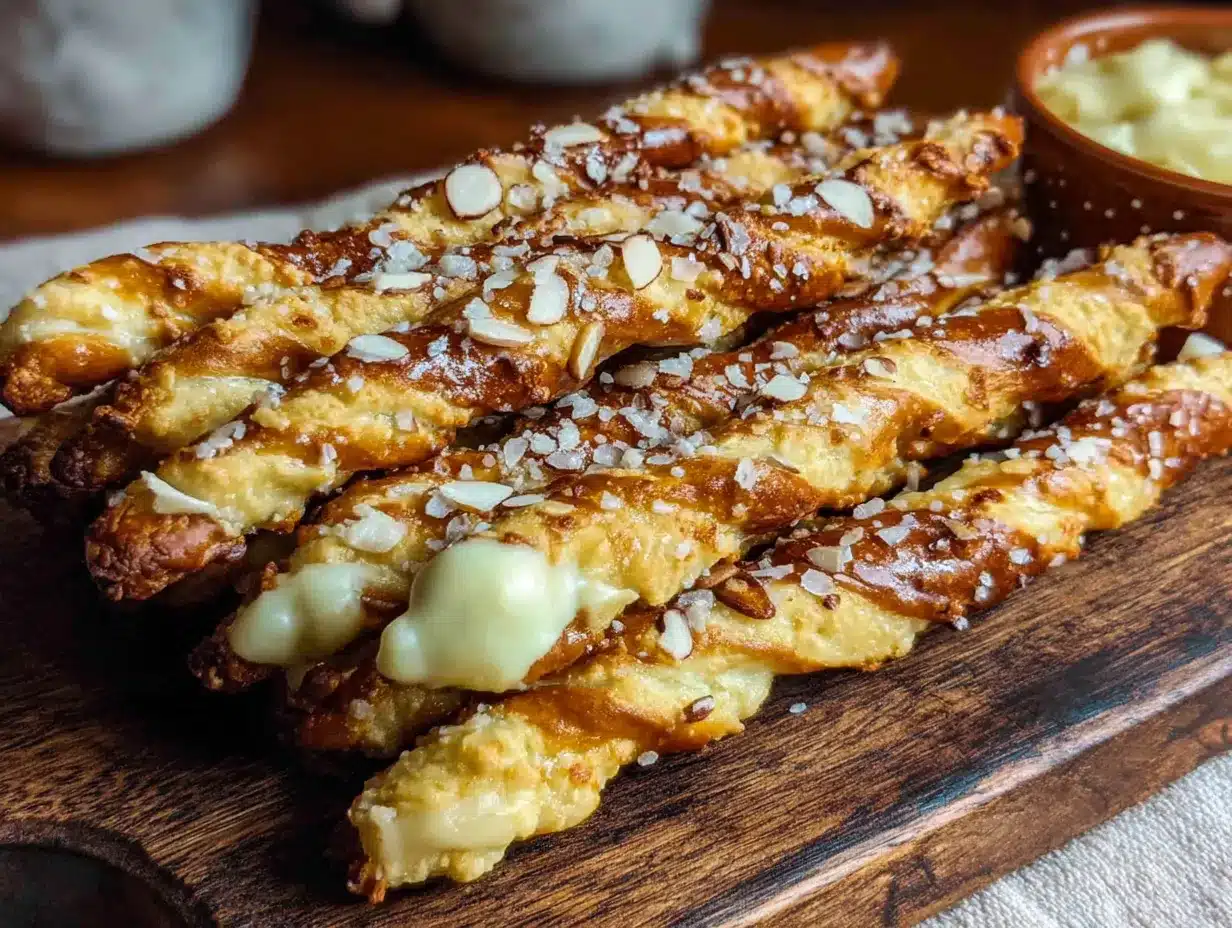
- Red decorating gel — For adding “blood” drips at the base of the fingernails. Totally optional, but kids go absolutely wild for it.
- Edible glitter or luster dust — A light dusting gives them an eerie, magical shimmer. I use a pale green luster dust from a local baking supply shop.
- Black decorating icing — For adding little wrinkles or knuckles if you want to get fancy. I’ve done this for a few parties and it adds a lot of character.
Substitution Notes
If you can’t find green candy melts, white chocolate chips with green gel food coloring work perfectly. Just add the color a drop at a time until you get the right shade. For a dairy-free option, use vegan white chocolate chips — they melt and set just as well. The almond slivers can be swapped for sliced cashews or even small pumpkin seeds if you need a nut-free version. Just make sure whatever you use is flat enough to look like a fingernail. I once tried using whole almonds and they looked more like warts than nails — not the vibe we’re going for here.
Equipment Needed
You don’t need much for this recipe, which is part of the beauty. Here’s what you’ll need:
- Microwave-safe bowl — For melting the candy melts. Glass or ceramic works best. Avoid plastic bowls — they can hold onto grease and mess up your chocolate.
- Spatula or spoon — For stirring the melted candy. A rubber spatula is ideal because it scrapes the sides well.
- Parchment paper or wax paper — For setting the dipped pretzels. Parchment paper is better because the candy releases more easily. I’ve used wax paper in a pinch and it works fine, but sometimes the bottoms get a little sticky.
- Baking sheet — To hold the parchment paper. A rimmed baking sheet works best because it catches any drips.
- Small piping bag or zip-top bag — For drizzling extra candy or adding details. A zip-top bag with the corner snipped off works perfectly and saves you from buying piping bags.
- Toothpicks — For positioning the almond nails. They’re also great for cleaning up any messy edges.
If you don’t have a microwave, you can melt the candy melts in a double boiler on the stovetop. Just make sure the water isn’t boiling too hard or you’ll get steam in the chocolate, which makes it seize up. I learned that one the hard way during a particularly stressful Halloween prep session. A good-quality candy thermometer is nice to have but not essential — just keep the heat low and stir frequently.
Preparation Method
Alright, let’s make some creepy witch fingers! This process is straightforward, but I’ll walk you through every step so you don’t end up with a melted mess like I did my first time.
- Prep your workspace (5 minutes) — Line a large baking sheet with parchment paper. Make sure it’s completely flat — any wrinkles will show up on your finished pretzels. Set your almond slivers out on a plate so they’re easy to grab. Trust me, you don’t want to be fumbling for them with chocolate-covered hands.
- Melt the candy melts (2-3 minutes) — Pour your green candy melts into a microwave-safe bowl. Microwave in 30-second intervals at 50% power, stirring well between each interval. This is crucial — I’ve burned so many batches by going full power. The candy should be completely smooth and glossy when you’re done. If it’s too thick, add a teaspoon of coconut oil or vegetable shortening and stir until smooth. Don’t use butter — it can cause the chocolate to separate.
- Dip the pretzel rods (10 minutes) — Working one at a time, hold a pretzel rod by one end and dip it into the melted candy, leaving about an inch undipped at the top. This undipped part becomes the “wrist” area and gives your witch finger a more realistic look. Let the excess drip off by holding it over the bowl for a few seconds. You can also gently tap the pretzel against the side of the bowl to help the extra candy fall off.
- Place on parchment (2 minutes) — Lay the dipped pretzel on your parchment-lined baking sheet. Don’t worry if it looks a bit messy at this point — we’re going to clean it up. Make sure the undipped end is pointing toward you (that’s the “wrist” end) and the dipped end is pointing away (that’s the “fingertip” end).
- Add the fingernail (30 seconds per pretzel) — While the candy is still wet, take an almond sliver and gently press it into the tip of the dipped end. Position it so the pointed end of the almond sticks out slightly past the end of the pretzel — this creates the “nail” effect. Press down firmly enough that it sticks, but not so hard that the almond breaks. I’ve broken more almonds than I care to admit.
- Create the knuckle wrinkles (optional, 1 minute per pretzel) — Use a toothpick to gently drag a few lines across the surface of the dipped candy to create “knuckle” wrinkles. You can also add a small dab of candy at the base of the almond to create a cuticle effect. This step is totally optional but really sells the look.
- Let them set (15-20 minutes) — Allow the pretzels to set completely at room temperature. Don’t put them in the refrigerator unless you’re in a huge hurry — condensation can form and make the candy look dull. I usually let them sit while I clean up the kitchen and prep the decorations.
- Add decorations (5 minutes) — Once the candy is completely set, you can add “blood” drips with red decorating gel at the base of the fingernail. If you’re using edible glitter, dust it lightly over the surface while the candy is still slightly tacky. For extra detail, use black decorating icing to add tiny wrinkles or veins.
- Arrange on serving platter (5 minutes) — Arrange your finished witch finger pretzel rods on a platter in a fan pattern, with the “fingertips” pointing outward. This creates a dramatic, creepy display that’s perfect for Halloween parties. I like to arrange them on a black platter or a dark-colored serving board for maximum spooky effect.
One thing I learned the hard way — don’t crowd your pretzels on the baking sheet. Leave at least an inch between each one so they don’t stick together. I made that mistake my first time and ended up with a pretzel octopus situation that was more Lovecraftian than witchy.
Cooking Tips & Techniques
After making these for about five Halloweens straight, I’ve picked up a few tricks that make the process smoother and the results more impressive. Here are my best tips:
Temperature matters more than you think. Candy melts are finicky. If your kitchen is too warm, the candy won’t set properly and you’ll end up with a sticky mess. If it’s too cold, the candy will thicken before you can get your almond nails on. Aim for a room temperature around 68-72°F. I once tried making these in my un-air-conditioned apartment during a heatwave and it was a disaster — the candy never fully set and I had green fingerprints everywhere.
Work in small batches. Don’t melt all your candy at once. Melt about a third of the bag at a time, keeping the rest in reserve. This prevents the candy from cooling and thickening while you work. If it does start to thicken, pop it back in the microwave for 10 seconds and stir well.
Use a toothpick to fix mistakes. If you get a drip where you don’t want it, or the almond nail shifts out of place, use a toothpick to gently nudge it back into position. You can also use a toothpick to clean up the edges around the “cuticle” area for a cleaner look.
Prep your almonds ahead of time. Sort through your almond slivers and pick out the ones that are roughly the same size and shape. This makes the assembly process much faster. I usually set aside about 30-35 good ones for a standard batch of pretzel rods, which gives me a few extras in case some break.
Don’t skip the tapping step. After dipping each pretzel, give it a gentle tap against the side of the bowl to remove excess candy. This prevents pooling at the bottom of the pretzel and gives you a smoother, more professional finish. I used to skip this step and wondered why my pretzels looked lumpy.
Plan your presentation. Think about how you’re going to serve these before you start making them. They look best arranged in a fan pattern on a dark platter, with the “fingertips” pointing outward. You can also stand them up in a tall glass or jar for a more dramatic effect. I’ve even seen people arrange them in a circle on a round platter with a small pumpkin in the center — it looks amazing.
Variations & Adaptations
One of the best things about this recipe is how easy it is to customize. Here are some variations I’ve tried over the years:
Zombie Fingers — Use gray or pale green candy melts and add red decorating gel for a more gruesome, undead look. You can also sprinkle on a few black sesame seeds for “dirt” or “grit” — it sounds weird but it adds a nice texture.
Monster Claws — Instead of almond slivers, use whole cashews or even small pretzel twists for the “claws.” Dip the entire pretzel rod in a darker color like purple or dark blue. These are great for a monster-themed party.
Vampire Bite — After dipping in red or dark purple candy, press two small white chocolate chips into the side to look like fang marks. Add a tiny drip of red gel for “blood.” These are perfect for a vampire-themed Halloween bash.
Gluten-Free Version — Use gluten-free pretzel rods. Most major brands now offer a gluten-free option, and they work just as well. Just make sure to check the label on your candy melts too — some contain wheat-based ingredients.
Nut-Free Version — Skip the almond slivers and use small pieces of dried fruit or even candy corn for the fingernails. Dried apricot pieces work surprisingly well and have a nice chewy texture. Pumpkin seeds are another great option if you’re not avoiding seeds.
Extra Spooky — Add a drop of black food coloring to your green candy melts to create a darker, more ominous shade. Dust the finished pretzels with black edible glitter for a truly magical effect. I did this for a Halloween party last year and people couldn’t stop staring at them.
Serving & Storage Suggestions
These witch finger pretzel rods are best served at room temperature, which makes them perfect for parties. Here’s how to make them shine:
Serving Temperature — Serve them at room temperature, straight from the counter. The candy coating should be firm but not hard, with a slight snap when you bite into it. If you’ve refrigerated them, let them sit out for about 10-15 minutes before serving to take the chill off.
Presentation Ideas — Arrange them in a fan pattern on a dark platter or serving board. You can also stand them up in a tall glass jar or a hollowed-out pumpkin for a more dramatic effect. I like to scatter a few fake spider webs around the base of the platter for extra creepiness. A small bowl of extra almond slivers on the side is a nice touch for guests who want to nibble.
What to Serve Alongside — These pair beautifully with other Halloween treats like spider web dip and crispy veggie sticks, or a bowl of pumpkin spice popcorn mix for a sweet-and-salty contrast. For drinks, try a blood orange punch or a simple apple cider. The salty pretzels balance out the sweetness of the candy beautifully.
Storage Instructions — Store your finished witch finger pretzel rods in an airtight container at room temperature for up to 5 days. Layer them between sheets of parchment paper to prevent them from sticking together. Do not refrigerate — the moisture can cause the candy to become sticky or develop a white bloom.
Freezing Instructions — You can freeze these for up to 2 months. Place them in a single layer on a baking sheet and freeze until solid, then transfer to a freezer-safe container with parchment paper between layers. Thaw at room temperature for about 30 minutes before serving. The texture holds up surprisingly well — I’ve made these a month before Halloween and they were still perfect.
Flavor Development — The flavors actually meld together nicely after a day or two. The salt from the pretzel seeps slightly into the candy coating, creating a more balanced sweet-salty flavor. If you’re making these for a party, I recommend making them the day before for the best flavor.
Nutritional Information & Benefits
Let’s be real — these are a treat, not a health food. But here’s what you’re looking at per pretzel rod (assuming you’re using standard ingredients and not going crazy with the decorations):
| Nutrient | Amount per Serving (1 pretzel rod) |
|---|---|
| Calories | 120-140 |
| Total Fat | 6-8g |
| Saturated Fat | 3-4g |
| Carbohydrates | 16-18g |
| Sugar | 10-12g |
| Protein | 2-3g |
| Sodium | 180-220mg |
The almond slivers actually add a small amount of healthy fats, vitamin E, and magnesium. And the pretzel itself provides a quick energy boost — perfect for fueling a night of trick-or-treating or party hopping. If you’re watching your sugar intake, you can use sugar-free white chocolate chips and sugar-free food coloring. The taste is slightly different but still delicious.
These are naturally egg-free and can be made dairy-free with the right substitutions. They’re not gluten-free unless you use gluten-free pretzel rods, and they contain tree nuts from the almonds. If you’re serving a crowd with allergies, make sure to label them clearly or offer a nut-free version on the side.
Conclusion
Look, I know there are a million Halloween treat recipes out there. But these witch finger pretzel rods are something special. They’re the recipe that saved me from showing up empty-handed to that potluck, and they’ve been my secret weapon ever since. They’re creepy without being gross, delicious without being complicated, and impressive without being stressful. Honestly, that’s the holy trinity of party snacks right there.
So go ahead and give them a try. Customize them however you want — make them zombie fingers or monster claws or vampire bites. That’s the beauty of this recipe — it’s a canvas for your own creepy creativity. And when someone at your party asks where you got them, you get to smile and say, “Oh, I just threw them together.”
I’d love to hear how yours turn out! Drop a comment below and let me know what variations you tried, or tag me in your photos on social media. Did you add extra “blood” drips? Did you use purple candy melts instead of green? Did your kids help you make them? I want to hear it all. Happy Halloween, friends — go make something spooky and delicious!
Frequently Asked Questions
Can I make these witch finger pretzel rods ahead of time?
Absolutely! These are actually better when made a day ahead. Store them in an airtight container at room temperature for up to 5 days. The flavors meld together beautifully overnight, and the texture stays perfectly crunchy.
My candy melts are too thick — what should I do?
Add a teaspoon of coconut oil or vegetable shortening and stir well. Microwave for another 10 seconds if needed. Don’t add water or butter — that will cause the chocolate to seize up and become unusable. I keep a small jar of coconut oil specifically for this purpose.
Can I use white chocolate instead of candy melts?
Yes, but you’ll need to add green food coloring. Use gel food coloring rather than liquid — liquid can cause the chocolate to seize. White chocolate also has a lower melting point, so be extra careful not to overheat it. I’ve done this many times and it works great, just be patient with the coloring process.
My almond nails keep falling off — what am I doing wrong?
You’re probably pressing the almond into the candy too late, after it’s already started to set. Make sure you add the almond immediately after dipping, while the candy is still wet. You can also dip the back of the almond in the melted candy before attaching it for extra sticking power. I’ve done this trick and it works like a charm.
How do I get the candy coating perfectly smooth?
The key is temperature control. Melt your candy slowly at 50% power, stirring frequently. If it’s too hot, it will be thin and runny. If it’s too cold, it will be thick and lumpy. After dipping, give the pretzel a gentle tap against the bowl to remove excess. A smooth, even coating comes from practice, so don’t worry if your first few aren’t perfect.
Pin This Recipe!
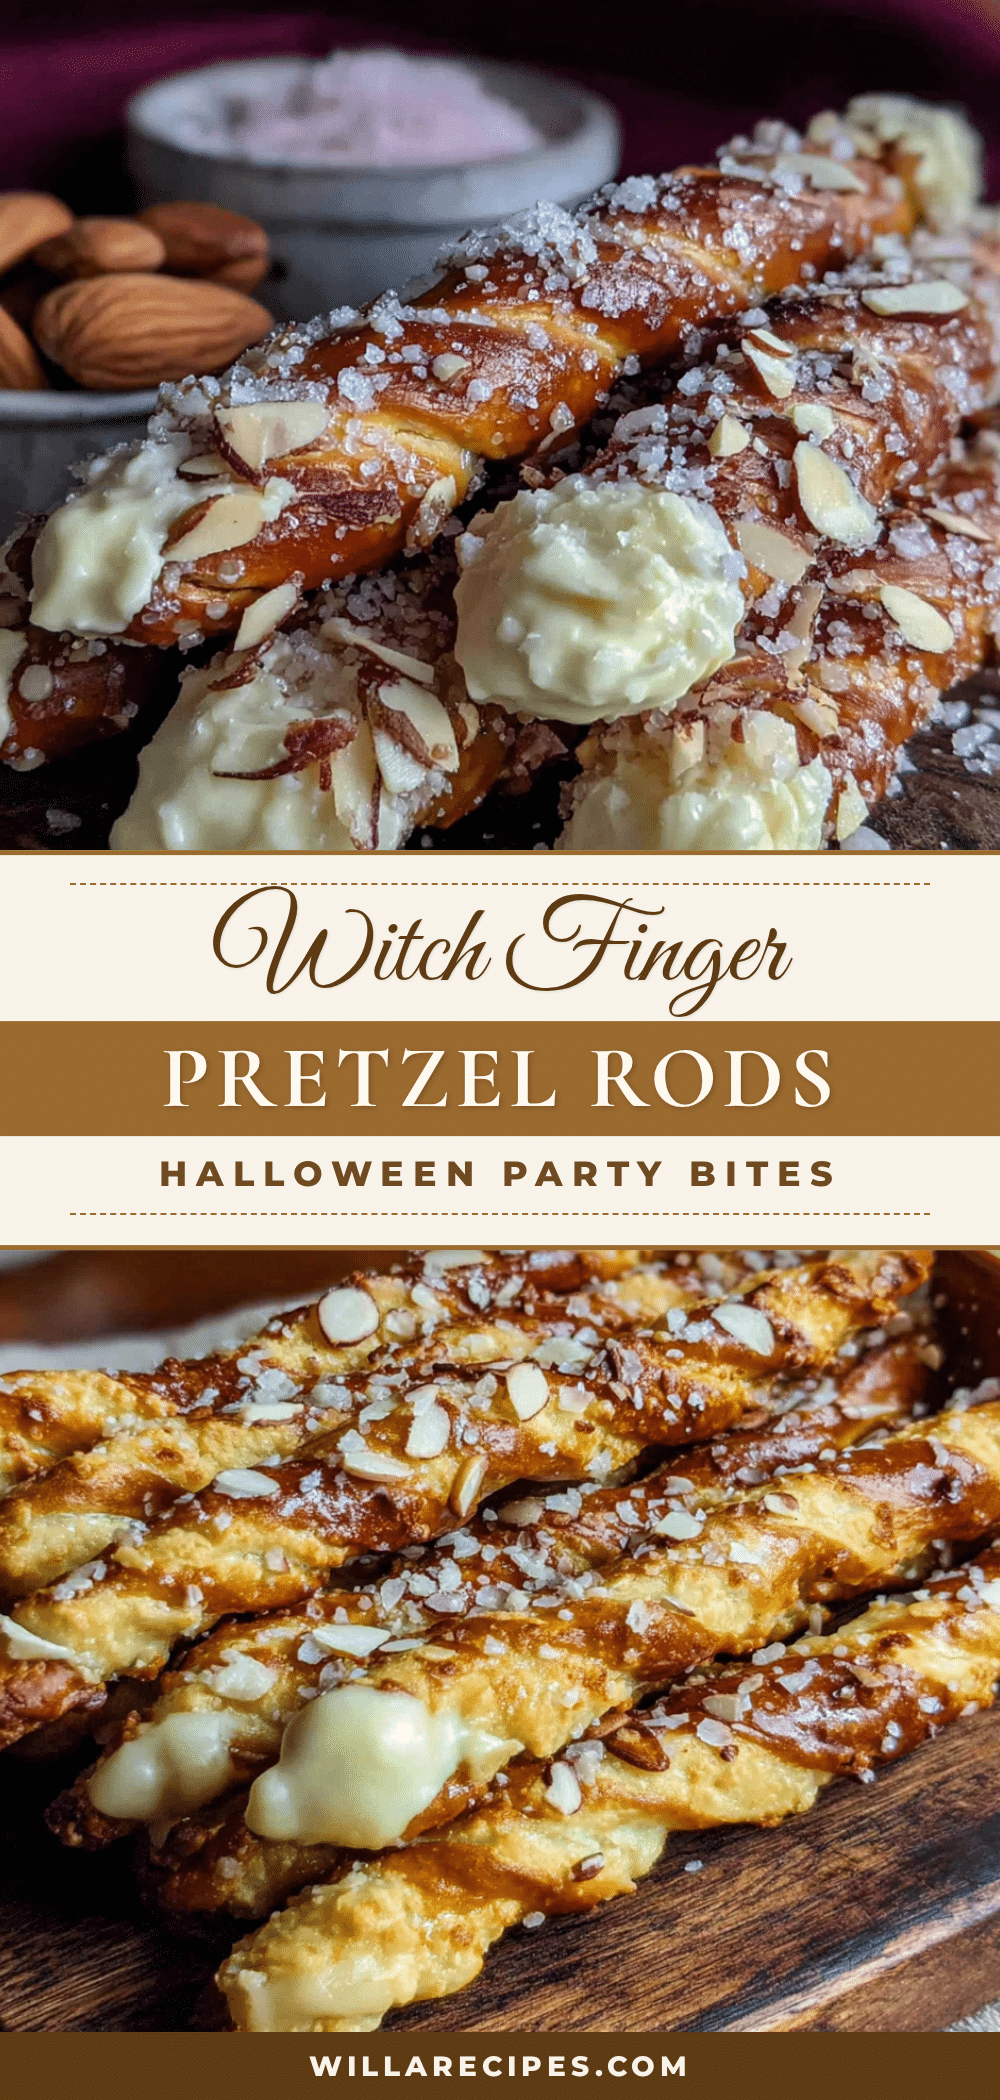
Crowd-Pleasing Witch Finger Pretzel Rods: Easy DIY Halloween Snacks

These creepy, crunchy witch finger pretzel rods are made with pretzel rods, green candy melts, and almond slivers for a spooky Halloween treat that comes together in under 30 minutes. Perfect for parties, potlucks, or a fun family activity.
- Prep Time: 15 minutes
- Cook Time: 5 minutes
- Total Time: 25 minutes
- Yield: 24 servings 1x
- Category: Snack
- Cuisine: American
Ingredients
- 1 package (12 ounces) pretzel rods
- 1 bag (10-12 ounces) green candy melts
- 1/2 cup almond slivers
- Red decorating gel (optional)
- Edible glitter or luster dust (optional)
- Black decorating icing (optional)
Instructions
- Prep your workspace: Line a large baking sheet with parchment paper. Set almond slivers out on a plate.
- Melt the candy melts: Pour green candy melts into a microwave-safe bowl. Microwave in 30-second intervals at 50% power, stirring well between each interval, until smooth and glossy. If too thick, add a teaspoon of coconut oil or vegetable shortening.
- Dip the pretzel rods: Working one at a time, hold a pretzel rod by one end and dip it into the melted candy, leaving about an inch undipped at the top. Let excess drip off.
- Place on parchment: Lay the dipped pretzel on the parchment-lined baking sheet with the undipped end pointing toward you (wrist end) and the dipped end pointing away (fingertip end).
- Add the fingernail: While the candy is still wet, press an almond sliver into the tip of the dipped end so the pointed end sticks out slightly. Press firmly.
- Create knuckle wrinkles (optional): Use a toothpick to gently drag lines across the surface for knuckle wrinkles. Add a small dab of candy at the base of the almond for a cuticle effect.
- Let them set: Allow pretzels to set completely at room temperature for 15-20 minutes.
- Add decorations (optional): Once set, add red decorating gel at the base of the fingernail for blood drips, dust with edible glitter, or add wrinkles with black decorating icing.
- Arrange on serving platter: Arrange finished pretzels in a fan pattern on a dark platter with fingertips pointing outward.
Notes
Candy melts are finicky; work in a room around 68-72°F. Don’t crowd pretzels on the baking sheet. For a smoother coating, tap dipped pretzel against bowl to remove excess. Almond nails should be added immediately after dipping while candy is still wet. Store in an airtight container at room temperature for up to 5 days. Do not refrigerate.
Nutrition
- Serving Size: 1 pretzel rod
- Calories: 130
- Sugar: 11
- Sodium: 200
- Fat: 7
- Saturated Fat: 3.5
- Carbohydrates: 17
- Fiber: 1
- Protein: 2.5
Keywords: Halloween, witch fingers, pretzel rods, easy Halloween snack, spooky treats, party food, no-bake


