My sister-in-law, Jen, wasn’t trying to impress anyone that Saturday morning. I’d stopped by to borrow her slow cooker for a potluck, and the scent of chocolate, mint, and fresh coffee hit me before I even got past the front door. It was a smell that wrapped around you like a warm blanket—rich and sweet and impossibly festive.
She was standing in her kitchen with a mug in her hand, looking like she’d just rolled out of bed. There was a pot of coffee on the counter and a little pitcher of something dark and glossy next to it. “Oh, that’s just my peppermint mocha syrup,” she said, waving her hand like it was nothing. “I make a batch every year.”
I stood there, honestly a little stunned. She’d set up a whole Christmas coffee bar on her kitchen island—mugs, whipped cream, candy canes, the works—and she was acting like it was just another Tuesday. “You want some?” she asked, already pouring me a cup. I nodded, still staring at the setup. She handed me the mug, and that first sip? Let me tell you, it was the kind of moment where you close your eyes without meaning to. The peppermint was cool and bright, the chocolate was deep, and the coffee tied it all together. It was perfect.
I asked her for the recipe, and she shrugged. “It’s just a few things in a pot. You probably have everything already.” That’s the thing about Jen—she makes extraordinary things feel like no big deal. But I knew right then I’d be making this syrup every December for the rest of my life. Maybe you’ve been there, standing in someone’s kitchen, watching them whip up magic without breaking a sweat. That’s the energy here. This isn’t a fussy project. It’s a simple, stunning way to bring holiday cheer into your morning cup.
Why You’ll Love This Recipe
This Easy Christmas Coffee Bar with Homemade Peppermint Mocha Syrup is the kind of thing that makes the holidays feel special without making you work for it. I’ve tested this syrup half a dozen times—once with a friend who’s a professional pastry chef, and she gave it her seal of approval. It’s not just good; it’s reliable.
- Quick & Easy: The syrup comes together in about 15 minutes. You can make a batch on a Sunday afternoon and have it ready all week.
- Simple Ingredients: No fancy grocery trips needed. You likely already have sugar, water, cocoa powder, and peppermint extract in your pantry.
- Perfect for Christmas Mornings: Whether you’re hosting a brunch or just want a cozy start to your day, this coffee bar feels like a celebration.
- Crowd-Pleaser: Kids love the hot chocolate version, adults love the coffee—everyone wins.
- Unbelievably Delicious: The homemade syrup is smoother and brighter than anything from a store. It’s next-level comfort in a mug.
What makes this different from other peppermint mocha recipes? It’s the balance. The syrup isn’t cloyingly sweet—it lets the coffee shine. And because you control the ingredients, you can dial up the mint or the chocolate exactly how you like it. This isn’t just another version of a holiday drink. It’s your best version, and it’s ready whenever you are.
What Ingredients You Will Need
This recipe uses simple, wholesome ingredients to deliver bold flavor and satisfying texture without the fuss. Everything is a pantry staple, which makes it easy to whip together on a whim.
- Granulated sugar (1 cup / 200g): The base of the syrup. It dissolves easily and gives the syrup its silky body. You can use organic cane sugar if you prefer.
- Water (1 cup / 240ml): Tap water is fine, but filtered water gives a cleaner taste. This helps the sugar dissolve into a simple syrup.
- Unsweetened cocoa powder (1/4 cup / 30g): I recommend Ghirardelli or Hershey’s Special Dark for a rich, deep chocolate flavor. Dutch-process cocoa works beautifully here too.
- Peppermint extract (1 teaspoon / 5ml): Pure peppermint extract is best—it’s brighter and less artificial-tasting. Nielsen-Massey is my go-to brand. Do not use peppermint oil; it’s too concentrated.
- Vanilla extract (1 teaspoon / 5ml): Adds warmth and rounds out the chocolate. Pure vanilla extract makes a difference, but imitation works in a pinch.
- Salt (a pinch): Just a tiny pinch. It sounds weird, but salt makes the chocolate taste more chocolatey. Trust me on this one.
- For serving: Strong brewed coffee or espresso (about 1 cup per serving), milk of your choice (dairy, oat, or almond all work), whipped cream, and crushed candy canes for garnish.
Ingredient selection tips: Look for cocoa powder that’s not too clumpy—sift it if you need to. For the peppermint extract, avoid anything labeled “imitation peppermint flavor.” It tends to taste like toothpaste. And if you’re using dairy-free milk, oat milk is my favorite for coffee because it froths well and doesn’t separate.
Substitution guidance: Need a sugar-free option? Use a 1:1 granulated monk fruit sweetener. For a gluten-free setup, you’re already good—everything here is naturally gluten-free. If you don’t have peppermint extract, you can steep a few fresh mint leaves in the warm syrup, but the extract gives a cleaner, stronger mint hit.
Equipment Needed
You don’t need a fancy kitchen to pull this off. Here’s what you’ll need:
- Small saucepan: A 2-quart saucepan works perfectly. I use a stainless steel one because it heats evenly and doesn’t react with the cocoa.
- Whisk: A standard wire whisk helps the cocoa powder dissolve without lumps. A silicone whisk is fine too, but metal works best.
- Measuring cups and spoons: Accurate measurements matter for syrup consistency. I use glass measuring cups for liquids.
- Fine-mesh strainer (optional but helpful): If your cocoa powder is a little clumpy, straining the syrup removes any stubborn lumps.
- Glass jar or bottle: A 16-ounce mason jar or a swing-top bottle works great for storing the syrup. Make sure it’s heat-safe.
- Funnel (optional): Makes pouring the hot syrup into the jar much less messy. I’ve tried without one—let’s just say I learned my lesson.
- For the coffee bar: A coffee maker or espresso machine, mugs, a small pitcher for the syrup, and a bowl for crushed candy canes.
Budget-friendly tips: You don’t need a fancy espresso machine. A simple drip coffee maker or even a French press works beautifully. For the jar, reuse a clean pasta sauce jar—just make sure it’s thoroughly washed and dried.
Preparation Method
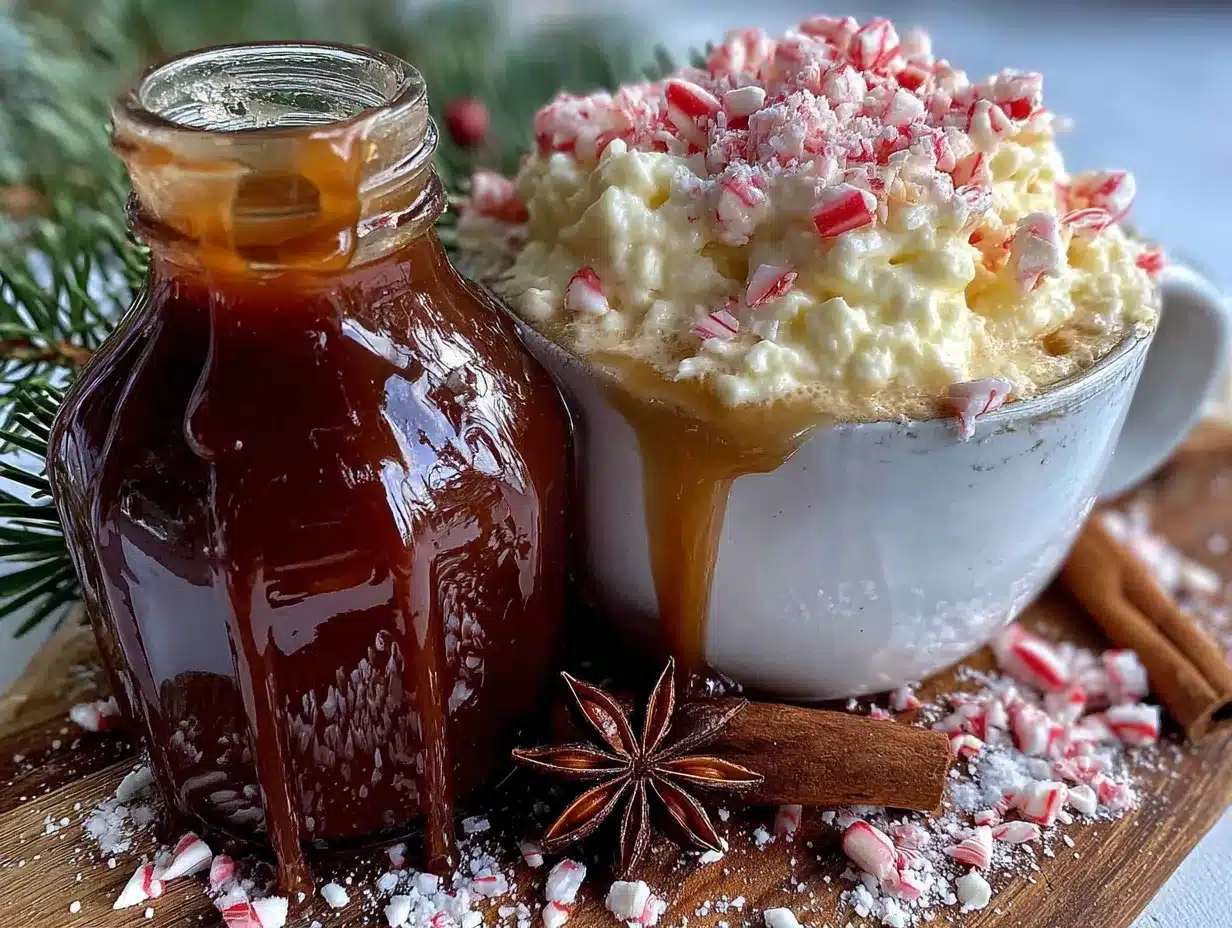
- Combine sugar and water: In your small saucepan, add the granulated sugar and water. Place it over medium heat and whisk gently until the sugar dissolves completely. This takes about 2-3 minutes. You’ll see the liquid go from cloudy to clear—that’s your cue.
- Whisk in cocoa powder: Once the sugar is dissolved, add the cocoa powder and a pinch of salt. Whisk continuously for about 1-2 minutes until the cocoa is fully incorporated. The mixture will look dark and glossy. If you see lumps, keep whisking—they’ll break up.
- Simmer gently: Bring the mixture to a gentle simmer (small bubbles around the edges, not a rolling boil). Let it cook for 3-4 minutes, whisking occasionally. This thickens the syrup slightly and deepens the chocolate flavor. Don’t walk away—it can scorch if left unattended.
- Remove from heat: Take the saucepan off the burner. Let it cool for about 1 minute. Then stir in the peppermint extract and vanilla extract. The heat will bloom the flavors without cooking them off.
- Strain (if needed): If you see any tiny lumps, pour the syrup through a fine-mesh strainer into a heat-safe jar or bottle. If it’s smooth, you can skip this step. Let the syrup cool completely at room temperature—about 20-30 minutes.
- Store or serve: Once cool, screw on the lid and refrigerate. The syrup will keep for up to 2 weeks. When you’re ready to use it, give the jar a good shake because the cocoa can settle.
- Assemble your coffee bar: Brew a pot of strong coffee or pull a few shots of espresso. Set out mugs, a pitcher of the peppermint mocha syrup, your milk of choice, whipped cream, and crushed candy canes. Let everyone build their own drink. For a single serving, add 1-2 tablespoons of syrup to a mug, pour in 1 cup of coffee, add a splash of milk, and top with whipped cream and crushed candy.
Sensory cues: When you whisk in the cocoa, the smell should be deeply chocolatey with no burnt notes. The finished syrup should coat the back of a spoon but still pour easily—like warm maple syrup. If it’s too thick, add a tablespoon of water and whisk it in.
Personal tip: I like to double the batch and keep it in a big swing-top bottle in the fridge. It makes weekday mornings feel like a holiday party. Just remember to label it—I once grabbed it thinking it was cold brew, and that was a very sweet mistake.
Cooking Tips & Techniques
Here’s what I’ve learned from making this syrup more times than I can count:
Don’t boil aggressively. A gentle simmer is all you need. Boiling can make the sugar crystallize and give the syrup a grainy texture. If you see big bubbles, lower the heat immediately.
Extract timing matters. Add the peppermint and vanilla extracts only after you’ve removed the pan from the heat. If you add them while it’s still boiling, the volatile oils in the extracts can evaporate, leaving you with a weaker mint flavor. I learned this the hard way when my first batch tasted like sad chocolate water.
Shake before each use. Cocoa powder is heavy, so it settles at the bottom of the jar. A good shake redistributes everything. If you forget, your first cup will be weak and your last cup will be intensely chocolatey—which isn’t the worst problem to have, but consistency is nice.
Crush candy canes strategically. Put them in a zip-top bag and smash them with a rolling pin or a heavy pan. Don’t pulverize them into dust—you want little crunchy bits. I once used a food processor and ended up with peppermint powder, which melted instantly on the whipped cream. Still tasty, but not as pretty.
Timing strategy: Make the syrup while your coffee is brewing. That way, everything is hot and ready at the same time. If you’re hosting, make the syrup a day ahead so you can focus on the fun part—setting up the bar.
Variations & Adaptations
This syrup is a great base for all kinds of tweaks. Here are a few I’ve tried:
- Dairy-Free Peppermint Mocha: Use oat milk or almond milk instead of dairy. Oat milk froths beautifully and doesn’t curdle in hot coffee. The syrup itself is already dairy-free, so you’re halfway there.
- Extra Chocolatey Version: Add 2 tablespoons of dark chocolate chips to the syrup while it’s simmering. Stir until melted. It makes the drink richer and almost pudding-like. My husband calls this the “dessert coffee.”
- Iced Peppermint Mocha: Let the coffee cool, then pour it over ice with the syrup and milk. It’s refreshing and still festive. I’ve made this for summer Christmas parties in July, and it works perfectly.
- Hot Chocolate Base: Skip the coffee and use the syrup as a base for hot chocolate. Add 2 tablespoons of syrup to a mug of warm milk. Top with whipped cream and crushed candy canes. It’s a hit with kids and anyone who doesn’t do caffeine.
- Mint-Free Version: Replace the peppermint extract with orange extract or a splash of almond extract. You’ll get a mocha with a different vibe—still delicious, just not peppermint. I did this once when I ran out of peppermint extract, and it was a happy accident.
Serving & Storage Suggestions
Serving temperature: Serve the coffee hot for a cozy winter morning. If you’re making iced coffee, let everything cool to room temperature before pouring over ice—otherwise, the ice melts too fast and waters down the drink.
Presentation: Set up a self-serve coffee bar with mugs, a jar of syrup, a thermos of coffee, a pitcher of milk, a bowl of whipped cream, and a dish of crushed candy canes. Add a few sprigs of fresh mint or a cinnamon stick for a pretty touch. I like to use mismatched vintage mugs for a cozy, collected feel.
Complementary dishes: Serve alongside gingerbread cookies, shortbread, or a slice of peppermint bark. The flavors play well together without competing. If you’re hosting brunch, pair it with my cinnamon roll baked oatmeal for a complete spread.
Storage instructions: Keep the syrup in an airtight jar in the refrigerator for up to 2 weeks. Do not leave it at room temperature—the sugar can ferment over time. If you see any mold or off smells, toss it and make a fresh batch.
Reheating tips: The syrup thickens when cold. To use it, either let it sit at room temperature for 10 minutes or microwave the jar (lid off) for 15-20 seconds. Shake well before using. The flavors actually deepen after a day or two in the fridge, so it gets better with time.
Nutritional Information & Benefits
Estimated values per serving (1 tablespoon of syrup with 1 cup coffee and 2 tablespoons milk):
- Calories: 65
- Carbohydrates: 14g
- Sugar: 13g
- Fat: 0.5g
- Protein: 1g
Health benefits: Cocoa powder is rich in antioxidants called flavonoids, which can support heart health and reduce inflammation. Peppermint is known for its digestive benefits—it can help soothe an upset stomach, which is handy after a big holiday meal. And black coffee is a great source of antioxidants too. This drink isn’t health food, but it’s not empty calories either. It’s a treat that offers a few small perks.
Dietary considerations: This recipe is naturally gluten-free, dairy-free (if you use non-dairy milk), and vegetarian. For a lower-sugar option, use a monk fruit sweetener in place of granulated sugar. The syrup will be slightly thinner, but the flavor is still great.
Potential allergens: Peppermint extract is generally safe, but some brands contain alcohol or corn syrup, so check the label if you have sensitivities. The cocoa powder is usually nut-free, but always verify the packaging if allergies are a concern.
Personal perspective: I love that this recipe lets me enjoy a special holiday drink without relying on store-bought syrups full of preservatives and high-fructose corn syrup. It feels good to know exactly what’s in my cup—and it tastes better too.
Conclusion
This Easy Christmas Coffee Bar with Homemade Peppermint Mocha Syrup is worth every bit of the 15 minutes it takes to make. It’s simple, it’s festive, and it turns an ordinary morning into something you look forward to. I love that I can make it my own—more mint, less sugar, hot or iced—and that it impresses guests without making me stress in the kitchen.
I hope you give it a try and make it your own. Maybe you’ll double the batch like I do, or maybe you’ll invent a new variation I haven’t thought of. If you do, I’d love to hear about it. Drop a comment below and tell me how you set up your coffee bar, or share a photo of your creation. There’s nothing better than seeing this recipe bring a little holiday joy to someone else’s kitchen.
Now go make yourself a cup. You deserve it.
Frequently Asked Questions
Can I use this syrup in iced coffee?
Absolutely. Just let the coffee cool to room temperature, then pour it over ice with the syrup and milk. The syrup blends right in, even when cold.
How long does the peppermint mocha syrup last?
Stored in an airtight jar in the refrigerator, it stays fresh for up to 2 weeks. Shake it well before each use because the cocoa can settle.
Can I make this syrup without refined sugar?
Yes. Use a 1:1 granulated monk fruit sweetener or coconut sugar. Keep in mind that coconut sugar will give the syrup a slightly darker color and a hint of caramel flavor.
What if I don’t have peppermint extract?
You can steep a handful of fresh mint leaves in the warm syrup for 10 minutes, then strain them out. The flavor will be milder and more herbal, but it still works.
Can I double the recipe for a party?
Definitely. Double all the ingredients and use a larger saucepan. The cooking time stays the same. Just make sure your jar is big enough—a 32-ounce jar works well for a double batch.
Pin This Recipe!
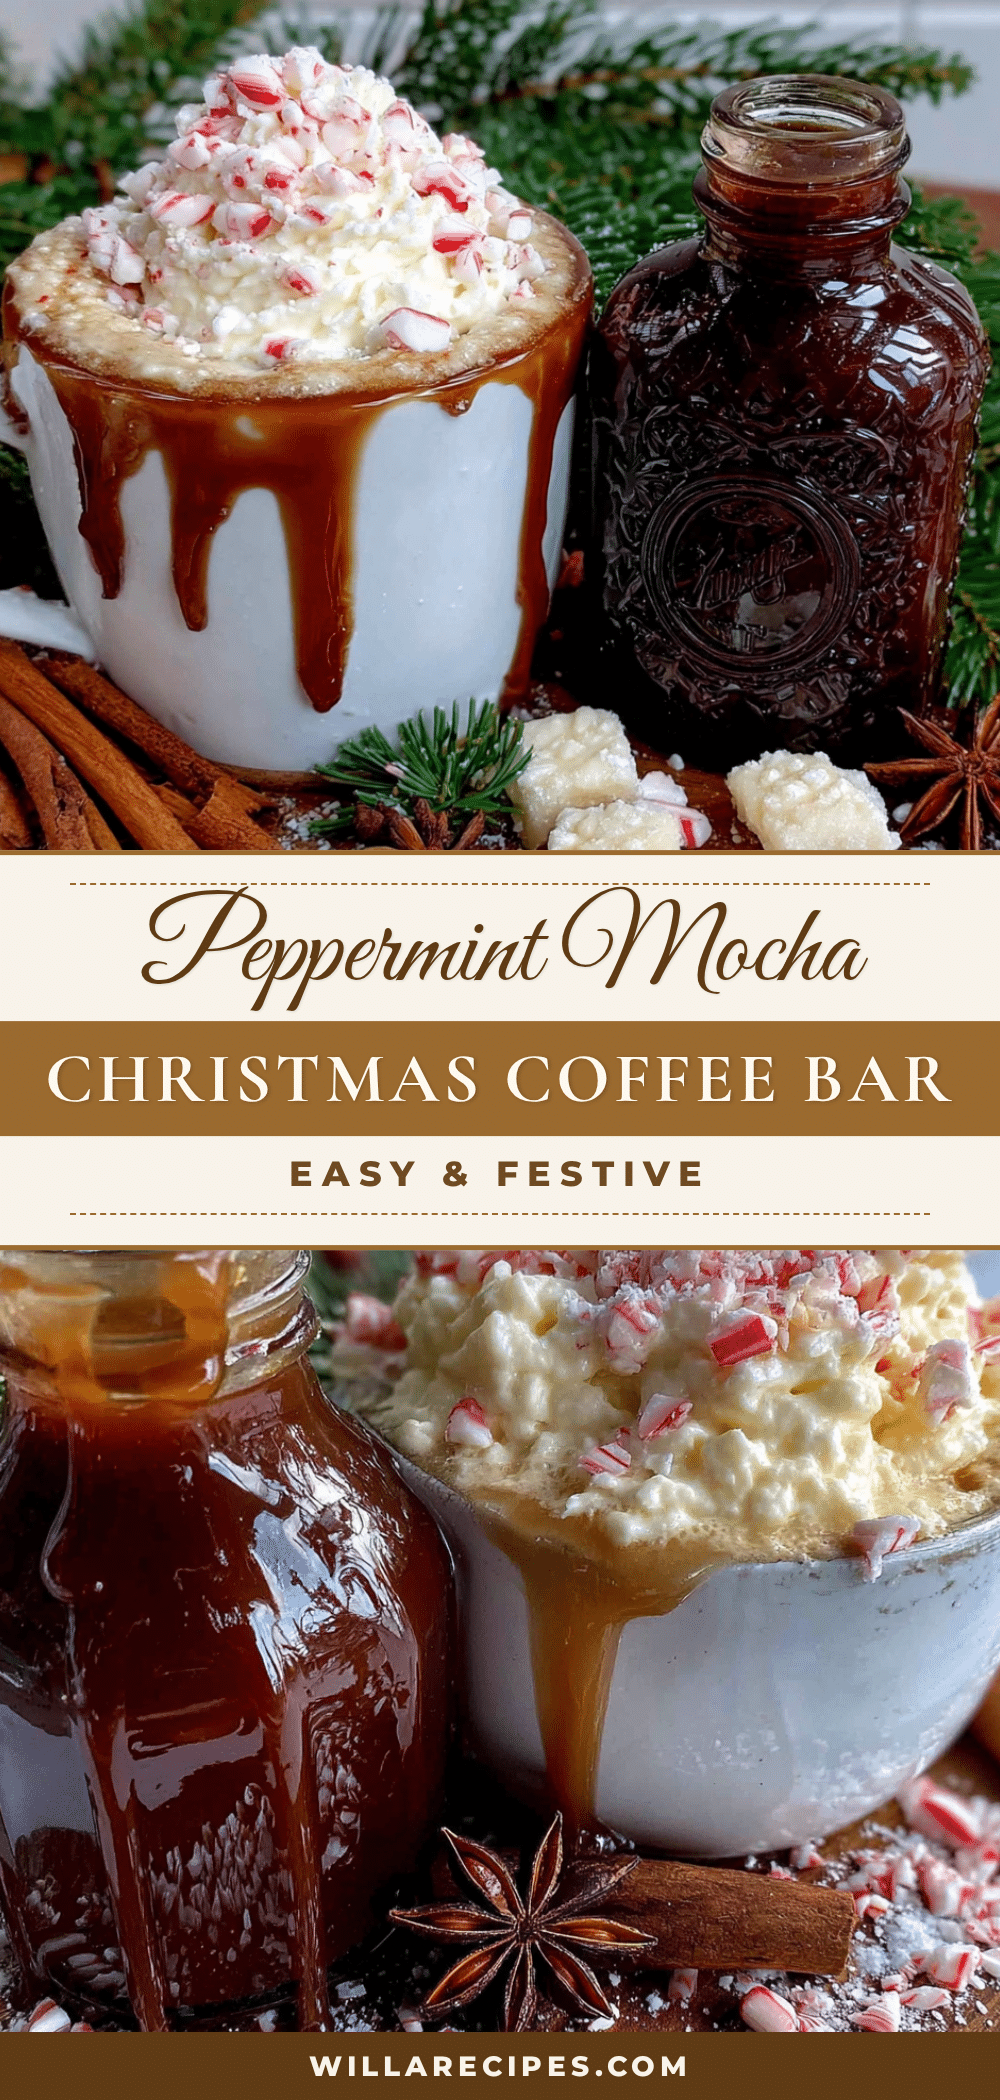
Easy Christmas Coffee Bar with Homemade Peppermint Mocha Syrup

A simple, festive homemade peppermint mocha syrup that transforms your morning coffee into a holiday treat. Perfect for setting up a self-serve Christmas coffee bar that impresses guests without the stress.
- Prep Time: 15 minutes
- Cook Time: 10 minutes
- Total Time: 25 minutes
- Yield: 16 servings (1 tablespoon syrup per serving) 1x
- Category: Beverage
- Cuisine: American
Ingredients
- 1 cup (200g) granulated sugar
- 1 cup (240ml) water
- 1/4 cup (30g) unsweetened cocoa powder
- 1 teaspoon (5ml) peppermint extract
- 1 teaspoon (5ml) vanilla extract
- A pinch of salt
- For serving: Strong brewed coffee or espresso (about 1 cup per serving), milk of your choice (dairy, oat, or almond), whipped cream, and crushed candy canes for garnish
Instructions
- Combine sugar and water: In a small saucepan, add the granulated sugar and water. Place over medium heat and whisk gently until the sugar dissolves completely, about 2-3 minutes.
- Whisk in cocoa powder: Once the sugar is dissolved, add the cocoa powder and a pinch of salt. Whisk continuously for 1-2 minutes until fully incorporated and glossy.
- Simmer gently: Bring the mixture to a gentle simmer (small bubbles around the edges). Cook for 3-4 minutes, whisking occasionally, to thicken slightly and deepen the chocolate flavor.
- Remove from heat: Take the saucepan off the burner. Let cool for about 1 minute, then stir in the peppermint extract and vanilla extract.
- Strain (if needed): If there are lumps, pour the syrup through a fine-mesh strainer into a heat-safe jar or bottle. Let cool completely at room temperature, about 20-30 minutes.
- Store or serve: Once cool, screw on the lid and refrigerate. The syrup will keep for up to 2 weeks. Shake well before each use.
- Assemble your coffee bar: Brew strong coffee or espresso. Set out mugs, a pitcher of syrup, milk, whipped cream, and crushed candy canes. For a single serving, add 1-2 tablespoons of syrup to a mug, pour in 1 cup of coffee, add a splash of milk, and top with whipped cream and crushed candy.
Notes
Don’t boil aggressively to prevent sugar crystallization. Add extracts only after removing from heat to preserve flavor. Shake syrup before each use as cocoa settles. Crush candy canes in a zip-top bag with a rolling pin for best texture. Syrup can be doubled and stored for up to 2 weeks in the refrigerator.
Nutrition
- Serving Size: 1 tablespoon syrup w
- Calories: 65
- Sugar: 13
- Fat: 0.5
- Carbohydrates: 14
- Protein: 1
Keywords: peppermint mocha, Christmas coffee, homemade syrup, holiday drink, coffee bar, peppermint mocha syrup, easy Christmas recipe


