I’m not supposed to play favorites with recipes, but let’s be honest—some dishes just hit different. And these Easy Crescent Mummy Hot Dogs? They’re the ones my kids request every single October, without fail.
The first time I made them, I was rushing. It was a Tuesday night, and I’d completely forgotten about the school Halloween party the next day. You know that panicked feeling when you need something cute, fast, and edible? Yeah, that was me. I grabbed a can of crescent rolls from the fridge, some hot dogs from the back of the drawer, and hoped for the best.
Honestly, I wasn’t trying to be clever. I just needed mummies. What came out of the oven was so ridiculously adorable that my daughter actually gasped. And the taste? Buttery, flaky, salty—everything you want in a snack that takes fifteen minutes. These crescent mummy hot dogs became an instant tradition, and I’ve been perfecting them ever since. The best part? You don’t need any special skills. If you can wrap a strip of dough around a hot dog, you’ve got this.
Why You’ll Love This Recipe
Look, I’ve tested a lot of Halloween snacks over the years. Some are too fussy. Some take forever. Some look cute but taste like cardboard. These Easy Crescent Mummy Hot Dogs are none of those things. They’re the perfect balance of fun and flavor, and here’s why they work so well:
- Quick & Easy : From fridge to table in under 20 minutes. Seriously. You can make these while your kids are still deciding what costume to wear.
- Simple Ingredients : You only need three things—crescent rolls, hot dogs, and mustard or candy eyes for the face. No weird grocery store runs.
- Perfect for Halloween : Whether it’s a class party, a family movie night, or a trick-or-treat appetizer, these mummies fit right in.
- Crowd-Pleaser : Kids love them. Adults love them. Even picky eaters go back for seconds. I’ve seen it happen.
- Unbelievably Delicious : The flaky, buttery crescent dough wrapped around a juicy hot dog is next-level comfort food. It’s simple, but it’s satisfying in a way that fancy snacks just aren’t.
What makes this version different from the rest? It’s the little things. Like cutting the dough strips just right so they look like genuine mummy wrappings. Or using a touch of mustard for the eyes instead of those hard candy eyeballs that nobody likes. This isn’t just another Halloween snack—it’s the one that makes everyone smile. And honestly, isn’t that the whole point?
What Ingredients You Will Need
This recipe uses simple, everyday ingredients to deliver big flavor and maximum cuteness without any hassle. You probably have most of these in your kitchen right now.
- Crescent roll dough – 1 can (8 oz) refrigerated crescent rolls (I prefer Pillsbury for consistent flakiness, but any brand works)
- Hot dogs – 8 standard-size hot dogs (beef, turkey, or plant-based all work well)
- Mustard – 1 tablespoon yellow mustard (for the mummy faces; you can also use ketchup or sriracha for different looks)
- Candy eyes – Optional, but fun (use small round candy eyeballs if you want a more traditional mummy face)
- Egg wash – 1 large egg, beaten with 1 tablespoon water (gives the dough a beautiful golden brown finish)
- Sesame seeds – Optional, for sprinkling (adds a subtle crunch and makes them look even more bakery-style)
A quick note on hot dogs: I’ve tried this with all-beef, turkey, and even vegan hot dogs. The all-beef ones hold up best in the oven and have the most flavor, but honestly, any kind works. Just make sure they’re standard size—jumbo hot dogs take longer to cook and throw off the dough-to-dog ratio.
For the crescent dough, I recommend the original flaky style rather than the butter-flavored version. The original bakes up lighter and more tender, which is exactly what you want for mummy wrappings. And if you’re feeling adventurous, you can find crescent dough sheets (the kind without perforations) and cut your own strips. It’s a little more work, but the result is cleaner.
Equipment Needed
You don’t need a lot of fancy tools for this recipe. That’s part of the beauty. Here’s what you’ll need:
- Baking sheet – A standard half-sheet pan works perfectly. Line it with parchment paper for easy cleanup.
- Knife – A sharp chef’s knife or a pizza cutter for slicing the dough into strips. A pizza cutter is actually easier and gives cleaner lines.
- Pastry brush – For applying the egg wash. If you don’t have one, a clean silicone basting brush or even a paper towel works in a pinch.
- Cutting board – For prepping the hot dogs and dough.
- Small bowl – For mixing the egg wash.
- Toothpicks – Optional, but helpful for securing the dough ends if they start to unroll during baking.
I’ve made these mummy hot dogs with nothing more than a butter knife and a cookie sheet, and they turned out great. Don’t stress about equipment. If you have a baking sheet and something sharp, you’re good to go.
Preparation Method
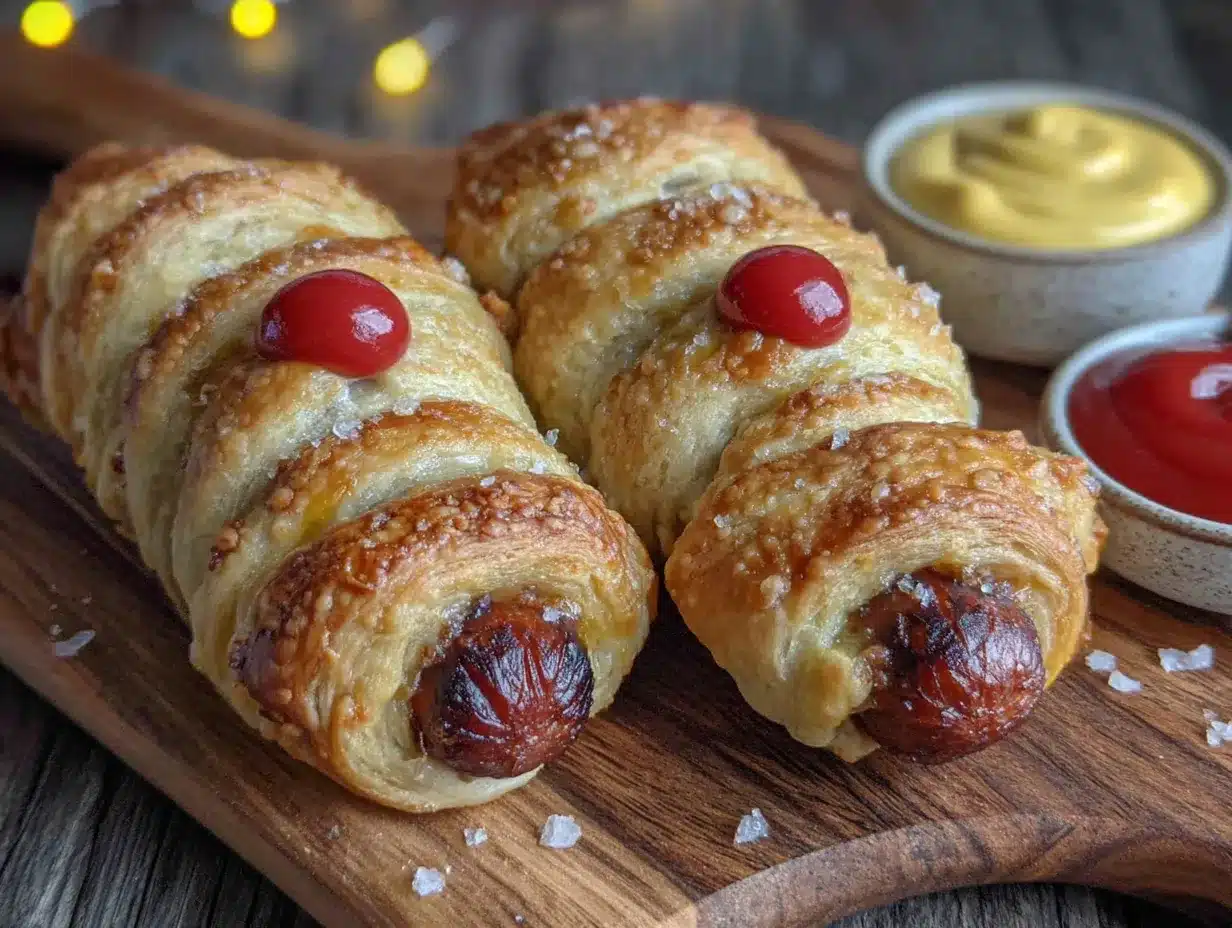
Alright, let’s make some mummies. This is easier than you think, and I’ll walk you through every step.
- Preheat your oven to 375°F (190°C). Line a baking sheet with parchment paper. This makes cleanup a breeze and prevents sticking.
- Unroll the crescent dough and separate it along the perforations into 8 triangles. If you’re using dough sheets, cut them into 8 equal rectangles.
- Cut each triangle into thin strips. Using a sharp knife or pizza cutter, slice each triangle lengthwise into 3-4 strips. They don’t have to be perfect—mummy wrappings are supposed to look a little messy. Aim for strips about 1/2 inch wide.
- Wrap the hot dogs. Take one hot dog and place it at the wide end of a dough strip. Wrap the strip around the hot dog, slightly overlapping as you go, like you’re bandaging a mummy. Leave a small gap at the top for the face. Repeat with the remaining hot dogs and dough strips.
- Place the wrapped hot dogs on the prepared baking sheet, seam side down. This keeps the dough from unraveling as it bakes. Leave about an inch between each mummy for even browning.
- Brush with egg wash. Using a pastry brush, lightly coat each mummy with the beaten egg and water mixture. This gives them that gorgeous golden color. Don’t skip this step—it makes a huge difference.
- Bake for 12-15 minutes, or until the dough is puffed and golden brown. The hot dogs should be heated through. If you’re using jumbo hot dogs, add 2-3 minutes to the baking time.
- Let them cool for 2-3 minutes on the baking sheet. This allows the dough to set and makes them easier to handle.
- Add the faces. Using a toothpick or the tip of a knife, dab a tiny amount of mustard onto each mummy’s face to create eyes. If you’re using candy eyes, press them gently into the dough while it’s still warm. You can also use ketchup or sriracha for a different look.
- Serve immediately. These are best enjoyed warm, when the dough is flaky and the hot dog is juicy. Watch them disappear.
A little tip from experience: Don’t overthink the wrapping. Mummies are supposed to look a bit ragged. If a strip breaks, just press it back together—it’ll bake just fine. And if you end up with a hot dog that looks more like a bandaged finger than a mummy? That’s okay. It’ll still taste amazing.
Cooking Tips & Techniques
Over the years, I’ve learned a few tricks that make these mummy hot dogs even better. Here’s what I wish I’d known from the start:
Don’t overwork the dough. Crescent dough is delicate. Handle it gently, and don’t stretch it too much as you’re wrapping. If you pull it too tight, it can tear or shrink back during baking.
Leave space for the face. This is the most common mistake I see. People wrap the dough all the way to the top, and then there’s no room for eyes. Leave about half an inch of hot dog exposed at one end. That’s where the face goes.
Use a pizza cutter for strips. A knife works, but a pizza cutter glides through crescent dough like butter. You get cleaner, more even strips, and the dough doesn’t get squished.
Bake on the middle rack. The middle rack gives you the most even heat distribution. If you bake too close to the top, the dough browns too quickly. Too close to the bottom, and the hot dogs might not heat through properly.
Watch the time. Ovens vary, so start checking at 12 minutes. You want the dough golden brown but not dark. If your oven runs hot, reduce the temperature to 365°F (185°C).
I once forgot to set a timer and left these in for almost 20 minutes. The dough was dark brown and the hot dogs were shriveled. They still tasted fine, but they looked more like crispy mummies than cute ones. Learn from my mistake—set that timer.
Variations & Adaptations
One of the best things about this recipe is how easy it is to customize. Here are some variations I’ve tried and loved:
Cheesy Mummy Dogs: Before wrapping, cut a slit down the center of each hot dog and stuff it with a thin strip of cheddar or mozzarella cheese. The cheese melts out as it bakes, creating a delicious gooey surprise.
Spicy Mummy Dogs: Swap the hot dogs for spicy Italian sausage or chorizo links. Brush the dough with a little sriracha mixed into the egg wash for extra heat. The candy eyes look hilarious on a spicy mummy.
Veggie Mummy Dogs: Use plant-based hot dogs or even carrot sticks (blanched first) for a vegetarian version. The dough wraps just the same, and the carrot version is surprisingly good—sweet and earthy against the buttery crust.
Breakfast Mummy Dogs: Wrap the hot dogs in crescent dough, but skip the egg wash and sprinkle with everything bagel seasoning instead. Serve with maple syrup for dipping. It sounds weird, but it’s amazing.
Mini Mummy Bites: Cut each hot dog into thirds before wrapping. Use smaller strips of dough, and bake for just 8-10 minutes. These are perfect for appetizers or lunchboxes.
My personal favorite? The cheesy version. I discovered it by accident when my daughter demanded “mummies with yellow insides.” The melted cheese adds a whole new dimension. Just be careful—the cheese gets extremely hot. Let them cool a minute longer before serving.
Serving & Storage Suggestions
These mummy hot dogs are best served warm, right out of the oven. The contrast between the flaky, buttery dough and the juicy hot dog is at its peak within the first 15 minutes.
For presentation, arrange them on a platter with a few spooky touches. I like to scatter some black olives around for a “spider” effect, or add a small bowl of ketchup mixed with a drop of green food coloring for a “slime” dipping sauce. Kids absolutely lose their minds over this.
They pair wonderfully with other Halloween snacks like creamy spiderweb dip or a bowl of pumpkin-shaped cheese balls. For drinks, apple cider or a simple fruit punch with floating “eyeballs” (lychee fruits with blueberry centers) completes the theme.
If you have leftovers (which rarely happens in my house), store them in an airtight container in the refrigerator for up to 3 days. The dough will soften slightly, but they’re still tasty.
To reheat, pop them in a 350°F (175°C) oven for 5-7 minutes. This brings back the crispiness better than a microwave, which tends to make the dough soggy. If you’re in a hurry, the microwave works in 20-second bursts, but the texture won’t be the same.
These also freeze beautifully. Arrange the baked and cooled mummies on a baking sheet and freeze until solid, then transfer to a freezer bag. They’ll keep for up to 2 months. Reheat directly from frozen in a 375°F (190°C) oven for 10-12 minutes.
Nutritional Information & Benefits
Let’s be real—these are a treat, not a health food. But they’re not as bad as you might think, especially if you make a few smart swaps.
Per serving (2 mummy hot dogs): approximately 320 calories, 18g fat, 28g carbohydrates, 12g protein, 2g fiber, 780mg sodium.
If you use turkey or chicken hot dogs, you can cut the fat and calories by about 30%. Plant-based hot dogs are also a good option, though they tend to be higher in sodium. For a lower-carb version, try using low-carb tortillas cut into strips instead of crescent dough. It’s not quite as flaky, but it works in a pinch.
The crescent dough provides a small amount of iron and B vitamins from the enriched flour. Hot dogs are a decent source of protein, which helps keep you full. And honestly, the biggest benefit is the smile on your kid’s face when they see these. That’s worth every calorie.
If you’re serving these at a party, consider pairing them with fresh veggie sticks or a simple salad to balance things out. My kids willingly eat carrot sticks when they’re arranged to look like “witch fingers” next to their mummy dogs. It’s all about the presentation.
Conclusion
These Easy Crescent Mummy Hot Dogs are proof that Halloween snacks don’t have to be complicated to be memorable. With just three ingredients and fifteen minutes, you can create something that makes everyone stop and smile. That’s the kind of magic I can get behind.
I love this recipe because it’s forgiving. You can mess up the wrapping, burn the edges, forget the eyes—and they still taste great. It’s a recipe that works with you, not against you. And when you see those little mummy faces staring up from the platter, you’ll feel like a kitchen genius.
So go ahead—make a batch. Customize them however you like. Add cheese, spice, or nothing at all. Serve them at your Halloween party, pack them in a lunchbox, or just make them on a random Tuesday because you feel like it. They’re always a good idea.
I’d love to hear how yours turn out! Drop a comment below and tell me your favorite variation. Did you try the cheesy version? Did your kids help with the wrapping? Share your photos and stories—I read every single one. Happy Halloween, and happy cooking!
Frequently Asked Questions
Can I make these ahead of time?
Yes! You can assemble the mummy hot dogs up to 24 hours in advance and keep them covered in the refrigerator. Bake them just before serving for the best texture. If you’re baking them fully ahead, reheat in the oven to restore crispiness.
Can I use puff pastry instead of crescent rolls?
Absolutely. Puff pastry gives a flakier, more buttery result. Just thaw it first, cut it into strips, and wrap as directed. The baking time may increase by 2-3 minutes since puff pastry is thicker.
What can I use instead of hot dogs?
Smoked sausages, kielbasa, chicken sausages, or even cheese sticks work wonderfully. For a vegetarian option, try halloumi cheese or blanched carrot sticks. Just adjust baking times as needed.
How do I keep the dough from unraveling?
Place the wrapped hot dogs seam-side down on the baking sheet. The weight of the dough and the heat of the oven will seal it. If you’re worried, use a toothpick to secure the end, but remember to remove it before serving.
Can I freeze these?
Yes! Bake them fully, let them cool, then freeze in a single layer on a baking sheet. Once frozen, transfer to a freezer bag. Reheat directly from frozen in a 375°F oven for 10-12 minutes. They’ll taste just like fresh.
Pin This Recipe!
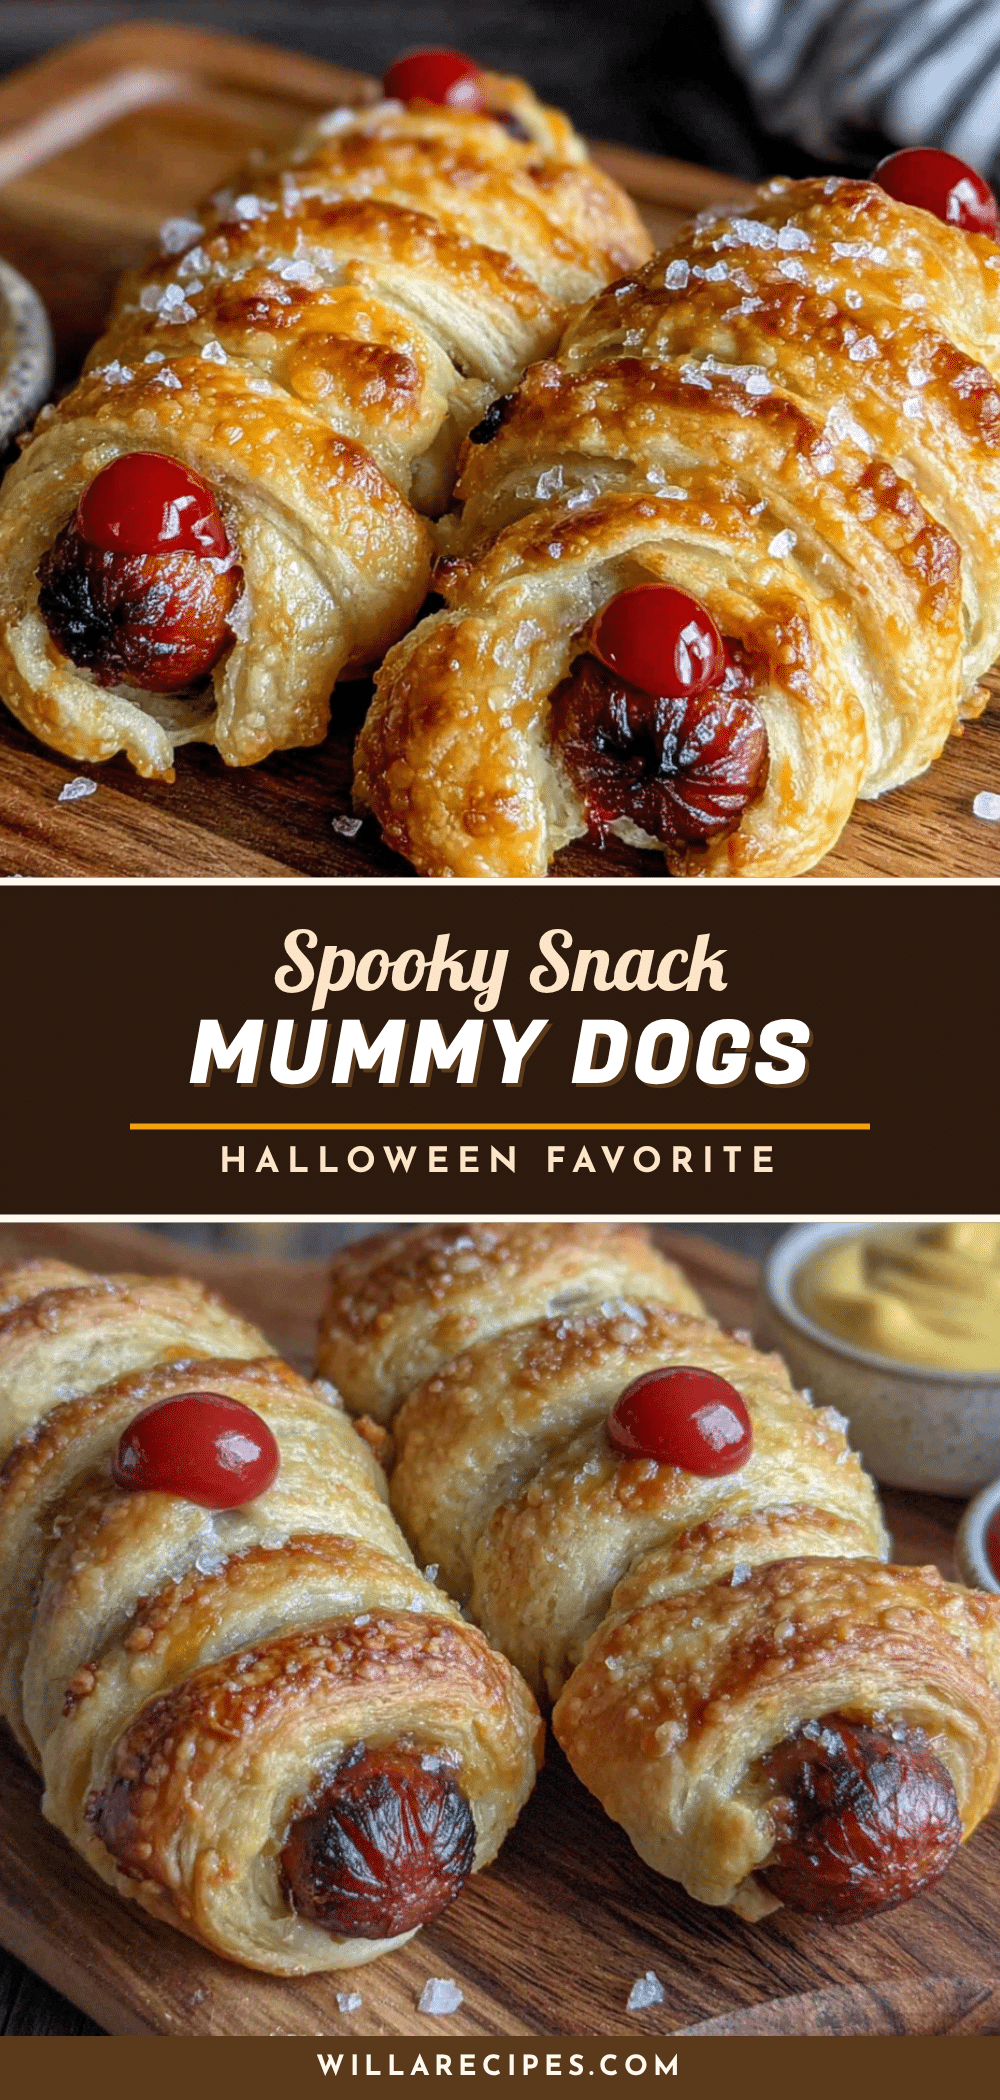
Easy Crescent Mummy Hot Dogs: Best Spooky Halloween Snack

These Easy Crescent Mummy Hot Dogs are a quick, fun, and delicious Halloween snack made with just three ingredients. Perfect for parties, school events, or a spooky family treat, they come together in under 20 minutes and are always a crowd-pleaser.
- Prep Time: 10 minutes
- Cook Time: 15 minutes
- Total Time: 25 minutes
- Yield: 8 servings (1 mummy hot dog per serving) 1x
- Category: Appetizer
- Cuisine: American
Ingredients
- 1 can (8 oz) refrigerated crescent rolls (e.g., Pillsbury)
- 8 standard-size hot dogs (beef, turkey, or plant-based)
- 1 tablespoon yellow mustard (for faces; or ketchup, sriracha)
- Optional: small round candy eyeballs
- 1 large egg, beaten with 1 tablespoon water (egg wash)
- Optional: sesame seeds for sprinkling
Instructions
- Preheat oven to 375°F (190°C). Line a baking sheet with parchment paper.
- Unroll crescent dough and separate into 8 triangles along perforations. If using dough sheets, cut into 8 equal rectangles.
- Cut each triangle lengthwise into 3-4 thin strips (about 1/2 inch wide) using a sharp knife or pizza cutter.
- Place a hot dog at the wide end of a dough strip and wrap the strip around the hot dog, slightly overlapping, leaving about 1/2 inch exposed at one end for the face. Repeat with remaining hot dogs and strips.
- Place wrapped hot dogs seam-side down on the prepared baking sheet, about 1 inch apart.
- Brush each mummy with egg wash using a pastry brush.
- Bake for 12-15 minutes, until dough is puffed and golden brown. For jumbo hot dogs, add 2-3 minutes.
- Let cool on baking sheet for 2-3 minutes.
- Using a toothpick or knife tip, dab a small amount of mustard onto each mummy’s face to create eyes. If using candy eyes, press gently into warm dough.
- Serve immediately.
Notes
Don’t overwork the dough; handle gently. Leave space for the face. Use a pizza cutter for clean strips. Bake on middle rack for even heat. Start checking at 12 minutes. For cheesy version, slit hot dogs and stuff with cheese before wrapping. For spicy version, use spicy sausage and add sriracha to egg wash. For vegetarian version, use plant-based hot dogs or blanched carrot sticks. Leftovers can be stored in an airtight container in the refrigerator for up to 3 days. Reheat in a 350°F oven for 5-7 minutes. Freeze baked and cooled mummies for up to 2 months; reheat from frozen at 375°F for 10-12 minutes.
Nutrition
- Serving Size: 2 mummy hot dogs
- Calories: 320
- Sugar: 4
- Sodium: 780
- Fat: 18
- Saturated Fat: 6
- Carbohydrates: 28
- Fiber: 2
- Protein: 12
Keywords: Halloween, mummy hot dogs, crescent rolls, easy snack, spooky, kid-friendly, party food


