The school fall festival was in two hours and I’d completely forgotten. My daughter had been talking about it for weeks—the games, the bounce house, the bake sale. And now here I was, staring into an almost-empty fridge on a Tuesday afternoon, trying to remember if I’d signed up for anything. Then I found the note crumpled at the bottom of her backpack. “Bring a healthy snack for the class party.” Great. Everyone else would be showing up with Pinterest-perfect pumpkin cookies and those adorable caramel apples that look like they took all weekend. I had a bag of clementines, some green grapes that were starting to look a little sad, and a block of cream cheese. Honestly, I almost just grabbed a bag of baby carrots and called it a day. But then I spotted the pumpkin-shaped cookie cutter buried in the back of my baking drawer. And let me tell you, sometimes the best ideas come from sheer desperation and a half-empty pantry.
Twenty minutes later, I was cutting clementines into wedges and wondering if this was the dumbest thing I’d ever attempted for a school event. I mean, a fruit tray shaped like a pumpkin patch? With grapes as the “vine” and clementines as the “pumpkins”? It sounded ridiculous even inside my own head. But I was committed now. I had cream cheese spread on a platter, I’d arranged the grapes in a sort of squiggly line that was supposed to look like a vine, and I was using those little clementine wedges to create tiny pumpkins. My ten-year-old walked in, took one look at my creation, and said, “Mom, that’s actually really cool.” That’s when I knew I might be onto something. The class party came and went, and you know what happened? The fruit tray was the first thing to disappear. Not the cookies. Not the cupcakes. A fruit tray made from stuff I already had in my kitchen. The teacher even asked for the recipe, and I had to laugh because there wasn’t really a recipe—it was just fruit and desperation and a pumpkin-shaped cookie cutter.
Why You’ll Love This Recipe
Let me tell you why this fall pumpkin patch fruit tray has become my secret weapon for every autumn gathering. I’ve tested this at school parties, family Thanksgivings, and neighborhood potlucks, and it never fails to surprise people. There’s something about seeing a fruit tray that looks like a mini pumpkin patch that makes everyone smile—kids and adults alike.
- Quick & Easy: You can put this together in under 20 minutes flat. No baking, no cooking, no complicated steps. Just slicing and arranging.
- Simple Ingredients: Everything you need is probably already in your kitchen or grocery store. Clementines, green grapes, cream cheese, and a few extras.
- Perfect for Fall Gatherings: This is made for classroom parties, Halloween get-togethers, Thanksgiving appetizers, or any autumn event where you want something festive without the sugar overload.
- Crowd-Pleaser: I’ve watched kids who “don’t eat fruit” go back for thirds. The fun presentation makes all the difference.
- Unbelievably Delicious: The combination of sweet clementines, juicy grapes, and creamy dip is honestly addictive. It’s light, refreshing, and perfect balance for all the heavy fall foods.
What makes this different from every other fruit tray out there? It’s the presentation, honestly. Instead of just tossing fruit on a platter, you’re creating a scene. A pumpkin patch made from fruit. It’s the kind of thing that makes people stop and take pictures before they eat it. And the dip? That cream cheese mixture with a touch of maple syrup and cinnamon? It’s simple but somehow perfect. I’ve had people ask me for “that pumpkin dip recipe” for years after trying it at a party.
This isn’t just a fruit tray. It’s the one that makes you feel like you actually tried, even when you’re running late and forgot about the event until the last minute. It’s comfort food that’s actually good for you. And it’s perfect for impressing people without any stress whatsoever.
What Ingredients You Will Need
This recipe uses simple, wholesome ingredients that work together to create something that looks way more impressive than it actually is. Most of these are fall pantry staples, and the substitutions are easy if you need them.
For the Pumpkin Patch Base
- Clementines – 6 to 8 medium clementines (you’ll use them for the “pumpkins”). Look for ones that are firm and easy to peel. The smaller ones work best because they look more like mini pumpkins.
- Green grapes – 2 cups, washed and dried (these become the “vines” and “leaves” in your patch). I prefer seedless green grapes for the color contrast, but red grapes work too if that’s what you have.
- Apple slices – 1 large apple, sliced thin (these add texture and more fall color). Granny Smith works great for the tartness, but Honeycrisp or Fuji are also lovely.
- Pear slices – 1 ripe but firm pear, sliced (adds sweetness and a different texture). Bosc or Bartlett pears hold up well.
For the Cream Cheese Dip
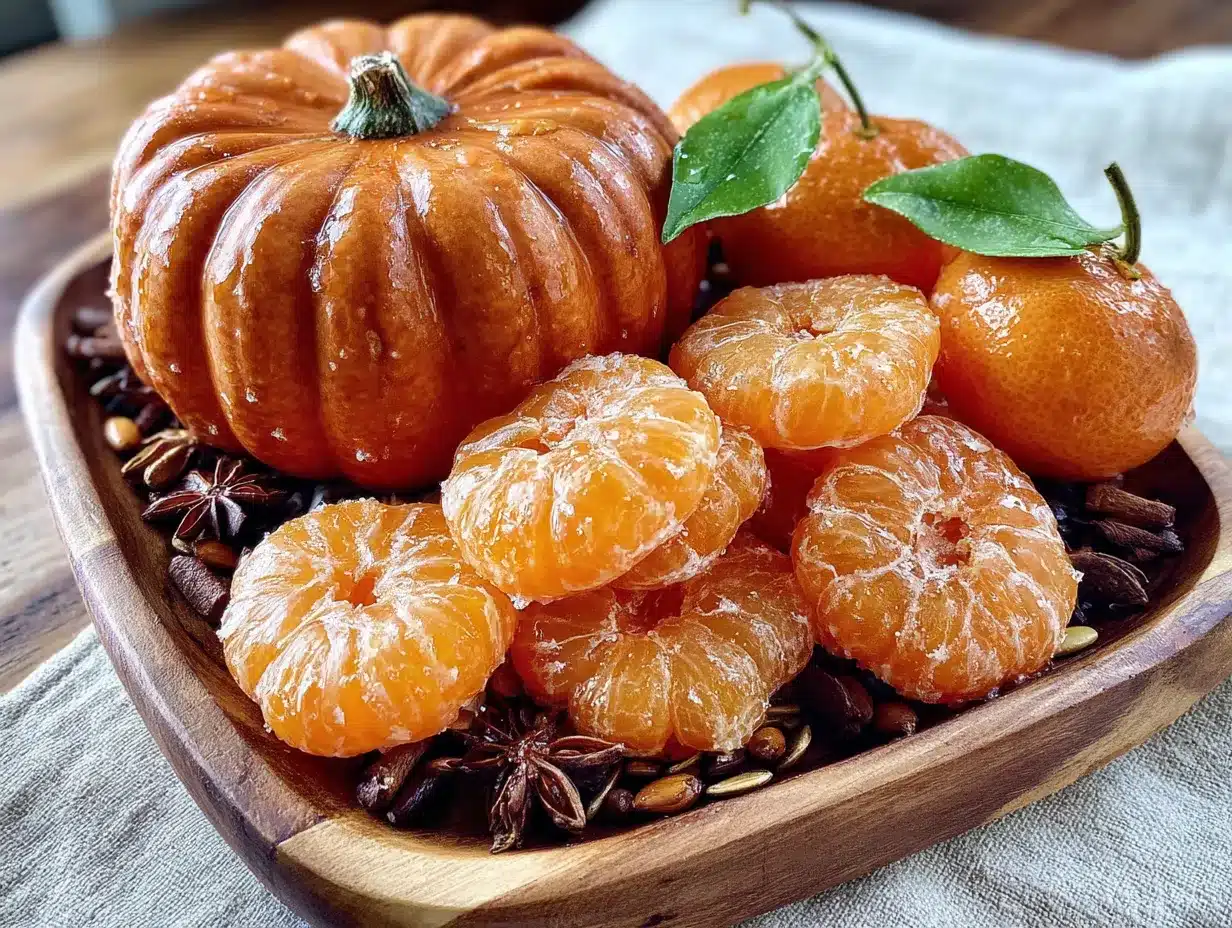
- Cream cheese – 8 ounces, softened to room temperature (this is the base of your dip). I recommend Philadelphia brand for the smoothest texture, but any full-fat cream cheese works.
- Maple syrup – 3 tablespoons, pure maple syrup (not pancake syrup). The real stuff makes a difference here.
- Vanilla extract – 1 teaspoon, pure vanilla extract (adds warmth and depth).
- Cinnamon – 1/2 teaspoon, ground cinnamon (for that fall flavor).
- Nutmeg – 1/4 teaspoon, ground nutmeg (optional but adds nice warmth).
- Powdered sugar – 2 tablespoons (optional, for extra sweetness if you like it sweeter).
For Decoration (Optional but Fun)
- Pretzel sticks – A handful, broken into small pieces (these become the “stems” for your pumpkin clementines).
- Fresh mint leaves – A few sprigs (these look like pumpkin vine leaves).
- Pumpkin-shaped cookie cutter – If you want to cut apple or pear slices into pumpkin shapes (not necessary, but adds a fun touch).
I want to mention something about the clementines here. The best ones for this project are the ones that are slightly flat on the top and bottom—they sit better on the platter and look more like actual pumpkins. You can find these at almost any grocery store during fall. If you can’t find clementines, small mandarins or Cuties work perfectly fine. Just make sure they’re easy to peel and not too juicy or they’ll make the platter messy.
For the dip, I’ve tried this with Greek yogurt instead of cream cheese when I wanted a lighter version, and it works okay but isn’t as creamy. If you’re dairy-free, there are some good plant-based cream cheeses out there now—Kite Hill makes one that works pretty well for this. Just make sure to let it soften completely before mixing.
Equipment Needed
You don’t need much for this recipe, which is honestly my favorite part. Here’s what you’ll need:
- Large platter or serving board – A white or light-colored platter works best to show off the colors. A wooden cutting board also looks gorgeous for a rustic fall vibe. I use my large white ceramic platter that I got from Target for like 15 bucks.
- Sharp knife – For slicing apples, pears, and cutting clementine wedges. A good chef’s knife or a paring knife works great.
- Cutting board – Preferably two, one for fruit and one for the pretzel stems to avoid cross-contamination.
- Small mixing bowl – For the cream cheese dip. Any medium-sized bowl works.
- Hand mixer or whisk – A hand mixer makes the dip super smooth and fluffy, but a sturdy whisk and some elbow grease works too.
- Pumpkin-shaped cookie cutter – Optional but highly recommended for cutting apple or pear slices into pumpkin shapes. I found mine at a craft store for a couple bucks.
- Paper towels – For drying fruit thoroughly. Wet fruit makes the dip watery and the platter slippery.
If you don’t have a pumpkin cookie cutter, don’t worry about it. I’ve made this tray plenty of times without one, and it still looks adorable. The clementines themselves do all the heavy lifting for the pumpkin look. And if you don’t have a hand mixer, just soften the cream cheese really well and whisk it by hand—it takes an extra minute but works perfectly fine.
Preparation Method
Let me walk you through exactly how I put this together. It’s simpler than you think, and once you do it once, you’ll memorize it.
- Make the cream cheese dip first. Take your softened cream cheese and put it in a small mixing bowl. Add the maple syrup, vanilla extract, cinnamon, and nutmeg. Using a hand mixer on medium speed, beat everything together until it’s smooth and fluffy—about 2 minutes. If you’re using powdered sugar, add it now. Taste it and adjust the sweetness or spices to your liking. I like mine with a little extra cinnamon because I’m obsessed with fall flavors. Set the dip aside in the refrigerator while you prepare the fruit. (Pro tip: if your cream cheese isn’t soft enough, the dip will be lumpy. Let it sit on the counter for 30 minutes before starting.)
- Prepare the clementine “pumpkins.” Peel all your clementines and separate them into individual segments. You want to keep the segments whole—don’t break them apart. Look at each segment: one side is rounded (the outside of the fruit) and one side is flat (where it connected to the other segments). Take a small piece of pretzel stick and gently press it into the flat side of each clementine segment. This becomes the “stem” of your mini pumpkin. Yes, it’s that simple. Some segments will break—that’s okay, just eat those as a snack while you work. You should get about 20 to 30 mini pumpkins from your clementines.
- Slice the apples and pears. Core your apple and pear, then slice them into thin rounds—about 1/4 inch thick. If you have a pumpkin cookie cutter, press it into the slices to create pumpkin-shaped pieces. If you don’t have a cutter, just leave them as rounds or cut them into wedges. I like to toss the apple slices in a little lemon juice to keep them from browning, but honestly, if you’re serving this right away, it’s not necessary.
- Wash and dry the grapes. Rinse your green grapes and pat them completely dry with paper towels. Wet grapes will make the platter slippery and can water down your dip. I cannot stress this enough—dry them well. I learned this the hard way at my niece’s birthday party when everything slid off the platter.
- Arrange the pumpkin patch. Take your large platter and spread the cream cheese dip in a rough oval shape in the center. This becomes your “dirt patch” or “pumpkin patch base.” Use the back of a spoon to spread it evenly, leaving about 2 inches of space around the edges of the platter. Don’t make it too thick—about 1/4 inch is perfect.
- Create the vine. Take your green grapes and arrange them in a squiggly line coming out from one side of the cream cheese patch. This is your “vine.” Let it curve naturally—it doesn’t have to be perfect. I usually make it look like the vine is growing out of the patch and trailing off the edge of the platter.
- Place your pumpkin clementines. Now the fun part. Take your clementine segments with the pretzel stems and press them gently into the cream cheese dip. Arrange them in clusters, like pumpkins growing in a patch. Leave some space between clusters. I usually do 3 to 4 clusters of 4 to 5 pumpkins each. Press them in just enough so they stand up on their own.
- Add the apple and pear slices. Arrange the apple and pear slices around the edges of the cream cheese patch and along the grape vine. These look like fallen leaves or extra pumpkins depending on how you cut them. If you used the pumpkin cookie cutter, place those pieces strategically around the patch.
- Finish with mint leaves. Tuck small mint leaves here and there along the grape vine and near the clementine pumpkins. These look like pumpkin vine leaves and add a beautiful pop of green. It’s a small touch that makes a huge difference visually.
- Serve immediately or refrigerate. This is best served within an hour of assembly. If you need to make it ahead, prepare all the components separately and assemble just before serving. The dip can be made a day ahead and stored in the fridge.
One thing I want to mention about the arrangement: don’t overthink it. The beauty of this tray is that it’s supposed to look like a real pumpkin patch—a little wild, a little messy, totally natural. If everything is perfectly spaced and symmetrical, it loses that charm. Let the grapes wander. Let the pumpkins cluster unevenly. It’s supposed to look organic.
Cooking Tips & Techniques
After making this pumpkin patch fruit tray about a dozen times for various events, I’ve picked up some tricks that make the whole process smoother. Let me share what I’ve learned the hard way so you don’t have to.
The biggest mistake people make is using wet fruit. I know I mentioned this already, but it’s worth repeating. Wet grapes and clementines will make your cream cheese dip watery and your platter a slippery mess. After washing your fruit, lay it out on a clean kitchen towel and pat it dry. Let it air dry for a few minutes if you have time. Your dip will stay thick and creamy, and the fruit won’t slide around.
Temperature matters for the dip. If your cream cheese is cold straight from the fridge, it will be lumpy no matter how much you mix it. Let it sit at room temperature for at least 30 minutes before making the dip. And here’s a trick I learned from my aunt who’s a professional baker: cut the cream cheese into small cubes before letting it soften. It softens in half the time. Also, don’t overmix the dip once it’s smooth—too much air will make it fluffy but also make it separate faster on the platter.
About those pretzel stems. They can get soggy if they sit in the dip too long. If you’re making this for an event where it will sit out for hours, I recommend adding the pretzel stems right before serving. You can prepare the clementine segments ahead of time and just press the pretzel pieces in when you’re ready to arrange. Or, skip the pretzels entirely and just call the clementine segments “pumpkins” without stems—they still look adorable.
Timing and multitasking. Here’s how I do this efficiently: I make the dip first and put it in the fridge. While it’s chilling, I peel and segment the clementines. Then I wash and dry the grapes. Then I slice the apples and pears last so they don’t brown. Assembly takes about 5 minutes. Total time from start to finish is usually around 20 minutes, and that’s including washing dishes as I go.
One failure I’ll never forget. The first time I made this, I used a dark-colored platter and you couldn’t see anything. The green grapes blended into the dark surface, the clementines looked weird against it, and the whole thing just looked like a mess. I learned that day that presentation matters. Use a white, cream, or light wood platter. The contrast makes the fruit pop and the pumpkin patch actually looks like a patch instead of a blob.
Variations & Adaptations
One of the best things about this recipe is how easy it is to adapt. I’ve played around with different versions depending on the season and what I have on hand. Here are some of my favorites.
Dairy-Free Version: Swap the cream cheese for a dairy-free alternative like Kite Hill or Miyoko’s. They both make excellent cream cheese substitutes that whip up smooth and creamy. Use maple syrup as the sweetener and you’ve got a completely dairy-free dip. I’ve served this to dairy-free friends and they couldn’t tell the difference.
Nut-Free Version: This recipe is naturally nut-free as written, which makes it perfect for school parties and events where allergies are a concern. Just make sure your pretzel sticks are processed in a nut-free facility if that’s a concern. Some brands are, some aren’t—check the label.
Seasonal Fruit Swaps: In the fall, clementines and apples are perfect. But you can adapt this for any season. In summer, use small mandarins, strawberries cut to look like pumpkins, and blueberries as “dirt.” In winter, use blood oranges and pomegranate seeds. In spring, try using small apricots and kiwi slices. The concept stays the same—you’re just changing the fruit to match what’s in season.
Different Dip Options: Not a fan of cream cheese? Try a yogurt-based dip instead. Mix plain Greek yogurt with honey and a touch of cinnamon. It’s lighter and tangier. Or go with a simple caramel dip if you’re feeling indulgent. I’ve also done a chocolate dip for kids’ parties—just melt chocolate chips with a little coconut oil and serve it warm. The fruit tray becomes a chocolate fondue situation, and let me tell you, it disappears fast.
Spooky Halloween Version: For Halloween, I add some “spider” details. Cut black olives in half and place them on the dip as spiders. Use pretzel sticks as spider legs. Add some candy eyeballs (you can find them at craft stores) to make the spiders look silly instead of scary. Kids go absolutely crazy for this version.
Individual Serving Idea: Instead of one big platter, make individual pumpkin patch cups. Take small clear cups, add a spoonful of dip at the bottom, and arrange a few clementine pumpkins and grapes on top. These are perfect for classroom parties or buffet tables where people are grabbing food to go.
Serving & Storage Suggestions
This pumpkin patch fruit tray is best served at room temperature, so take it out of the fridge about 15 minutes before serving. The cream cheese dip softens slightly and becomes easier to scoop, and the fruit flavors are more pronounced when they’re not ice cold.
What to serve with it: This fruit tray is fantastic on its own, but it also pairs beautifully with other fall treats. I love serving it alongside a warm apple cider or a spiced chai latte for a cozy fall snack spread. If you’re doing a full party, it goes great with pumpkin bread, apple muffins, or even a cheese board with sharp cheddar and sliced pears. The sweetness of the fruit and dip balances perfectly with savory options.
Storage instructions: If you have leftovers (which honestly doesn’t happen often in my house), you can store them, but with some caveats. The assembled tray doesn’t store well because the fruit will release moisture and make the dip watery. Instead, separate the components. Put the dip in an airtight container and refrigerate for up to 3 days. Store the fruit separately in a sealed container or ziplock bag. The clementine segments will last 2 to 3 days in the fridge, but the apple and pear slices will brown within a few hours. If you want to save those, toss them in a little lemon juice before storing.
Reheating the dip: You don’t really “reheat” this dip, but if it’s been in the fridge and gotten firm, let it sit at room temperature for 15 to 20 minutes before serving. Give it a good stir to bring back the creamy texture. If you want to serve it warm, you can microwave it for about 10 seconds—just be careful not to overheat it or it will separate.
How flavors develop: The dip actually gets better after a day in the fridge. The maple and cinnamon flavors meld together and become more cohesive. I sometimes make the dip a day ahead on purpose because it tastes so much better. The fruit, on the other hand, is best fresh. So make the dip ahead, but assemble the tray the day you’re serving it.
Nutritional Information & Benefits
Let’s talk about what makes this fruit tray actually good for you, because it’s easy to forget when you’re having fun with the presentation. Clementines are packed with vitamin C—one clementine provides about 40% of your daily needs. They’re also a great source of fiber and antioxidants. Green grapes are full of vitamins K and C, plus they have resveratrol, which is good for heart health. Apples bring more fiber and vitamin C to the party, and pears are loaded with fiber and copper.
The cream cheese dip does add some fat and calories, but it’s also a source of calcium and protein. Using real maple syrup instead of refined sugar gives you some minerals like zinc and manganese. And honestly, if this fruit tray gets kids (or adults) to eat more fruit, that’s a win in my book.
Here’s an approximate nutritional breakdown per serving (based on 8 servings):
- Calories: 180-220
- Fat: 8-10g (from cream cheese)
- Carbohydrates: 25-30g (mostly natural sugars from fruit)
- Fiber: 3-4g
- Protein: 3-4g
- Vitamin C: 60-80% of daily value
Dietary considerations: This recipe is naturally gluten-free (just check your pretzel sticks if using). It’s vegetarian. It can be made dairy-free with substitutions. It contains dairy and possibly gluten depending on the pretzels. If you’re serving this at a school event, I recommend labeling the dip so people with dairy allergies know what’s in it.
I’m not a nutritionist, but I do pay attention to what goes into my body and my family’s bodies. This fruit tray makes me feel good because it’s real food—nothing processed, nothing artificial. Just fruit and a simple homemade dip. That’s the kind of treat I can feel good about serving at a party or packing for a school event.
Conclusion
This fall pumpkin patch fruit tray with clementines has become one of those recipes that I come back to year after year, and I think you will too. It’s simple enough to throw together on a busy weekday, but impressive enough to bring to a holiday party or school event. The best part? It makes people smile. There’s something about seeing a pumpkin patch made from fruit that brings out the kid in everyone.
I love this recipe because it proves you don’t need fancy ingredients or complicated techniques to create something memorable. You just need a little creativity and the willingness to try something different. And honestly, that’s what cooking should be about—having fun, feeding people you love, and not taking yourself too seriously.
I’d love to hear how your pumpkin patch turns out! Did you add your own twist? Did the kids at the party love it? Drop a comment below and let me know—I read every single one and I’m always looking for new ideas to try. And if you share a photo on social media, tag me so I can see your creation. Happy fall, and happy snacking!
Frequently Asked Questions
Can I make this pumpkin patch fruit tray the night before?
I recommend making the dip up to 2 days ahead and prepping the fruit the night before, but assemble the tray no more than a few hours before serving. The fruit will release moisture and make the dip watery if it sits too long. Store the dip and fruit separately in the fridge, then assemble when you’re ready.
What can I use instead of clementines?
Small mandarins, Cuties, or even tangerines work great. You want something that’s easy to peel and has segments that are relatively flat on one side so the pretzel stem stays in place. If you can’t find any of these, you can use orange slices cut into small wedges—they won’t look exactly like pumpkins, but they’ll still taste great.
How do I keep the apple slices from turning brown?
Toss them in a little lemon juice or lime juice right after slicing. You can also use a solution of 1 part honey to 2 parts water and brush it on the slices. This not only prevents browning but adds a little extra sweetness. If you’re serving the tray within an hour, browning shouldn’t be a big issue.
Can I use a different dip?
Absolutely! Greek yogurt with honey and cinnamon is a lighter option. Caramel dip is a sweeter, more indulgent choice. You could even do a simple chocolate ganache for a dessert version. The fruit tray itself is versatile—the dip is just the canvas for your pumpkin patch.
How many people does this serve?
This recipe serves about 8 to 10 people as a snack or appetizer. If it’s the only thing on the table, it might serve 6. For a class party of 20 kids, I’d double the recipe and use two platters. Kids tend to go back for seconds (and thirds) because the presentation is so fun.
Pin This Recipe!
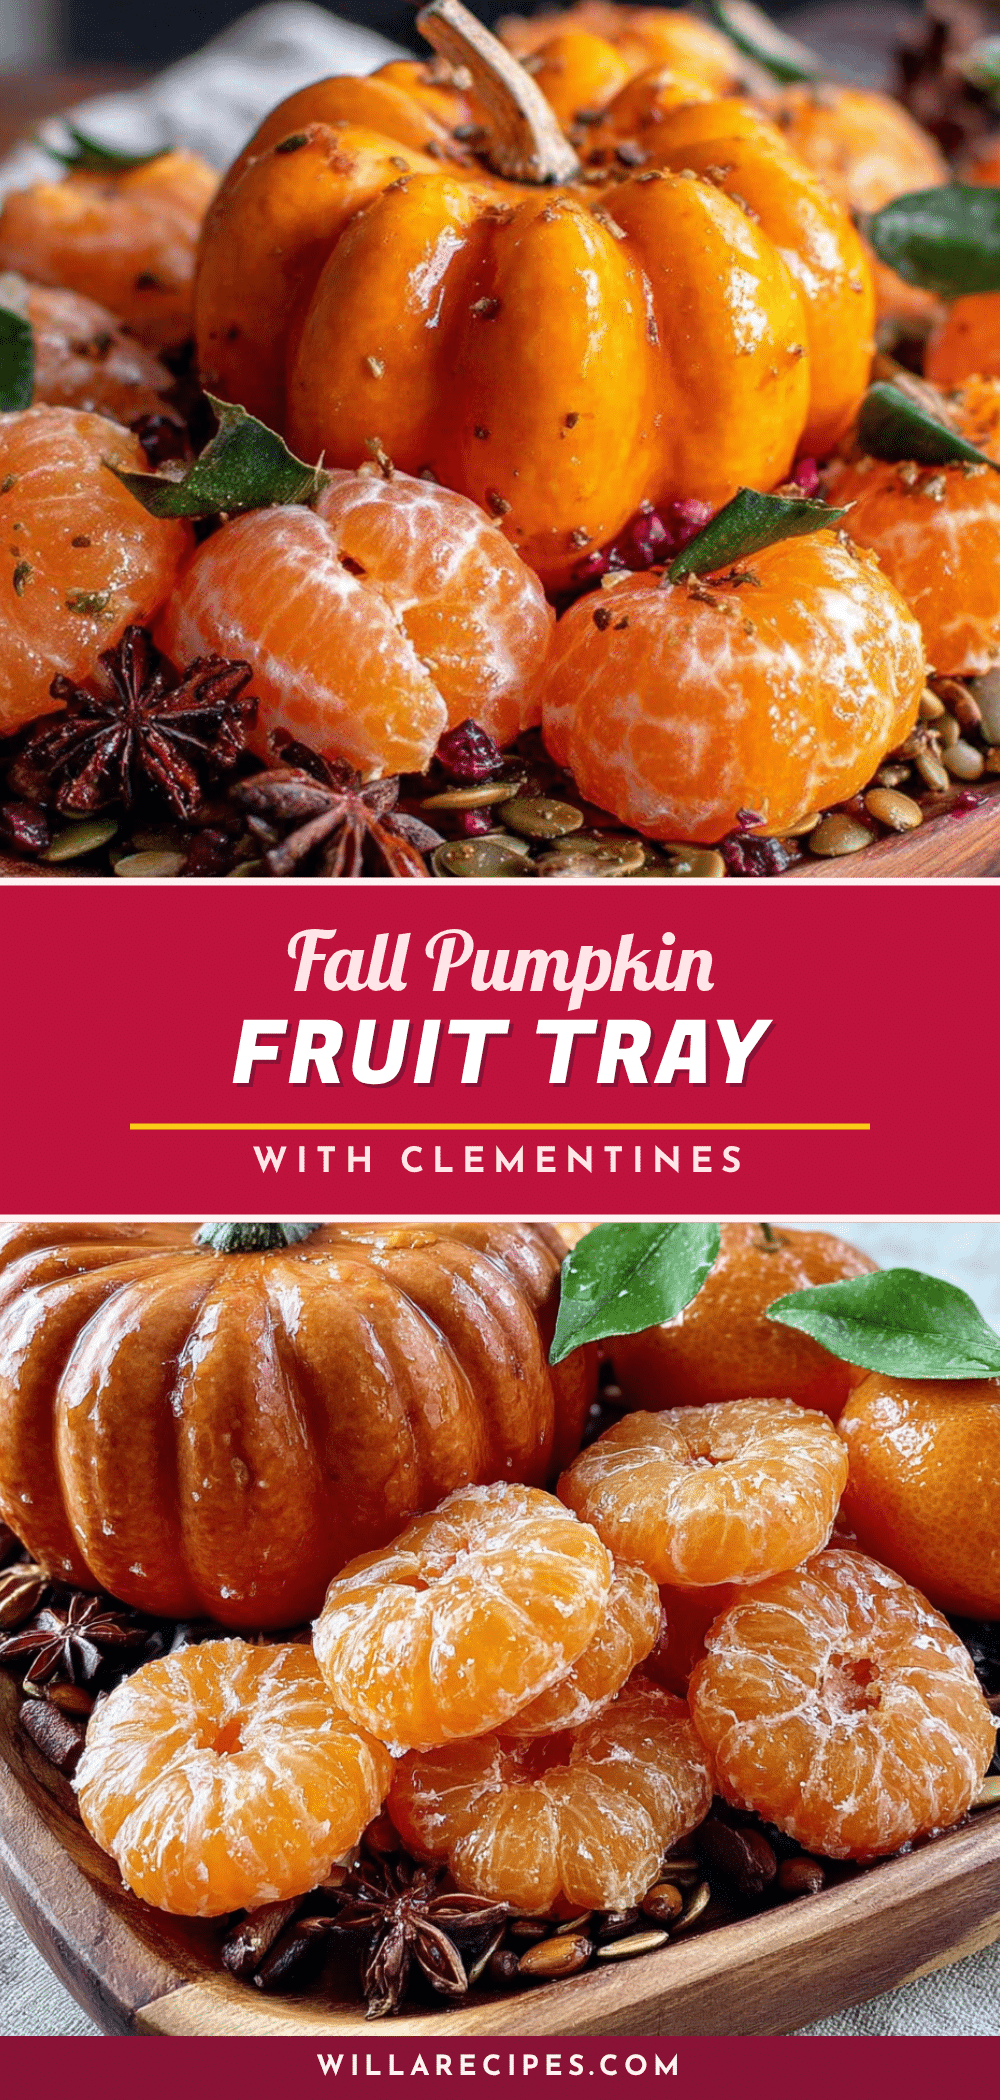
Easy Fall Pumpkin Patch Fruit Tray with Clementines

A fun and festive fruit tray shaped like a pumpkin patch, featuring clementine ‘pumpkins’, grape vines, and a creamy maple-cinnamon dip. Perfect for fall gatherings, school parties, and Thanksgiving.
- Prep Time: 20 minutes
- Cook Time: 0 minutes
- Total Time: 20 minutes
- Yield: 8-10 servings 1x
- Category: Appetizer
- Cuisine: American
Ingredients
- 6 to 8 medium clementines
- 2 cups green grapes, washed and dried
- 1 large apple (Granny Smith, Honeycrisp, or Fuji), sliced thin
- 1 ripe but firm pear (Bosc or Bartlett), sliced
- 8 ounces cream cheese, softened
- 3 tablespoons pure maple syrup
- 1 teaspoon pure vanilla extract
- 1/2 teaspoon ground cinnamon
- 1/4 teaspoon ground nutmeg (optional)
- 2 tablespoons powdered sugar (optional)
- A handful pretzel sticks, broken into small pieces
- A few sprigs fresh mint leaves
- Pumpkin-shaped cookie cutter (optional)
Instructions
- Make the cream cheese dip: In a small mixing bowl, beat softened cream cheese, maple syrup, vanilla extract, cinnamon, and nutmeg with a hand mixer on medium speed until smooth and fluffy (about 2 minutes). Add powdered sugar if desired. Refrigerate while preparing fruit.
- Prepare clementine ‘pumpkins’: Peel clementines and separate into individual segments. Gently press a small piece of pretzel stick into the flat side of each segment to create a stem. Set aside.
- Slice apples and pears: Core and slice into thin rounds (about 1/4 inch thick). Use a pumpkin-shaped cookie cutter to cut shapes if desired. Toss apple slices in lemon juice to prevent browning if not serving immediately.
- Wash and dry grapes thoroughly with paper towels.
- Arrange the pumpkin patch: On a large platter, spread the cream cheese dip in a rough oval shape in the center, about 1/4 inch thick, leaving 2 inches of space around the edges.
- Create the vine: Arrange green grapes in a squiggly line coming from one side of the cream cheese patch, trailing off the platter.
- Place clementine pumpkins: Press clementine segments with pretzel stems gently into the cream cheese dip in clusters (3-4 clusters of 4-5 pumpkins each).
- Add apple and pear slices around the edges of the cream cheese patch and along the grape vine.
- Tuck fresh mint leaves here and there along the grape vine and near the clementine pumpkins.
- Serve immediately or refrigerate for up to 1 hour. Best assembled just before serving.
Notes
Use a white or light-colored platter for best contrast. Dry fruit thoroughly to prevent watery dip. For best results, make dip a day ahead and assemble tray just before serving. Pretzel stems can get soggy if left in dip too long; add them right before serving if possible.
Nutrition
- Serving Size: 1 serving (based on
- Calories: 200
- Sugar: 22
- Sodium: 120
- Fat: 9
- Saturated Fat: 5
- Carbohydrates: 28
- Fiber: 3
- Protein: 3
Keywords: fall fruit tray, pumpkin patch fruit tray, clementine pumpkins, easy fall appetizer, healthy snack, school party, Thanksgiving appetizer, fruit platter


