This was supposed to be a batch of my grandmother’s butter cookies—the ones she’d make every Christmas Eve, the ones with the secret ingredient she swore by but never wrote down. I had the recipe memorized, or so I thought. I grabbed the gluten-free flour blend from the back of my pantry, the one I’d bought on a whim for a friend’s dinner party months ago, and I was already running late for a cookie swap. The butter was too cold, the kitchen was too hot, and I was already muttering things I can’t repeat in polite company. What came out was nothing like the plan—and better.
The dough felt different, crumbly and almost fragile. I remember pressing it together with my fingers, thinking, well, this is a disaster. But I rolled it out anyway, cut stars and trees, and slid them into the oven with zero hope. When they came out, they held their shape perfectly. They had this delicate, sandy texture that melted on my tongue. Honestly, I sat there staring at the cooling rack for a solid minute. Maybe you’ve been there—when a mistake turns into something you never knew you needed.
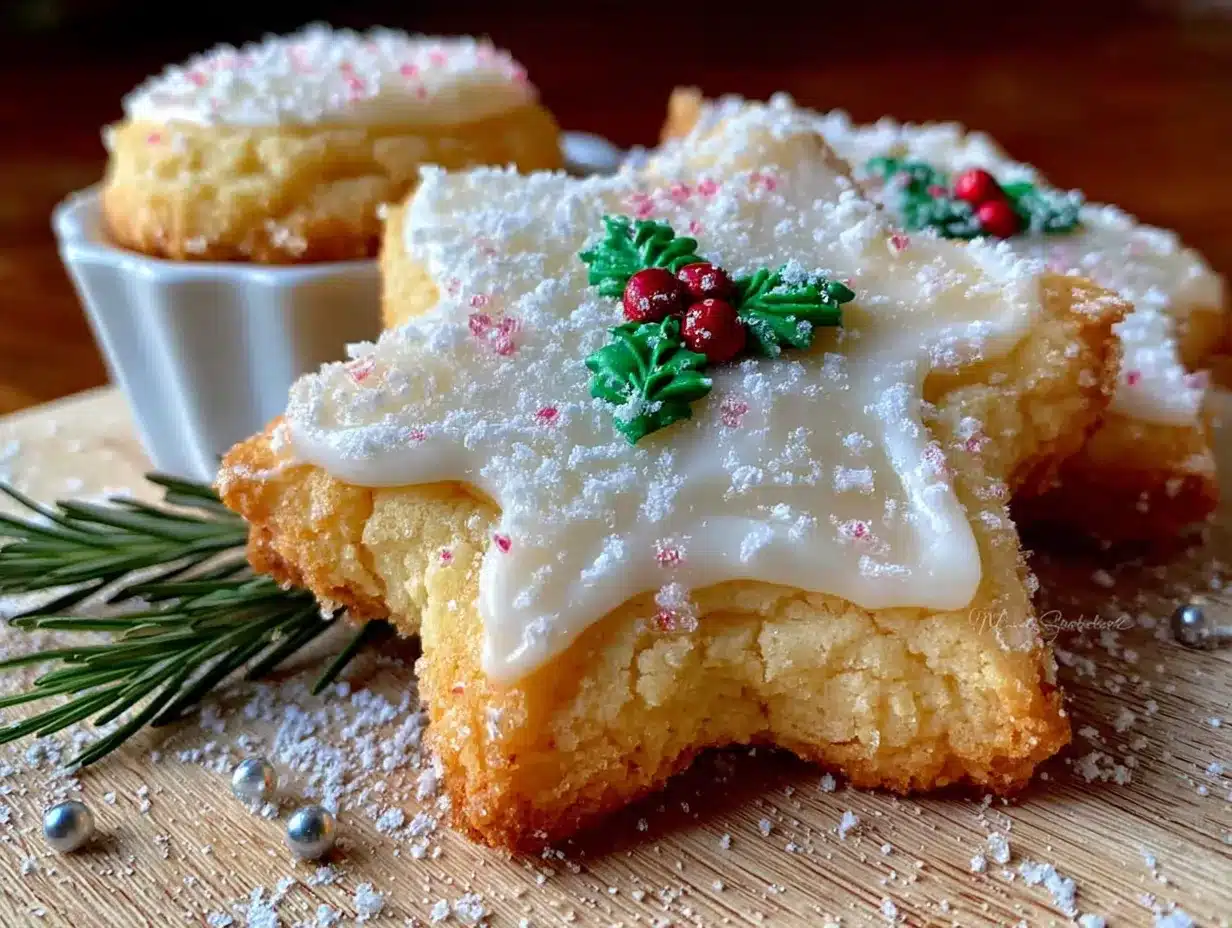
These easy gluten-free Christmas sugar cookies with royal icing became my new holiday tradition. They’re not a sad substitute for the “real” thing. They’re their own beautiful thing—crisp, buttery, and sturdy enough to hold a thick layer of royal icing without crumbling. I keep making them because they remind me that sometimes the best recipes come from the moments we think we’ve messed up. And honestly, they taste better than the originals ever did.
Why You’ll Love This Recipe
I’ve tested this recipe more times than I care to admit. I’ve tried different flour blends, different butter temperatures, and different chilling times. This version is the one that works every time, even when you’re tired and just want cookies on the table. Here’s why it’s become my go-to for the holidays:
- Quick & Easy: From start to finish, these cookies come together in under an hour. The dough mixes in one bowl, and you don’t need a stand mixer.
- Simple Ingredients: No fancy grocery trips needed. You likely already have butter, sugar, eggs, and a good gluten-free flour blend in your kitchen.
- Perfect for Christmas Cookie Exchanges: These cookies hold their shape beautifully, making them ideal for decorating with kids or for gifting.
- Crowd-Pleaser: I’ve served these at parties where no one knew they were gluten-free, and they disappeared first. Every single time.
- Unbelievably Delicious: The texture is the real star here—crisp on the edges, tender in the middle, and sturdy enough for royal icing without getting soggy.
What makes this recipe different from the rest? It’s the technique of creaming the butter and sugar until it’s truly light and fluffy, then adding the flour gently so the dough doesn’t get tough. I also use a blend of tapioca starch and almond flour for that perfect melt-in-your-mouth texture. This isn’t just another gluten-free cookie recipe—it’s the one that converted my gluten-eating dad. He asked for the recipe and didn’t believe me when I told him it was gluten-free.
What Ingredients You Will Need
This recipe uses simple, wholesome ingredients to deliver bold flavor and satisfying texture without the fuss. Most of these are pantry staples, and the few specialty items are easy to find at any grocery store.
For the Cookies
- 1 cup unsalted butter, softened to room temperature (adds richness and tenderness)
- 1 cup granulated sugar (I prefer organic cane sugar for a cleaner taste)
- 1 large egg, room temperature (helps bind the dough)
- 1 teaspoon vanilla extract (use pure vanilla for the best flavor)
- 2 ½ cups gluten-free all-purpose flour blend (I recommend Bob’s Red Mill 1-to-1 Baking Flour for best texture—it already contains xanthan gum)
- ½ teaspoon baking powder (gives a slight lift without spreading)
- ¼ teaspoon salt (balances the sweetness)
For the Royal Icing
- 3 cups powdered sugar, sifted (prevents lumps in the icing)
- 2 tablespoons meringue powder (creates that stiff, glossy finish)
- 4-5 tablespoons water, room temperature (add slowly to reach the right consistency)
- Gel food coloring (optional, for decorating—use gel, not liquid, to avoid thinning the icing)
Ingredient Tips
If you don’t have meringue powder, you can substitute with 2 large egg whites and skip the water. But meringue powder is safer for raw icing since it’s pasteurized. For a dairy-free version, use vegan butter sticks (not tub margarine) and check that your flour blend is dairy-free. I’ve tested this with King Arthur Measure for Measure flour, and it works beautifully too.
Equipment Needed
You don’t need a professional bakery setup for these cookies. Here’s what you’ll need:
- Electric mixer (handheld or stand mixer works fine)
- Large mixing bowl
- Rolling pin (I use a wooden one, but a silicone rolling pin works great too)
- Cookie cutters (Christmas shapes like stars, trees, and snowflakes are my favorites)
- Baking sheets (rimmed sheets prevent sliding)
- Parchment paper (non-negotiable for easy cleanup and even baking)
- Cooling rack (wire rack helps cookies cool evenly)
- Piping bags or squeeze bottles (for royal icing—I prefer squeeze bottles for less mess)
- Small offset spatula (helps spread icing smoothly)
If you don’t have piping bags, you can use a zip-top bag with a tiny corner snipped off. It’s not fancy, but it works. I’ve done it plenty of times when I’ve run out of piping bags mid-decorating.
Preparation Method
Follow these steps carefully, and you’ll have perfect gluten-free sugar cookies every time. I’ve included sensory cues so you know exactly what to look for at each stage.
- Cream the butter and sugar. In a large bowl, beat the softened butter and granulated sugar together until light and fluffy, about 3-4 minutes. It should look pale yellow and feel airy when you scrape the bowl. Don’t rush this step—proper creaming is what gives the cookies their tender texture.
- Add the egg and vanilla. Beat in the egg and vanilla extract until fully combined. The mixture might look slightly curdled at this point—that’s normal. Don’t panic.
- Mix the dry ingredients. In a separate bowl, whisk together the gluten-free flour blend, baking powder, and salt. This ensures the leavening is evenly distributed.
- Combine wet and dry. Gradually add the dry ingredients to the wet mixture, mixing on low speed. The dough will look crumbly at first—that’s the gluten-free flour doing its thing. Keep mixing until a soft, slightly sticky dough forms. If it’s too dry, add 1 tablespoon of cold water.
- Chill the dough. Wrap the dough in plastic wrap and flatten it into a disk. Refrigerate for at least 30 minutes. This step is crucial—chilled dough holds its shape better during baking and prevents spreading.
- Preheat and prepare. Preheat your oven to 350°F (175°C). Line two baking sheets with parchment paper.
- Roll and cut. On a lightly floured surface (use gluten-free flour), roll the dough to about ¼-inch thickness. Cut out shapes with your cookie cutters and place them 1 inch apart on the prepared baking sheets. Re-roll scraps once—after that, the dough gets tough.
- Bake. Bake for 10-12 minutes, or until the edges are just barely golden. The centers should look set but not brown. They will firm up as they cool. Let them cool on the baking sheet for 5 minutes, then transfer to a wire rack to cool completely.
- Make the royal icing. In a medium bowl, whisk together the powdered sugar and meringue powder. Add 4 tablespoons of water and beat on medium speed for 5-7 minutes, until the icing is stiff, glossy, and holds a peak. Add more water, 1 teaspoon at a time, if it’s too thick.
- Decorate. Divide the icing into bowls and tint with gel food coloring. Transfer to piping bags or squeeze bottles. Outline each cookie, then flood the center with a slightly thinner icing. Let the icing dry completely, about 2-4 hours, before stacking or storing.
Cooking Tips & Techniques
I’ve made every mistake in the book with these cookies, so you don’t have to. Here are the lessons I learned the hard way:
Don’t overwork the dough. Gluten-free dough is more delicate than regular dough. Overmixing makes it tough and crumbly. Mix just until it comes together, then stop.
Chill the dough twice if you have time. I’ve found that chilling the cut-out shapes on the baking sheet for 10 minutes before baking gives even sharper edges. It’s an extra step, but the results are worth it.
Watch the baking time closely. Gluten-free cookies can go from perfectly baked to overdone in 30 seconds. The edges should be just barely golden. If they’re brown, they’re overbaked and will be dry.
Use a light touch with the rolling pin. Press too hard, and the dough will stick. I roll between two sheets of parchment paper to avoid adding extra flour, which can dry out the dough.
Royal icing consistency matters. For outlining, the icing should hold a stiff peak. For flooding, it should flow like honey and disappear into itself within 10 seconds. Test it on a plate before you start decorating.
Variations & Adaptations
This recipe is endlessly adaptable. Here are some of my favorite variations:
- Vegan Version: Substitute the butter with vegan butter sticks, use a flax egg (1 tablespoon ground flaxseed + 3 tablespoons water), and use aquafaba (chickpea brine) instead of meringue powder in the icing. The texture will be slightly softer, but still delicious.
- Citrus Sugar Cookies: Add 1 tablespoon of lemon or orange zest to the dough along with the vanilla. It brightens the flavor and pairs beautifully with royal icing.
- Chocolate Sugar Cookies: Replace ¼ cup of the flour blend with unsweetened cocoa powder. Reduce the sugar by 2 tablespoons to balance the bitterness. These are perfect for a chocolate lover’s Christmas.
- Spiced Holiday Cookies: Add 1 teaspoon of cinnamon, ½ teaspoon of ginger, and ¼ teaspoon of nutmeg to the dry ingredients. The warm spices make the kitchen smell incredible.
- No-Roll Drop Cookies: If you don’t want to roll and cut, chill the dough for 1 hour, then scoop tablespoon-sized balls and flatten them slightly with the bottom of a glass. Bake for 12-14 minutes. They won’t be as sharp, but they’re just as tasty.
Serving & Storage Suggestions
These cookies are best served at room temperature, with the royal icing fully set. I love arranging them on a tiered stand for holiday parties—they look beautiful and festive.
Storage: Store undecorated cookies in an airtight container at room temperature for up to 2 weeks. If you’ve already decorated them with royal icing, layer them between sheets of parchment paper to prevent sticking. They’ll stay fresh for up to 10 days.
Freezing: You can freeze the unbaked dough for up to 3 months. Wrap it tightly in plastic wrap and place it in a freezer bag. Thaw overnight in the refrigerator before rolling and baking. You can also freeze baked, undecorated cookies for up to 3 months—just thaw them at room temperature before icing.
Reheating: These cookies don’t need reheating, but if you want a warm cookie, pop one in a 300°F (150°C) oven for 3-4 minutes. The royal icing will soften slightly, so only do this with undecorated cookies.
The flavors actually improve after a day or two. The cookies soften slightly, and the royal icing sets into a perfectly crisp shell. I always make mine a day ahead of time for that reason.
Nutritional Information & Benefits
Here’s the approximate nutritional breakdown per cookie (based on 24 cookies with royal icing):
| Nutrient | Amount per Cookie |
|---|---|
| Calories | 145 |
| Total Fat | 7g |
| Saturated Fat | 4g |
| Cholesterol | 20mg |
| Sodium | 55mg |
| Total Carbohydrates | 20g |
| Dietary Fiber | 1g |
| Sugars | 14g |
| Protein | 1g |
These cookies are gluten-free, making them safe for those with celiac disease or gluten sensitivity. The almond flour in some blends adds a small amount of healthy fats and vitamin E. If you use a nut-free flour blend, these cookies are also nut-free. They are not low-carb or sugar-free, but they are a holiday treat meant to be enjoyed in moderation.
From a wellness perspective, I love that these cookies don’t contain any weird additives or preservatives. You control exactly what goes into them. And honestly, the joy of decorating them with family is its own kind of mental health boost.
Conclusion
These easy gluten-free Christmas sugar cookies with royal icing are more than just a recipe—they’re a reminder that the best things often come from unexpected places. They’re forgiving, adaptable, and genuinely delicious, no matter your dietary needs. Whether you’re a seasoned gluten-free baker or just trying to accommodate a guest, these cookies will not let you down.
I love this recipe because it brings people together. I’ve made them with my niece, with my neighbor, and even in a virtual cookie decorating class. Every time, someone says, “I can’t believe these are gluten-free.” And every time, I smile and hand them another cookie.
Now I want to hear from you. Have you made these? Did you try a fun variation? Drop a comment below and tell me about your holiday baking adventures. And if you loved this recipe, share it with a friend who needs a gluten-free win this Christmas. Happy baking!
Frequently Asked Questions
Can I use a different gluten-free flour blend?
Yes, but results may vary. I recommend a blend that contains xanthan gum, like Bob’s Red Mill 1-to-1 or King Arthur Measure for Measure. If your blend doesn’t contain xanthan gum, add ½ teaspoon to the dry ingredients.
Why did my cookies spread in the oven?
This usually happens when the dough isn’t chilled enough. Make sure you chill the dough for at least 30 minutes, and consider chilling the cut-out shapes on the baking sheet for 10 minutes before baking. Also, check that your butter isn’t too soft—it should be room temperature, not melted.
Can I make the royal icing without meringue powder?
Absolutely. Substitute 2 large egg whites for the meringue powder and water. Beat the egg whites with the powdered sugar until stiff peaks form. Note that this version isn’t pasteurized, so it’s not safe for pregnant women or young children.
How far in advance can I make these cookies?
You can make the dough up to 3 days ahead and keep it refrigerated. Bake the cookies up to 2 weeks ahead and store them in an airtight container. Decorate them up to 3 days before serving—the royal icing needs at least 4 hours to set completely.
Can I freeze the decorated cookies?
I don’t recommend freezing decorated cookies because the royal icing can become tacky or crack during thawing. Freeze undecorated cookies instead, then thaw and decorate them fresh. They’ll look and taste much better.
Pin This Recipe!
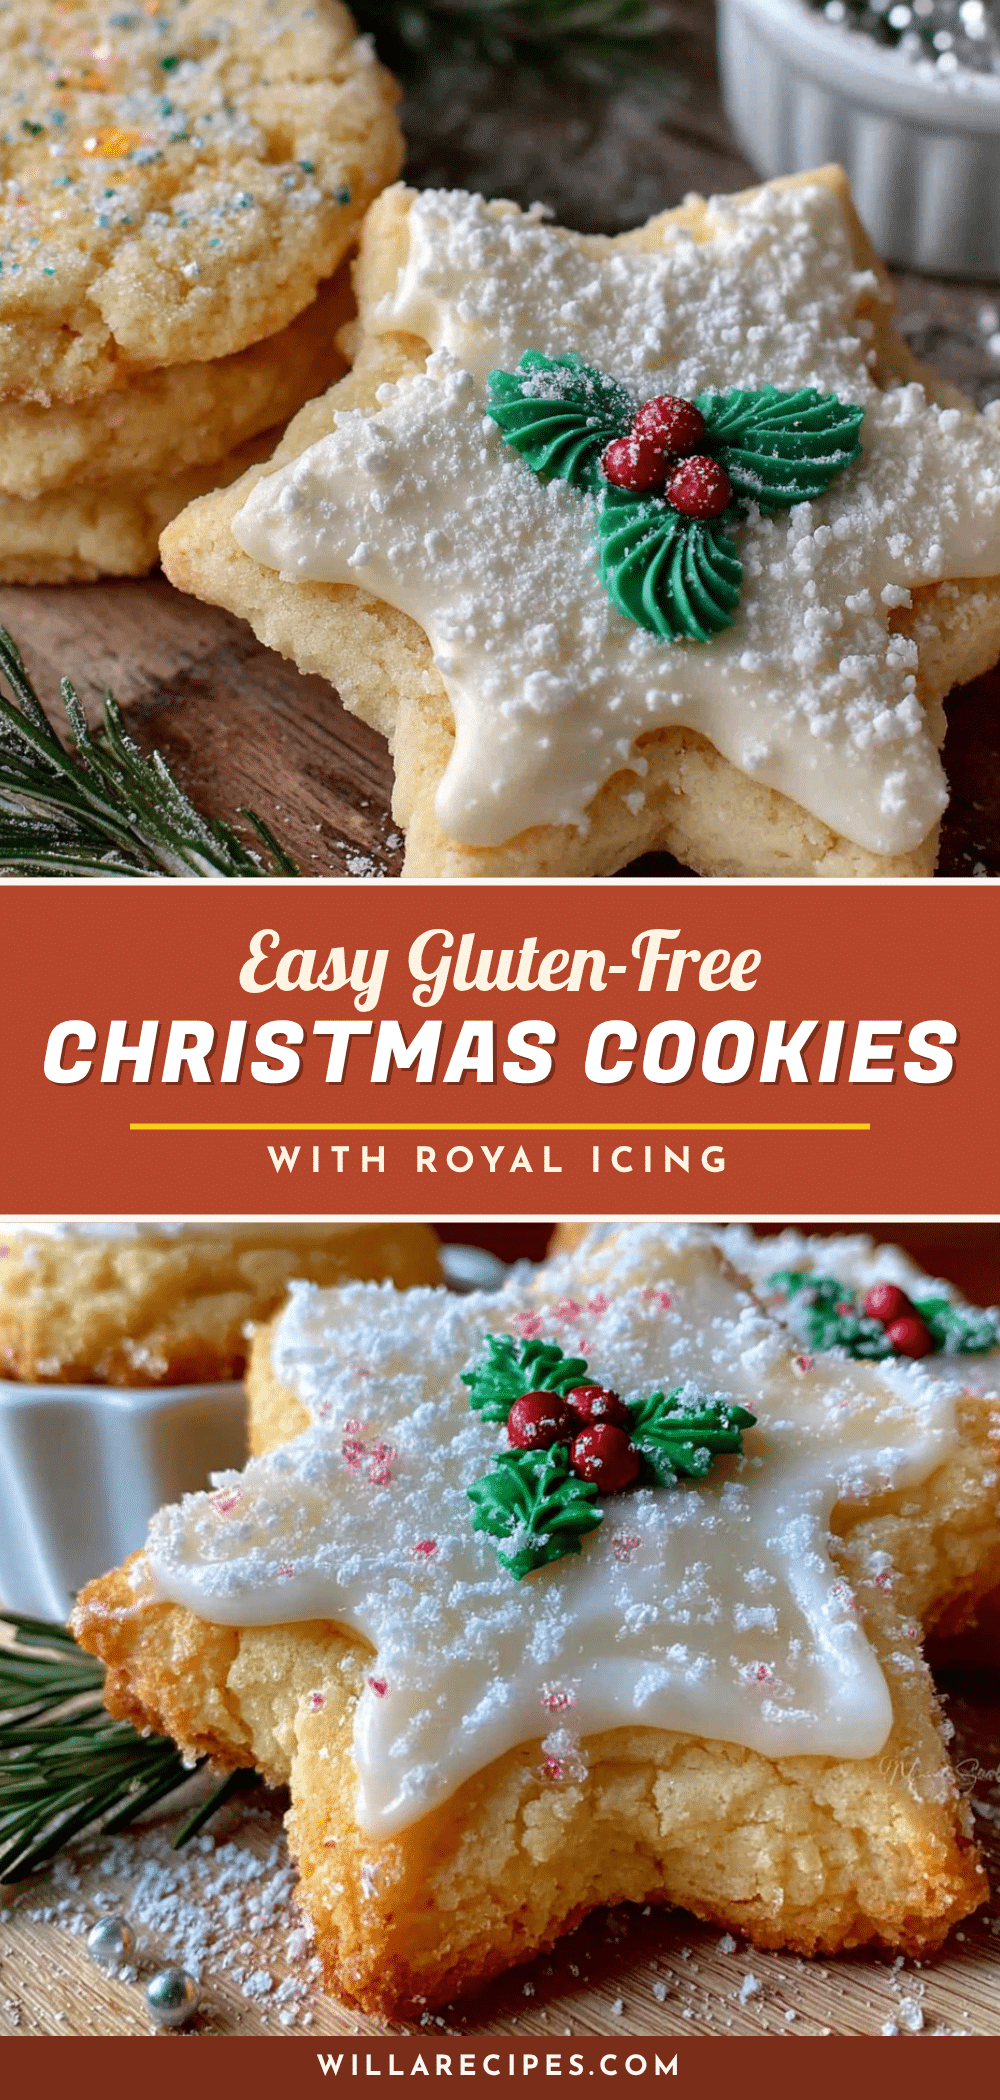
Easy Gluten-Free Christmas Sugar Cookies with Royal Icing

These easy gluten-free Christmas sugar cookies with royal icing are crisp, buttery, and sturdy enough to hold a thick layer of royal icing without crumbling. They’re not a sad substitute for the ‘real’ thing—they’re their own beautiful thing, perfect for holiday cookie exchanges and decorating with family.
- Prep Time: 20 minutes
- Cook Time: 12 minutes
- Total Time: 1 hour 2 minutes (including 30 minutes chilling)
- Yield: 24 cookies 1x
- Category: Dessert
- Cuisine: American
Ingredients
- 1 cup unsalted butter, softened to room temperature
- 1 cup granulated sugar (organic cane sugar preferred)
- 1 large egg, room temperature
- 1 teaspoon vanilla extract (pure vanilla preferred)
- 2 ½ cups gluten-free all-purpose flour blend (e.g., Bob’s Red Mill 1-to-1 Baking Flour)
- ½ teaspoon baking powder
- ¼ teaspoon salt
- 3 cups powdered sugar, sifted
- 2 tablespoons meringue powder
- 4–5 tablespoons water, room temperature
- Gel food coloring (optional)
Instructions
- Cream the butter and sugar: In a large bowl, beat the softened butter and granulated sugar together until light and fluffy, about 3-4 minutes. It should look pale yellow and feel airy.
- Add the egg and vanilla: Beat in the egg and vanilla extract until fully combined. The mixture might look slightly curdled—that’s normal.
- Mix the dry ingredients: In a separate bowl, whisk together the gluten-free flour blend, baking powder, and salt.
- Combine wet and dry: Gradually add the dry ingredients to the wet mixture, mixing on low speed until a soft, slightly sticky dough forms. If too dry, add 1 tablespoon of cold water.
- Chill the dough: Wrap the dough in plastic wrap and flatten into a disk. Refrigerate for at least 30 minutes.
- Preheat and prepare: Preheat oven to 350°F (175°C). Line two baking sheets with parchment paper.
- Roll and cut: On a lightly floured surface (use gluten-free flour), roll dough to about ¼-inch thickness. Cut out shapes with cookie cutters and place 1 inch apart on prepared baking sheets. Re-roll scraps once only.
- Bake: Bake for 10-12 minutes, until edges are just barely golden. Let cool on baking sheet for 5 minutes, then transfer to a wire rack to cool completely.
- Make the royal icing: In a medium bowl, whisk together powdered sugar and meringue powder. Add 4 tablespoons of water and beat on medium speed for 5-7 minutes until stiff, glossy, and holds a peak. Add more water 1 teaspoon at a time if too thick.
- Decorate: Divide icing into bowls and tint with gel food coloring. Transfer to piping bags or squeeze bottles. Outline each cookie, then flood the center with slightly thinner icing. Let dry completely, about 2-4 hours, before stacking or storing.
Notes
Chill the dough for at least 30 minutes to prevent spreading. For sharper edges, chill cut-out shapes on the baking sheet for 10 minutes before baking. Don’t overwork the dough—mix just until combined. Watch baking time closely; gluten-free cookies can overbake quickly. For royal icing, outlining consistency should hold a stiff peak; flooding consistency should flow like honey. Store undecorated cookies in an airtight container for up to 2 weeks, decorated cookies for up to 10 days. Freeze unbaked dough for up to 3 months.
Nutrition
- Serving Size: 1 cookie
- Calories: 145
- Sugar: 14
- Sodium: 55
- Fat: 7
- Saturated Fat: 4
- Carbohydrates: 20
- Fiber: 1
- Protein: 1
Keywords: gluten-free, Christmas, sugar cookies, royal icing, holiday cookies, gluten-free cookies, easy cookies


