I was standing in the freezer aisle at the grocery store last Tuesday, just trying to grab a bag of frozen peas for a quick dinner, when the cold air hit me—and suddenly I was seven years old in my Aunt Carla’s kitchen. She had this way of letting me pick out the snack for our movie nights, and I always, always reached for the Little Debbie Christmas Tree Cakes. It didn’t matter if it was July. She kept them stashed in her pantry year-round, wrapped in that crinkly plastic, with the white icing stripes and those little sprinkles that somehow got everywhere. I can still feel the way my teeth sank into the soft cake—that weirdly perfect combination of marshmallowy cream and dense yellow cake. Honestly, I haven’t thought about that in years.
So there I was, holding my frozen peas, and I just stood there for a minute. I mean, the holidays were still a few weeks away, but the craving hit me hard. I bought two boxes of those Christmas Tree Cakes and told myself it was for “research.” (Let’s be real, I ate one in the car.) But I knew I wanted to do something more with them. Maybe you’ve been there—you buy a box of something nostalgic, take one bite, and think, “This is good, but it could be *better*.” That’s how this dip was born. It’s the same taste you remember, but turned into a creamy, scoopable, shareable dessert that feels just a little bit extra without being fussy.
The first time I made it, I forgot to soften the cream cheese. You know that feeling when you’re impatient and try to mix cold cream cheese with anything? Yeah, it was a lumpy mess. I had to scrape it all into a bowl and microwave it in ten-second bursts, muttering apologies to the kitchen gods. But you know what? It still tasted incredible. That’s the thing about this dip—it’s forgiving. It’s the kind of recipe that makes you look like a holiday hero with almost zero effort. And honestly, that’s why it’s become my go-to for every Christmas gathering since.
Why You’ll Love This Recipe
Let me tell you why this Easy Little Debbie Christmas Tree Cake Dip is about to become your new holiday secret weapon. I’ve tested this recipe about six times (tough job, I know) to get the texture just right—creamy, not too sweet, with those little bits of cake in every bite.
- Quick & Easy: This comes together in under 10 minutes. No baking, no complicated steps. Perfect for those evenings when you remember you’re hosting a party tomorrow and panic sets in.
- Simple Ingredients: You only need five ingredients, and three of them are probably already in your fridge or pantry. No fancy grocery trips required.
- Perfect for Holiday Parties: Great for Christmas Eve gatherings, cookie swaps, potlucks, or just a cozy night in with your family. It feeds a crowd without breaking the bank.
- Crowd-Pleaser: I’ve served this to kids, adults, and my picky Uncle Rick who “doesn’t do dessert dips.” He asked for the recipe. Enough said.
- Unbelievably Delicious: It tastes exactly like the original snack cake but in dip form. The texture is next-level comfort food—smooth, fluffy, with little pockets of cake that melt on your tongue.
What makes this recipe different from the dozens of other copycat versions out there? It’s the ratio. I spent time figuring out the perfect balance of cream cheese to marshmallow fluff to Cool Whip so the dip stays light and scoopable, not heavy or greasy. And I add a tiny pinch of salt—trust me on this one—to cut through the sweetness and make the flavors pop. This isn’t just another version of the dip. It’s the one you’ll come back to year after year.
There’s something about this dip that makes people close their eyes after the first bite. I’ve seen it happen at three different parties now. It’s comfort food reimagined—faster, easier, but with the same soul-soothing satisfaction of biting into that little green-and-white cake. Perfect for impressing guests without stress, or turning a simple weeknight dessert into something memorable.
What Ingredients You Will Need
This recipe uses simple, mostly pantry-stable ingredients to deliver that nostalgic flavor without any fuss. Here’s what you’ll need and why each one matters:
- Little Debbie Christmas Tree Cakes (2 packages, 10 cakes total) — These are the star of the show. You’ll find them in the snack cake aisle starting in late October or November. I recommend buying an extra box because you *will* eat one while making this. The yellow cake, marshmallow cream filling, and white icing all get incorporated into the dip for layers of texture.
- Cream Cheese (8 oz, softened to room temperature) — This gives the dip its tangy, creamy base. I prefer Philadelphia brand for the smoothest texture. Make sure it’s truly softened—leave it on the counter for at least 30 minutes, or microwave it in 10-second bursts if you’re in a hurry like I usually am.
- Marshmallow Fluff (7 oz jar, about 1 ¾ cups) — Adds sweetness and that light, airy texture that makes the dip feel like a cloud. Don’t substitute with mini marshmallows here—the texture won’t be the same. Jet-Puffed is my go-to brand.
- Cool Whip (8 oz tub, thawed) — Keeps the dip light and fluffy. You can use homemade whipped cream if you prefer, but Cool Whip stabilizes better for parties and holds up longer in the fridge. Make sure it’s fully thawed before mixing, or you’ll end up with cold lumps.
- Vanilla Extract (1 teaspoon) — Enhances the overall flavor and brings out the cake’s sweetness. Pure vanilla extract is best, but imitation works fine in a pinch.
- Pinch of Salt (about ⅛ teaspoon) — This is my secret weapon. It balances the sweetness and makes the flavors pop. You won’t taste it directly, but you’ll notice something is *right*.
- Optional: Green Food Coloring (a few drops) — If you want that iconic Christmas tree green color, add a drop or two of gel food coloring. I use Americolor brand because it doesn’t water down the dip. Totally optional, but fun for presentation.
- Optional: Holiday Sprinkles for garnish — Adds a festive crunch on top. Look for red and green sprinkles or the little star-shaped ones.
Substitution Notes: For a lighter version, use reduced-fat cream cheese and lite Cool Whip. The texture will be slightly less rich but still delicious. If you can’t find Christmas Tree Cakes (they’re seasonal), you can substitute with Little Debbie Zebra Cakes or even unfrosted yellow cake crumbled with white chocolate chips mixed in—though the flavor won’t be exactly the same. For a dairy-free option, use dairy-free cream cheese and coconut whipped topping. Just note the texture will be a bit softer.
Equipment Needed
You don’t need much for this recipe, which is honestly my favorite part. Here’s what I use:
- Hand Mixer or Stand Mixer — A hand mixer works perfectly and is easier to clean. If you’re using a stand mixer, use the paddle attachment. You can mix by hand with a wooden spoon, but your arm will get tired, and the texture won’t be as smooth.
- Large Mixing Bowl — Any medium-to-large bowl works. I use my favorite ceramic one because it feels festive.
- Spatula — For scraping down the sides and folding in the cake pieces. A silicone spatula is best.
- Sharp Knife and Cutting Board — For chopping the Christmas Tree Cakes into small pieces. A serrated knife works well here because the cakes are soft.
- Serving Bowl and Platter — Any bowl works, but a shallow, wide bowl shows off the dip nicely. I like using a white dish so the green color pops.
- Measuring Spoons and Cups — For the vanilla extract and salt. Eyeballing works for most things, but not salt.
Budget-Friendly Tip: No mixer? No problem. Mash the cream cheese with a fork until soft, then whisk in the marshmallow fluff vigorously. It takes a minute or two longer, but it works. I’ve done this when my hand mixer broke mid-recipe—true story.
Preparation Method
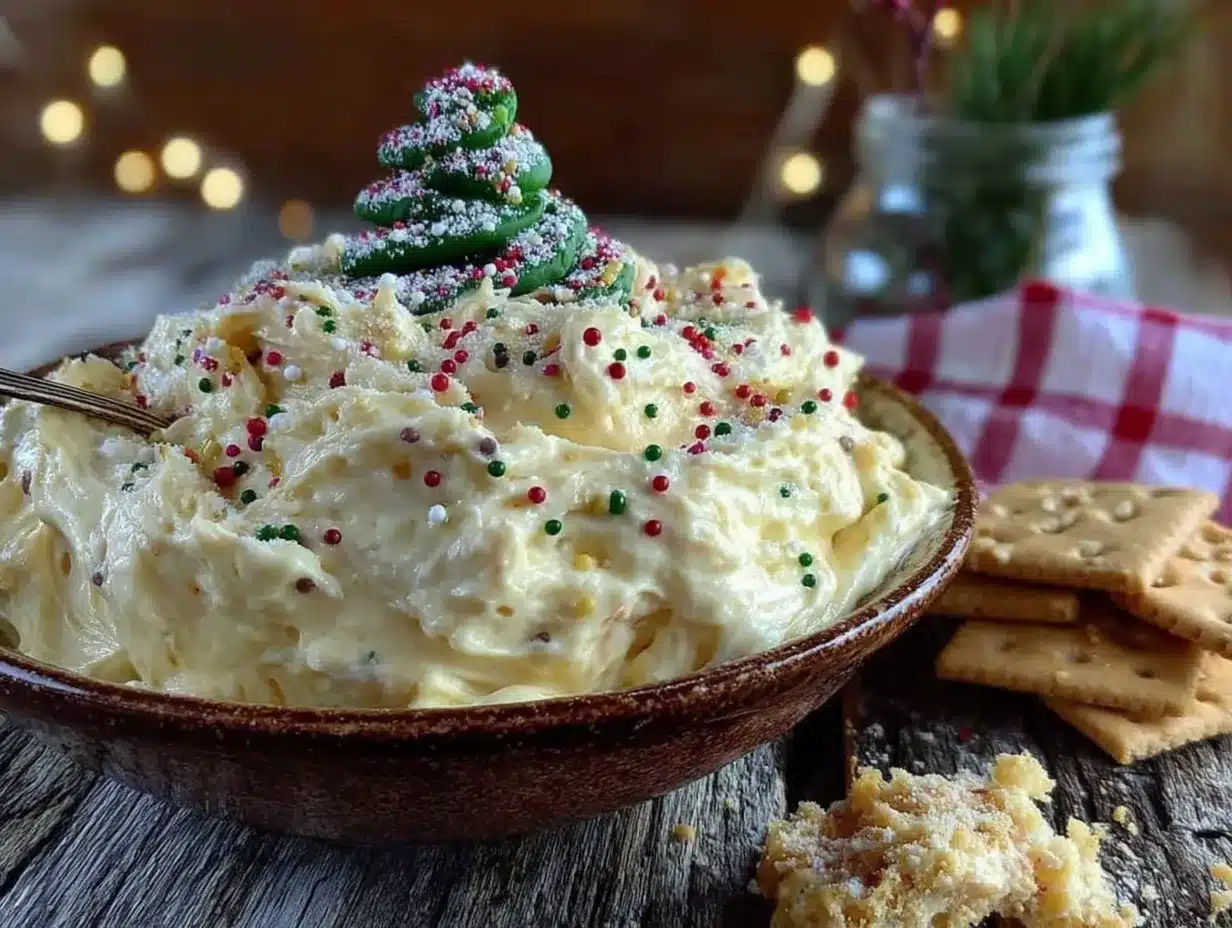
Follow these steps, and you’ll have a dip that disappears faster than you can say “Christmas Tree Cake.”
- Prep the Cream Cheese (5 minutes, but plan ahead): Take your cream cheese out of the fridge at least 30 minutes before you start. If you forgot (I always forget), unwrap it, place it on a microwave-safe plate, and microwave in 10-second bursts until it’s soft but not melted. You want it to give slightly when you press it with your finger.
- Chop the Christmas Tree Cakes (3 minutes): Unwrap all 10 cakes. Set 2 aside for later. Take the remaining 8 and chop them into small pieces—about ½-inch chunks. Don’t stress about perfection. Some bigger pieces are fine and add nice texture. The icing and filling will stick to your knife; just wipe it off between cuts. I like to leave the icing stripes intact because they add sweetness in little pockets.
- Mix the Base (3 minutes): In your large mixing bowl, beat the softened cream cheese with the hand mixer on medium speed until smooth and creamy, about 30 seconds. Scrape down the sides. Add the entire jar of marshmallow fluff and beat again until combined. It will look a little stiff at first—that’s normal.
- Add the Cool Whip and Flavorings (2 minutes): Add the thawed Cool Whip, vanilla extract, and pinch of salt. Beat on low speed until just combined. Don’t overmix, or the dip will become runny. If you’re using food coloring, add 1-2 drops of green gel color and mix until you reach your desired shade. I usually aim for a pale, soft green—like a vintage Christmas tree.
- Fold in the Cake Pieces (2 minutes): Gently fold in the chopped cake pieces with a spatula. Reserve about ¼ cup of the cake pieces to sprinkle on top later. Fold until the cake is evenly distributed. You’ll see little streaks of white icing and yellow cake throughout—that’s the goal.
- Garnish and Serve (5 minutes): Transfer the dip to your serving bowl. Crumble the 2 reserved Christmas Tree Cakes over the top—use your fingers to break them into small pieces. Add a sprinkle of holiday sprinkles if you’re feeling fancy. Cover and refrigerate for at least 30 minutes before serving if you have time. This lets the flavors meld together. But honestly? I’ve served it immediately, and no one complained.
Sensory Cues: At step 3, the mixture should smell sweet and slightly tangy—like cheesecake batter. At step 4, it should be light and billowy, almost like a mousse. When you fold in the cake pieces at step 5, you’ll see the yellow cake absorbing some of the cream mixture, which is exactly what you want. The final dip should be thick enough to hold a scoop but soft enough to spread on a graham cracker without it breaking.
Cooking Tips & Techniques
I’ve made this dip about eight times now, and I’ve learned a few things the hard way so you don’t have to.
Soft cream cheese is non-negotiable. The first time I made this, I used cold cream cheese straight from the fridge. The dip turned out lumpy, and no amount of mixing could save it. I ended up microwaving the whole bowl in 15-second bursts, stirring each time. It worked, but the texture wasn’t as smooth. Save yourself the hassle—set your cream cheese out early.
Don’t overmix after adding the Cool Whip. This is the most common mistake I see. If you beat the Cool Whip too much, the dip becomes thin and watery. Mix on low speed and stop as soon as everything is combined. A few streaks of white are fine—they’ll blend in when you fold the cake pieces.
Chop the cakes while they’re cold. If the cakes are at room temperature, the icing gets sticky and makes a mess. Keep them in the fridge until you’re ready to chop. A serrated knife works best—it cuts through the soft cake without squishing it.
Make it ahead of time. This dip actually gets better after a few hours in the fridge. The cake pieces soften slightly and absorb some of the cream mixture, making every bite taste more cohesive. I usually make it the morning of a party and let it chill until serving.
Multitasking strategy: While your cream cheese is softening, chop the cakes and measure out your other ingredients. The actual mixing takes about 5 minutes, so you can do this while waiting for something else to bake or while your kids are watching a movie.
Variations & Adaptations
This base recipe is super flexible. Here are some ways I’ve adapted it depending on the occasion:
- Peppermint Twist: Crush 4-5 peppermint candies or candy canes and fold them in with the cake pieces. Add ¼ teaspoon peppermint extract instead of vanilla. The crunch is amazing, and it looks so festive with red and white specks.
- Chocolate Lover’s Version: Melt ½ cup of white chocolate chips and drizzle it over the top before serving. Or fold in ¼ cup of mini chocolate chips for little chocolate pockets. I tried this with dark chocolate chips once, and it was a hit.
- Gluten-Free Option: This dip is naturally gluten-free if you use certified gluten-free graham crackers or cookies for dipping. The Little Debbie cakes contain wheat flour, so this version is not gluten-free as written. But you can substitute with gluten-free vanilla cake crumbled up with some white frosting mixed in.
- Dairy-Free Adaptation: Use dairy-free cream cheese (I like Kite Hill) and coconut whipped topping. The texture will be slightly softer, so chill it for at least an hour before serving. It’s not exactly the same, but it scratches the itch.
- Pumpkin Spice Version (for fall): Swap the Christmas Tree Cakes for Little Debbie Pumpkin Delights and add ½ teaspoon pumpkin pie spice to the cream cheese mixture. I made this for a Friendsgiving, and people lost their minds.
Serving & Storage Suggestions
This dip is best served chilled, straight from the fridge. I like to set it out about 10 minutes before guests arrive so it softens slightly and becomes easier to scoop. If it’s too cold, it’s a little stiff—still delicious, but harder to dip.
What to dip: Graham crackers are the classic choice and my personal favorite. The slight honey flavor and crunch pair perfectly with the creamy dip. Other great options include vanilla wafers, shortbread cookies, pretzels (the salty-sweet combo is incredible), apple slices, or even just a spoon (no judgment). For a fun holiday presentation, I arrange the dippers on a platter around the bowl in a wreath shape.
Storage: Cover the bowl tightly with plastic wrap or transfer the dip to an airtight container. It will keep in the refrigerator for up to 4 days. The cake pieces will continue to soften over time, so the texture will be different on day 3—more like a cake mousse. It’s still delicious, just different.
Freezing: I don’t recommend freezing this dip. The Cool Whip and cream cheese will separate when thawed, leaving you with a watery, grainy mess. I learned this the hard way when I tried to make a double batch ahead of time. Just make it fresh—it’s so quick, it’s not worth freezing.
Reheating: Don’t. This is a cold dip. If it’s been sitting out for more than 2 hours, just pop it back in the fridge for 20 minutes before serving again.
Flavor development: The flavors actually meld together beautifully overnight. The cake pieces soften, and the vanilla and marshmallow flavors become more cohesive. I honestly prefer this dip on day 2—it tastes more like a unified dessert rather than separate components.
Nutritional Information & Benefits
Let’s be real—this is a treat, not a health food. But here’s the estimated nutritional breakdown per serving (about ¼ cup, with graham crackers not included):
| Nutrient | Amount per Serving |
|---|---|
| Calories | 210 |
| Total Fat | 10g |
| Saturated Fat | 6g |
| Carbohydrates | 28g |
| Sugar | 20g |
| Protein | 3g |
| Sodium | 150mg |
That said, there are a few silver linings. The cream cheese provides a small amount of calcium and protein. The marshmallow fluff is fat-free, and the Cool Whip is lower in fat than traditional whipped cream. If you use reduced-fat cream cheese and lite Cool Whip, you can shave off about 60 calories and 5g of fat per serving.
This recipe is vegetarian but not vegan or dairy-free as written. It contains wheat (from the cakes), dairy, and soy (from the Cool Whip). If you have allergies, check the labels on your specific brands.
My personal take? This is a once-in-a-while holiday indulgence, and I don’t stress about the numbers. Food is about joy and connection, and this dip brings plenty of both.
Conclusion
This Easy Little Debbie Christmas Tree Cake Dip is the kind of recipe that makes you look like you spent hours in the kitchen when you really didn’t. It’s nostalgic without being complicated, indulgent without being heavy, and it brings people together in that magical way that only holiday food can.
I love how this dip captures the taste of my childhood—that first bite of a Christmas Tree Cake in Aunt Carla’s kitchen—but makes it shareable and new. It’s become a tradition in my house now. Every year when those green boxes show up in stores, I grab a few, and I know exactly what I’m making.
I’d love to hear how this turns out for you. Did you add your own twist? Did you serve it with something unexpected? Drop a comment below and let me know—I read every single one. And if you share a photo on social media, tag me so I can see your beautiful creation. Happy holidays, friend. Go make some memories.
Frequently Asked Questions
Can I use homemade whipped cream instead of Cool Whip?
Yes, you can! Whip 1 cup of heavy cream with 2 tablespoons of powdered sugar until stiff peaks form, then fold it in as you would the Cool Whip. The dip will be slightly less stable and should be served within a few hours, as homemade whipped cream doesn’t hold up as long.
How far in advance can I make this dip?
You can make it up to 2 days ahead of time. Store it covered in the refrigerator. The texture will soften over time, but the flavor actually improves. Just give it a quick stir before serving and add fresh sprinkles on top.
Can I use a different Little Debbie snack cake?
Absolutely! Zebra Cakes work beautifully because they have a similar cream filling and icing. You can also try it with Cosmic Brownies for a chocolate version—just chop them into smaller pieces since they’re denser.
My dip turned out runny. What went wrong?
This usually happens for one of two reasons: either the cream cheese wasn’t softened properly and got overmixed trying to smooth it out, or the Cool Whip was overmixed. Next time, beat the cream cheese and marshmallow fluff first until smooth, then gently fold in the Cool Whip by hand with a spatula.
Can I make this without a mixer?
Yes, but you’ll need some elbow grease. Make sure the cream cheese is very soft—almost room temperature—and mash it with a fork before whisking in the marshmallow fluff. It takes about 5 minutes of vigorous whisking, but it works. I’ve done it when my mixer was in the dishwasher.
Pin This Recipe!
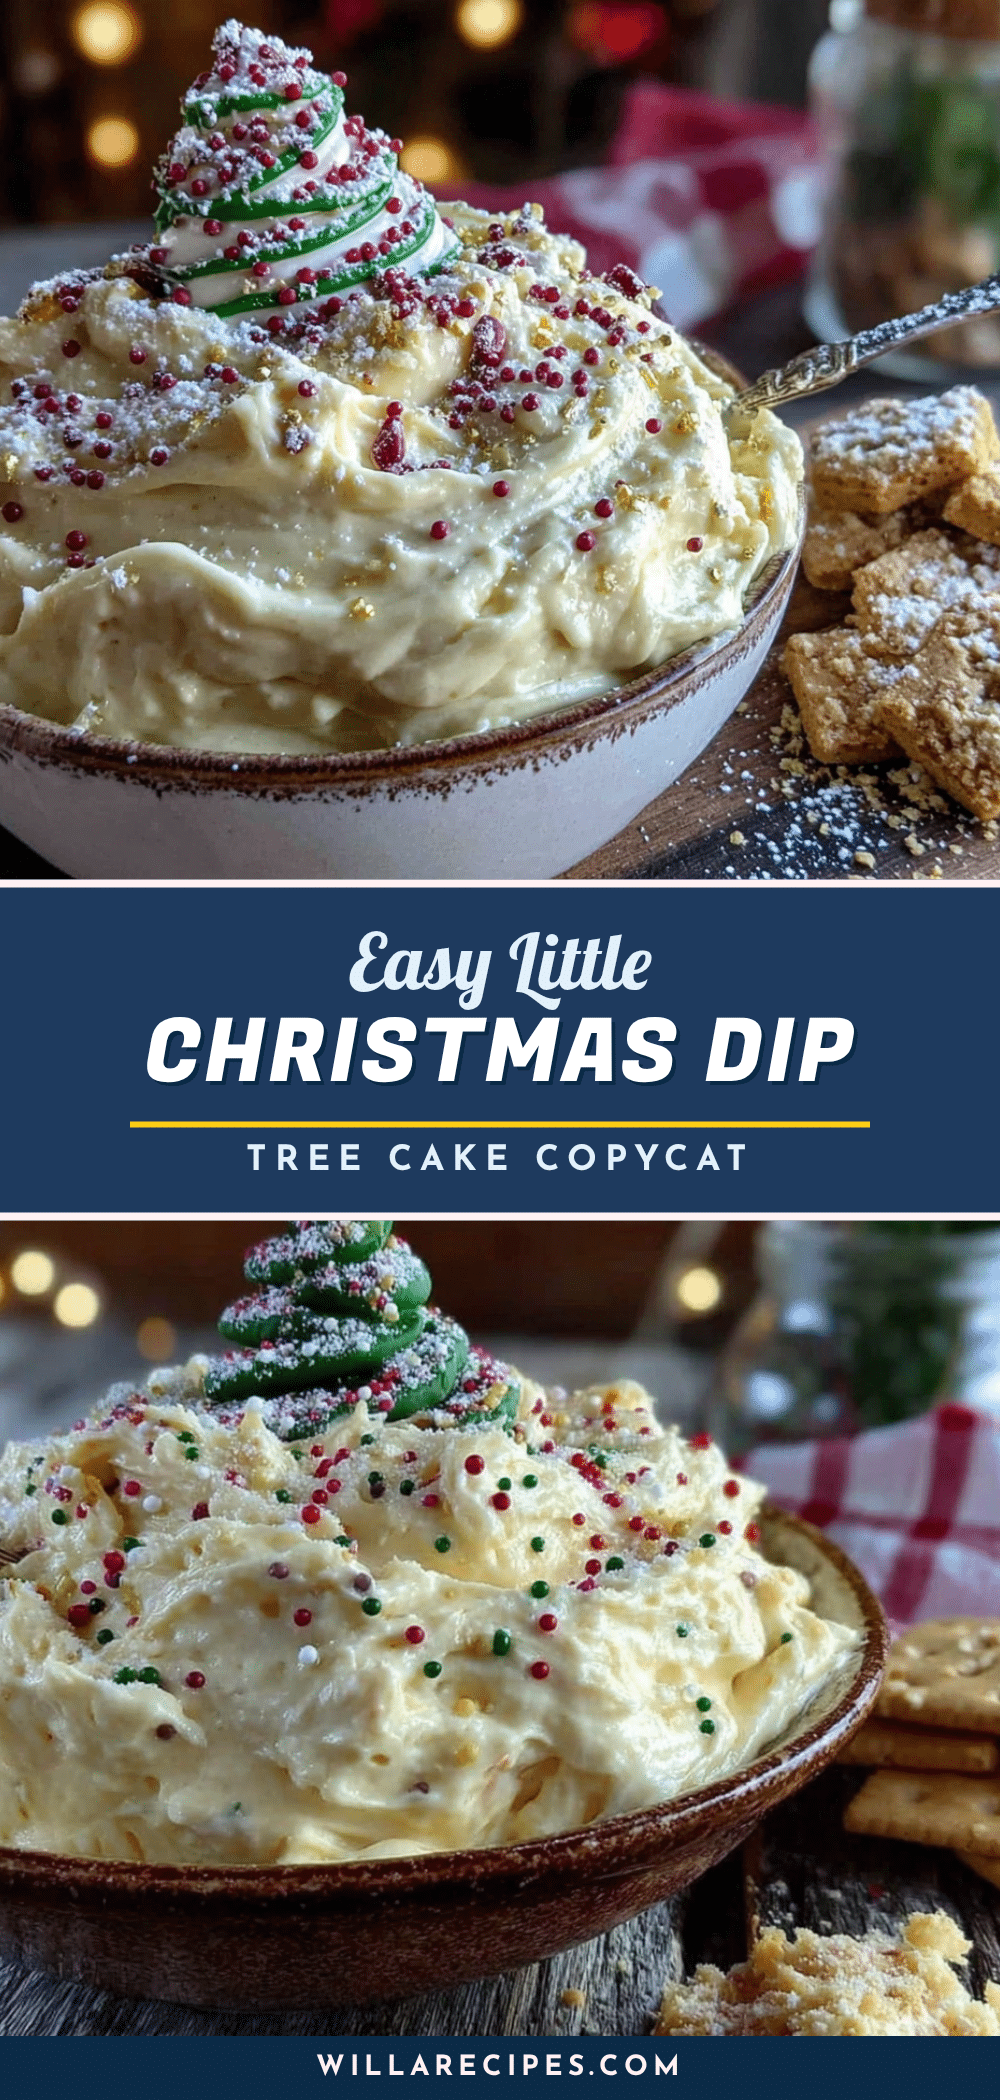
Easy Little Debbie Christmas Tree Cake Dip Recipe

A creamy, scoopable, shareable dessert dip that tastes exactly like the nostalgic Little Debbie Christmas Tree Cakes. Made with just five simple ingredients and ready in under 10 minutes, it’s the perfect no-bake treat for holiday parties.
- Prep Time: 10 minutes
- Cook Time: 0 minutes
- Total Time: 10 minutes (plus optional 30 minutes chilling)
- Yield: 12 servings 1x
- Category: Dessert
- Cuisine: American
Ingredients
- 2 packages Little Debbie Christmas Tree Cakes (10 cakes total)
- 8 oz cream cheese, softened to room temperature
- 7 oz marshmallow fluff (about 1 ¾ cups)
- 8 oz Cool Whip, thawed
- 1 teaspoon vanilla extract
- ⅛ teaspoon salt (a pinch)
- Optional: a few drops green food coloring
- Optional: holiday sprinkles for garnish
Instructions
- Take the cream cheese out of the fridge at least 30 minutes before starting to soften. If forgotten, microwave in 10-second bursts until soft but not melted.
- Unwrap all 10 Christmas Tree Cakes. Set 2 aside for garnish. Chop the remaining 8 cakes into small ½-inch chunks.
- In a large mixing bowl, beat the softened cream cheese with a hand mixer on medium speed until smooth and creamy, about 30 seconds. Scrape down the sides.
- Add the entire jar of marshmallow fluff and beat until combined. The mixture will look stiff at first.
- Add the thawed Cool Whip, vanilla extract, and pinch of salt. Beat on low speed until just combined. Do not overmix. If using food coloring, add 1-2 drops of green gel color and mix until desired shade is reached.
- Gently fold in the chopped cake pieces with a spatula, reserving about ¼ cup for topping. Fold until evenly distributed.
- Transfer the dip to a serving bowl. Crumble the 2 reserved Christmas Tree Cakes over the top. Add holiday sprinkles if desired.
- Cover and refrigerate for at least 30 minutes before serving to let flavors meld. Can be served immediately if needed.
Notes
Soft cream cheese is essential for a smooth texture. Do not overmix after adding Cool Whip to avoid a runny dip. For best results, chill for at least 30 minutes before serving. The dip can be made up to 2 days ahead and stored covered in the refrigerator. Not recommended for freezing. For a lighter version, use reduced-fat cream cheese and lite Cool Whip.
Nutrition
- Serving Size: ¼ cup
- Calories: 210
- Sugar: 20
- Sodium: 150
- Fat: 10
- Saturated Fat: 6
- Carbohydrates: 28
- Protein: 3
Keywords: Little Debbie Christmas Tree Cake dip, holiday dessert dip, no-bake dessert, Christmas party dip, easy dessert recipe, 5-ingredient dessert


