It was 11:47 PM on a rainy Tuesday in late October, and I had a sudden, overwhelming need for something sweet, cold, and crunchy. I was supposed to be prepping for the big Friendsgiving potluck that weekend, and honestly, I was tired of the same old pies. I didn’t have the energy to fire up the oven, and I definitely didn’t have the patience for a fussy crust. I had a sleeve of Oreos staring at me from the pantry, a block of cream cheese softening on the counter, and a crazy idea that arrived right as the clock ticked past midnight. What if I just… didn’t bake anything?
I mean, let’s be honest. The best ideas come when you’re a little sleep-deprived and running on pure impulse. I grabbed a Ziploc bag, smashed those Oreos into a fine dust with a rolling pin (which probably woke up my neighbor, sorry, Mrs. Gable), and melted some butter. It was so simple it felt like cheating. I layered in a creamy, tangy filling and a few crunchy cookie bits, then shoved the whole thing in the fridge. The next morning, I pulled out this gorgeous, no-bake creation that looked like I had spent hours on it. The texture was perfect—a buttery, chocolatey crust holding a cloud of sweet cream cheese.
That accidental late-night experiment became the star of the potluck. Everyone asked for the recipe, and I just shrugged and said, “It’s the one I made when I couldn’t sleep.” There’s something about those odd hours that loosens the usual rules, you know? You stop overthinking and just go with what feels right. And this No-Bake Thanksgiving Cookie Cake with Oreo Crust felt more than right—it felt like a new tradition. You might have been there, staring at your pantry late at night, wondering what to bring to a gathering. Well, I’ve got you covered.
Why You’ll Love This Recipe
Let me tell you, after testing this recipe for three different holiday gatherings (and one very indulgent solo movie night), I can confidently say this is the dessert that steals the show without stealing your time. I’ve been developing recipes for over a decade, and this one is a perfect example of how simple ingredients and a clever technique can create something truly special.
- No Oven Required: This is a true lifesaver when your oven is packed with turkey and sides. It comes together in about 20 minutes of active work, then the fridge does the rest.
- Simple Ingredients: You likely have most of these in your kitchen right now. No fancy grocery trips or obscure baking supplies needed.
- Perfect for Thanksgiving: It’s a crowd-pleaser that fits right in with the feast. It’s rich enough to feel indulgent but light enough that guests will want a slice after that big meal.
- Crowd-Pleaser: Kids and adults alike go crazy for the Oreo crust and creamy filling. I’ve seen it disappear faster than the pumpkin pie at three different gatherings.
- Unbelievably Delicious: The combination of the crunchy, buttery chocolate crust with the smooth, tangy cream cheese filling is next-level comfort food. It’s the kind of dessert that makes you close your eyes after the first bite.
What makes this different from other no-bake desserts is the texture. I’ve perfected the ratio of cream cheese to whipped topping so it’s firm enough to slice cleanly but still light and airy. And that Oreo crust? It’s not just crushed cookies—it’s a buttery, pressed-in crust that holds everything together beautifully. This isn’t just another version of a no-bake cake; it’s the best version. It’s comfort food reimagined for the busy host—faster, easier, but with the same soul-soothing satisfaction. Perfect for impressing your guests without stress, or turning a simple dessert into something memorable.
What Ingredients You Will Need
This recipe uses simple, wholesome ingredients to deliver bold flavor and satisfying texture without the fuss. Most of these are pantry staples, making it easy to whip up even at the last minute.
- For the Oreo Crust:
- 24 whole Oreo cookies (regular, not Double Stuf) — (the filling adds sweetness and helps bind the crust)
- 5 tablespoons unsalted butter, melted — (I use Kerrygold for its rich flavor)
- 1/4 teaspoon salt — (balances the sweetness)
- For the Cream Cheese Filling:
- 16 ounces cream cheese, softened to room temperature — (Philadelphia brand works best for a smooth, lump-free texture)
- 1/2 cup granulated sugar — (adds sweetness without grit)
- 1 teaspoon vanilla extract — (pure, not imitation, for the best flavor)
- 2 cups heavy whipping cream — (cold, for whipping into stiff peaks)
- 1/4 cup powdered sugar — (stabilizes the whipped cream)
- For the Cookie Layer & Topping:
- 6 Oreo cookies, roughly chopped — (for the middle layer, adds crunch)
- 4 Oreo cookies, crushed into crumbs — (for the top garnish)
- Optional: 1/4 cup mini chocolate chips — (for extra chocolate texture)
When selecting your Oreos, look for a fresh package that hasn’t been sitting on the shelf too long—stale cookies won’t give you that satisfying crunch. For the cream cheese, I cannot stress this enough: let it come to room temperature. Cold cream cheese will leave you with a lumpy filling, and nobody wants that. If you’re in a hurry, you can cut the cream cheese into small cubes and let it sit on the counter for 30 minutes.
For a dairy-free version, you can use a plant-based cream cheese and coconut cream instead of heavy cream. Just make sure the coconut cream is chilled and you whip it well. The texture will be slightly different but still delicious. If you want a gluten-free option, use gluten-free chocolate sandwich cookies—they work perfectly in this recipe.
Equipment Needed
You don’t need a fancy kitchen to make this cake. Here’s what you’ll need:
- 9-inch springform pan — This is essential for easy removal. I’ve used a regular 9-inch pie dish before, and it works, but the slices aren’t as clean. A springform pan is worth the investment.
- Food processor or Ziploc bag and rolling pin — For crushing the Oreos. The food processor is faster and gives you a more even crumb, but the bag-and-rolling-pin method is oddly satisfying and works just fine.
- Electric hand mixer or stand mixer — For whipping the cream and beating the cream cheese. A whisk and some elbow grease will work, but your arm will thank you for using a mixer.
- Large mixing bowls — At least two: one for the crust mixture and one for the filling.
- Spatula — For spreading the filling evenly. A rubber spatula works best.
- Measuring cups and spoons — For accuracy, especially with the butter and sugar.
- Plastic wrap — To cover the cake while it chills.
If you don’t have a springform pan, you can line a regular 9-inch cake pan with parchment paper, leaving an overhang on two sides. This will help you lift the cake out after it’s set. I’ve done this in a pinch, and it works, though the edges won’t be as clean.
Preparation Method
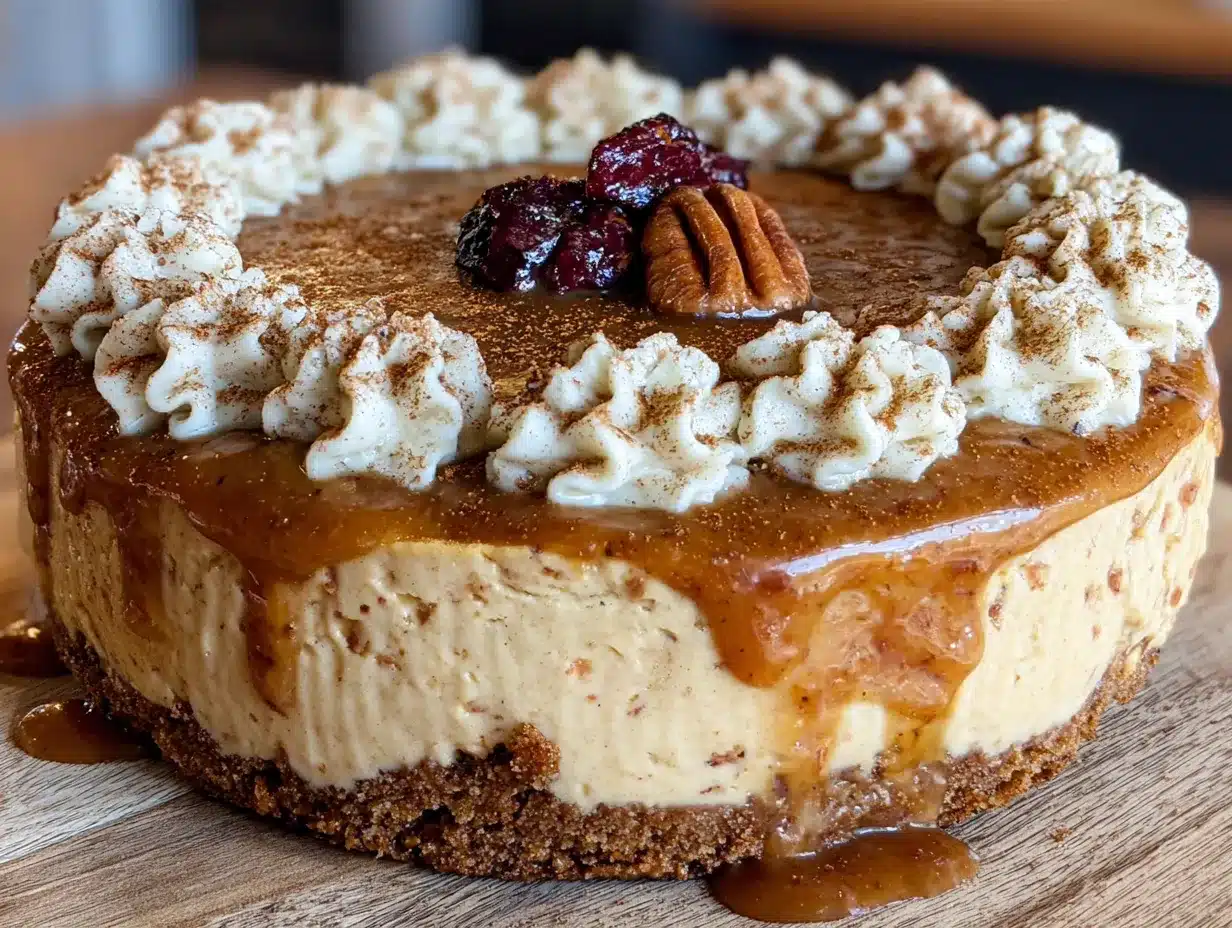
Follow these steps carefully, and you’ll have a beautiful, crowd-worthy dessert in no time.
- Prepare the Oreo Crust: Place 24 whole Oreo cookies (filling and all) in a food processor. Pulse until you have fine crumbs. If using a bag, place the cookies in a Ziploc bag and smash them with a rolling pin until finely crushed. You should have about 2 cups of crumbs. Transfer to a medium bowl. Pour in the melted butter and salt, and stir with a fork until all the crumbs are moistened. The mixture should look like wet sand.
- Press the Crust: Transfer the crumb mixture to your 9-inch springform pan. Use the bottom of a measuring cup or a flat-bottomed glass to press the crumbs firmly into an even layer on the bottom and about 1 inch up the sides. This step is crucial—if the crust isn’t packed tightly, it will crumble when you cut the cake. Pop the pan in the refrigerator while you make the filling.
- Whip the Cream: In a large, chilled bowl, pour the cold heavy whipping cream. Using an electric hand mixer on medium-high speed, whip the cream until soft peaks form. This takes about 2-3 minutes. Add the powdered sugar and continue whipping until stiff peaks form—the cream should hold its shape when you lift the beaters. Be careful not to overwhip, or you’ll end up with butter. Set this aside in the refrigerator.
- Beat the Cream Cheese: In another large bowl, beat the softened cream cheese with the granulated sugar and vanilla extract on medium speed until smooth and creamy. This should take about 2 minutes. Scrape down the sides of the bowl with a spatula to ensure everything is well incorporated. The mixture should be completely lump-free.
- Fold in the Whipped Cream: Take your whipped cream out of the fridge. Add about one-third of it to the cream cheese mixture. Gently fold it in with a spatula using a sweeping motion—don’t stir vigorously, or you’ll deflate the cream. Once it’s mostly combined, add the remaining whipped cream and fold until just incorporated. The mixture should be light, airy, and uniform in color.
- Assemble the First Layer: Remove the crust from the refrigerator. Spread half of the cream cheese filling evenly over the crust. Use an offset spatula or the back of a spoon to smooth it out.
- Add the Cookie Layer: Sprinkle the 6 roughly chopped Oreo cookies evenly over the filling. Press them down gently so they’re slightly embedded in the cream.
- Add the Top Layer: Spread the remaining cream cheese filling over the cookie layer. Smooth the top as evenly as possible. Sprinkle the crushed Oreo crumbs over the top for garnish.
- Chill: Cover the pan with plastic wrap and refrigerate for at least 6 hours, but preferably overnight. This is non-negotiable—the cake needs time to set properly. If you try to cut it early, it will be a gooey mess. Trust me, I learned this the hard way when I was impatient for a late-night slice.
- Serve: When ready to serve, run a thin knife around the edge of the pan to loosen the cake. Release the springform latch and carefully remove the ring. Slice with a sharp knife, wiping the blade clean between cuts for neat slices. Serve cold.
Cooking Tips & Techniques
After making this cake about a dozen times (for science, obviously), I’ve picked up a few tricks that make a real difference.
The Crust Secret: The biggest mistake people make with Oreo crusts is not crushing the cookies fine enough. You want them to be almost like sand. If there are large chunks, the crust won’t hold together. Also, don’t skip the salt—it seems counterintuitive with sweet cookies, but that tiny pinch balances the sweetness and makes the chocolate flavor pop.
The Cream Cheese Issue: I once made this for a dinner party and ended up with a lumpy filling because I was rushing. The cream cheese was still cold from the fridge, and no amount of beating could smooth it out. Lesson learned: always let your cream cheese sit out for at least an hour before starting. If you forget, cut it into small cubes and microwave it in 10-second bursts until it’s soft but not warm.
Whipping Cream Wisdom: For the best results, chill your bowl and beaters in the freezer for 10 minutes before whipping the cream. And use heavy cream with at least 36% milk fat—anything less won’t whip up properly. I’ve accidentally bought “whipping cream” with lower fat content before, and it was a sad, soupy disaster.
Timing and Multitasking: Here’s how I organize this for a Thanksgiving gathering: I make the crust and filling the night before, while the turkey is resting. Then I assemble everything and let it set overnight. The next day, I just garnish and serve. It’s one less thing to worry about on the big day.
Variations & Adaptations
This recipe is incredibly forgiving and adaptable. Here are some variations I’ve tried and loved:
- Pumpkin Spice Version: Add 1/2 cup of pumpkin puree and 1 teaspoon of pumpkin pie spice to the cream cheese mixture before folding in the whipped cream. This gives it a festive fall flavor that’s perfect for Thanksgiving. I tried this last year, and it was a huge hit—it’s like a pumpkin cheesecake without the baking.
- Peppermint Holiday Version: For Christmas, swap the Oreos for chocolate mint cookies and add 1/2 teaspoon of peppermint extract to the filling. Crush some candy canes for the top garnish. It’s refreshing and festive.
- Gluten-Free Option: Use gluten-free chocolate sandwich cookies for the crust and topping. The rest of the ingredients are naturally gluten-free. Just make sure your vanilla extract is certified gluten-free.
- Vegan Adaptation: Use a plant-based cream cheese (like Kite Hill or Miyoko’s), coconut cream instead of heavy cream, and vegan butter. The texture will be slightly softer, so you might need to chill it for an extra hour or two.
- Extra Chocolatey: Add 1/4 cup of mini chocolate chips to the filling before layering. You can also drizzle melted chocolate over the top before serving for a more decadent presentation.
Serving & Storage Suggestions
This cake is best served cold, straight from the refrigerator. I like to take it out about 10 minutes before slicing to take the edge off the chill, but it should still be firm. For presentation, I dust the top with a little cocoa powder or drizzle with caramel sauce. It looks gorgeous on a cake stand surrounded by fresh cranberries or rosemary sprigs for a festive touch.
This pairs beautifully with a cup of hot coffee or a glass of cold milk. For a Thanksgiving spread, serve it alongside a slice of pumpkin pie or apple crisp—it offers a nice textural contrast to the soft pies. A dollop of fresh whipped cream on top never hurts either.
Storage: Cover the cake tightly with plastic wrap or transfer slices to an airtight container. It will keep in the refrigerator for up to 5 days. The crust may soften slightly over time, but the flavor actually improves as the filling sets.
Freezing: This cake freezes beautifully. Wrap the entire cake (or individual slices) in plastic wrap, then a layer of aluminum foil. Freeze for up to 2 months. Thaw in the refrigerator overnight before serving. I’ve done this for pre-holiday prep, and it tastes just as fresh.
The flavors really meld together after a day in the fridge, so I actually prefer this cake on day two. The crust softens just a bit, and the filling becomes more cohesive. It’s one of those desserts that gets better with time—perfect for making ahead.
Nutritional Information & Benefits
Here’s the estimated nutritional breakdown per slice (based on 12 servings):
- Calories: 410
- Fat: 28g
- Carbohydrates: 36g
- Protein: 6g
- Sugar: 24g
- Fiber: 1g
While this is certainly an indulgent dessert, it does have some redeeming qualities. The cream cheese provides a good amount of calcium and protein. The heavy cream adds vitamin A and healthy fats that help with satiety. And let’s be honest—the Oreo crust contains a little bit of cocoa, which has antioxidants. I’m not saying this is health food, but it’s a treat made with real ingredients, and that counts for something.
For those watching their sugar intake, you can reduce the sugar in the filling by half without affecting the texture too much. The Oreo crust will still provide plenty of sweetness. This recipe is not suitable for those with celiac disease unless you use gluten-free cookies, and it contains dairy in multiple forms.
From a wellness perspective, I believe in balance. This is a special occasion dessert meant to be enjoyed with loved ones. One slice won’t derail your healthy habits, but it will make your Thanksgiving table a little more memorable.
Conclusion
This No-Bake Thanksgiving Cookie Cake with Oreo Crust is more than just a dessert—it’s a solution to the holiday hosting puzzle. It’s the recipe you make when you’re tired of stressing over pie crusts and oven temperatures. It’s the one that lets you actually enjoy your own party because you made it the night before. And honestly? It’s the one that gets the most compliments, every single time.
I love this recipe because it proves that you don’t need complicated techniques or obscure ingredients to create something truly impressive. It’s simple, it’s forgiving, and it’s absolutely delicious. Whether you’re hosting a big Thanksgiving dinner or a small Friendsgiving potluck, this cake will earn you a permanent spot on the dessert rotation.
So go ahead—give it a try. Customize it with your favorite cookies, add a seasonal twist, or keep it classic. However you make it, I promise it will be a hit. And if you make it late at night like I did, even better. There’s something magical about a dessert born from a midnight craving. Now, tell me in the comments—what’s your favorite last-minute party trick? I’d love to hear your stories!
Frequently Asked Questions
Can I use a different type of cookie for the crust?
Absolutely! While Oreos are classic, you can use any chocolate sandwich cookie, or even graham crackers, shortbread cookies, or ginger snaps. Just keep the total amount of crumbs the same—about 2 cups. Each cookie will give a slightly different flavor and texture.
How far in advance can I make this cake?
You can make this cake up to 2 days before serving. In fact, it tastes better after a full day in the fridge because the flavors have time to meld. Just keep it covered tightly with plastic wrap. If you need to make it further ahead, you can freeze it for up to 2 months.
Why is my filling runny?
This usually happens for one of three reasons: your cream cheese wasn’t fully softened and left lumps, your whipped cream wasn’t whipped to stiff peaks, or you didn’t chill the cake long enough. Make sure your cream is very cold and you whip it until it holds its shape. And don’t rush the chilling time—6 hours is the minimum, but overnight is best.
Can I make this without a springform pan?
Yes, you can use a regular 9-inch cake pan lined with parchment paper. Leave an overhang on two sides so you can lift the cake out after it’s set. Alternatively, a 9-inch pie dish works, though the slices won’t be as tall or clean-cut. Just make sure whatever pan you use is deep enough to hold all the filling.
Is this recipe safe for kids?
Yes, this recipe is completely safe for kids. There are no raw eggs or undercooked ingredients. The only thing to watch for is the caffeine content in the chocolate cookies, but it’s minimal. Kids love helping crush the Oreos and sprinkling the topping—it’s a great way to get them involved in the kitchen.
Pin This Recipe!
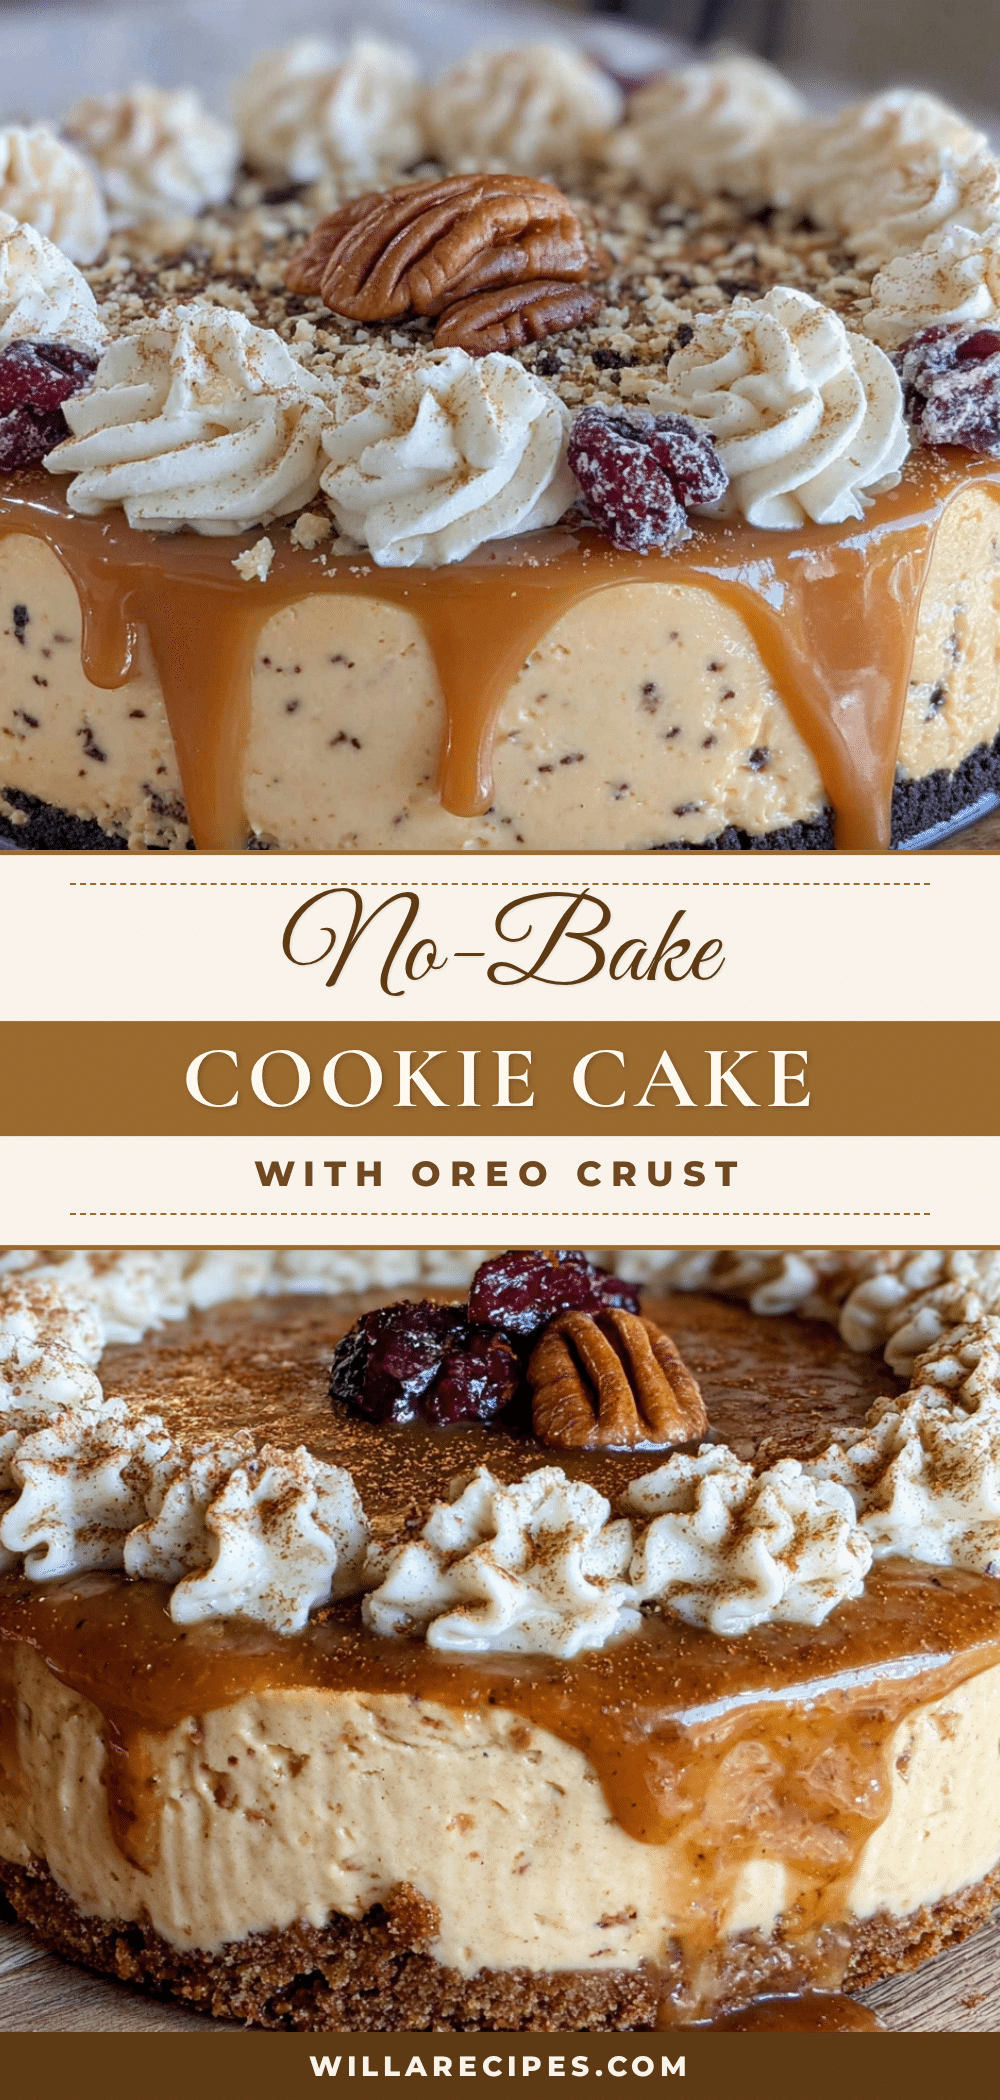
Easy No-Bake Thanksgiving Cookie Cake with Oreo Crust

A creamy, no-bake dessert with an Oreo crust and a light cream cheese filling, perfect for Thanksgiving or any gathering. It comes together in about 20 minutes of active work and chills in the fridge.
- Prep Time: 20 minutes
- Cook Time: 0 minutes
- Total Time: 6 hours 20 minutes (includes chilling)
- Yield: 12 servings 1x
- Category: Dessert
- Cuisine: American
Ingredients
- 24 whole Oreo cookies (regular, not Double Stuf)
- 5 tablespoons unsalted butter, melted
- 1/4 teaspoon salt
- 16 ounces cream cheese, softened to room temperature
- 1/2 cup granulated sugar
- 1 teaspoon vanilla extract
- 2 cups heavy whipping cream, cold
- 1/4 cup powdered sugar
- 6 Oreo cookies, roughly chopped
- 4 Oreo cookies, crushed into crumbs
- Optional: 1/4 cup mini chocolate chips
Instructions
- Prepare the Oreo Crust: Place 24 whole Oreo cookies in a food processor and pulse until fine crumbs form. Transfer to a medium bowl, add melted butter and salt, and stir until moistened like wet sand.
- Press the Crust: Transfer crumb mixture to a 9-inch springform pan. Press firmly into an even layer on the bottom and about 1 inch up the sides using a measuring cup or glass. Refrigerate while making filling.
- Whip the Cream: In a large chilled bowl, whip cold heavy cream with an electric mixer on medium-high until soft peaks form (2-3 minutes). Add powdered sugar and continue whipping until stiff peaks form. Refrigerate.
- Beat the Cream Cheese: In another large bowl, beat softened cream cheese with granulated sugar and vanilla extract on medium speed until smooth and creamy (about 2 minutes). Scrape down sides.
- Fold in the Whipped Cream: Add one-third of the whipped cream to the cream cheese mixture and gently fold with a spatula. Add remaining whipped cream and fold until just incorporated and uniform.
- Assemble the First Layer: Remove crust from refrigerator. Spread half of the cream cheese filling evenly over the crust.
- Add the Cookie Layer: Sprinkle the 6 roughly chopped Oreo cookies evenly over the filling and press down gently.
- Add the Top Layer: Spread remaining cream cheese filling over the cookie layer and smooth the top. Sprinkle crushed Oreo crumbs over the top.
- Chill: Cover with plastic wrap and refrigerate for at least 6 hours, preferably overnight.
- Serve: Run a thin knife around the edge of the pan, release the springform latch, and remove the ring. Slice with a sharp knife, wiping blade clean between cuts. Serve cold.
Notes
For best results, let cream cheese come to room temperature. Chill bowl and beaters before whipping cream. The cake needs at least 6 hours to set; overnight is ideal. The crust must be packed tightly to prevent crumbling.
Nutrition
- Serving Size: 1 slice
- Calories: 410
- Sugar: 24
- Sodium: 320
- Fat: 28
- Saturated Fat: 16
- Carbohydrates: 36
- Fiber: 1
- Protein: 6
Keywords: no-bake, Oreo crust, cream cheese, Thanksgiving, cookie cake, easy dessert


