I was folding laundry last Tuesday—a truly mindless task—when the smell hit me. It wasn’t coming from my kitchen; it was the scent of a neighbor’s dinner drifting through the slightly open window. That buttery, savory aroma of onions sweating in butter, the faint thyme, the promise of a golden crust. And suddenly I was eight years old, standing on a step stool in my Aunt Carol’s tiny kitchen, watching her crimp the edges of a puff pastry top with a fork.
Aunt Carol wasn’t a fancy cook. She used frozen vegetables and canned cream of mushroom soup half the time, and we loved her for it. But her turkey pot pie—especially the one she’d make the day after Thanksgiving—was different. She’d spend an hour on the filling, using real stock and fresh herbs from her sad little windowsill planter. The puff pastry came from the freezer section, but she’d brush it with an egg wash so shiny it looked like a magazine cover. I remember sneaking a piece of the raw pastry off the counter, and she’d just laugh and hand me a spoon to “test” the gravy. She passed away three years ago, and I’ve been trying to get that exact taste back ever since.
This recipe is my best attempt. It’s taken a dozen tries—some with soggy bottoms, one where I forgot the salt entirely (honestly, the dog didn’t complain, but my guests sure did). But this version? This is the one. It’s the pot pie you make when you want to impress a crowd without spending all day in the kitchen. The puff pastry puffs up into these gorgeous, flaky layers, and the filling is creamy but not heavy, packed with tender turkey and vegetables. Maybe you’ve been there—trying to chase a flavor from your past. This one is worth chasing.
Why You’ll Love This Recipe
Let me tell you, this isn’t just another pot pie recipe. I’ve tested this thing six ways from Sunday, and here’s why it’s the one you’ll bookmark.
- Perfect for a Crowd: This recipe scales beautifully. Whether you’re feeding eight for a dinner party or twelve for a post-holiday gathering, it holds up. I’ve brought it to potlucks and watched the dish come back empty, which is the highest compliment, right?
- Simple Ingredients, Big Flavor: You don’t need to hunt down obscure ingredients. The filling uses pantry staples—onions, carrots, celery, garlic, chicken or turkey stock—plus leftover turkey or a rotisserie chicken. The puff pastry is store-bought, which saves you hours of laminating dough (and a lot of butter-stained countertops).
- That Flaky Puff Pastry Crust: Honestly, the crust is the star. It’s buttery, crispy, and shatters when you cut into it. No soggy bottoms here—I’ll show you a trick to keep it perfectly crisp.
- Make-Ahead Friendly: You can assemble the filling a day ahead, then just top with pastry and bake when your guests arrive. Less stress, more time to actually enjoy the party.
- Unbelievably Comforting: This is the kind of dish that makes people close their eyes after the first bite. It’s rich, creamy, and deeply savory—the definition of comfort food that feels like a hug in a bowl.
What Ingredients You Will Need
This recipe uses simple, wholesome ingredients to deliver bold flavor and satisfying texture without the fuss. Most of these are probably in your kitchen right now, which is exactly the point.
- For the Filling:
- 3 tablespoons unsalted butter (I use Kerrygold for its rich flavor; salted butter works too, just reduce added salt)
- 1 large yellow onion, diced (about 1½ cups; sweet onions like Vidalia also work)
- 3 medium carrots, peeled and diced (about 1 cup; adds natural sweetness)
- 2 celery stalks, diced (about ½ cup; gives that classic savory base)
- 3 cloves garlic, minced (fresh is best; jarred minced garlic in a pinch)
- ⅓ cup all-purpose flour (for thickening; gluten-free all-purpose blend works too)
- 3 cups low-sodium chicken or turkey stock (homemade is amazing, but store-bought like Swanson or Kitchen Basics works great)
- 1 cup whole milk or half-and-half (whole milk gives a lighter sauce; half-and-half makes it extra creamy; dairy-free milk like oat milk works if you add 1 tablespoon extra flour)
- 1 teaspoon dried thyme (or 2 teaspoons fresh thyme leaves; I prefer fresh when I have it)
- ½ teaspoon dried rosemary (crush it between your fingers to release the oils)
- 1 teaspoon salt (plus more to taste; I like fine sea salt)
- ½ teaspoon black pepper (freshly ground is best)
- 1 cup frozen peas (no need to thaw; they add a pop of color and sweetness)
- 3 cups cooked turkey, shredded or diced (leftover Thanksgiving turkey is perfect; rotisserie chicken works beautifully too)
- For the Crust:
- 1 sheet (about ½ pound) frozen puff pastry, thawed (Pepperidge Farm is my go-to; Dufour is a splurge but incredible)
- 1 large egg, beaten (for the egg wash; gives that golden, glossy finish)
- 1 tablespoon water (mixed with the egg for a thinner wash)
Ingredient Selection Tips: For the best texture, look for puff pastry that’s all butter—check the ingredients list. Some brands use shortening, which doesn’t puff as well or taste as rich. For the turkey, dark meat adds more moisture, but white meat works great too. If you’re using leftover turkey, make sure it’s not too dry; if it is, add an extra ¼ cup stock to the filling.
Equipment Needed
You don’t need a professional kitchen for this, but a few tools make the job easier. Here’s what I use:
- Large Dutch oven or heavy-bottomed pot (5-6 quarts; Le Creuset is a dream, but any heavy pot works; a stockpot with a thick bottom is fine too)
- 9×13-inch baking dish (or a 10-inch cast-iron skillet if you want a rustic look; I’ve used both)
- Sharp chef’s knife and cutting board (a dull knife makes dicing vegetables a chore)
- Wooden spoon or silicone spatula (for stirring the filling; wooden spoons don’t scratch your pot)
- Rolling pin (for rolling the puff pastry slightly; a wine bottle works in a pinch)
- Pastry brush (for the egg wash; a silicone one is easy to clean)
- Measuring cups and spoons (accuracy matters for the flour and stock)
- Whisk (for smoothing out any lumps in the sauce)
Budget-Friendly Alternatives: No Dutch oven? A large sauté pan works for the filling, then transfer everything to a baking dish. No pastry brush? Use a paper towel dipped in egg wash. I’ve done both, and the pot pie still turned out fantastic.
Preparation Method
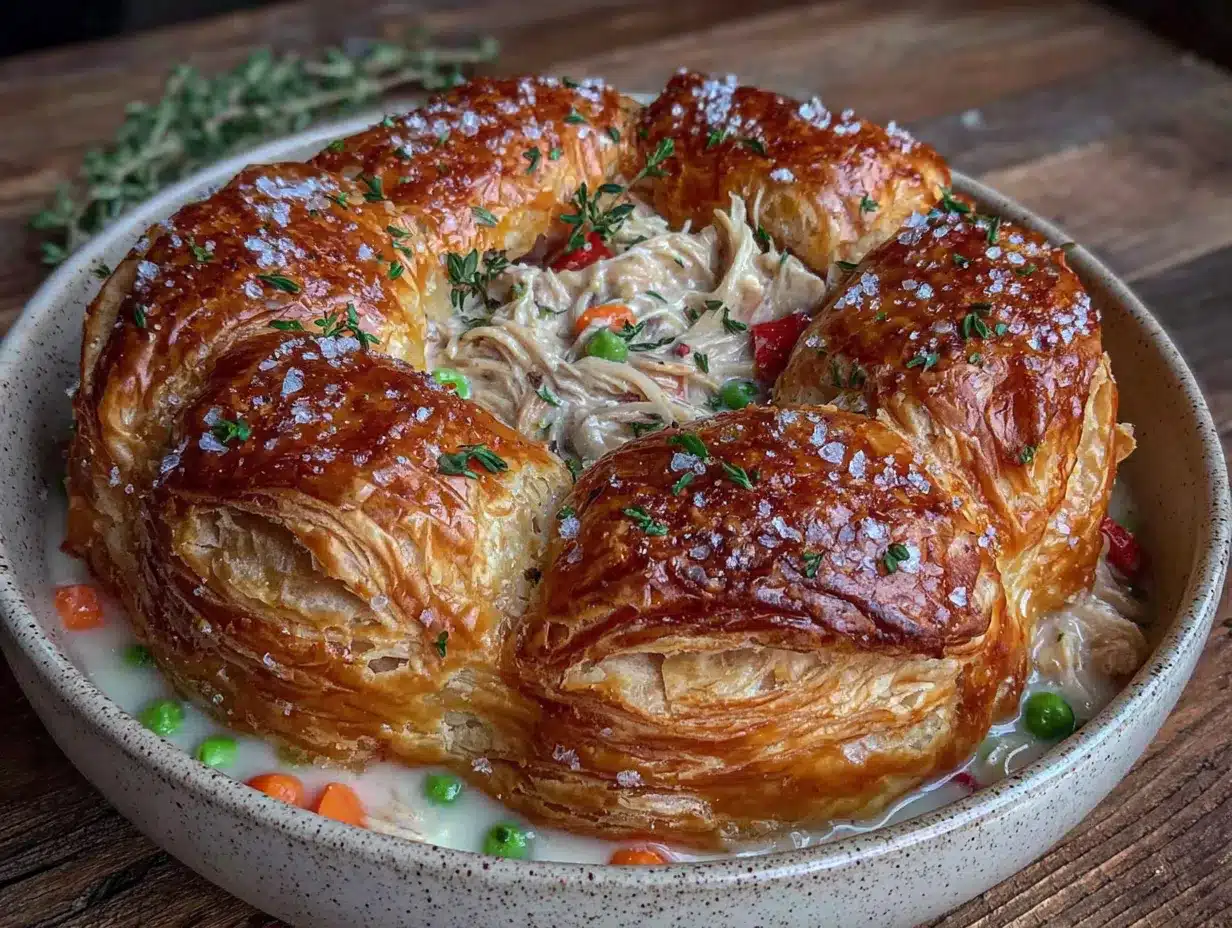
Let’s get cooking. This might look like a lot of steps, but I promise it’s straightforward. I’ve broken it down so you can follow along without stress.
- Preheat your oven to 400°F (200°C). Place a rack in the middle position. If you’re using a cast-iron skillet, put it in the oven to preheat too—it helps the bottom crust crisp up.
- Melt the butter in your Dutch oven over medium heat. Let it foam slightly, then add the diced onion, carrots, and celery. Cook for 6-8 minutes, stirring occasionally, until the vegetables have softened and the onion is translucent. You want them to sweat, not brown—if they start browning, turn the heat down a notch. The smell at this stage is pure comfort, like the start of something good.
- Add the minced garlic and cook for 1 minute more. Stir constantly so the garlic doesn’t burn. Burnt garlic turns bitter, and we don’t want that. Your kitchen should smell amazing right now.
- Sprinkle the flour over the vegetables. Stir to coat everything evenly, and cook for 2 minutes. This is called making a roux, and it’s the secret to a thick, creamy sauce. The flour will look pasty and might stick to the bottom—that’s okay. Keep stirring.
- Slowly pour in the stock, whisking constantly. Add it in a steady stream while you whisk to prevent lumps. Then add the milk or half-and-half, still whisking. Bring the mixture to a gentle simmer—you’ll see bubbles around the edges. Cook for 2-3 minutes, whisking occasionally, until the sauce thickens enough to coat the back of a spoon. It should look like a thick gravy.
- Stir in the thyme, rosemary, salt, and pepper. Taste it. Does it need more salt? More pepper? Adjust now, because the vegetables and turkey will absorb some seasoning. I usually add another ¼ teaspoon of salt and a good crack of pepper.
- Add the frozen peas and cooked turkey. Stir gently to combine. The peas will thaw in the hot sauce. If the filling seems too thick, add a splash more stock or milk. If it seems too thin, let it simmer for another minute or two. You want it to be thick but still pourable.
- Pour the filling into your baking dish (or keep it in the oven-safe skillet). Spread it into an even layer. Let it cool for 5-10 minutes—this is important because a hot filling will melt the puff pastry before it bakes, leading to a soggy crust.
- While the filling cools, prepare the puff pastry. On a lightly floured surface, roll the puff pastry sheet out slightly—just enough to fit your dish with about an inch of overhang. You want it about ⅛-inch thick. If the pastry cracks at the edges, just press it back together; it’s forgiving.
- Place the pastry over the filling. Tuck the edges into the dish, pressing gently against the sides. Cut 4-5 small slits in the top with a sharp knife to let steam escape. This prevents the pastry from getting soggy and helps it puff evenly.
- Brush the pastry with the egg wash. Use gentle strokes so you don’t deflate the layers. Be thorough—every bit of exposed pastry should be glazed for that golden color.
- Bake for 25-30 minutes, until the pastry is puffed and deep golden brown. The filling should be bubbling up through the slits. If the edges are browning too fast, tent the dish loosely with foil for the last 10 minutes. Let the pot pie rest for 10 minutes before serving—this sets the filling and prevents it from running all over the plate.
Cooking Tips & Techniques
After making this pot pie more times than I can count, I’ve picked up a few tricks that make a real difference. Let me share them so you can skip the trial and error.
The Soggy Bottom Fix: This is the number one complaint with pot pies. The trick is twofold. First, let the filling cool before adding the pastry—if it’s too hot, steam will soften the dough from underneath. Second, bake the pot pie on the lowest oven rack for the first 15 minutes. The direct heat from the bottom crisps up the pastry base. I learned this after my third soggy-bottomed pie, and it was a game-changer.
Don’t Overwork the Pastry: Puff pastry is delicate. Handle it as little as possible, and keep it cold. If it gets too warm, the butter layers will melt, and you’ll lose that beautiful puff. If your kitchen is hot, pop the assembled pie in the fridge for 15 minutes before baking.
Timing is Everything: You can prep the filling a day ahead—just reheat it gently before adding the pastry. This is a lifesaver when you’re hosting. I often make the filling on a Tuesday, then bake the pie on Wednesday when friends come over. The flavor actually gets better overnight as the herbs meld together.
My Biggest Failure: I once forgot to put the egg wash on the pastry. The pie came out pale and sad-looking, like a ghost of a pot pie. It tasted fine, but presentation matters when you’re serving guests. Don’t skip that egg wash—it’s what gives the crust that gorgeous, glossy, golden-brown finish that makes everyone’s eyes light up.
Consistency Check: If your filling seems thin after baking, don’t panic. It will thicken as it cools. That’s why the 10-minute rest is crucial. If it’s still runny after resting, you can thicken it next time by adding an extra tablespoon of flour to the roux.
Variations & Adaptations
One of the best things about this pot pie is how flexible it is. Here are a few ways to make it your own.
Vegetarian Version: Skip the turkey and double the vegetables. Add a can of drained chickpeas or cubed firm tofu for protein. Mushrooms are fantastic here—sauté 8 ounces of cremini mushrooms with the vegetables for an earthy, savory depth. I’ve made this for my vegetarian friends, and they always ask for seconds.
Gluten-Free Option: Use a gluten-free all-purpose flour blend (like Bob’s Red Mill 1-to-1) for the roux. For the crust, look for gluten-free puff pastry—it exists, though it’s harder to find. Alternatively, top the pie with gluten-free biscuits or a mashed potato crust. I’ve done the potato crust, and it’s a whole new level of comfort food.
Spicy Twist: Add 1 teaspoon of smoked paprika and ½ teaspoon of cayenne pepper to the filling. It gives the pot pie a warm, smoky heat that’s unexpected and delicious. I tried this after a friend suggested it, and now it’s my go-to version for fall gatherings.
Herb Swap: Not a fan of thyme and rosemary? Use 2 teaspoons of chopped fresh sage and 1 teaspoon of fresh parsley instead. Sage pairs beautifully with turkey and gives the pie a slightly more rustic, earthy flavor. I use this combo when I’m making the pie after Thanksgiving—it feels like a nod to the holiday.
Individual Pot Pies: Divide the filling among 4-6 ramekins or small oven-safe bowls. Cut the puff pastry into rounds slightly larger than the ramekins. Bake for 18-22 minutes, until golden and bubbly. These are perfect for dinner parties—everyone gets their own little pie, which feels special.
Serving & Storage Suggestions
This pot pie is a showstopper on the table. Here’s how to serve it like a pro.
Serving Temperature: Serve it warm, but not piping hot. Let it rest for 10 minutes after baking. This allows the filling to set and the pastry to stay crisp. I like to serve it straight from the baking dish—it looks rustic and inviting. If you want to get fancy, place the dish on a wooden board or a trivet.
What to Serve Alongside: A simple green salad with a tangy vinaigrette cuts through the richness of the pot pie perfectly. I also love serving roasted green beans or steamed broccoli on the side. For drinks, a crisp white wine like Sauvignon Blanc or a light beer like a pilsner pairs beautifully. If you’re hosting a holiday gathering, this pot pie is fantastic alongside cranberry sauce with orange zest for a touch of brightness.
Storage Instructions: Leftovers keep in the refrigerator for up to 4 days. Cover the dish tightly with foil or plastic wrap. The pastry will soften slightly, but it’s still delicious. To reheat, place individual portions in a 350°F (175°C) oven for 10-15 minutes, or until heated through. The microwave works in a pinch, but the pastry won’t be as crispy.
Freezing: You can freeze the unbaked pot pie for up to 3 months. Assemble the pie completely, but don’t brush with egg wash. Wrap the dish tightly in plastic wrap and then foil. To bake, thaw overnight in the refrigerator, brush with egg wash, and bake as directed, adding 10-15 minutes to the baking time. I’ve done this for holiday prep, and it’s a lifesaver.
Flavor Development: Like many stews and braises, this pot pie tastes even better the next day. The flavors meld together, and the filling becomes even more savory. If you can resist eating it all in one sitting, you’re in for a treat.
Nutritional Information & Benefits
This pot pie is comfort food, but it’s not without its redeeming qualities. Here’s a rough estimate per serving (based on 8 servings):
- Calories: 450-500
- Protein: 28g
- Fat: 22g
- Carbohydrates: 35g
- Fiber: 4g
- Sugar: 8g
- Sodium: 650mg
Health Benefits: The turkey provides lean protein, which is great for muscle repair and keeping you full. Carrots and peas are packed with vitamins A and C, plus fiber for digestion. The celery adds antioxidants and a satisfying crunch. Using low-sodium stock helps control the salt content, and you can always use whole wheat flour for a bit more fiber in the roux.
Dietary Considerations: This recipe is not gluten-free or dairy-free as written, but the variations above offer easy swaps. It contains dairy (butter, milk) and gluten (flour, puff pastry). If you’re serving guests with allergies, the vegetarian version with a potato crust is a great alternative.
My Take: I don’t believe in guilt when it comes to food like this. It’s made with real ingredients, it’s balanced with vegetables and protein, and it brings people together. That’s a win in my book. Pair it with a big salad, and you’ve got a meal that’s both nourishing and indulgent.
Conclusion
This turkey pot pie with flaky puff pastry crust is everything I want in a comfort dish—rich, creamy, and topped with that golden, buttery pastry that makes everyone at the table lean in. It’s the recipe I turn to when I want to feed people I love, whether it’s a casual weeknight dinner or a holiday gathering. It’s not perfect, and that’s the point. The cracks in the pastry, the slightly uneven edges—they’re what make it look homemade and real.
I hope you give this recipe a try. Don’t be afraid to make it your own—swap the herbs, add more vegetables, or make it spicy. That’s what cooking is all about. And if you do make it, I’d love to hear how it turned out. Leave a comment below, share a photo on social media, or tell me about your own pot pie memories. Honestly, those stories are my favorite part of this whole thing.
Go on, preheat that oven. Your kitchen is about to smell incredible.
Frequently Asked Questions
Can I use leftover chicken instead of turkey?
Absolutely. Rotisserie chicken or any leftover cooked chicken works perfectly. Just shred or dice it and use it exactly as you would turkey. The recipe is forgiving that way.
Can I make this pot pie in a cast-iron skillet?
Yes, and it looks gorgeous. Use a 10-inch oven-safe skillet. Cook the filling directly in the skillet, then top with pastry and bake. Just remember the handle will be hot—use a pot holder.
Why is my puff pastry not puffing up?
A few reasons: your oven might not be hot enough (make sure it’s fully preheated to 400°F), the pastry might have been too warm when it went in (chill it for 15 minutes), or the pastry was overworked. Also, check that you cut steam vents—steam needs to escape.
Can I add other vegetables to the filling?
Of course. Diced potatoes (parboil them first), green beans, corn, or even chopped mushrooms are great additions. Just keep the total vegetable volume similar to what’s listed so the filling isn’t too watery.
How do I prevent the bottom crust from getting soggy?
Let the filling cool before adding the pastry, bake on the lowest oven rack for the first 15 minutes, and always cut steam vents in the top. These three steps will give you a crisp, flaky bottom every time.
Pin This Recipe!
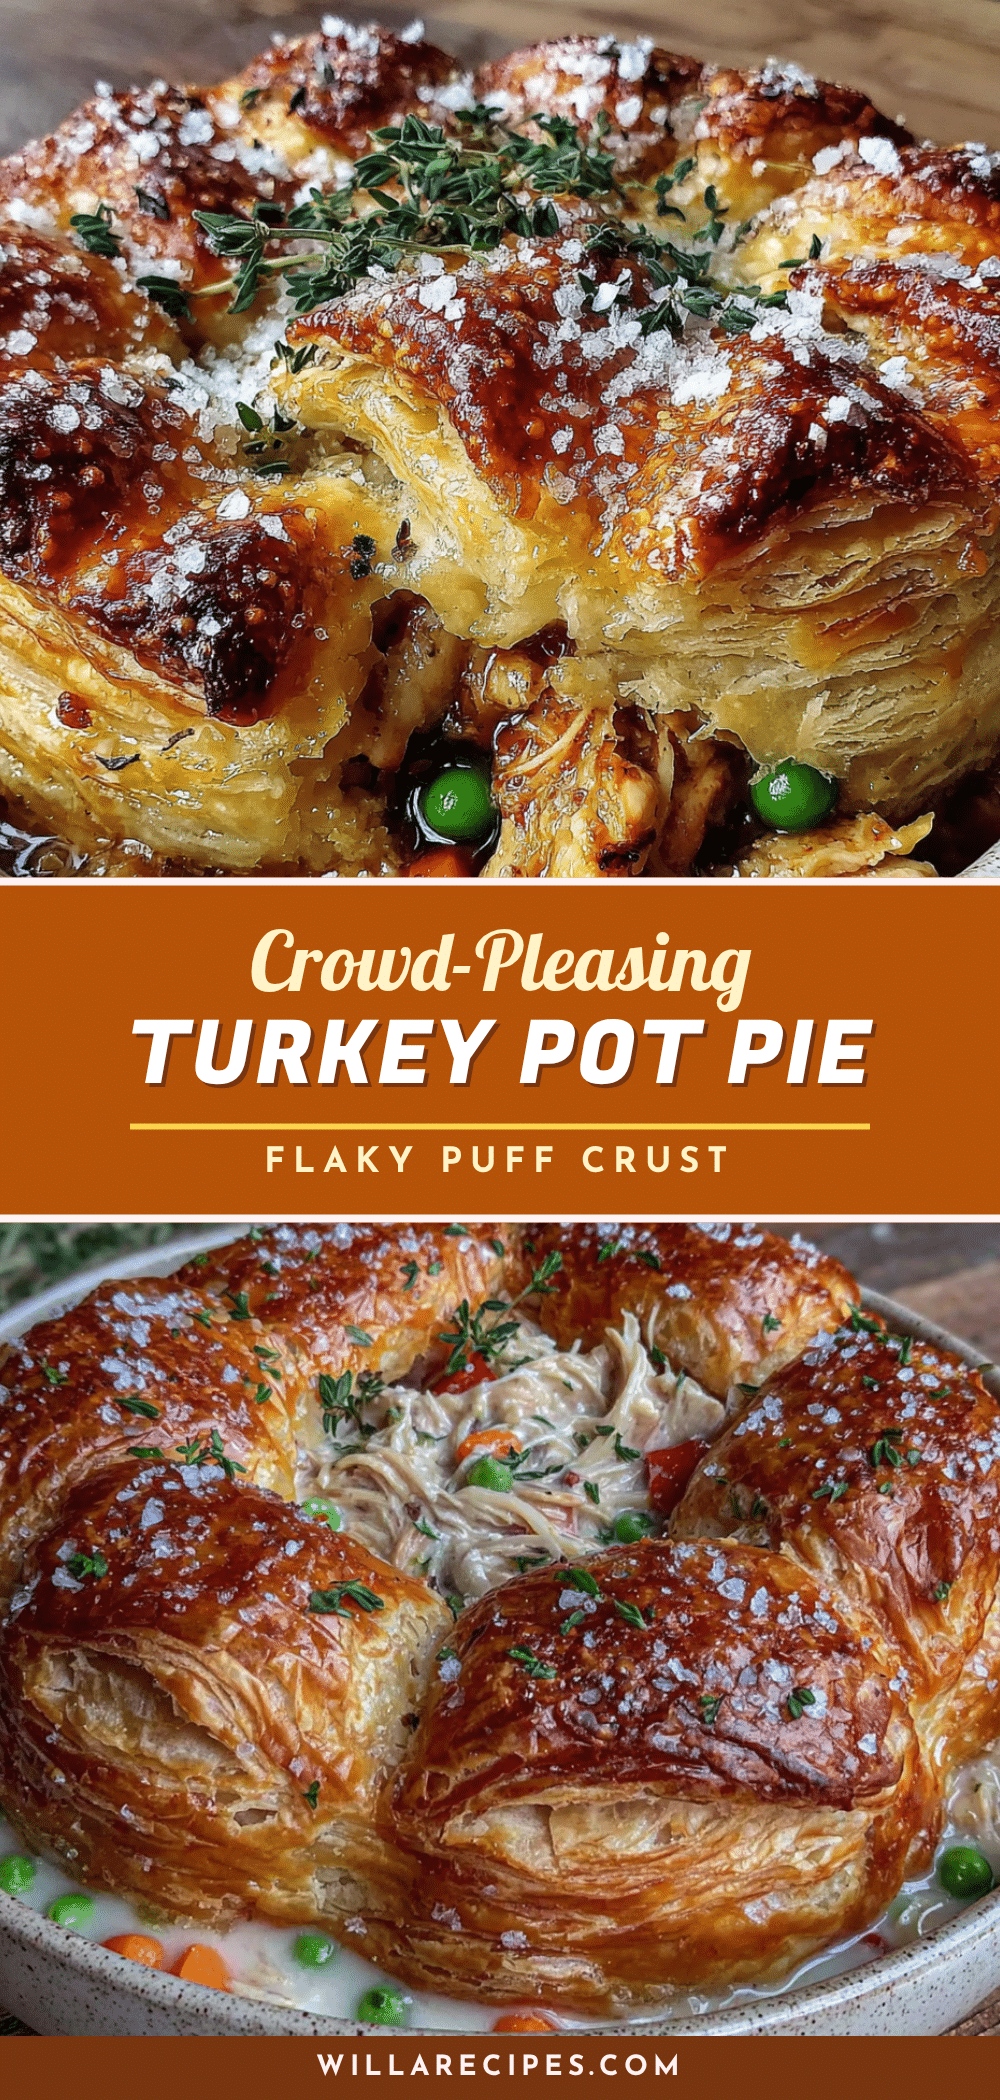
Easy Turkey Pot Pie with Flaky Puff Pastry Crust

A rich, creamy turkey pot pie topped with golden, buttery puff pastry. This comforting dish uses simple ingredients and is perfect for using leftover turkey or rotisserie chicken.
- Prep Time: 20 minutes
- Cook Time: 30 minutes
- Total Time: 50 minutes
- Yield: 8 servings 1x
- Category: Main Course
- Cuisine: American
Ingredients
- 3 tablespoons unsalted butter
- 1 large yellow onion, diced (about 1½ cups)
- 3 medium carrots, peeled and diced (about 1 cup)
- 2 celery stalks, diced (about ½ cup)
- 3 cloves garlic, minced
- ⅓ cup all-purpose flour
- 3 cups low-sodium chicken or turkey stock
- 1 cup whole milk or half-and-half
- 1 teaspoon dried thyme
- ½ teaspoon dried rosemary
- 1 teaspoon salt
- ½ teaspoon black pepper
- 1 cup frozen peas
- 3 cups cooked turkey, shredded or diced
- 1 sheet (about ½ pound) frozen puff pastry, thawed
- 1 large egg, beaten
- 1 tablespoon water
Instructions
- Preheat your oven to 400°F (200°C). Place a rack in the middle position.
- Melt the butter in your Dutch oven over medium heat. Add the diced onion, carrots, and celery. Cook for 6-8 minutes, stirring occasionally, until the vegetables have softened and the onion is translucent.
- Add the minced garlic and cook for 1 minute more, stirring constantly.
- Sprinkle the flour over the vegetables. Stir to coat everything evenly, and cook for 2 minutes.
- Slowly pour in the stock, whisking constantly. Then add the milk or half-and-half, still whisking. Bring the mixture to a gentle simmer and cook for 2-3 minutes, whisking occasionally, until the sauce thickens enough to coat the back of a spoon.
- Stir in the thyme, rosemary, salt, and pepper. Adjust seasoning to taste.
- Add the frozen peas and cooked turkey. Stir gently to combine. If the filling seems too thick, add a splash more stock or milk.
- Pour the filling into your baking dish (or keep it in the oven-safe skillet). Spread it into an even layer. Let it cool for 5-10 minutes.
- On a lightly floured surface, roll the puff pastry sheet out slightly to fit your dish with about an inch of overhang, about ⅛-inch thick.
- Place the pastry over the filling. Tuck the edges into the dish, pressing gently against the sides. Cut 4-5 small slits in the top with a sharp knife to let steam escape.
- Brush the pastry with the egg wash (beaten egg mixed with water).
- Bake for 25-30 minutes, until the pastry is puffed and deep golden brown and the filling is bubbling. If the edges are browning too fast, tent the dish loosely with foil for the last 10 minutes. Let the pot pie rest for 10 minutes before serving.
Notes
For a crisp bottom crust, let the filling cool before adding the pastry and bake on the lowest oven rack for the first 15 minutes. Handle puff pastry as little as possible and keep it cold. The filling can be made a day ahead and reheated before adding the pastry. For individual pot pies, divide filling among ramekins and bake for 18-22 minutes.
Nutrition
- Serving Size: 1 serving
- Calories: 475
- Sugar: 8
- Sodium: 650
- Fat: 22
- Saturated Fat: 8
- Carbohydrates: 35
- Fiber: 4
- Protein: 28
Keywords: turkey pot pie, puff pastry pot pie, leftover turkey recipe, comfort food, easy pot pie, Thanksgiving leftovers


