My older sister swore she hated Jell-O. For years. Since childhood, actually. She’d turn up her nose at the wiggly, brightly colored stuff at every family barbecue and birthday party, claiming it was “fake food” with a texture that made her shudder. Then, last December, I made a batch of these Festive Christmas Jello Shots as a little project to keep my kids busy on a snowy Saturday. I left the pan on the counter to set and went to answer the phone. When I came back, I found her standing at the kitchen island, a spoon in one hand and a guilty look on her face, scraping the last of the green layer from the pan. She didn’t even try to deny it. She just looked at me and said, “Okay, these are different.” And honestly, that was the best compliment I could have asked for.
Maybe you’ve been in a similar spot, trying to find a holiday treat that actually works for everyone. Something that feels special and festive for the kids but doesn’t require a ton of fancy ingredients or a pastry degree. These layered Christmas Jello Shots are that recipe. They’re sweet, fun to make, and look absolutely gorgeous on a holiday dessert table. They’re not just another recipe; they’re the one that finally converted a self-proclaimed Jell-O hater, and they’ll probably win over a few picky eaters in your house, too.
Why You’ll Love This Recipe
This isn’t just about mixing a box of powder with water. This recipe is a tested, family-approved method for creating a show-stopping holiday dessert that comes together with minimal fuss. I’ve tweaked the ratios and the layering technique over a few Christmases to make sure it’s foolproof, even for little helpers.
- Kid-Friendly & Booze-Free: These are 100% non-alcoholic, making them perfect for kids’ holiday parties, classroom celebrations, or a fun family activity. No one has to worry about what’s in them.
- Simple Ingredients: You only need a few boxes of Jell-O, some sweetened condensed milk, and unflavored gelatin. No weird, hard-to-find items that blow the budget.
- Perfect for the Holidays: The red, white, and green layers are undeniably festive. They look impressive on a platter next to the cookies and fudge, and they’re a guaranteed conversation starter.
- Crowd-Pleaser: From the youngest cousin to the pickiest aunt, everyone loves these. They’re sweet, creamy, and have that perfect jiggly texture that kids adore.
- Unbelievably Delicious: The combination of tart, fruity Jell-O layers with a creamy, dreamy middle layer is next-level. It’s like a fancy, layered dessert without the work.
The secret here is the creamy white layer. Most recipes just use plain water, but using sweetened condensed milk and unflavored gelatin gives you a rich, decadent middle that balances the fruit flavors perfectly. It’s what makes this recipe different from the rest—it’s not just a jiggly cube of sugar; it’s a real treat.
What Ingredients You Will Need
This recipe uses simple, wholesome ingredients to deliver bold flavor and satisfying texture without the fuss. Most of these are pantry staples during the holiday season, which makes it an easy last-minute project.
- 2 (3 oz) boxes Strawberry Jell-O (or any red flavor like cherry or raspberry) – This creates the vibrant red layer. I find the store brand works just as well as the name brand, so grab what’s on sale.
- 2 (3 oz) boxes Lime Jell-O (or any green flavor like lime or green apple) – For the green layer. Again, store brand is perfectly fine for this.
- 1 (14 oz) can Sweetened Condensed Milk – This is the heart of the creamy white layer. It adds sweetness and a luscious, thick texture. I always keep a few extra cans in the pantry during the holidays for things like this and fudge.
- 4 packets Unflavored Gelatin (like Knox) – This is crucial. The sweetened condensed milk needs extra gelatin to set firmly. Don’t skip it, or you’ll end up with a soupy mess.
- Boiling Water – To dissolve the Jell-O and gelatin powder.
- Cold Water – To help the gelatin bloom and to cool the mixtures for layering.
- Cooking Spray – A light spritz on your pan makes unmolding the Jell-O a breeze.
Ingredient Selection Tips: For the best visual result, look for Jell-O flavors that are naturally bright and clear. Avoid “berry blue” or purple flavors as they can muddy the red and green theme. When buying unflavored gelatin, the Knox brand is the most reliable and widely available. If you use a different brand, just check the packet size to make sure you’re using the right amount.
Substitution Guidance: If you need a dairy-free option, you can try using a can of full-fat coconut milk and ½ cup of sugar in place of the sweetened condensed milk. The texture will be slightly different—a little less creamy—but it will still set and taste delicious. For a different flavor profile, swap the strawberry for raspberry and the lime for lemon for a more “patriotic” or “rainbow” vibe.
Equipment Needed
You don’t need a fancy kitchen to pull this off. Most of this stuff you probably already have on hand.
- 9×13 inch Baking Dish – This is the perfect size for getting nice, thick layers. A glass dish is ideal because you can see the layers form.
- 3 Medium Mixing Bowls – One for each color layer. Glass or metal bowls are best as they don’t retain odors.
- Measuring Cups – For the boiling and cold water. A liquid measuring cup is a must for accuracy.
- Whisk – To ensure the gelatin is completely dissolved without any lumps.
- Small Saucepan or Kettle – To boil water. A kettle is faster, but a saucepan works perfectly.
- Refrigerator – You’ll need a flat, stable spot in your fridge that won’t be disturbed for several hours. Clear a shelf beforehand!
I’ve made this in a metal pan before, and it worked fine, but I prefer glass because I can see how thick the layers are getting. If you don’t have a 9×13, you can use two 8×8 square pans, but your layers will be thicker, and you might need a little more time to set. A little cooking spray is your best friend here—it makes the final unmolding so much easier and prevents the Jell-O from sticking.
Preparation Method
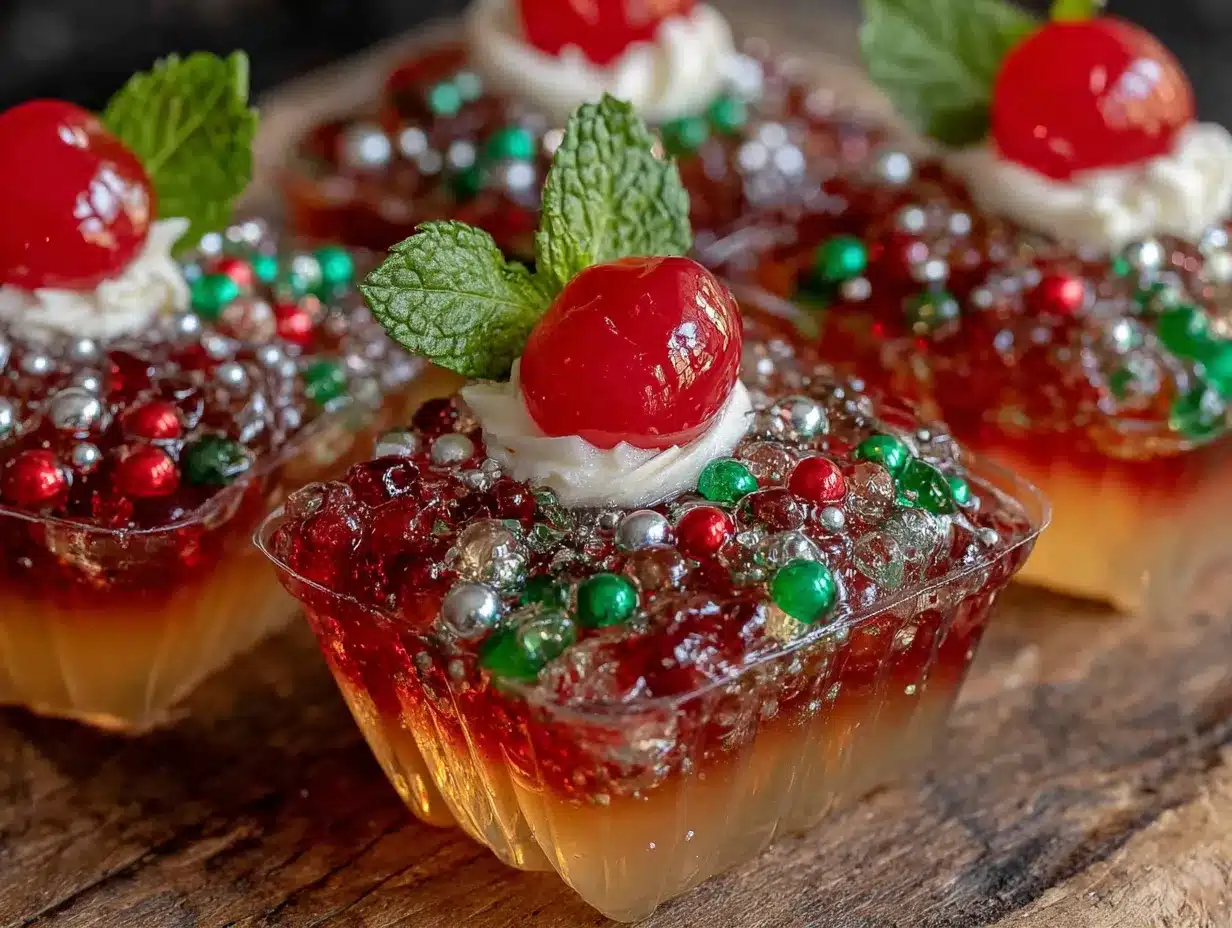
This is a project that requires a little patience, but the steps are easy. The key is to make sure each layer is fully set before adding the next one. Trust me, it’s worth the wait.
- Prepare the Pan: Lightly spray your 9×13 inch baking dish with cooking spray. Use a paper towel to wipe away any excess, leaving just a thin, even film. This helps the Jell-O release cleanly later.
- Make the Red Layer (Bottom): In a medium bowl, empty the two boxes of strawberry Jell-O. Add 2 cups of boiling water and whisk for 2 minutes until the powder is completely dissolved. Then, stir in 1 cup of cold water. Pour this mixture into your prepared baking dish. Place it in the refrigerator and let it set for at least 1 hour, or until it’s firm to the touch.
- Make the White Layer (Middle): This is the trickiest part, so pay close attention. In a separate bowl, combine 2 packets of unflavored gelatin with ½ cup of cold water. Let it sit for 5 minutes to “bloom.” Meanwhile, in a small saucepan, heat the entire can of sweetened condensed milk over low heat. Do not let it boil. Once it’s warm, pour it into the bloomed gelatin mixture and whisk until the gelatin is fully dissolved. If you see any lumps, you can microwave the mixture for 10-second intervals, whisking in between, until smooth. Let this mixture cool to room temperature—don’t pour it over the red layer while it’s still hot, or it will melt the red layer!
- Add the White Layer: Once the white mixture is cool and the red layer is completely set, very gently pour the white mixture over the red layer. Tilt the pan slightly to spread it evenly. Return the dish to the fridge and let it set for another 1 to 1.5 hours, until it’s firm.
- Make the Green Layer (Top): Repeat the process for the red layer, but with the lime Jell-O. In a clean bowl, empty the two boxes of lime Jell-O. Add 2 cups of boiling water and whisk for 2 minutes. Stir in 1 cup of cold water. Let this mixture cool to room temperature as well. You don’t want it hot or even warm when you pour it over the white layer.
- Add the Green Layer: Once the white layer is fully set and the green mixture is cool, carefully pour the green mixture over the white layer. Again, tilt the pan to spread it evenly. Refrigerate for at least 4 hours, but overnight is best. The longer it sets, the cleaner your cuts will be.
- Unmold and Cut: To unmold, run a sharp knife around the edge of the pan. Fill your kitchen sink with a couple of inches of warm (not hot) water. Dip the bottom of the pan in the warm water for about 15-20 seconds. Place a cutting board or large plate over the pan and invert it. The Jell-O should slide right out. Use a sharp knife to cut it into squares. If the knife gets sticky, wipe it clean between cuts.
Sensory Cue: When you pour the white layer, listen for a gentle “slosh” rather than a splash. If it splashes, the red layer is too soft. The layers should feel like firm jiggly Jell-O when you gently press the top with your finger.
Cooking Tips & Techniques
I’ve definitely made a few mistakes with this recipe over the years so you don’t have to. Here are the biggest lessons I’ve learned.
- The Temperature Check: The biggest mistake is pouring a warm layer over a set one. It will melt the previous layer and create one big, muddy mess. Always, always let your next layer cool to room temperature before pouring. I usually set a timer so I don’t forget.
- Patience is Key: Don’t rush the setting times. A wobbly, semi-set layer is not ready. It needs to be completely firm to the touch. If you’re in a hurry, you can pop it in the freezer for 15-20 minutes, but watch it carefully so it doesn’t freeze.
- Clean Cuts: For the prettiest squares, use a sharp, non-serrated knife. Dip the knife in warm water and wipe it dry between each cut. This prevents the layers from sticking to the blade and smearing.
- Make it a Family Activity: This is a great recipe to make with kids. They can help whisk the Jell-O, pour the layers (with supervision), and even cut the final squares with a plastic knife. It’s a fun, low-stress holiday activity.
I once tried to speed things up by putting the white layer in the freezer for too long, and it froze solid. The texture was ruined—all icy and grainy. So, learn from my mistake and stick to the fridge!
Variations & Adaptations
This basic recipe is a fantastic canvas for your own holiday creativity. Here are a few ways to change it up.
- Different Flavors: Swap the strawberry for cherry and the lime for green apple or lemon. You could even do a “Christmas Morning” version with orange and lemon layers for a brighter, citrusy taste.
- Add Fruit: Before adding the red layer, place a few raspberries or sliced strawberries in the bottom of the pan. You can also add a few pieces of canned mandarin oranges to the green layer for a fun texture.
- Dairy-Free Version: As mentioned, use a can of full-fat coconut milk mixed with ½ cup of sugar and a pinch of salt in place of the sweetened condensed milk. The flavor is slightly different but still delicious and creamy.
- Make it a Parfait: Instead of making one big block, layer the mixtures in clear plastic cups or small mason jars. This is a fantastic, no-unmolding-required option for a party. Just let them set in the cups and serve with a spoon.
One year, I tried adding a layer of crushed candy canes on top before the green layer set. It looked beautiful, but the candy canes dissolved and made the top layer a bit grainy. So, if you want a crunchy topping, sprinkle crushed candy canes or sprinkles on right before serving, not before it sets.
Serving & Storage Suggestions
These are best served cold, straight from the fridge. The texture is perfect when they’re firm and chilled.
Serving: Arrange the squares on a festive platter or a white cake stand. They look beautiful next to a plate of gingerbread cookies or a bowl of peppermint bark. You can also serve them in small, clear plastic cups for a grab-and-go option at a party. A dollop of whipped cream and a sprinkle of red and green sanding sugar on top makes them extra fancy.
Storage: Store any leftovers in an airtight container in the refrigerator. They will keep for up to 5 days. The flavors actually meld together a bit more over time, so they might taste even better on day two. Do not leave them out at room temperature for more than 2 hours, as they will start to soften and sweat.
Freezing: I don’t recommend freezing these. The texture becomes watery and icy once thawed, and it ruins the lovely, smooth layers. If you need to make them ahead, they are perfect for making 2-3 days in advance.
Nutritional Information & Benefits
Let’s be honest—this is a treat, not a health food. But knowing what’s in it helps you enjoy it guilt-free.
Estimated Nutritional Values (per 1 square, assuming 24 squares per pan):
| Nutrient | Amount |
|---|---|
| Calories | ~110 |
| Fat | 2g |
| Carbohydrates | 22g |
| Sugar | 20g |
| Protein | 2g |
Health Benefits: The gelatin itself is a good source of protein and is known to be great for your joints, skin, hair, and nails. So, you’re getting a little bit of a beauty boost with your treat! The fruit flavors also contain a small amount of vitamin C, depending on the brand you use.
Dietary Considerations: This recipe is naturally gluten-free and nut-free, making it a safe option for many common allergies. It is not dairy-free unless you make the substitution mentioned above. The main allergens are dairy (from the condensed milk).
Conclusion
These Festive Christmas Jello Shots are more than just a pretty dessert. They’re a fun, easy, and affordable way to bring a little extra joy to your holiday table. They’re the kind of recipe that gets kids excited to help in the kitchen and makes grown-ups feel like kids again. The look of pure delight on my sister’s face when she was caught red-handed (or, well, green-handed) is a memory I’ll always treasure.
I really hope you give this recipe a try. It’s forgiving, it’s fun, and it’s guaranteed to be a hit. Don’t be afraid to play around with the flavors and make it your own. If you have a picky eater who swears they don’t like Jell-O, this might just be the recipe that changes their mind, too.
I’d love to hear how yours turn out! Leave a comment below and let me know what flavor combinations you tried, or tag me in your photos on social media. Happy holidays, and happy cooking!
Frequently Asked Questions
Can I use sugar-free Jell-O?
Yes, you can! The recipe works perfectly with sugar-free Jell-O. Just keep in mind that the nutritional information will change, and the sweetness level will be slightly different. The texture should remain the same.
Why did my white layer not set?
This usually happens if the unflavored gelatin wasn’t fully dissolved, or if you added the white layer while it was still too warm. Make sure you whisk the gelatin into the warm condensed milk until it’s completely smooth, and let it cool to room temperature before pouring it over the red layer.
Can I make these in advance?
Absolutely! These are perfect for making ahead. You can make the entire block 2-3 days in advance and keep it covered in the fridge. Cut and serve on the day of your party.
How do I get clean, sharp edges when cutting?
Use a sharp, non-serrated knife. Dip the blade in warm water and wipe it dry with a clean towel between each cut. This prevents the Jell-O from sticking to the knife and gives you those beautiful, clean squares.
Can I double this recipe?
Yes! If you need to feed a crowd, you can easily double the recipe. Just use a larger pan (like a 12×17 inch jelly roll pan) or two separate 9×13 pans. The layering process is the same, but the setting times might be a little shorter in a larger, thinner pan.
Pin This Recipe!
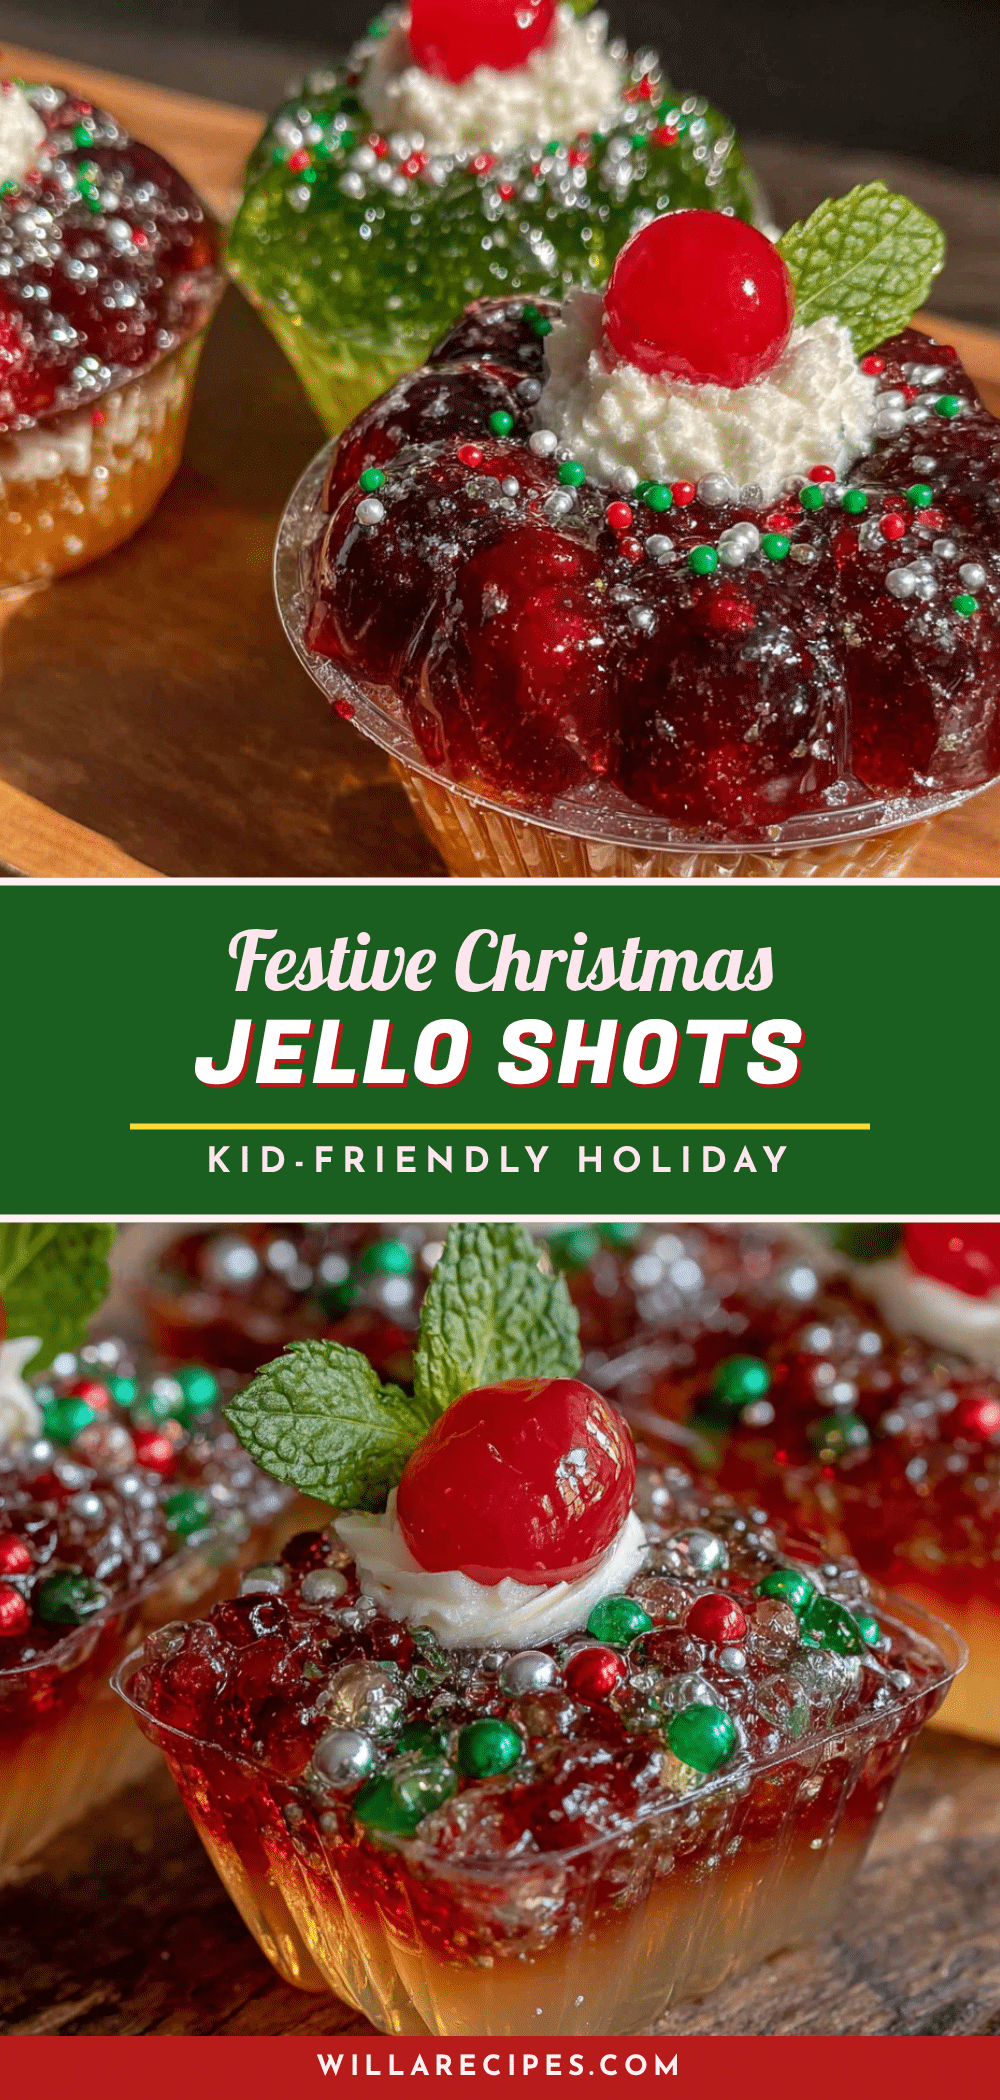
Festive Christmas Jello Shots: Easy Kid-Friendly Holiday Treat
These layered Christmas Jello Shots are a sweet, fun, and festive holiday treat that’s perfect for kids and adults alike. Made with simple ingredients, they’re a guaranteed crowd-pleaser that even self-proclaimed Jell-O haters will love.
- Prep Time: 20 minutes
- Cook Time: 0 minutes
- Total Time: 6 hours 20 minutes (including setting time)
- Yield: 24 servings 1x
- Category: Dessert
- Cuisine: American
Ingredients
- 2 (3 oz) boxes Strawberry Jell-O (or any red flavor like cherry or raspberry)
- 2 (3 oz) boxes Lime Jell-O (or any green flavor like lime or green apple)
- 1 (14 oz) can Sweetened Condensed Milk
- 4 packets Unflavored Gelatin (like Knox)
- Boiling Water
- Cold Water
- Cooking Spray
Instructions
- Lightly spray a 9×13 inch baking dish with cooking spray and wipe away excess with a paper towel.
- Make the red layer: In a medium bowl, empty the two boxes of strawberry Jell-O. Add 2 cups of boiling water and whisk for 2 minutes until dissolved. Stir in 1 cup of cold water. Pour into the prepared dish and refrigerate for at least 1 hour until firm.
- Make the white layer: In a separate bowl, combine 2 packets of unflavored gelatin with ½ cup of cold water. Let sit for 5 minutes to bloom. In a small saucepan, heat the entire can of sweetened condensed milk over low heat until warm (do not boil). Pour into the bloomed gelatin and whisk until dissolved. Let cool to room temperature.
- Once the red layer is set and the white mixture is cool, gently pour the white mixture over the red layer. Tilt the pan to spread evenly. Refrigerate for 1 to 1.5 hours until firm.
- Make the green layer: In a clean bowl, empty the two boxes of lime Jell-O. Add 2 cups of boiling water and whisk for 2 minutes. Stir in 1 cup of cold water. Let cool to room temperature.
- Once the white layer is set and the green mixture is cool, carefully pour the green mixture over the white layer. Tilt to spread evenly. Refrigerate for at least 4 hours, preferably overnight.
- To unmold, run a sharp knife around the edge of the pan. Dip the bottom of the pan in warm water for 15-20 seconds. Place a cutting board over the pan and invert. Cut into squares with a sharp knife, wiping the blade clean between cuts.
Notes
Ensure each layer is fully set before adding the next. Let the white and green layers cool to room temperature before pouring to prevent melting the previous layer. For clean cuts, dip the knife in warm water and wipe dry between cuts. Store in an airtight container in the refrigerator for up to 5 days. Do not freeze.
Nutrition
- Serving Size: 1 square
- Calories: 110
- Sugar: 20
- Sodium: 85
- Fat: 2
- Saturated Fat: 1
- Carbohydrates: 22
- Protein: 2
Keywords: Christmas Jello Shots, kid-friendly, holiday treat, layered Jell-O, non-alcoholic, festive dessert


