My aunt wasn’t trying to impress anyone. I’d stopped by on a random Tuesday to return her bread maker—the one she’d loaned me six months prior—and the smell of vanilla and toasted sugar hit me before I even got through the screen door. She was standing at the kitchen counter in her gardening clothes, dirt still under her fingernails, casually piping these billowy white clouds onto a baking sheet. “Oh, those,” she said when I asked what she was making. “Just some forgotten cookies. You turn the oven off and leave them in there overnight.” Just some forgotten cookies. Like it was nothing. Like she hadn’t just created something that looked like it belonged in a fancy patisserie window. I stood there watching her work, and let me tell you, I felt a little envious of how effortless she made it look. She wasn’t measuring things precisely or fussing over peaks—she just knew. Maybe you’ve been there, watching someone cook who doesn’t realize they’re doing something special. That’s the energy these Light & Airy Forgotten Meringue Cookies with Chocolate Chips carry. They’re unassuming, humble even, but one bite and you’re hooked. I’ve been making them ever since that Tuesday afternoon, and honestly, they’ve never stopped feeling like a little bit of kitchen magic.
Why You’ll Love This Recipe
After testing this recipe at least a dozen times—through humid summer days, dry winter afternoons, and one particularly disastrous attempt where I forgot the cream of tartar entirely—I can tell you with confidence that these meringue cookies are special. They’ve been taste-tested by my picky neighbor, my nutritionist friend (who gave them a surprisingly enthusiastic thumbs up), and a group of kids who usually only want store-bought snacks.
- Incredibly Easy: The active prep time is about 15 minutes. The oven does the rest of the work while you sleep.
- Simple Pantry Ingredients: Egg whites, sugar, vanilla, cream of tartar, and chocolate chips. That’s it.
- Perfect for Make-Ahead: These cookies keep beautifully for weeks in an airtight container, making them ideal for holiday cookie exchanges or last-minute guests.
- Naturally Gluten-Free & Low-Fat: No flour, no butter, no guilt. They’re a light, airy treat that feels indulgent without weighing you down.
- Unbelievably Delicious: The texture is what gets everyone—crisp on the outside, slightly chewy in the middle, with pockets of melted chocolate in every bite.
What makes this version different from the rest? It’s the technique. I’ve perfected the timing and temperature so you get that signature marshmallowy interior without any sticky, chewy failures. And the mini chocolate chips? They add just enough richness to balance the sweet, cloud-like meringue. This isn’t just another cookie recipe—it’s the one that makes people close their eyes after the first bite and ask for the recipe before they’ve even swallowed.
What Ingredients You Will Need
This recipe uses simple, wholesome ingredients to create something that feels surprisingly luxurious. Most of these are pantry staples, which makes these cookies perfect for when you’re craving something sweet but don’t want to run to the store.
- 4 large egg whites, room temperature (room temperature eggs whip up to a higher volume—trust me on this one)
- 1 cup (200g) granulated sugar (regular white sugar works best; avoid superfine or powdered sugar here)
- 1/2 teaspoon cream of tartar (this stabilizes the egg whites and helps them hold their shape—don’t skip it!)
- 1 teaspoon vanilla extract (I prefer pure vanilla extract over imitation for the deeper flavor, but either works)
- 1/2 cup (90g) mini chocolate chips (mini chips distribute more evenly than regular-sized ones, so you get chocolate in every bite)
- Pinch of salt (just a tiny pinch to balance the sweetness)
A few notes on ingredient selection: I’ve found that eggs from happy, pasture-raised chickens whip up slightly better, but any large eggs will do. For the chocolate chips, I personally love using Guittard or Ghirardelli mini chips—they melt beautifully without becoming greasy. If you’re dairy-free, look for Enjoy Life brand mini chocolate chips; they’re my go-to for allergen-friendly baking. And here’s a little tip I learned the hard way: make sure your bowl and whisk are completely clean and free of any grease. Even a tiny bit of oil can prevent your egg whites from whipping up properly. A quick wipe with lemon juice or vinegar on a paper towel does the trick.
Equipment Needed
You don’t need a fancy kitchen to pull these off, but a few specific tools make the process much smoother.
- Stand mixer or hand mixer: While you can technically whip egg whites by hand with a whisk, I don’t recommend it unless you’re looking for an arm workout. A stand mixer with the whisk attachment is ideal, but a hand mixer works just fine.
- Large, clean mixing bowl: Glass, stainless steel, or ceramic all work. Avoid plastic bowls—they can retain grease even after washing.
- Rubber spatula: For folding in the chocolate chips gently without deflating the meringue.
- Baking sheets: Two large baking sheets lined with parchment paper. I’ve used both light and dark pans, and lighter ones tend to produce more consistent results.
- Piping bag or zip-top bag: For piping the meringue into pretty shapes. A zip-top bag with the corner snipped off works perfectly if you don’t own a piping bag.
- Cooling rack: For cooling the cookies after they come out of the oven.
If you don’t have a piping bag, don’t stress. You can simply drop spoonfuls of meringue onto the baking sheet for a more rustic look. I actually prefer the spoon-dropped version sometimes—they look more homemade and charming.
Preparation Method
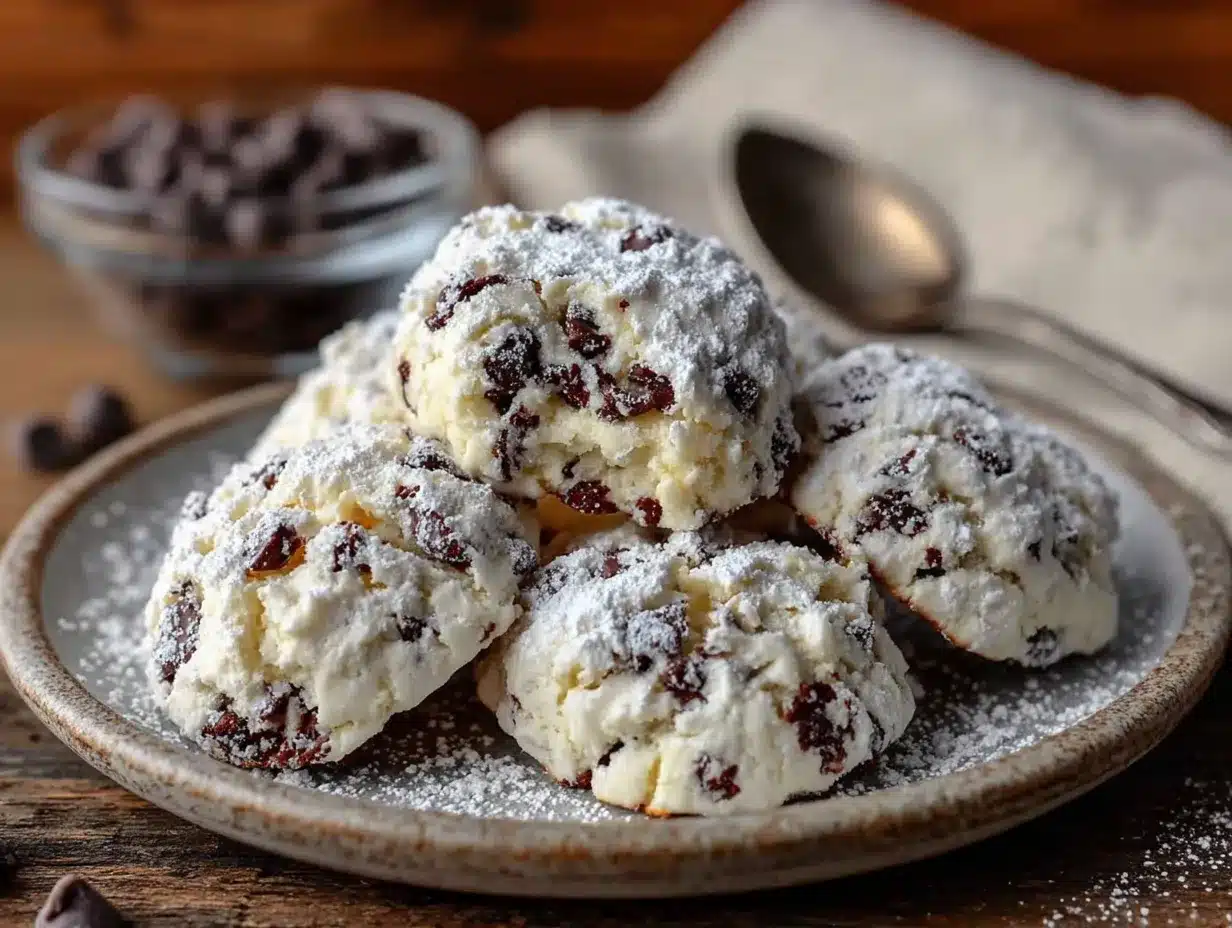
This is where the magic happens. Follow these steps carefully, and you’ll have perfect meringue cookies every time.
- Preheat your oven to 350°F (175°C). Line two large baking sheets with parchment paper. Don’t use wax paper or foil—parchment is non-stick and essential here.
- Separate your eggs while they’re cold. Cold eggs separate more easily, with less risk of breaking the yolk. Place the whites in your mixing bowl and let them come to room temperature for about 30 minutes. Room temperature egg whites whip up to a much higher volume—this is non-negotiable for the best results.
- Add the cream of tartar and salt. Once your egg whites are at room temperature, add the cream of tartar and a tiny pinch of salt. Start beating on medium speed until the mixture becomes frothy and slightly opaque, about 1-2 minutes.
- Gradually add the sugar. With the mixer running on medium-high speed, add the sugar one tablespoon at a time. I know it’s tempting to dump it all in at once, but trust me—adding it slowly allows the sugar to dissolve properly. This takes about 3-4 minutes. Be patient here; it makes a difference.
- Whip until stiff peaks form. Continue beating on high speed until the meringue is glossy, thick, and holds stiff peaks. You’ll know it’s ready when you lift the whisk and the meringue stands up straight without drooping. This usually takes about 5-7 minutes total. The mixture should feel smooth between your fingers—not grainy—which means the sugar has fully dissolved.
- Add the vanilla. Drizzle in the vanilla extract and beat for another 30 seconds until combined. The meringue should look like marshmallow fluff—thick, glossy, and utterly irresistible.
- Fold in the chocolate chips. Remove the bowl from the mixer and sprinkle the mini chocolate chips over the meringue. Use a rubber spatula to fold them in gently. Use a cutting motion rather than stirring—you want to incorporate the chips without deflating all that beautiful air you’ve whipped in. Stop as soon as the chips are evenly distributed.
- Pipe or drop the meringue. Transfer the meringue to a piping bag fitted with a large star tip, or simply snip the corner off a zip-top bag. Pipe small, bite-sized dollops onto the prepared baking sheets, spacing them about 1 inch apart. Alternatively, drop rounded tablespoons of meringue onto the sheets for a more casual look. Either way, try to keep them roughly the same size so they bake evenly.
- Turn off the oven and forget them. Here’s the crucial part: Place the baking sheets in the preheated oven, then immediately turn the oven off. Do not open the door! Let the cookies sit in the cooling oven for at least 6 hours or overnight. I usually make them right before bed and leave them until morning. The residual heat slowly dries out the meringue, creating that perfect crisp exterior with a soft, marshmallowy center.
- Remove and cool completely. After the waiting period, remove the cookies from the oven. They should peel easily off the parchment paper. Let them cool completely on a wire rack before storing.
A quick troubleshooting note: If your meringue looks weepy or has beads of liquid forming on the surface, your oven was too hot or your sugar didn’t dissolve fully. This happened to me the first time I tried making these on a rainy day—humidity is not your friend here. If it’s humid outside, run a dehumidifier in your kitchen or save this recipe for a dry day.
Cooking Tips & Techniques
I’ve made enough mistakes with meringue to fill a small notebook. Here are the lessons I learned the hard way so you don’t have to.
Start with clean equipment. This is the number one rule of meringue-making. Any trace of fat—even a speck of egg yolk or a greasy bowl—will prevent your egg whites from whipping up. I wipe my bowl and whisk attachment with a bit of lemon juice on a paper towel before I start. It’s a small step that saves a lot of frustration.
Don’t over-whip. There’s a fine line between stiff peaks and over-whipped meringue. If you whip too long, the meringue will become dry and grainy, and it might start to separate. Stop as soon as the peaks stand up straight and the mixture looks glossy. When in doubt, stop a little early—you can always whip a bit more, but you can’t fix over-whipped egg whites.
Weather matters. Meringue is sensitive to humidity. On rainy or humid days, the sugar can absorb moisture from the air, making your cookies sticky instead of crisp. If you’re in a humid climate, try to make these on a dry day, or run your air conditioning while they’re in the oven. I learned this the hard way during a particularly soggy spring—my cookies came out chewy and sad.
Be patient with the oven. The whole “forgotten” concept works because the oven slowly cools down, gently drying the meringue without browning it. Resist the urge to peek! Opening the oven door lets out heat and moisture, which can ruin the texture. I set a timer on my phone to remind myself not to open it until morning.
Size matters. Smaller cookies dry out more evenly than larger ones. I aim for about 1 tablespoon of meringue per cookie. If you make them too big, the centers might stay too soft and sticky.
Variations & Adaptations
One of the best things about this recipe is how easily it adapts to different tastes and dietary needs. Here are a few variations I’ve tried and loved.
Chocolate Lover’s Version: Swap the mini chocolate chips for dark chocolate chunks and add a tablespoon of unsweetened cocoa powder to the sugar before whipping. Sift the cocoa powder with the sugar to avoid lumps. The result is a double-chocolate meringue that’s rich without being heavy.
Citrus Twist: Replace the vanilla extract with 1 teaspoon of lemon or orange extract, and fold in 1 tablespoon of finely grated zest along with the chocolate chips. The bright citrus flavor pairs beautifully with the sweet meringue. I made these for a spring brunch once, and they disappeared in minutes.
Vegan Adaptation: Use aquafaba (the liquid from a can of chickpeas) instead of egg whites. Replace 4 egg whites with 1/2 cup of aquafaba. Whip it exactly the same way, adding cream of tartar and sugar gradually. The texture is slightly different—a bit more delicate—but still delicious. Make sure your chocolate chips are dairy-free as well.
Peppermint Holiday Version: Add 1/2 teaspoon of peppermint extract along with the vanilla, and fold in crushed candy canes along with the chocolate chips. These are perfect for Christmas cookie platters and look so festive with little flecks of red and white.
Nutty Delight: Fold in 1/4 cup of finely chopped toasted almonds or pistachios along with the chocolate chips. The nuts add a lovely crunch and a savory note that balances the sweetness. Just make sure the nuts are chopped very fine so they don’t weigh down the meringue.
Serving & Storage Suggestions
These cookies are best served at room temperature, straight from the container. They have a lovely crispness that gives way to a soft, marshmallowy center—a texture that’s hard to resist.
Serving Ideas: Arrange them on a pretty plate for afternoon tea or coffee. They also make a lovely, light dessert after a heavy meal—just a few cookies with a cup of espresso. For a more indulgent presentation, dip the bottoms in melted chocolate and let them set on parchment paper. I’ve also crumbled them over vanilla ice cream for a quick and elegant sundae.
Storage: Store these cookies in an airtight container at room temperature for up to 2 weeks. Do not refrigerate them—the moisture in the fridge will make them sticky. If you live in a humid climate, add a silica gel packet (the kind you find in shoe boxes) to the container to absorb excess moisture. It sounds odd, but it really works!
Freezing: These cookies freeze beautifully for up to 3 months. Place them in a single layer in a freezer-safe container, with parchment paper between layers. Thaw at room temperature for about 15 minutes before serving. The texture remains surprisingly good after freezing.
Flavor Development: Interestingly, these cookies actually improve after a day or two. The flavors meld together, and the texture becomes even more perfectly crisp. So don’t worry if you’re making them ahead—they’ll be even better tomorrow.
Nutritional Information & Benefits
For those keeping an eye on their intake, here’s the estimated nutritional breakdown per cookie (based on 24 cookies):
- Calories: 55
- Fat: 1.5g
- Carbohydrates: 10g
- Sugar: 9g
- Protein: 1g
- Sodium: 15mg
These cookies are naturally low in fat and completely gluten-free, making them a great option for anyone with celiac disease or gluten sensitivity. The egg whites provide a small amount of high-quality protein, while the mini chocolate chips add a touch of antioxidants (yes, dark chocolate counts!).
From a wellness perspective, I love that these cookies satisfy a sweet craving without the heavy, greasy feeling that comes with traditional butter-based cookies. They’re light, airy, and feel almost guilt-free—perfect for those days when you want something sweet but don’t want to undo all your hard work. Just remember that they’re still a treat, so enjoy them in moderation!
Conclusion
These Light & Airy Forgotten Meringue Cookies with Chocolate Chips have become a staple in my kitchen for good reason. They’re impossibly easy, made from ingredients I always have on hand, and they produce a cookie that feels far more special than the effort required. Whether you’re a seasoned baker or someone who’s never made meringue before, I promise you can pull these off.
What I love most about this recipe is the story behind it—the casual Tuesday afternoon, my aunt’s dirt-stained hands, her nonchalant attitude toward something I found utterly magical. Every time I make these cookies, I think of her, and I hope you’ll create your own memories with them too. Maybe you’ll make them for a holiday gathering, or maybe you’ll whip up a batch on a random Tuesday just because.
I’d love to hear how yours turn out! Drop a comment below and let me know if you tried any variations, or share a photo of your cookies on Pinterest with the hashtag #ForgottenMeringueCookies. Happy baking, friends!
Frequently Asked Questions
Can I make these cookies without cream of tartar?
Yes, you can substitute 1 teaspoon of lemon juice or white vinegar for the cream of tartar. The acid helps stabilize the egg whites, so don’t skip this ingredient entirely. Cream of tartar is preferred because it doesn’t add any flavor, but lemon juice works in a pinch.
Why are my meringue cookies sticky?
Sticky meringue cookies are usually a sign of humidity or under-drying. If it was a humid day when you made them, the moisture in the air may have affected the texture. Next time, try making them on a dry day, or leave them in the turned-off oven for a few extra hours. You can also try baking them at 200°F (93°C) for 1.5 hours instead of using the “forgotten” method.
Can I use liquid egg whites from a carton?
I don’t recommend it. Liquid egg whites from a carton are pasteurized, which affects their ability to whip up into stiff peaks. They also often contain stabilizers that can change the texture. For best results, use fresh egg whites from whole eggs.
How do I know when the meringue is whipped enough?
The meringue is ready when it holds stiff peaks—meaning when you lift the whisk, the meringue stands up straight without drooping. The mixture should also look glossy and feel smooth when you rub a small amount between your fingers. If it feels grainy, keep whipping until the sugar dissolves completely.
Can I double this recipe?
Absolutely! This recipe doubles beautifully. Just make sure your mixing bowl is large enough to accommodate the increased volume. You may need to whip the egg whites a bit longer, and you’ll definitely need extra baking sheets. The “forgotten” time in the oven remains the same regardless of batch size.
Pin This Recipe!
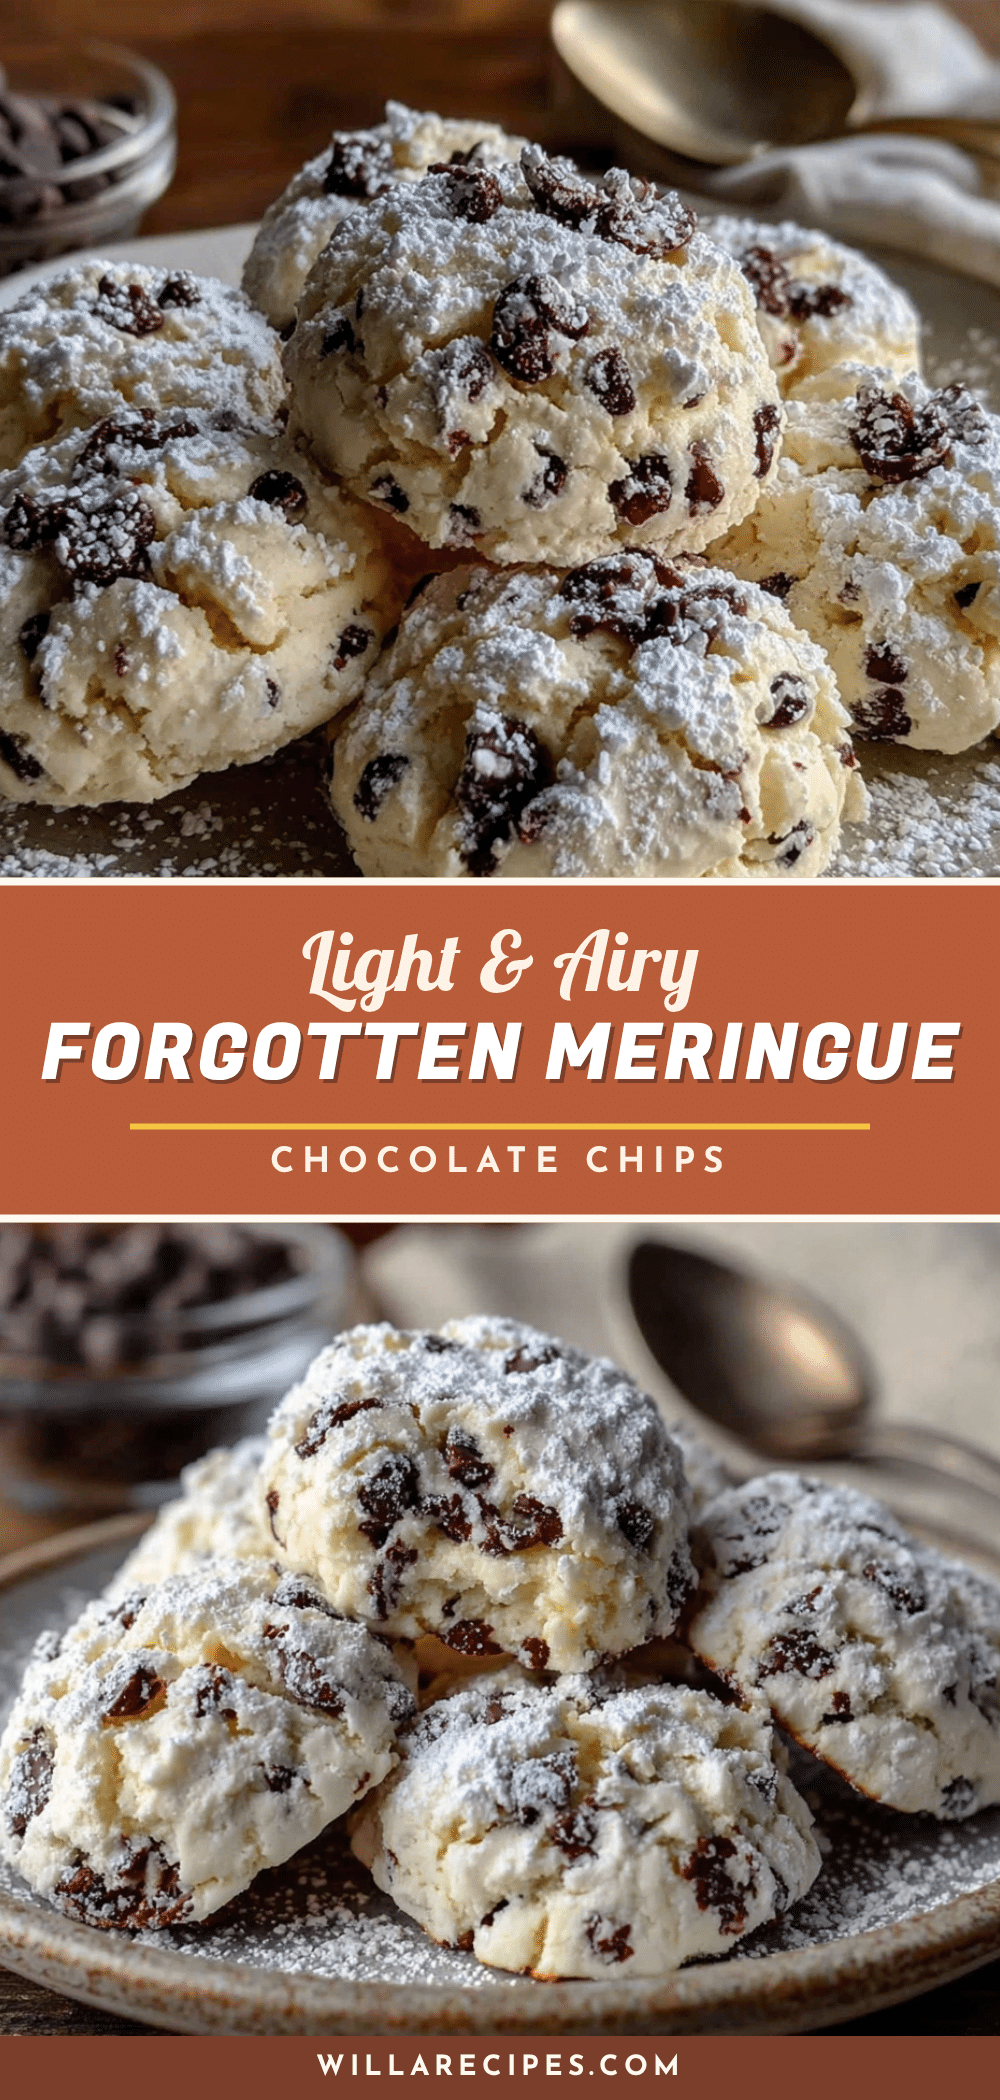
Light & Airy Forgotten Meringue Cookies with Chocolate Chips

These light and airy meringue cookies are crisp on the outside, slightly chewy in the middle, with pockets of melted chocolate in every bite. Made with simple pantry ingredients and a unique ‘forgotten’ oven technique, they’re naturally gluten-free and low-fat.
- Prep Time: 15 minutes
- Cook Time: 0 minutes (oven off)
- Total Time: 6 hours 15 minutes (including overnight resting)
- Yield: 24 cookies 1x
- Category: Dessert
- Cuisine: American
Ingredients
- 4 large egg whites, room temperature
- 1 cup (200g) granulated sugar
- 1/2 teaspoon cream of tartar
- 1 teaspoon vanilla extract
- 1/2 cup (90g) mini chocolate chips
- Pinch of salt
Instructions
- Preheat your oven to 350°F (175°C). Line two large baking sheets with parchment paper.
- Separate your eggs while they’re cold. Place the whites in your mixing bowl and let them come to room temperature for about 30 minutes.
- Add the cream of tartar and a tiny pinch of salt. Start beating on medium speed until frothy and slightly opaque, about 1-2 minutes.
- With the mixer running on medium-high speed, add the sugar one tablespoon at a time, taking about 3-4 minutes.
- Continue beating on high speed until the meringue is glossy, thick, and holds stiff peaks, about 5-7 minutes total. The mixture should feel smooth between your fingers.
- Drizzle in the vanilla extract and beat for another 30 seconds until combined.
- Remove the bowl from the mixer and sprinkle the mini chocolate chips over the meringue. Use a rubber spatula to fold them in gently with a cutting motion until evenly distributed.
- Transfer the meringue to a piping bag fitted with a large star tip, or snip the corner off a zip-top bag. Pipe small, bite-sized dollops onto the prepared baking sheets, spacing them about 1 inch apart. Alternatively, drop rounded tablespoons of meringue onto the sheets.
- Place the baking sheets in the preheated oven, then immediately turn the oven off. Do not open the door! Let the cookies sit in the cooling oven for at least 6 hours or overnight.
- After the waiting period, remove the cookies from the oven. They should peel easily off the parchment paper. Let them cool completely on a wire rack before storing.
Notes
Make sure your bowl and whisk are completely clean and free of any grease. A quick wipe with lemon juice or vinegar on a paper towel helps. Humidity can affect the texture; make on a dry day if possible. Do not open the oven door while the cookies are resting.
Nutrition
- Serving Size: 1 cookie
- Calories: 55
- Sugar: 9
- Sodium: 15
- Fat: 1.5
- Carbohydrates: 10
- Protein: 1
Keywords: meringue cookies, forgotten cookies, chocolate chip meringue, gluten-free cookies, low-fat cookies, easy dessert


