It was 11:47 PM on a random Tuesday, and I had this ridiculous, almost desperate craving for a warm chocolate chip cookie. You know that feeling when only a specific, melty, slightly-gooey cookie will do? I was already in my pajamas, the kitchen was dim, and I absolutely was not about to drag out my stand mixer, make a huge batch of dough, and deal with the cleanup. I didn’t have the energy for a full-blown baking project. But I had a single stick of butter, one egg, and a stubborn idea that was just crazy enough to work.
Honestly, I was a little worried. I mean, most cookie recipes are engineered for a dozen or more. Scaling down feels like you’re breaking some sacred baking law. But something about the quiet of the night makes you bolder. I grabbed a bowl, a whisk, and just went for it, making a tiny, single-serving batch that felt like a personal experiment. I wasn’t baking for anyone else; I was baking for the sheer, selfish joy of it.
The result was a revelation. These weren’t just “good for a small batch.” They were the best small-batch chocolate chip cookies I’d ever made. The edges were perfectly crisp, the centers were soft and packed with melty chocolate, and the whole thing came together in one bowl with nothing but a spoon. No mixer, no giant mess, no leftover dough calling my name from the fridge. It was just me, a perfect cookie, and a quiet kitchen at midnight. And honestly, that’s a memory I keep coming back to. Maybe you’ve been there, too—staring into the pantry, wondering if a small miracle is possible. I’m here to tell you, it absolutely is.
Why You’ll Love This Recipe
I’ve tested this recipe more times than I can count, tweaking the butter-to-flour ratio and the resting time until it was absolutely foolproof. This isn’t just another cookie recipe; it’s the one I turn to when I need a guaranteed win with zero fuss. Here’s why it works so well:
- No Mixer Required: You don’t need a stand mixer or hand mixer. Just a bowl and a spatula. The melted butter does all the work for you, making the dough incredibly easy to bring together.
- Perfectly Portioned: This recipe makes exactly 6-8 cookies. No more, no less. It’s ideal for a quiet night in, a small family treat, or when you just don’t want a mountain of cookies tempting you all week.
- Simple Pantry Ingredients: You likely have everything you need already. Butter, sugar, an egg, flour, and chocolate chips. No fancy extracts or specialty flours required.
- Unbelievably Delicious Texture: The combination of melted butter and a short resting time creates a cookie that’s crispy on the edges and chewy in the middle. It’s that perfect, bakery-style texture you crave.
- Perfect for Impressing Guests: Want to look like a hero at a last-minute dinner party? Whip up a batch of these while everyone’s finishing their meal. The smell alone will make you the star of the night.
What Ingredients You Will Need
This recipe uses simple, humble ingredients to create something truly special. The magic lies in the technique, not a long list of exotic items. Let’s break down what you’ll need and why each one matters.
- Unsalted Butter (4 tablespoons, 57g): We’re using melted butter here. This is the key to the “no mixer” promise. Melting the butter gives the cookies a chewier, denser texture and a richer, more buttery flavor. I always use unsalted so I can control the salt level. Melt it gently on the stove or in the microwave, then let it cool slightly so it doesn’t cook the egg.
- Granulated Sugar (3 tablespoons, 38g) & Light Brown Sugar (3 tablespoons, 43g): This is my favorite ratio. The granulated sugar helps the cookies spread and creates those crispy edges. The brown sugar, with its molasses content, adds moisture, chewiness, and a deep, caramel-like flavor. Don’t skip the brown sugar—it’s non-negotiable for that perfect texture.
- Large Egg Yolk (1): Just the yolk! Using only the yolk adds richness and tenderness without the extra moisture that the egg white would bring. This helps the cookies stay thick and soft rather than spreading into thin, crispy pancakes. Save the white for your breakfast omelet.
- Vanilla Extract (1/2 teaspoon): A good vanilla is essential. It rounds out the flavors and makes the chocolate taste even more chocolatey. I prefer pure vanilla extract, but imitation will work in a pinch.
- All-Purpose Flour (1/2 cup, 60g): Standard all-purpose flour gives the perfect structure. Be careful not to over-measure it. The best way is to spoon the flour into your measuring cup and level it off with a knife. Scooping directly from the bag can pack in too much flour, leading to dry, cakey cookies.
- Baking Soda (1/4 teaspoon): This is our leavening agent. It helps the cookies spread just the right amount and gives them a little lift. Make sure it’s fresh for the best results.
- Salt (1/4 teaspoon): Salt is not just for flavor—it balances the sweetness and enhances the chocolate. A flaky sea salt like Maldon sprinkled on top right out of the oven is a game-changer, but table salt in the dough works perfectly.
- Semi-Sweet Chocolate Chips (1/3 cup, 60g): I recommend a good quality brand like Ghirardelli or Guittard. Semi-sweet is classic, but you can use dark, milk, or even a chopped chocolate bar for a fancier look. The chunks of chocolate from a chopped bar melt into puddles, which is always a win.
Equipment Needed
One of the best things about this recipe is how little equipment it requires. You probably have everything already, which is exactly the point of a late-night, no-fuss bake.
- Medium Mixing Bowl: Any bowl will do, but a medium-sized one gives you enough room to mix without making a mess. I use a simple ceramic bowl.
- Whisk or Spatula: A whisk is great for combining the wet ingredients, but a sturdy silicone spatula is your best friend for folding in the flour and chocolate chips. It’s also perfect for scraping down the sides of the bowl.
- Measuring Cups and Spoons: Accuracy matters, even in a small batch. Use dry measuring cups for the flour and sugar, and liquid measuring cups for the vanilla (though a teaspoon works fine).
- Baking Sheet: A standard half-sheet pan is ideal. If you only have a larger one, that’s fine too.
- Parchment Paper or Silicone Baking Mat: This is non-negotiable for easy cleanup and preventing the cookies from sticking. Parchment paper is cheap and disposable; a silicone mat is reusable and provides excellent heat distribution.
- Cookie Scoop (Optional): A small cookie scoop (about 1.5 tablespoons) makes portioning the dough incredibly easy and ensures uniform cookies. If you don’t have one, just use two spoons.
- Cooling Rack: A wire rack allows air to circulate around the cookies, preventing the bottoms from getting soggy. If you don’t have one, you can carefully slide the parchment paper onto the countertop to cool.
Preparation Method
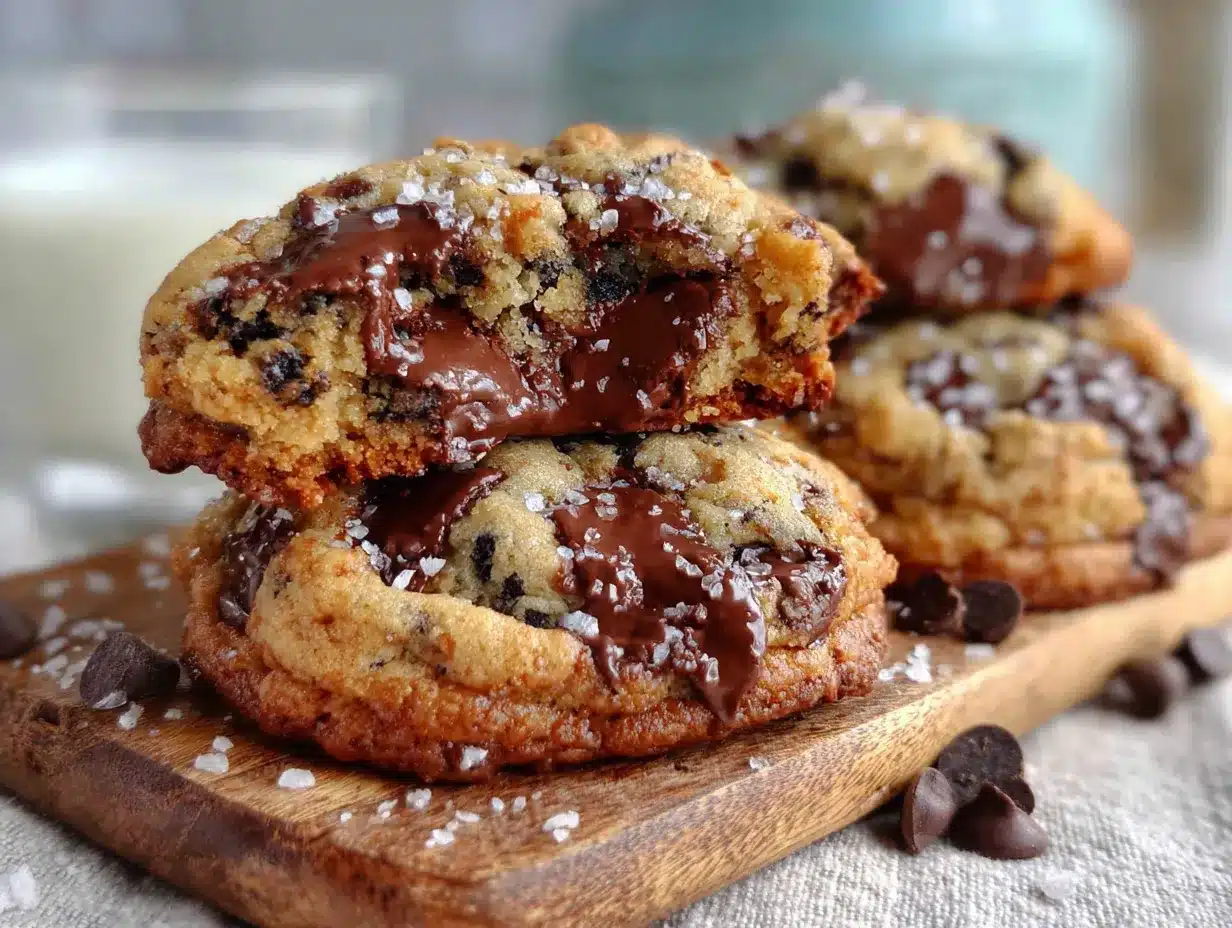
This is where the magic happens. Follow these steps closely, and you’ll have perfect cookies in under 30 minutes. I’ve included my best tips and sensory cues to guide you along the way.
- Melt the Butter: Place the 4 tablespoons of unsalted butter in your medium mixing bowl. Microwave it in 15-second bursts until it’s almost completely melted. Stir it with your whisk or spatula until the remaining solid pieces melt from the residual heat. You want it just melted, not hot. Let it cool for 2 minutes. (Tip: If it’s too hot, it will scramble your egg yolk.)
- Combine the Sugars: Add the 3 tablespoons of granulated sugar and 3 tablespoons of light brown sugar to the melted butter. Whisk them together vigorously for about 30 seconds. The mixture should look like a wet, grainy paste and smell incredible. This step helps dissolve the sugar slightly, which contributes to those crispy edges.
- Add the Egg Yolk and Vanilla: Drop in the single egg yolk and the 1/2 teaspoon of vanilla extract. Whisk again until everything is completely combined. The mixture will become thicker, smoother, and a lovely pale yellow color. It should look like a thick, glossy caramel sauce. (Warning: Don’t over-whisk at this stage. Just until it’s smooth.)
- Add the Dry Ingredients: Sprinkle the 1/2 cup of all-purpose flour, 1/4 teaspoon of baking soda, and 1/4 teaspoon of salt over the wet mixture. Use your spatula to fold everything together. Start with a few gentle strokes to incorporate the flour, then switch to a folding motion. Mix just until you can’t see any more streaks of flour. (Sensory cue: The dough will be thick, slightly sticky, and a little greasy—that’s perfect. Do not overmix, or the cookies will be tough.)
- Fold in the Chocolate Chips: Add the 1/3 cup of chocolate chips to the bowl. Fold them in with your spatula until they are evenly distributed throughout the dough. Make sure a few chips are poking out of the top for a beautiful, rustic look.
- Chill the Dough (Crucial Step!): Cover the bowl with plastic wrap or a plate and pop it in the refrigerator for at least 30 minutes. I know you’re impatient—I am too—but this step is non-negotiable. Chilling solidifies the butter, which prevents the cookies from spreading too much in the oven. It also allows the flavors to meld and develop. (Personal tip: I once skipped this step out of desperation, and my cookies turned into thin, greasy pucks. Learn from my mistake!)
- Preheat and Prepare: While the dough chills, preheat your oven to 350°F (175°C). Line your baking sheet with parchment paper or a silicone mat.
- Portion the Dough: After 30 minutes, remove the dough from the fridge. Use a cookie scoop or two spoons to portion the dough into 6-8 equal balls. They should be about 1.5 tablespoons each. Place them on the prepared baking sheet, leaving about 2 inches of space between each one. They won’t spread much, but they need a little room.
- Bake to Perfection: Bake for 10-12 minutes, or until the edges are golden brown and the centers look slightly puffy and set. The centers will look a little underdone—that’s what you want! (Sensory cue: Your kitchen will smell like a bakery. The cookies will be very soft when they come out.)
- Cool and Enjoy: Let the cookies cool on the baking sheet for 5 minutes. This allows them to finish setting up. Then, transfer them to a wire rack to cool completely. Or, do what I do: eat one warm immediately, knowing you earned it.
Cooking Tips & Techniques
Over the years, I’ve made every mistake you can imagine with cookies. I’ve had them spread into one giant cookie, turn into hockey pucks, and once, I forgot the sugar entirely. Here are the lessons I learned the hard way so you don’t have to.
- Don’t Overmix the Dough: This is the number one mistake home bakers make. Once you add the flour, you are developing gluten. The more you mix, the tougher the cookie. Mix just until the flour disappears. A few small streaks are fine; they’ll work themselves out.
- The Chill is Real: I cannot stress this enough. Chilling the dough for 30 minutes is not optional. It solidifies the fat, which means your cookies will spread less and be thicker and chewier. If you skip it, you’ll get thin, flat cookies. If you’re in a huge rush, pop the dough in the freezer for 10-15 minutes.
- Use a Cookie Scoop for Uniformity: A cookie scoop isn’t just for convenience; it ensures all your cookies are the same size, which means they will bake evenly. No more burnt edges on one cookie while the other is still raw in the middle.
- Rotate Your Pan Halfway Through: Ovens have hot spots. About halfway through the baking time (at the 5-6 minute mark), quickly rotate your baking sheet 180 degrees. This ensures even browning and prevents one side of the cookies from burning.
- The “Bang” Technique: For perfectly round, crinkly-top cookies, try this pro trick: As soon as you pull the baking sheet from the oven, pick it up a few inches and drop it (gently!) onto the counter or stovetop. This deflates the cookies slightly, creating those beautiful ripples and a chewier center.
Variations & Adaptations
This base recipe is a fantastic canvas for your own creativity. Here are a few of my favorite ways to change it up, depending on my mood or what’s in my pantry.
- Double Chocolate Chip: Replace 1 tablespoon of the all-purpose flour with 1 tablespoon of unsweetened cocoa powder. You’ll get a rich, dark chocolate cookie studded with semi-sweet chips. It’s dangerously good.
- Nutty & Salty: Before baking, gently press a few flaky sea salt crystals and a handful of chopped pecans or walnuts onto the tops of the dough balls. The salt contrasts beautifully with the sweet dough, and the nuts add a wonderful crunch.
- Peanut Butter Swirl: After you’ve made the dough, drop in 2 tablespoons of creamy peanut butter. Use a knife to gently swirl it through the dough, creating ribbons of peanut butter. Don’t fully mix it in—you want pockets of peanut butter flavor.
- Vegan Adaptation: Use a high-quality vegan butter stick (like Miyoko’s) in place of the dairy butter. Replace the egg yolk with 1 tablespoon of unsweetened applesauce or a flax egg (1 tablespoon ground flaxseed mixed with 3 tablespoons water, left to sit for 5 minutes). The texture will be slightly different—a little more cakey—but still delicious.
- Gluten-Free Option: Substitute the all-purpose flour with a 1-to-1 gluten-free baking flour blend that contains xanthan gum. I’ve had great success with King Arthur’s Measure for Measure. The cookies will be a bit more delicate, so handle them gently.
Serving & Storage Suggestions
These cookies are best enjoyed warm, fresh from the oven, when the chocolate is still melty and the edges are perfectly crisp. But they’re also fantastic the next day, especially if you know how to store them right.
- Serving: Serve them on a beautiful plate with a tall glass of cold milk or a hot cup of coffee. For a truly decadent dessert, sandwich a scoop of vanilla ice cream between two cookies for an instant ice cream sandwich. They’re also wonderful crumbled over a bowl of yogurt or ice cream.
- Storing: Store completely cooled cookies in an airtight container at room temperature. They will stay fresh and chewy for up to 3 days. To keep them extra soft, add a slice of bread to the container—the cookies will absorb the moisture from the bread.
- Freezing: This is my favorite trick. You can freeze the unbaked dough balls. After you portion the dough, place the balls on a baking sheet and freeze them until solid (about 1 hour). Then, transfer them to a freezer-safe bag or container. You can bake them directly from frozen, adding 1-2 minutes to the baking time. This gives you fresh, warm cookies anytime a craving strikes!
- Reheating: To revive a day-old cookie, pop it in the microwave for 10-15 seconds. This will soften the center and melt the chocolate chips, making it taste almost fresh from the oven. For a crispier edge, reheat in a 300°F (150°C) oven for 3-4 minutes.
Nutritional Information & Benefits
Let’s be honest: these are a treat, not a health food. But knowing what’s in them helps you enjoy them mindfully. The nutritional information below is an estimate for one cookie based on a batch of 8.
| Nutrient | Per Cookie |
|---|---|
| Calories | ~210 |
| Fat | 12g |
| Saturated Fat | 7g |
| Carbohydrates | 25g |
| Sugar | 16g |
| Protein | 3g |
| Fiber | 1g |
The dark chocolate chips offer a small dose of antioxidants, and the butter provides a good source of Vitamin A. From my perspective, the biggest benefit is the portion control. By making a small batch, you’re less likely to overindulge, and you get the satisfaction of a homemade treat without the temptation of a full dozen lurking in the kitchen. It’s a win for your taste buds and your waistline.
Conclusion
This recipe is more than just a way to get a cookie fix. It’s a testament to the idea that you don’t need a lot of time, a lot of equipment, or a lot of ingredients to create something truly wonderful. It’s about trusting the process, embracing the quiet moments, and rewarding yourself with a little bit of homemade joy.
I’ve made these cookies on lazy Sunday afternoons, on frantic weeknights before a friend came over, and, of course, at 11:47 PM on a random Tuesday. Every single time, they work. They’re forgiving, they’re fast, and they’re absolutely perfect. I hope you make them your own—add your favorite mix-ins, share them with someone you love, or keep them all for yourself. No judgment here!
Have you tried this recipe? I’d love to hear about your experience! Leave a comment below and tell me what variation you tried, or tag me in your photos on social media. Happy baking, my friend!
Frequently Asked Questions
Can I use salted butter instead of unsalted?
Yes, you can! Just reduce the added salt in the recipe to 1/8 teaspoon to avoid making the cookies too salty. The flavor will still be great.
My cookies spread too much. What went wrong?
This is usually caused by skipping the chilling step or using butter that was too warm. Make sure you chill the dough for the full 30 minutes. Also, check that your baking soda is fresh—old baking soda loses its leavening power.
Can I double this recipe?
Absolutely! This recipe is easily doubled. Just use a whole egg instead of just a yolk when you double it. The baking time might increase by a minute or two, so keep an eye on them.
Can I use a different type of chocolate?
Definitely! Milk chocolate will make them sweeter, while dark chocolate (60-70% cacao) will give a more intense, less sweet flavor. White chocolate chips or a chopped chocolate bar are also fantastic options.
How do I know when the cookies are done baking?
Look for golden brown edges and puffy, slightly set centers. The centers will look a little underdone. They will continue to bake on the hot baking sheet as they cool. If you wait until the centers look fully baked, they will be overdone and crunchy.
Pin This Recipe!
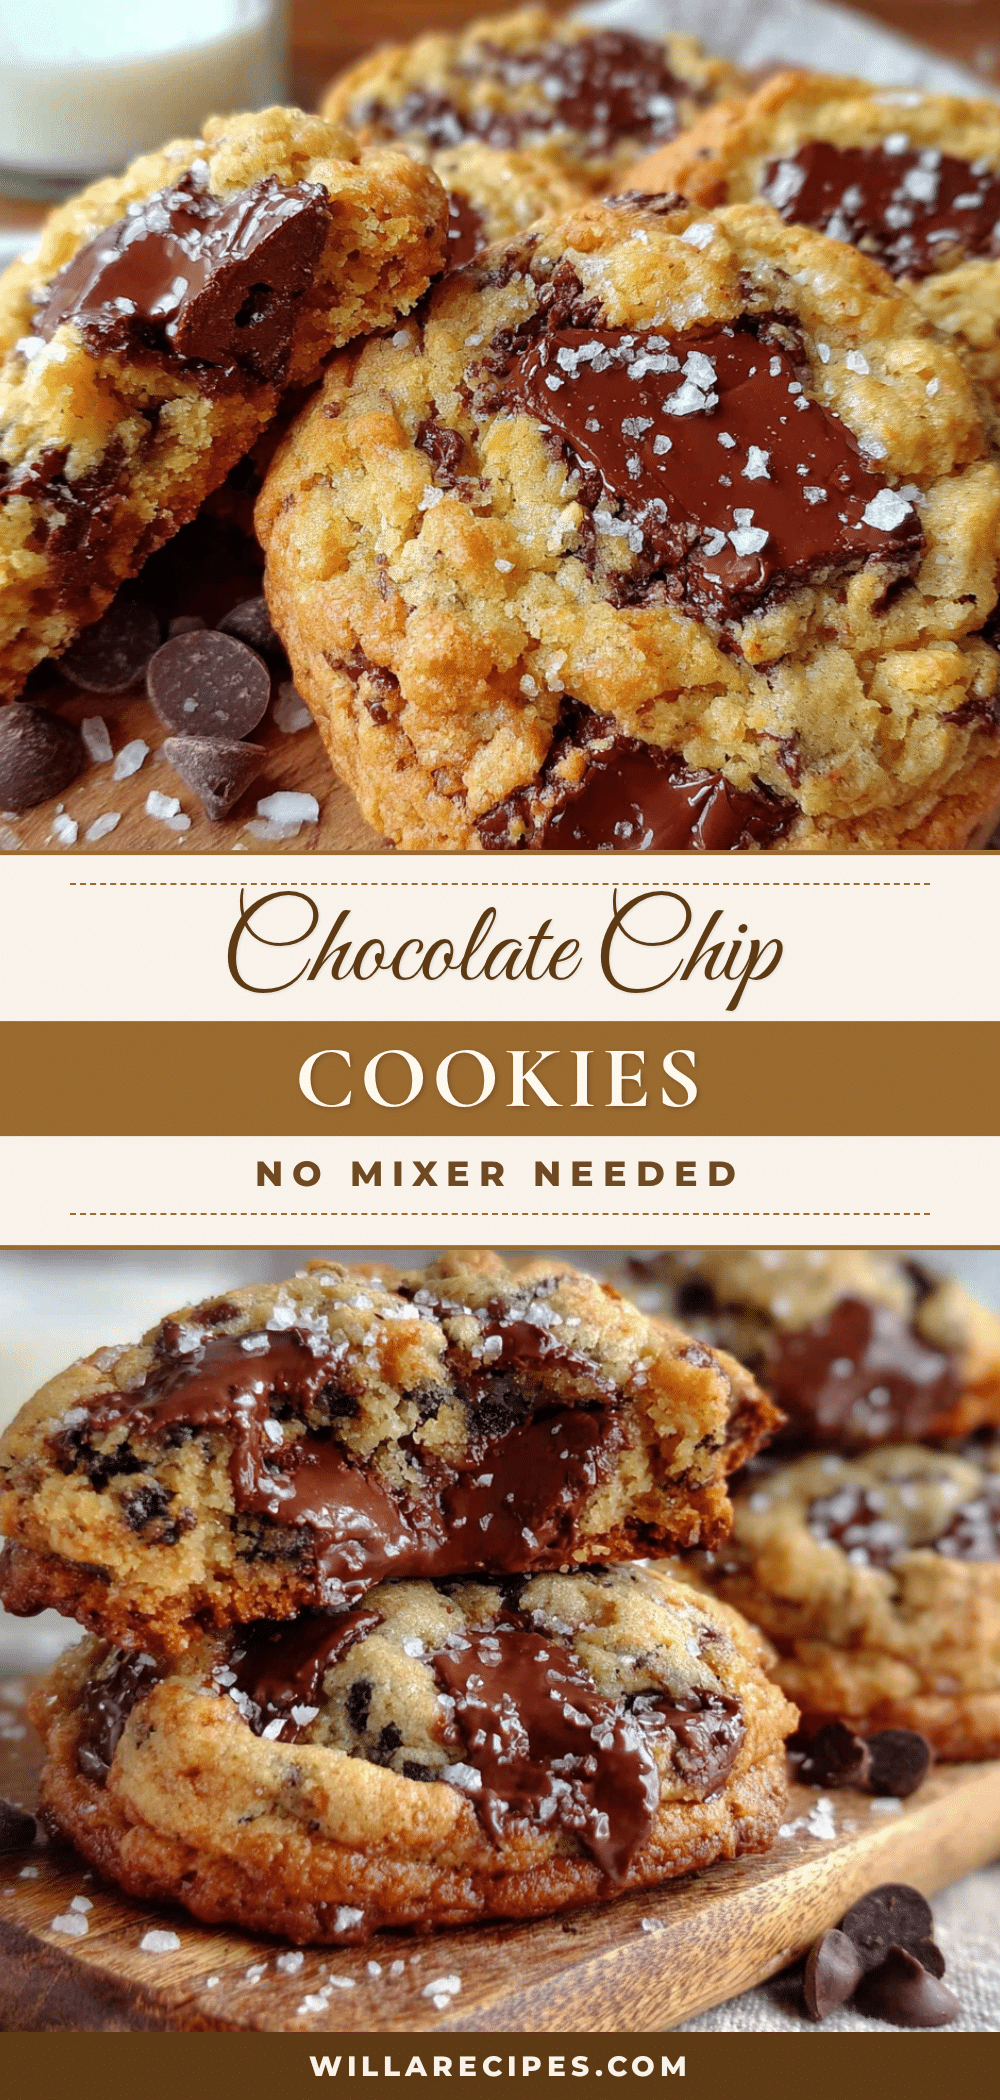
The Best Small-Batch Chocolate Chip Cookies (No Mixer)

These small-batch chocolate chip cookies are perfectly crispy on the edges, soft and chewy in the center, and come together in one bowl with no mixer required. Ideal for a late-night craving or a small treat.
- Prep Time: 10 minutes
- Cook Time: 12 minutes
- Total Time: 52 minutes (includes 30 minutes chilling)
- Yield: 6-8 cookies 1x
- Category: Dessert
- Cuisine: American
Ingredients
- 4 tablespoons (57g) unsalted butter, melted
- 3 tablespoons (38g) granulated sugar
- 3 tablespoons (43g) light brown sugar
- 1 large egg yolk
- 1/2 teaspoon vanilla extract
- 1/2 cup (60g) all-purpose flour
- 1/4 teaspoon baking soda
- 1/4 teaspoon salt
- 1/3 cup (60g) semi-sweet chocolate chips
Instructions
- Melt the butter in a medium mixing bowl in 15-second bursts in the microwave. Stir until fully melted, then let cool for 2 minutes.
- Add granulated sugar and brown sugar to the melted butter. Whisk vigorously for about 30 seconds until it forms a wet, grainy paste.
- Add the egg yolk and vanilla extract. Whisk until smooth and thick, like a glossy caramel sauce.
- Sprinkle flour, baking soda, and salt over the wet mixture. Fold with a spatula just until no streaks of flour remain. The dough will be thick, slightly sticky, and a little greasy.
- Fold in the chocolate chips until evenly distributed. Leave a few chips poking out for a rustic look.
- Cover the bowl and refrigerate for at least 30 minutes (crucial for texture).
- Preheat oven to 350°F (175°C). Line a baking sheet with parchment paper or a silicone mat.
- Portion the dough into 6-8 equal balls (about 1.5 tablespoons each). Place them 2 inches apart on the prepared baking sheet.
- Bake for 10-12 minutes, until edges are golden brown and centers look slightly puffy and set. The centers will look underdone.
- Let cookies cool on the baking sheet for 5 minutes, then transfer to a wire rack to cool completely. Enjoy warm!
Notes
Chilling the dough for 30 minutes is non-negotiable to prevent spreading. For perfectly round cookies, use the ‘bang’ technique: drop the baking sheet gently on the counter right out of the oven. Store in an airtight container for up to 3 days, or freeze unbaked dough balls for up to 3 months.
Nutrition
- Serving Size: 1 cookie
- Calories: 210
- Sugar: 16
- Sodium: 120
- Fat: 12
- Saturated Fat: 7
- Carbohydrates: 25
- Fiber: 1
- Protein: 3
Keywords: small batch chocolate chip cookies, no mixer cookies, one bowl cookies, easy chocolate chip cookies, late night cookies


