There used to be a tiny, red-painted pie shop tucked between a vintage bookstore and a tailor’s shop in my hometown, a place called The Gilded Crust. They made a pumpkin pie that was less like a dessert and more like a religious experience—silky, not wobbly, with a crust so flaky it shattered into buttery shards the moment you looked at it. When they closed their doors suddenly three years ago, I won’t lie, I actually grieved. I mean, I drove by the empty storefront for months, hoping it was a dream. After twelve tries—twelve!—I finally got it. This is that pie. The one that made me stop searching. And honestly, this version is even better because I paired it with a salted maple whipped cream that turns the whole thing into a showstopper for your Thanksgiving table. Let me tell you, the first time I nailed that filling texture, I might have teared up a little. Maybe you’ve been there, chasing a ghost of a flavor you just can’t let go of. Well, stop chasing. It’s here.
Why You’ll Love This Recipe
This isn’t just another pumpkin pie recipe you’ll find online. This is the one you will pull out year after year, the one your family will start asking for by name. I’ve tested this for dinner parties, for casual potlucks, and for those fancy holiday dinners where you need to impress the in-laws. It works every single time.
- Foolproof Silky Texture: No more cracked, weeping pies. This method uses a par-baked crust and a specific mixing technique that guarantees a smooth, custard-like filling. It’s practically foolproof.
- Make-Ahead Magic: You can make this pie a full day ahead of time. In fact, the flavors meld and get even better overnight. That is a huge win for any host trying to manage a chaotic kitchen.
- Next-Level Topping: The salted maple whipped cream is not an afterthought. It is a crucial component. It cuts through the rich spice of the pie and adds a sophisticated, salty-sweet finish that will have people asking for the recipe.
- Crowd-Pleaser: I have served this to kids who “don’t like pumpkin pie” and adults who claim to be “too full for dessert.” It disappears. Every. Single. Time.
- Scales Beautifully: Need to feed 20 people? This recipe doubles perfectly. The instructions are designed to scale up without a hitch, making it ideal for a large gathering.
This is the kind of pie that makes you close your eyes after the first bite. It is comfort food perfected—richer, smoother, and with a salty kick that makes it unforgettable. It’s perfect for impressing your guests without spending all day in the kitchen, turning a simple holiday meal into a memorable feast.
What Ingredients You Will Need
This recipe uses simple, high-quality ingredients to deliver that deep, complex flavor and perfect texture. You likely have most of these in your pantry already, which is exactly what you want when you’re hosting.
For the Pie Crust
- 1 ¼ cups all-purpose flour (spooned and leveled) – I prefer King Arthur Flour for its consistent protein content, which gives a sturdy but tender crust.
- ½ teaspoon salt – Fine sea salt works best here.
- 1 tablespoon granulated sugar – Just a touch of sweetness to balance the savory crust.
- ½ cup (1 stick) cold unsalted butter, cut into small cubes – The butter must be ice-cold. This is non-negotiable for flakiness.
- 3-4 tablespoons ice water – You might need a little more or less depending on your flour and humidity.
For the Pumpkin Filling
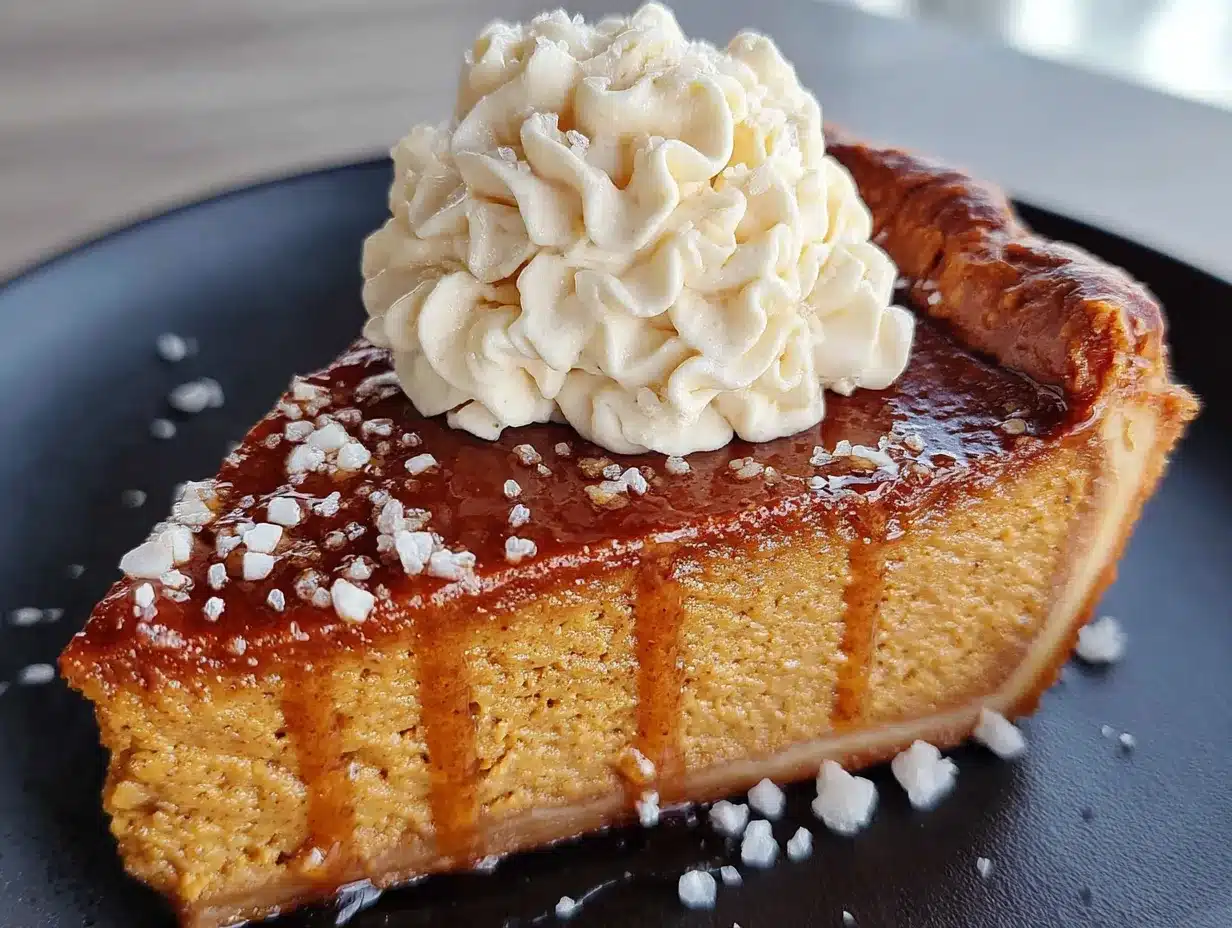
- 1 (15-ounce) can pure pumpkin puree – Not pumpkin pie filling! Look for Libby’s or 365 Organic. They have the best texture and flavor.
- ¾ cup packed light brown sugar – This adds moisture and a deep, molasses-like sweetness.
- ¼ cup granulated sugar – For balance.
- 2 large eggs + 1 large egg yolk – The extra yolk adds richness and a creamier texture. Use room-temperature eggs for the smoothest result.
- 1 ½ cups heavy cream – This is what makes the filling so luxurious. Do not substitute milk or half-and-half here; the fat content is key.
- 1 teaspoon vanilla extract – Pure vanilla extract, not imitation.
- 2 teaspoons ground cinnamon – I use Saigon cinnamon for a warmer, spicier kick.
- 1 teaspoon ground ginger – Adds a subtle warmth.
- ½ teaspoon ground nutmeg – Freshly grated is always better, but pre-ground works fine.
- ¼ teaspoon ground cloves – A little goes a long way.
- ½ teaspoon salt – To bring all the flavors together.
For the Salted Maple Whipped Cream
- 1 cup cold heavy cream – It must be very cold for the best volume.
- 3 tablespoons pure maple syrup – Grade A dark amber is my favorite for its robust flavor.
- ½ teaspoon flaky sea salt – Maldon salt is perfect here. It adds that beautiful crunch and salty pop.
Equipment Needed
You don’t need a professional bakery setup for this pie, but the right tools make the job much easier. A standard 9-inch pie plate is your best friend here—I prefer a ceramic or glass one for even heat distribution. You will also need a rolling pin (a wine bottle works in a pinch, trust me), a large mixing bowl, a whisk, and a measuring cup. A pastry blender is helpful for cutting the butter into the flour, but two forks or your fingertips work just as well. Finally, a good set of cooling racks is essential for that perfectly set crust. For the whipped cream, a hand mixer or stand mixer will save you from a tired arm, but a whisk and some elbow grease will get the job done too.
Preparation Method
Alright, let’s get to the good part. This method is designed to be stress-free, even if you’re a first-time pie maker. Take your time, and remember—you can do this.
- Make the Crust (30 minutes active + 1 hour chill): In a large bowl, whisk together the flour, salt, and sugar. Add the cold butter cubes. Using a pastry blender or your fingertips, work the butter into the flour until it looks like coarse meal with some pea-sized butter pieces remaining. This is crucial for flakiness. Drizzle 3 tablespoons of ice water over the mixture and stir with a fork until the dough just comes together. If it seems dry, add the last tablespoon of water. Turn the dough out onto a lightly floured surface, shape it into a disc, wrap it in plastic wrap, and refrigerate for at least 1 hour.
- Par-Bake the Crust (20 minutes active + 15 minutes bake): Preheat your oven to 375°F (190°C). On a floured surface, roll the dough out to a 12-inch circle. Carefully transfer it to your 9-inch pie plate. Trim the edges, leaving about a ½-inch overhang, and crimp the edges as you like. Prick the bottom of the crust all over with a fork. Line the crust with parchment paper and fill with pie weights or dried beans. Bake for 15 minutes. Remove the weights and parchment, then bake for another 5-7 minutes, until the bottom looks dry and set. Let it cool slightly.
- Make the Filling (10 minutes): While the crust is cooling, whisk together the brown sugar, granulated sugar, cinnamon, ginger, nutmeg, cloves, and salt in a large bowl. In a separate bowl, whisk the eggs and egg yolk until smooth. Add the pumpkin puree and whisk until combined. Gradually add the dry ingredients to the wet ingredients, whisking constantly. Finally, slowly pour in the heavy cream and vanilla extract, whisking until the mixture is completely smooth and glossy.
- Bake the Pie (50-60 minutes): Reduce the oven temperature to 350°F (175°C). Pour the filling into the par-baked crust. Bake for 50-60 minutes, or until the edges are set but the center still has a slight jiggle—like a firm Jell-O. A knife inserted near the edge should come out clean. The center will continue to set as it cools.
- Cool Completely (2-3 hours): Transfer the pie to a wire rack and let it cool completely at room temperature. This is essential for the custard to set properly. Do not rush this step! Once cool, you can refrigerate it for up to 24 hours before serving.
- Make the Whipped Cream (5 minutes): Just before serving, pour the cold heavy cream into a chilled bowl. Using a hand mixer or stand mixer with the whisk attachment, beat the cream on medium-high speed until soft peaks form. Add the maple syrup and beat until stiff peaks form. Do not overbeat, or you’ll have butter! Gently fold in the flaky sea salt.
Cooking Tips & Techniques
Here is where I share the hard-won wisdom from my twelve failed attempts. First, the biggest mistake people make is overmixing the filling. Whisking too vigorously incorporates too much air, which creates bubbles and cracks. Mix just until combined. Second, if your crust edges are browning too quickly, tent them with aluminum foil halfway through baking. I learned this the hard way after a few burnt crusts. Third, for the smoothest filling, make sure your eggs and cream are at room temperature. Cold ingredients can cause the fat to seize up, leading to a lumpy texture. Finally, do not skip the par-baking step. It prevents the dreaded soggy bottom, which is the enemy of a great pie. A crisp, flaky crust is the foundation of this entire dessert.
Variations & Adaptations
This pie is a fantastic base for creativity. For a gluten-free version, use a 1-to-1 gluten-free flour blend in the crust. The texture will be slightly different, but still delicious. If you want a spicier kick, add a pinch of cayenne pepper or a teaspoon of pumpkin pie spice blend instead of the individual spices. For a dairy-free adaptation, use a high-quality vegan butter in the crust and full-fat coconut cream in the filling. I have tried this with a ginger snap crust instead of a traditional pastry crust, and it was absolutely divine—just crush 2 cups of ginger snaps and mix with 5 tablespoons of melted butter. For a chocolate twist, drizzle melted dark chocolate over the finished pie before serving. The possibilities are endless!
Serving & Storage Suggestions
This pie is best served slightly chilled or at room temperature. The salted maple whipped cream should be added just before serving to keep it light and airy. For a dinner party, I like to slice the pie and place a generous dollop of the whipped cream on each slice, then sprinkle a few extra flakes of sea salt on top. It looks incredibly elegant. As for what to serve alongside, a warm cup of spiced apple cider or a dark roast coffee is a perfect pairing. For storage, cover the cooled pie tightly with plastic wrap and refrigerate for up to 4 days. The whipped cream is best made fresh, but you can store it in an airtight container in the fridge for up to 24 hours; just give it a quick whisk before serving. The flavors actually deepen and meld beautifully overnight, making this a perfect make-ahead dessert.
Nutritional Information & Benefits
Let’s be real, this is a decadent dessert, but it does have some redeeming qualities! Pumpkin is packed with Vitamin A, fiber, and antioxidants. The heavy cream provides calcium, and the maple syrup offers a small amount of minerals like zinc and manganese. Per slice (1/8 of the pie with whipped cream), you’re looking at approximately 450-500 calories, 30g of fat, 45g of carbohydrates, and 6g of protein. This recipe contains dairy, gluten, and eggs, so it is not suitable for those with allergies to those ingredients. But honestly, this is a once-a-year indulgence, and it is absolutely worth every single bite.
Conclusion
So there you have it. The pumpkin pie that finally ended my three-year search for the perfect slice. It is rich, it is silky, it is spiced to perfection, and that salted maple whipped cream? It is the stuff of legend. This is the pie you bring to the family dinner when you want to be the hero. It is the pie you make for yourself on a quiet Tuesday night because you deserve something beautiful. Please, make this your own. Play with the spices, try a different crust, and tell me about it in the comments. I cannot wait to hear about your successes! Now go on, get baking. Your Thanksgiving table is waiting.
Frequently Asked Questions
Can I use a store-bought crust to save time?
Absolutely. While a homemade crust is always better, a high-quality store-bought crust will still work. Just be sure to par-bake it as directed to avoid a soggy bottom.
Why did my pie crack on top?
Cracks usually happen from overbaking or from the filling being too hot when it goes into the oven. Make sure your filling is at room temperature, and pull the pie out while the center is still slightly jiggly.
Can I freeze this pumpkin pie?
Yes, you can freeze the baked, cooled pie (without the whipped cream) for up to 3 months. Wrap it tightly in plastic wrap and then foil. Thaw it overnight in the refrigerator before serving.
What if I don’t have a pastry blender?
No problem at all! You can use two forks to cut the butter into the flour, or simply use your fingertips. Just work quickly so the butter stays cold.
How do I know when the whipped cream is done?
You are looking for stiff peaks. When you lift the whisk, the cream should stand up straight without drooping. Be careful not to overbeat, or you will end up with sweet butter!
Pin This Recipe!
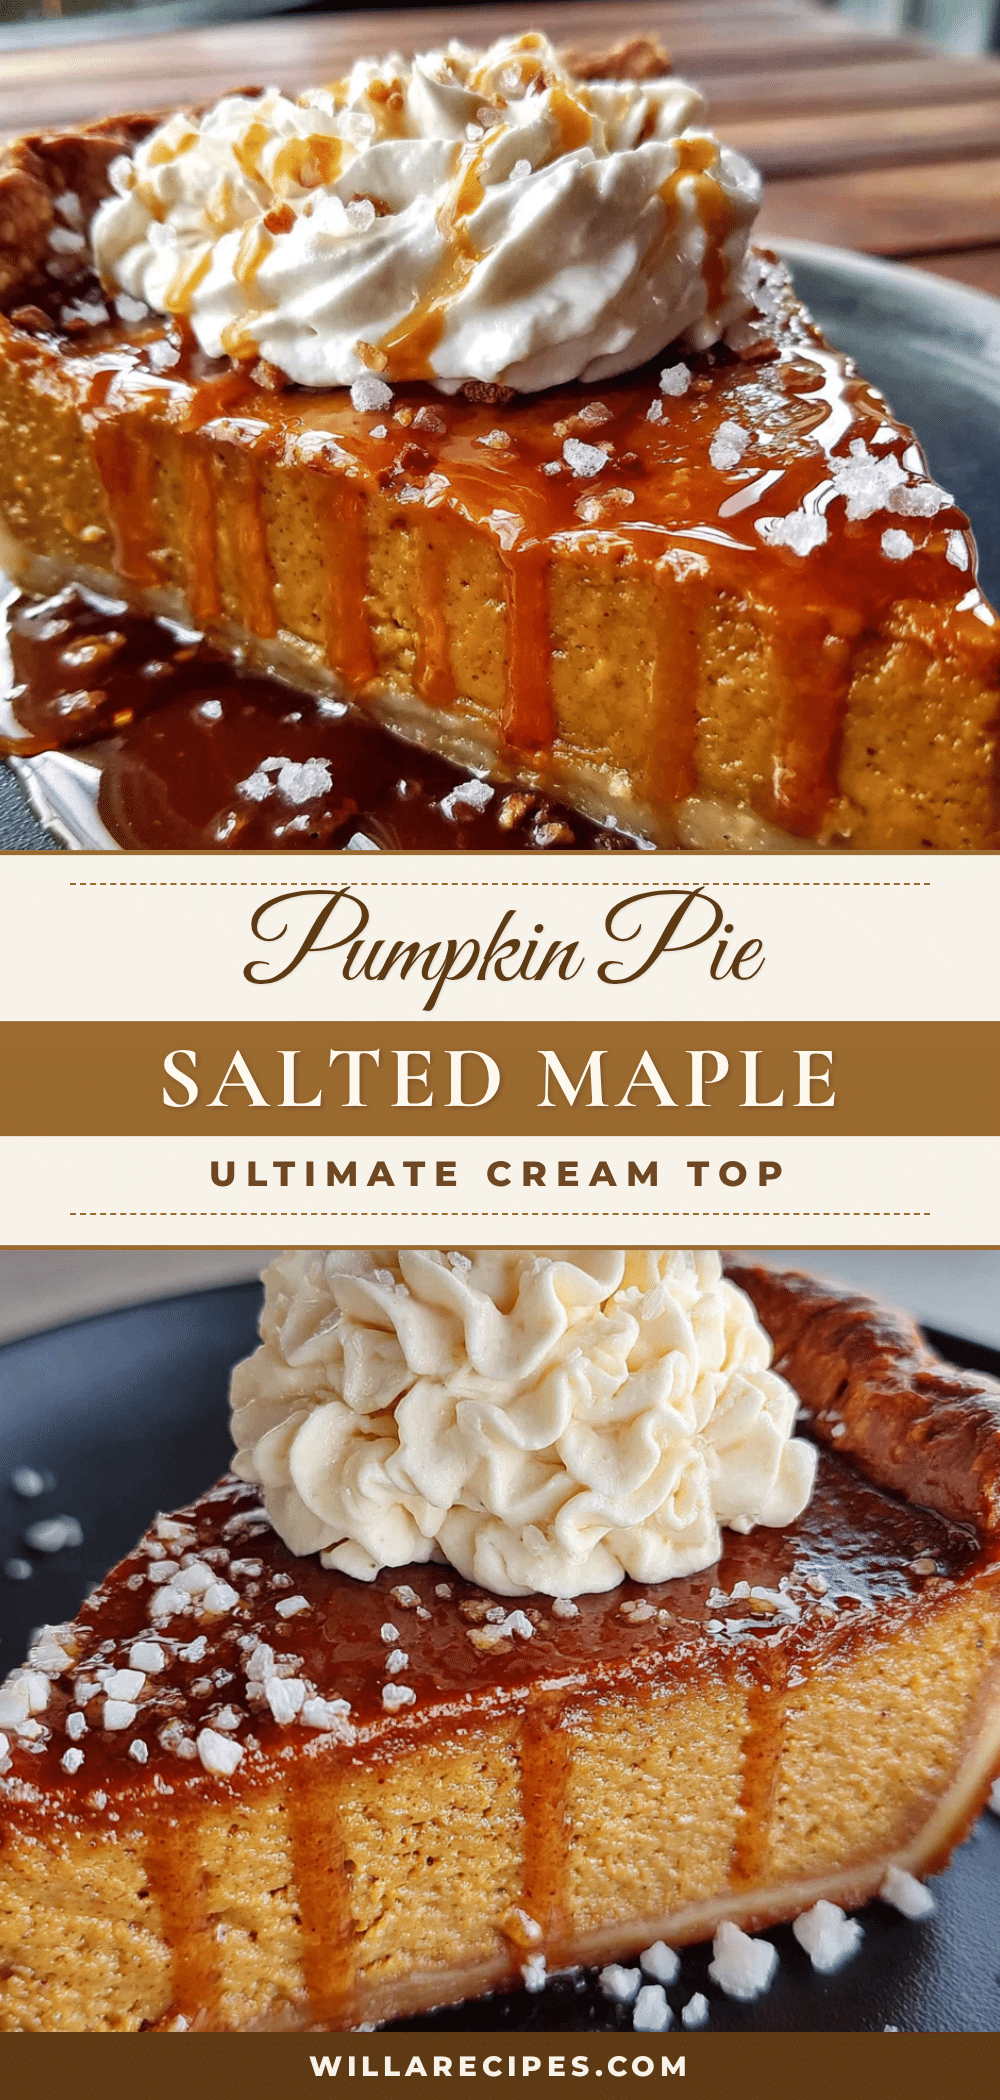
The Ultimate Pumpkin Pie with Salted Maple Whipped Cream

This is the pumpkin pie that ended a three-year search for the perfect slice—silky, spiced to perfection, with a flaky crust and a salted maple whipped cream that turns it into a showstopper for your Thanksgiving table.
- Prep Time: 30 minutes
- Cook Time: 50-60 minutes
- Total Time: 2 hours 30 minutes (plus 1 hour chill time and 2-3 hours cooling)
- Yield: 8 servings 1x
- Category: Dessert
- Cuisine: American
Ingredients
- 1 ¼ cups all-purpose flour (spooned and leveled)
- ½ teaspoon fine sea salt
- 1 tablespoon granulated sugar
- ½ cup (1 stick) cold unsalted butter, cut into small cubes
- 3–4 tablespoons ice water
- 1 (15-ounce) can pure pumpkin puree (not pumpkin pie filling)
- ¾ cup packed light brown sugar
- ¼ cup granulated sugar
- 2 large eggs + 1 large egg yolk, room temperature
- 1 ½ cups heavy cream
- 1 teaspoon pure vanilla extract
- 2 teaspoons ground cinnamon (preferably Saigon)
- 1 teaspoon ground ginger
- ½ teaspoon ground nutmeg (freshly grated preferred)
- ¼ teaspoon ground cloves
- ½ teaspoon salt
- 1 cup cold heavy cream (for whipped cream)
- 3 tablespoons pure maple syrup (Grade A dark amber preferred)
- ½ teaspoon flaky sea salt (such as Maldon)
Instructions
- Make the Crust: In a large bowl, whisk together flour, salt, and sugar. Add cold butter cubes. Using a pastry blender or fingertips, work butter into flour until mixture resembles coarse meal with some pea-sized butter pieces. Drizzle 3 tablespoons ice water over mixture and stir with a fork until dough just comes together. Add remaining tablespoon water if needed. Turn dough onto a lightly floured surface, shape into a disc, wrap in plastic wrap, and refrigerate for at least 1 hour.
- Par-Bake the Crust: Preheat oven to 375°F (190°C). On a floured surface, roll dough to a 12-inch circle. Transfer to a 9-inch pie plate. Trim edges, leaving a ½-inch overhang, and crimp edges. Prick bottom of crust all over with a fork. Line crust with parchment paper and fill with pie weights or dried beans. Bake for 15 minutes. Remove weights and parchment, then bake for another 5-7 minutes until bottom looks dry and set. Let cool slightly.
- Make the Filling: In a large bowl, whisk together brown sugar, granulated sugar, cinnamon, ginger, nutmeg, cloves, and salt. In a separate bowl, whisk eggs and egg yolk until smooth. Add pumpkin puree and whisk until combined. Gradually add dry ingredients to wet ingredients, whisking constantly. Slowly pour in heavy cream and vanilla extract, whisking until mixture is completely smooth and glossy.
- Bake the Pie: Reduce oven temperature to 350°F (175°C). Pour filling into par-baked crust. Bake for 50-60 minutes, until edges are set but center still has a slight jiggle (like firm Jell-O). A knife inserted near the edge should come out clean. Center will continue to set as it cools.
- Cool Completely: Transfer pie to a wire rack and let cool completely at room temperature (2-3 hours). Once cool, refrigerate for up to 24 hours before serving.
- Make the Whipped Cream: Just before serving, pour cold heavy cream into a chilled bowl. Using a hand mixer or stand mixer with whisk attachment, beat cream on medium-high speed until soft peaks form. Add maple syrup and beat until stiff peaks form. Gently fold in flaky sea salt.
Notes
Do not overmix the filling to avoid cracks. If crust edges brown too quickly, tent with foil halfway through baking. Use room-temperature eggs and cream for smoothest filling. Par-baking the crust prevents a soggy bottom. The pie can be made a day ahead; flavors meld overnight. Whipped cream is best made fresh but can be stored in an airtight container in the fridge for up to 24 hours.
Nutrition
- Serving Size: 1 slice (1/8 of pie
- Calories: 475
- Sugar: 28
- Sodium: 380
- Fat: 30
- Saturated Fat: 18
- Carbohydrates: 45
- Fiber: 3
- Protein: 6
Keywords: pumpkin pie, salted maple whipped cream, Thanksgiving dessert, homemade pie, fall dessert, holiday baking, pumpkin dessert


