It was 10:47 PM on a Tuesday in early December, and I had this ridiculous, specific craving for something chocolatey and cold. Not ice cream, not a chilled brownie—I wanted something that felt like a truffle but didn’t require tempering chocolate or standing over a double boiler. I didn’t have heavy cream or good chocolate bars, but I had a half-eaten sleeve of Oreos from my nephew’s visit last weekend and a block of cream cheese that was about to hit its expiration date. And then the idea arrived—why not just crush the cookies, mix them with the cream cheese, and see what happens?
Honestly, I wasn’t expecting much. I mean, I’ve made energy balls before and they were fine, but “fine” isn’t the same as “I need this recipe in my life forever.” But something about the late hour and the lack of pressure made me loosen up. I didn’t overthink the proportions or second-guess the texture. I just went with it. And let me tell you—when I rolled that first ball and dipped it in melted white chocolate, I actually let out a little gasp. It was that good.
The kitchen was a mess. There was cocoa powder dusted across the counter, a sticky spoon in the sink, and my dog was staring at me like I’d lost my mind. But I didn’t care. I ate three of them standing over the counter, still in my pajamas, and I knew I’d stumbled onto something special. That’s the thing about this recipe—it doesn’t ask for much, but it gives you everything. Maybe you’ve been there, standing in your kitchen late at night, just needing something sweet and comforting without the whole production. These cozy no-bake Christmas Oreo truffle balls are exactly that. They’re the kind of treat that feels like a warm hug, even when they’re cold from the fridge.
Why You’ll Love This Recipe
I’ve tested this recipe more times than I care to admit. I’ve made it with double-stuffed Oreos, with gluten-free chocolate sandwich cookies, and even with the mint-flavored ones (spoiler: they’re amazing). I’ve rolled them too big, too small, and once I forgot to chill the dough before dipping—total disaster. But through all those trials, I landed on a version that just works every single time. Here’s why this one’s special:
- Quick & Easy: From start to finish, you’re looking at about 20 minutes of active work. The hardest part is waiting for them to chill.
- Simple Ingredients: You only need four main ingredients. No fancy grocery trips, no obscure extracts, no hunting down specialty items.
- Perfect for Christmas: These are ideal for cookie exchanges, holiday parties, or making a batch to gift to neighbors. They look fancy but require zero baking skills.
- Crowd-Pleaser: I’ve brought these to three different holiday gatherings and every single time, someone asks for the recipe. Kids love them, adults love them—they’re universally adored.
- Unbelievably Delicious: The texture is what gets me every time. The creamy filling from the Oreos blends with the cream cheese to create this fudgy, melt-in-your-mouth center, and the white chocolate coating adds a satisfying snap.
What makes this recipe different from all the other truffle ball recipes out there? It’s the ratio. I spent a lot of time tweaking the cream cheese to cookie ratio because too much cream cheese makes them taste like cheesecake (not bad, but not what we’re going for), and too little makes them crumbly and dry. This version is perfectly balanced—rich, creamy, and intensely chocolatey. It’s comfort food reimagined: no oven required, minimal cleanup, and the same soul-soothing satisfaction that makes you close your eyes after the first bite.
What Ingredients You Will Need
This recipe uses simple, everyday ingredients to deliver bold flavor and a satisfying texture without any fuss. You probably have most of these in your kitchen right now, which is honestly my favorite kind of recipe.
- Oreo cookies (14.3 oz package), finely crushed — I use the regular classic Oreos, not double-stuffed, because the filling-to-cookie ratio is perfect for this recipe. You’ll want to crush them until they’re almost like sand, with no large chunks left. (A food processor makes this job so much easier.) I prefer the name brand here—off-brand sandwich cookies sometimes have a different cream-to-cookie ratio that can throw off the texture.
- Cream cheese (8 oz), softened to room temperature — This is crucial. Cold cream cheese won’t mix smoothly and you’ll end up with white streaks in your dark truffle mixture. Let it sit on the counter for at least 30 minutes before starting. I use full-fat Philadelphia cream cheese for the best flavor and texture, but a good quality block-style cream cheese works too. Avoid the spreadable tub version—it has too much water and will make your mixture too soft.
- White melting wafers (12 oz) or white chocolate chips — For the coating, I highly recommend Ghirardelli white melting wafers. They melt smoothly, set up beautifully, and don’t require any tempering. If you use regular white chocolate chips, add a teaspoon of coconut oil to help them melt smoothly. (I learned this the hard way after my first batch seized up and turned into a grainy mess.)
- Christmas sprinkles or crushed candy canes (for decoration) — This is where you can get creative. I love using a mix of red and green sprinkles, but crushed candy canes add a lovely peppermint crunch that pairs beautifully with the chocolate filling. If you’re making these for a non-Christmas occasion, skip the holiday sprinkles and use regular rainbow jimmies or chopped nuts.
- Optional: Coconut oil (1 tsp) — Only needed if you’re using white chocolate chips instead of melting wafers. It helps thin out the chocolate for a smoother coating.
A quick note on substitutions: If you need a gluten-free version, look for gluten-free chocolate sandwich cookies—they work perfectly in this recipe. For a dairy-free option, use a dairy-free cream cheese alternative (Kite Hill makes a good one) and dairy-free white chocolate. The texture will be slightly different, but still delicious. And if you’re not an Oreo fan (I know, who are you?), you can substitute any chocolate sandwich cookie with a cream filling.
Equipment Needed
You don’t need a fancy kitchen to make these truffle balls, and that’s part of their charm. Here’s what you’ll need:
- Food processor — This is my preferred tool for crushing the Oreos into a fine crumb. It takes about 30 seconds and gives you a consistent texture. If you don’t have one, you can put the cookies in a zip-top bag and crush them with a rolling pin. It’s a great arm workout, honestly, but it takes a bit longer.
- Large mixing bowl — For combining the crushed cookies with the cream cheese. Any medium-to-large bowl will work.
- Electric hand mixer or wooden spoon — A hand mixer makes the mixing process quick and easy, especially if your cream cheese isn’t perfectly softened. But a sturdy wooden spoon works fine too—just be prepared to put a little elbow grease into it.
- Small cookie scoop or tablespoon — For portioning the truffle mixture into even balls. A cookie scoop ensures uniform size, which means they’ll all chill and set at the same rate. If you don’t have one, a regular tablespoon works perfectly.
- Baking sheet lined with parchment paper — For holding the rolled truffle balls while they chill. The parchment prevents sticking and makes cleanup a breeze.
- Microwave-safe bowl — For melting the white chocolate coating. Glass or ceramic works best. I’ve used plastic before and it worked fine, but glass gives you more control.
- Fork or dipping tool — For dipping the chilled truffle balls into the melted chocolate. A regular fork works, but I’ve found that a dedicated candy dipping tool (available at most craft stores) gives you a cleaner finish.
Budget-friendly tip: If you’re just starting out and don’t have a food processor, the zip-top bag and rolling pin method works perfectly. It takes about 5 minutes of crushing, but it’s honestly kind of therapeutic. Put on some Christmas music and go to town!
Preparation Method
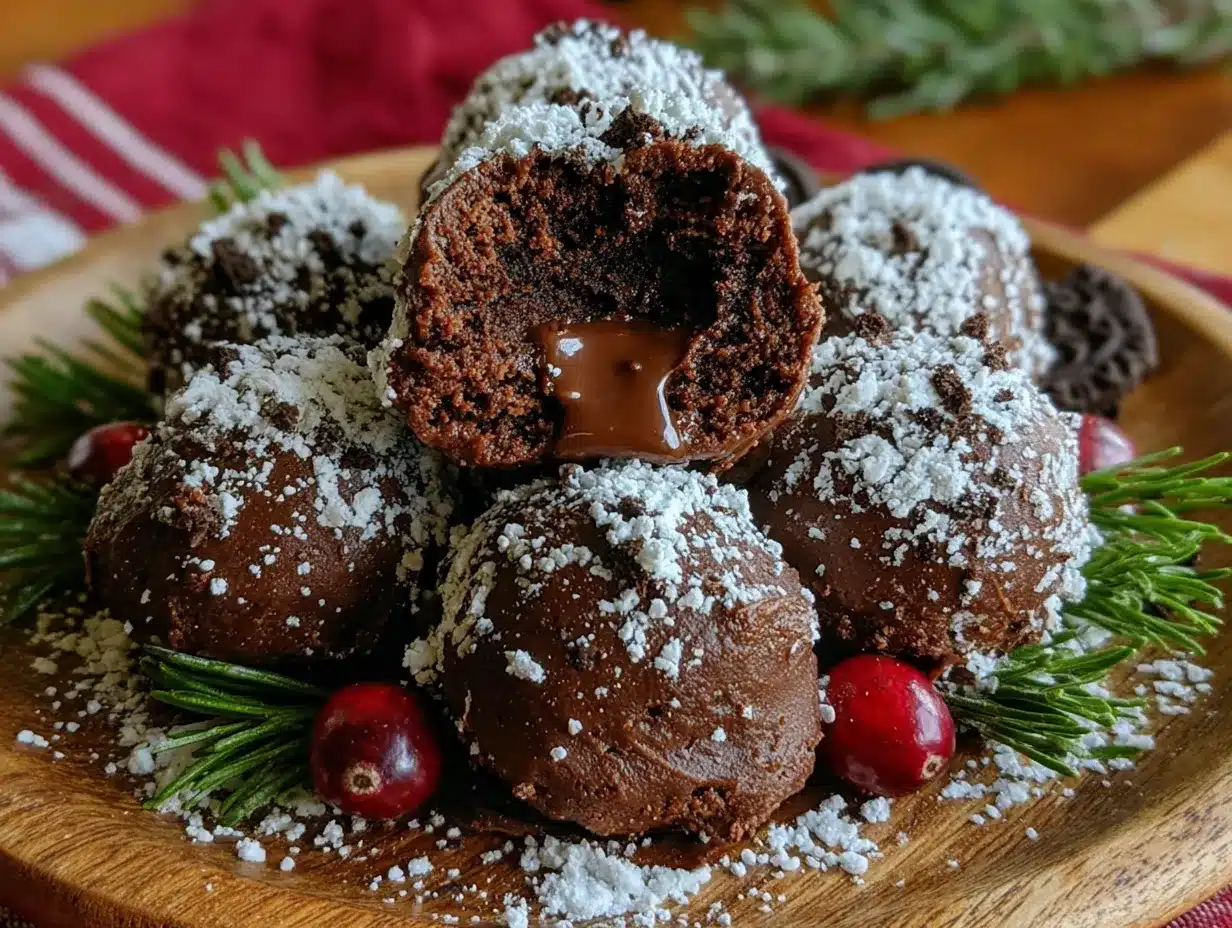
Alright, let’s get rolling—literally. Follow these steps carefully and you’ll have a batch of gorgeous truffle balls in no time.
- Crush the Oreos. Place the entire package of Oreos (cream filling included) into your food processor. Pulse until the cookies are finely crushed, almost like sand. You should have about 2 ½ cups of fine crumbs. If you’re using the bag-and-rolling-pin method, seal the cookies in a zip-top bag and crush them until no large pieces remain. This usually takes about 5 minutes of consistent rolling and pressing.
- Mix the cream cheese. In a large mixing bowl, beat the softened cream cheese with an electric hand mixer until it’s smooth and fluffy, about 1-2 minutes. If your cream cheese is at room temperature, this should be effortless. If you’re using a wooden spoon, really work it until there are no lumps.
- Combine the Oreo crumbs with the cream cheese. Add the crushed Oreos to the cream cheese and mix until fully combined. The mixture should be dark, fudgy, and hold together when pressed. If it seems too dry, add a tablespoon of milk. If it seems too wet, add a few more crushed cookies. (This happened to me once when I accidentally used double-stuffed Oreos—lesson learned!)
- Chill the mixture. Cover the bowl with plastic wrap and refrigerate for at least 30 minutes. This step is non-negotiable. The mixture needs to firm up so you can roll it into balls without it sticking to your hands. I usually let it chill for an hour, which makes the rolling process much smoother.
- Roll the truffle balls. Using a small cookie scoop or a tablespoon, portion out the mixture and roll it between your palms into smooth, even balls. Aim for about 1-inch in diameter. Place each ball on the parchment-lined baking sheet. You should get about 24-30 balls, depending on size. Wash your hands halfway through if the mixture starts to stick—the warmth from your hands can soften the dough.
- Chill the rolled balls. Place the baking sheet with the rolled truffle balls in the refrigerator for another 30 minutes. This firms them up so they hold their shape when you dip them in the warm chocolate coating. If you skip this step, the balls might fall apart or leave crumbs in your chocolate.
- Melt the white chocolate. While the balls are chilling, place the white melting wafers in a microwave-safe bowl. Microwave in 30-second intervals, stirring well after each interval, until the chocolate is completely smooth and melted. Be careful not to overheat—white chocolate burns easily and turns grainy. If it’s too thick, stir in a teaspoon of coconut oil to thin it out.
- Dip the truffle balls. Remove the chilled truffle balls from the refrigerator. Using a fork or dipping tool, lower one ball into the melted white chocolate. Gently roll it around to coat completely, then lift it out and let the excess chocolate drip off. Tap the fork gently on the edge of the bowl to help remove excess. Place the coated ball back on the parchment-lined baking sheet.
- Add decorations. While the white chocolate is still wet, sprinkle your Christmas sprinkles or crushed candy canes on top. Work quickly—the chocolate sets fast, especially if your truffle balls are cold. If the chocolate starts to set before you’ve added decorations, the sprinkles won’t stick.
- Let the coating set. Place the baking sheet back in the refrigerator for about 15-20 minutes, or until the white chocolate is completely firm and set. You’ll know they’re ready when the coating has a matte finish and doesn’t smudge when touched.
- Serve or store. Transfer the finished truffle balls to an airtight container and keep them refrigerated until you’re ready to serve. They’re best enjoyed cold, straight from the fridge.
Cooking Tips & Techniques
I’ve made this recipe more times than I can count, and I’ve learned a few things along the way—mostly through trial and error. Here are my best tips to help you avoid the same mistakes I made.
Don’t skip the chilling steps. I know it’s tempting to rush through, but each chilling stage serves a purpose. The first chill firms the mixture so you can roll it without it sticking to your hands. The second chill ensures the balls hold their shape during dipping. I once tried to skip the second chill because I was in a hurry, and three of my truffle balls disintegrated in the chocolate. It was not a pretty sight.
Use room temperature cream cheese. This is probably the most common mistake I see. Cold cream cheese doesn’t blend smoothly with the cookie crumbs, leaving white streaks in your dark mixture. Let it sit on the counter for at least 30 minutes before you start. If you forgot to take it out, you can microwave it for about 10 seconds, but be careful—you don’t want it to melt.
Crush the cookies finely. Large cookie chunks can make the truffle balls difficult to roll and can create an uneven texture. You want the crumbs to be as fine as possible. If you’re using the bag-and-rolling-pin method, really take your time with this step.
Work in batches when dipping. Don’t try to dip all the truffle balls at once if your kitchen is warm. The chocolate can start to thicken as it sits. If it does, just pop it back in the microwave for 10-15 seconds and stir. Also, keep the undipped balls in the fridge until you’re ready to dip them—they’ll hold up better.
Use a deep, narrow bowl for the chocolate. A shallow bowl makes it harder to coat the balls evenly. I use a small glass measuring cup—the tall sides let me submerge the entire ball without using too much chocolate.
Variations & Adaptations
One of the best things about this recipe is how easy it is to adapt. I’ve tried several variations over the years, and here are my favorites.
Peppermint Christmas Truffles: Before rolling the balls, mix in ½ teaspoon of peppermint extract into the Oreo-cream cheese mixture. Then, after dipping in white chocolate, top with crushed candy canes instead of sprinkles. The minty-chocolate combo is absolutely divine and screams Christmas. I made these for a cookie exchange last year and they disappeared in minutes.
Dark Chocolate Lovers Version: Instead of white chocolate, use dark or semi-sweet chocolate chips for the coating. The bitterness of dark chocolate balances the sweetness of the Oreo filling beautifully. I use Ghirardelli 60% cacao chips for this version. You can also add a sprinkle of sea salt on top for that sweet-salty magic.
Gluten-Free Adaptation: Simply swap the regular Oreos for gluten-free chocolate sandwich cookies. Everything else in the recipe remains the same. I’ve tested this with the gluten-free Oreos and honestly, I couldn’t tell the difference. They’re perfect for anyone with celiac disease or gluten sensitivity.
Vegan Version: Use dairy-free cream cheese (Kite Hill or Tofutti work well) and vegan white chocolate. The texture will be slightly softer, so you might need to chill the mixture a bit longer before rolling. I made these for a vegan friend’s holiday party and they were a hit—nobody guessed they were dairy-free.
Red Velvet Twist: For a festive red color, add 1 tablespoon of red food coloring gel to the Oreo-cream cheese mixture before rolling. The red color peeking through the white chocolate coating is stunning for Valentine’s Day or Christmas. I tried this on a whim and it looked so pretty on the dessert table.
Serving & Storage Suggestions
These truffle balls are best served cold, straight from the refrigerator. The texture is firm and fudgy, and the white chocolate coating has a satisfying snap. I like to arrange them on a festive platter or in a decorative tin lined with parchment paper. For a holiday party, I’ll sometimes dust them with a little powdered sugar right before serving for that snowy effect.
They pair beautifully with a cup of hot cocoa, a peppermint mocha, or even a glass of cold milk. If you’re serving them as part of a dessert spread, they look lovely alongside other no-bake treats like chocolate-covered pretzels or peppermint bark.
Storage: Store the truffle balls in an airtight container in the refrigerator for up to 2 weeks. I’ve found they actually taste better after a day or two—the flavors meld together and the texture becomes even creamier. If you’re giving them as gifts, keep them refrigerated until you’re ready to deliver them.
Freezing: These freeze beautifully. Place the finished truffle balls in a single layer in a freezer-safe container, with parchment paper between layers if stacking. They’ll keep for up to 3 months. When you’re ready to serve, let them thaw in the refrigerator for about 2 hours. Don’t thaw them at room temperature—they can get too soft and lose their shape.
Reheating: You don’t need to reheat these—they’re meant to be eaten cold. But if you prefer a softer texture, let them sit at room temperature for about 10 minutes before serving. Just don’t leave them out too long, especially if your kitchen is warm, because the white chocolate coating can soften and become sticky.
Nutritional Information & Benefits
Let’s be honest—these are a treat, not a health food. But that doesn’t mean they can’t fit into a balanced lifestyle. Here’s the approximate nutritional breakdown per truffle ball (based on 24 servings):
| Nutrient | Amount per serving |
|---|---|
| Calories | 145 |
| Total Fat | 9g |
| Saturated Fat | 5g |
| Carbohydrates | 16g |
| Sugar | 12g |
| Protein | 2g |
| Calcium | 2% DV |
While these aren’t packed with nutrients, they do have a few redeeming qualities. The cream cheese provides a small amount of calcium and protein, and if you use dark chocolate instead of white, you’ll get some antioxidants. Plus, there’s something to be said for the mental health benefits of enjoying a homemade treat during the busy holiday season. Life is about balance, and these truffle balls are a delicious way to indulge mindfully.
Dietary Considerations: This recipe contains dairy, gluten (unless using gluten-free cookies), and soy (in the Oreos). It’s not suitable for vegans unless you use the substitutions mentioned above. Always check labels if you’re serving someone with food allergies.
Conclusion
These cozy no-bake Christmas Oreo truffle balls have become a staple in my holiday baking rotation, and I honestly can’t imagine a December without them. They’re the recipe I turn to when I need something quick, when I’m short on ingredients, or when I just want to make something that feels special without spending hours in the kitchen. Every time I roll a batch, I think back to that late-night kitchen experiment and smile.
What I love most about this recipe is how forgiving it is. You can customize it a hundred different ways, and it’ll still turn out delicious. Whether you’re making them for a cookie exchange, wrapping them up as gifts for neighbors, or just treating yourself on a quiet winter evening, these truffle balls deliver that warm, nostalgic feeling we all crave during the holidays.
I’d love to hear how yours turn out! Did you try any variations? Did your family love them as much as mine does? Drop a comment below and let me know—I read every single one. And if you’re looking for more easy holiday treats, don’t forget to check out my other no-bake recipes. Happy holidays, and happy snacking!
Frequently Asked Questions
Can I use double-stuffed Oreos for this recipe?
You can, but you’ll need to adjust the cream cheese amount. Double-stuffed Oreos have more filling, which makes the mixture softer. Reduce the cream cheese to 6 ounces (instead of 8) to compensate. I tested this once and it worked, but the texture was slightly different—still delicious, just a bit creamier.
Why did my white chocolate coating turn out grainy?
White chocolate is notoriously finicky. It seizes (turns grainy and lumpy) if it gets too hot or if any water gets into the bowl. Always microwave in short bursts and stir thoroughly between each. If it does seize, you can try adding a teaspoon of vegetable oil or coconut oil and stirring vigorously—sometimes that saves it.
How far in advance can I make these truffle balls?
You can make them up to 2 weeks ahead of time if stored properly in an airtight container in the refrigerator. They also freeze beautifully for up to 3 months. I actually prefer making them a few days before I plan to serve them because the flavors meld together and the texture becomes even better.
Can I use a different type of cookie?
Absolutely! This recipe works with any chocolate sandwich cookie with a cream filling. I’ve tried it with mint Oreos, peanut butter Oreos, and even a generic store brand. Each variation gives a slightly different flavor, but they all work. Just make sure the cookie-to-cream ratio is similar to regular Oreos.
My truffle mixture is too sticky to roll. What should I do?
If your mixture is too sticky, it likely needs more chilling time. Pop it back in the refrigerator for another 15-20 minutes. If it’s still sticky after that, you can add a few more crushed cookies to absorb some of the moisture. I’ve also found that lightly oiling my hands with a bit of coconut oil helps prevent sticking during rolling.
Pin This Recipe!
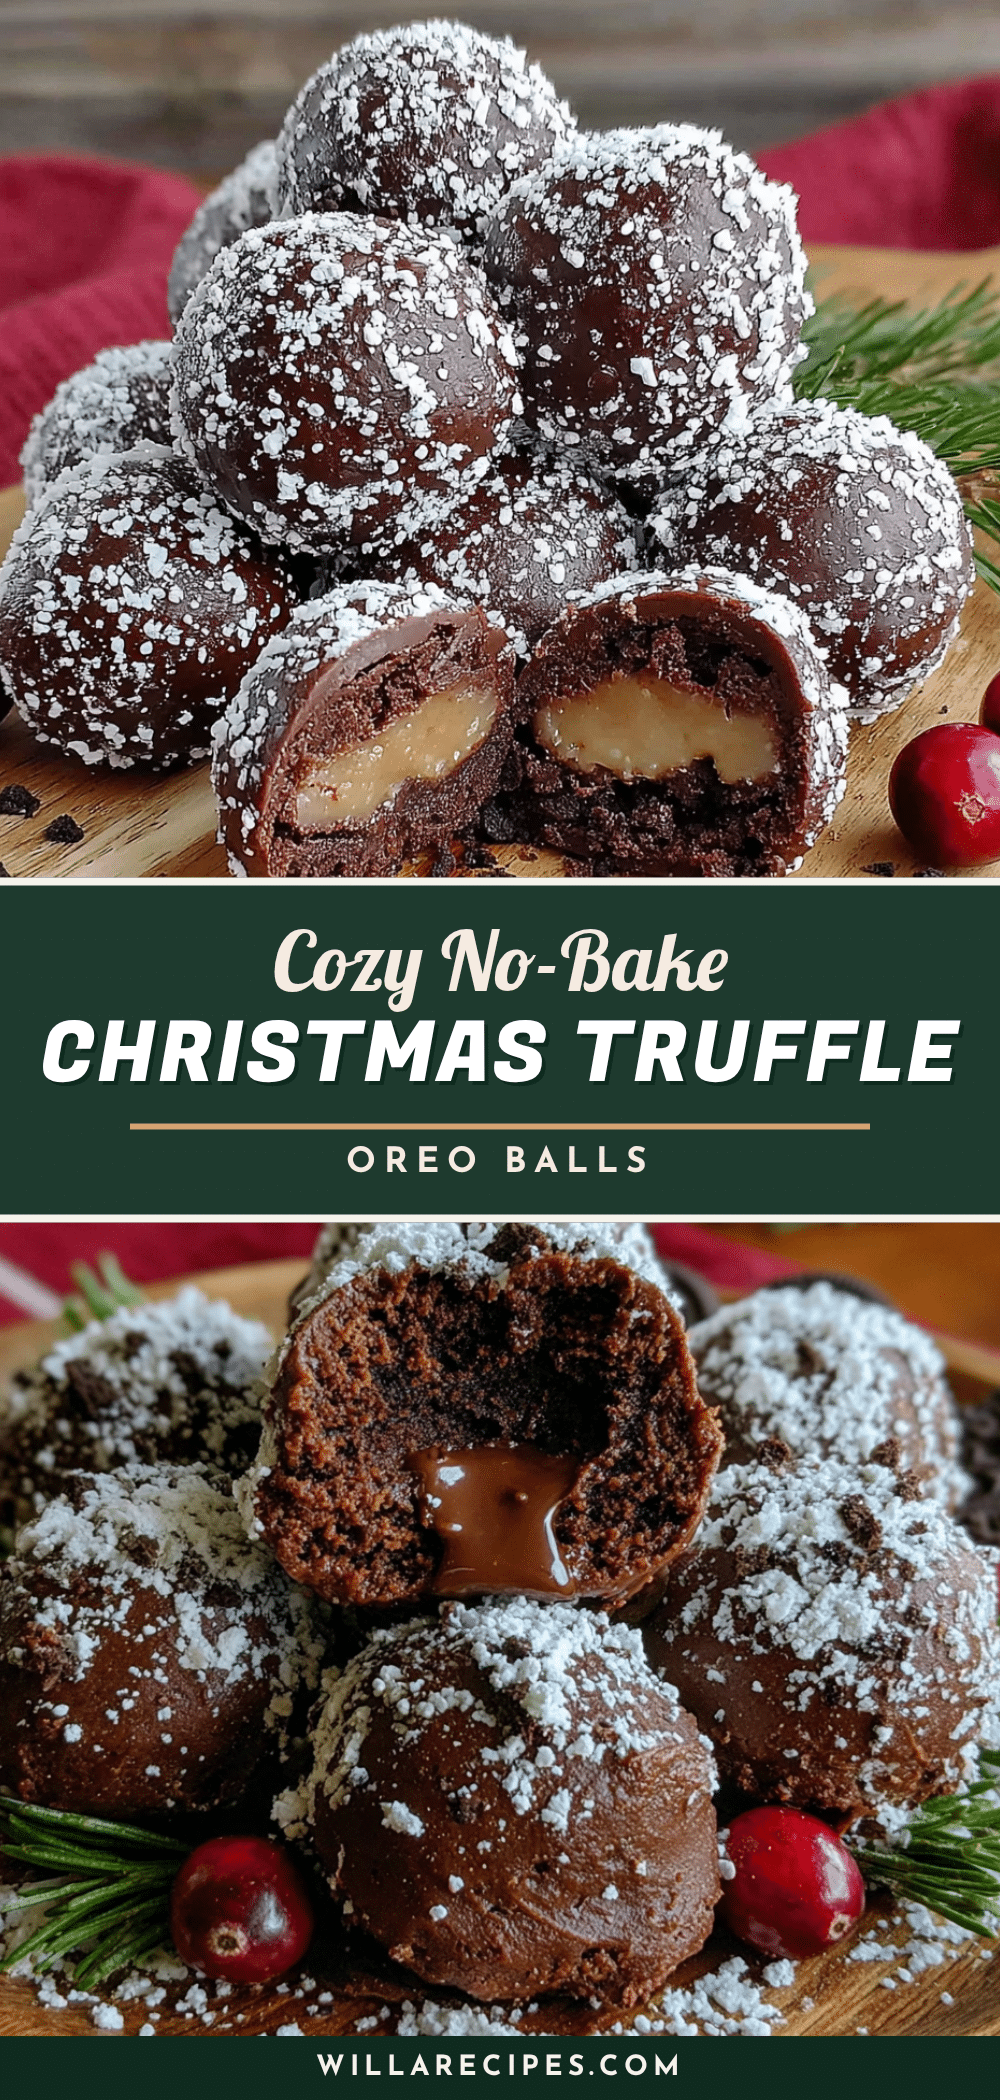
Cozy No-Bake Christmas Oreo Truffle Balls: Best Easy Treat

These no-bake Oreo truffle balls are a quick and easy holiday treat made with just four main ingredients. They feature a fudgy, creamy center coated in white chocolate and decorated with festive sprinkles.
- Prep Time: 20 minutes
- Cook Time: 0 minutes
- Total Time: 1 hour 20 minutes (includes chilling)
- Yield: 24 servings 1x
- Category: Dessert
- Cuisine: American
Ingredients
- 1 (14.3 oz) package Oreo cookies, finely crushed
- 8 oz cream cheese, softened to room temperature
- 12 oz white melting wafers or white chocolate chips
- Christmas sprinkles or crushed candy canes (for decoration)
- 1 tsp coconut oil (optional, only if using white chocolate chips)
Instructions
- Crush the Oreos: Place the entire package of Oreos (cream filling included) into a food processor. Pulse until finely crushed, like sand. Alternatively, seal in a zip-top bag and crush with a rolling pin.
- Mix the cream cheese: In a large mixing bowl, beat the softened cream cheese with an electric hand mixer until smooth and fluffy, about 1-2 minutes.
- Combine: Add the crushed Oreos to the cream cheese and mix until fully combined. The mixture should be dark, fudgy, and hold together when pressed.
- Chill the mixture: Cover the bowl with plastic wrap and refrigerate for at least 30 minutes (or up to 1 hour).
- Roll the truffle balls: Using a small cookie scoop or tablespoon, portion out the mixture and roll into 1-inch balls. Place on a parchment-lined baking sheet.
- Chill the rolled balls: Refrigerate the baking sheet for another 30 minutes to firm up.
- Melt the white chocolate: Place white melting wafers in a microwave-safe bowl. Microwave in 30-second intervals, stirring well after each, until smooth. If using white chocolate chips, stir in 1 tsp coconut oil to thin.
- Dip the truffle balls: Using a fork or dipping tool, lower a chilled ball into the melted white chocolate. Roll to coat, lift out, and let excess drip off. Place back on the parchment-lined sheet.
- Add decorations: While the white chocolate is still wet, sprinkle with Christmas sprinkles or crushed candy canes.
- Let the coating set: Refrigerate the baking sheet for 15-20 minutes, until the white chocolate is firm.
- Serve or store: Transfer to an airtight container and refrigerate until ready to serve. Best enjoyed cold.
Notes
Don’t skip the chilling steps—they ensure the mixture is firm enough to roll and dip. Use room temperature cream cheese for smooth mixing. Crush cookies finely for best texture. If using white chocolate chips, add 1 tsp coconut oil to prevent seizing. Store in an airtight container in the refrigerator for up to 2 weeks, or freeze for up to 3 months.
Nutrition
- Serving Size: 1 truffle ball
- Calories: 145
- Sugar: 12
- Fat: 9
- Saturated Fat: 5
- Carbohydrates: 16
- Protein: 2
Keywords: no-bake, Christmas, Oreo truffle, easy treat, holiday dessert, white chocolate


