The Valentine’s Day cookie swap at my daughter’s school was in twelve hours and I’d completely forgotten. Not just forgotten—I’d triple-booked myself that week, and the only thing in my pantry was a half-used box of cake mix, some butter, and a vague memory of seeing red food coloring somewhere behind the baking soda. Everyone else would be bringing those Pinterest-perfect sugar cookies with royal icing that looked like stained glass. I had a box of mix and about thirty minutes of actual energy left after a long Tuesday.
I mean, let’s be honest—I almost gave up. I considered grabbing a store-bought pack and pretending I’d made them. But then I spotted that little bottle of red dye and remembered a crinkle cookie recipe my neighbor had mentioned once. “Just add an egg and some oil,” she’d said. “They look fancy but they’re practically cheating.” So I dumped the mix in a bowl, cracked an egg, added some oil, and threw in a splash of vanilla because why not. I rolled them into little balls, rolled those in powdered sugar, and crossed my fingers.
Here’s the thing—I forgot to chill the dough. And I was in such a hurry that some of the cookies came out more lumpy than heart-shaped. But I pressed a few into rough hearts with my fingers right before baking, and honestly? They looked adorable. The next morning, I dropped them off feeling sheepish. That afternoon, my daughter came home with an empty container and a note from three different moms asking for the recipe. The “lazy” cookies won. And that’s how this easy red velvet heart-shaped crinkle cookies recipe became my go-to for every last-minute occasion since. Maybe you’ve been there—staring at your pantry, convinced you have nothing to work with, only to realize the simplest thing is sometimes the best thing.
Why You’ll Love This Recipe
Let me tell you why these easy red velvet heart-shaped crinkle cookies have become my secret weapon for every holiday, school event, and weeknight craving. I’ve tested this recipe about seven times now—yes, seven—because I kept tweaking it to get that perfect balance of fudgy center and crackly exterior. And honestly? This version is the one.
- Quick & Easy: These come together in under 30 minutes from start to finish. No chilling required (though it helps if you have time), no fancy equipment, and no complicated techniques. Perfect for those nights when you promised to bring something and completely spaced on it.
- Simple Ingredients: You probably already have everything in your kitchen. The base is a box of red velvet cake mix—I know, I know, but trust me on this one. It’s the shortcut that makes these cookies work for busy people.
- Perfect for Valentine’s Day: Obviously the heart shape is the star here, but honestly, these work for Christmas, birthdays, or just because you want something pretty on a Tuesday. The red color makes them festive without requiring any special decorating skills.
- Crowd-Pleaser: I’ve brought these to four different events now and they disappear every single time. Kids love the powdered sugar “snow” effect, and adults appreciate that they’re not overly sweet. The texture is what gets everyone—soft and chewy in the middle with that signature crinkle top.
- Unbelievably Delicious: The combination of rich red velvet flavor with the slight crunch of powdered sugar is next-level comfort food. And because they’re made with cake mix, they stay soft for days—if they last that long.
What makes these different from every other red velvet cookie recipe out there? It’s the heart shape, honestly. Most crinkle cookies are just round balls, but pressing them into hearts before baking gives them that extra touch that makes people think you spent hours. And the texture—I’ve perfected the ratio of cake mix to oil so they’re not greasy or dry. They’re just right.
What Ingredients You Will Need
This recipe uses simple, mostly pantry-staple ingredients to deliver that classic red velvet flavor with the perfect crinkle texture. No fancy grocery trips needed—I promise you can make these with what you probably already have on hand.
- 1 box (15.25 oz) red velvet cake mix – I recommend Duncan Hines or Betty Crocker for the best texture. The quality of the cake mix really matters here—cheaper brands can make the cookies taste artificial. Look for a mix that has actual cocoa powder in the ingredients list.
- 1/3 cup vegetable oil – You can also use canola or melted coconut oil. The oil is what keeps these cookies soft and tender. Don’t substitute butter here—I tried it once and they came out too flat and greasy.
- 2 large eggs – Room temperature is best, but honestly? I’ve used cold eggs straight from the fridge and they still worked fine. If you have time, let them sit out for 15 minutes.
- 1 teaspoon vanilla extract – Pure vanilla extract adds depth to the chocolate flavor. Imitation vanilla works in a pinch, but the real stuff makes a difference here.
- 1/2 cup powdered sugar – This is for rolling the cookies before baking. You’ll need extra for re-rolling if you’re making multiple batches. The powdered sugar is what creates that beautiful crinkle effect as the cookies spread in the oven.
- Optional: 1-2 tablespoons milk – If your dough feels too dry or crumbly, add milk one tablespoon at a time until it comes together. This happens sometimes depending on the brand of cake mix you use.
- Optional: 1/4 cup white chocolate chips – I like adding these for extra sweetness and texture. They melt slightly into the cookies and create little pockets of creamy goodness.
- Optional: Red sanding sugar – For extra sparkle on Valentine’s Day. Mix it with the powdered sugar for a festive touch.
Ingredient Selection Tips: When choosing your cake mix, look for one that specifically says “red velvet” rather than “devil’s food” or “chocolate.” The red velvet mixes have that distinct tangy flavor from buttermilk powder that makes these cookies taste authentic. And for the powdered sugar—please don’t skip sifting it if it’s lumpy. Lumpy powdered sugar creates uneven crinkles and nobody wants that.
Substitution Guidance: Need these to be dairy-free? Most cake mixes are dairy-free, but check the label. Use a dairy-free milk alternative if your dough needs moisture. For a gluten-free version, use a gluten-free red velvet cake mix—I’ve had good luck with King Arthur Flour’s gluten-free mix. And if you’re out of eggs, you can use 1/4 cup applesauce per egg, though the texture will be slightly more cake-like.
Equipment Needed
You don’t need much for these cookies, which is honestly my favorite part. Here’s what you’ll need:
- Large mixing bowl – Any size works, but you want enough room to stir without making a mess. I use my grandmother’s old ceramic bowl, but a stainless steel one works just fine.
- Wooden spoon or rubber spatula – For mixing the dough. I prefer a rubber spatula because it scrapes the sides better, but a wooden spoon has that satisfying thump when you’re stirring.
- Measuring cups and spoons – Precise measurements matter here, especially for the oil. Too much oil and your cookies will spread into flat puddles.
- Small bowl – For the powdered sugar. You’ll want one that’s wide enough to roll the dough balls in.
- Baking sheets – Two if you have them, so you can bake one batch while the other chills. I recommend light-colored baking sheets for even browning.
- Parchment paper or silicone baking mat – Essential for preventing sticking and for easy cleanup. I’ve used both and prefer parchment paper for these cookies because it helps them spread evenly.
- Cooling rack – For letting the cookies cool completely. If you don’t have one, you can use a clean kitchen towel laid flat.
- Optional: Cookie scoop – For uniform cookie sizes. I use a 1.5-tablespoon scoop and it makes the process so much faster. If you don’t have one, just use your hands—they work great.
- Optional: Heart-shaped cookie cutter – For shaping the cookies after baking. I actually prefer pressing them into hearts with my fingers before baking, but a cutter works if you want more precise shapes.
Budget-Friendly Tip: Don’t have a cookie scoop? Use two spoons—one to scoop and one to scrape. Or just use your hands. I’ve made these cookies more times than I can count and honestly, hand-rolling is faster and gives you that homemade look that people love.
Preparation Method
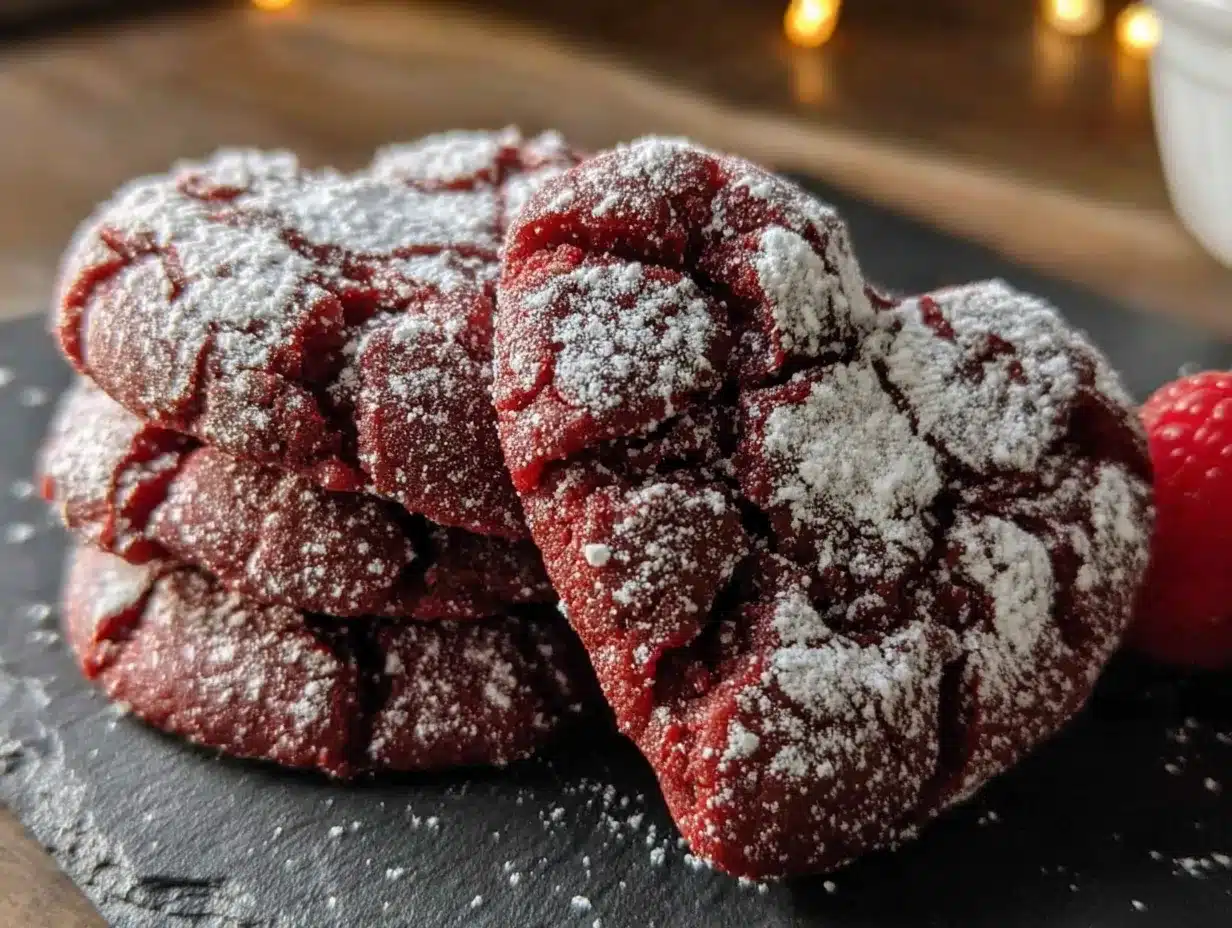
Alright, let’s get to the good part. Here’s how to make these easy red velvet heart-shaped crinkle cookies step by step. I’ve included all my little tricks and troubleshooting tips so you get perfect cookies every time.
- Preheat your oven to 350°F (175°C). Line two baking sheets with parchment paper or silicone mats. Trust me on the parchment—these cookies are sticky before they bake and you don’t want them to stick. While the oven heats, get your ingredients ready.
- In a large mixing bowl, combine the red velvet cake mix, vegetable oil, eggs, and vanilla extract. Stir until everything is well combined. The dough will be thick and slightly sticky—that’s exactly what you want. If it feels too dry and crumbly, add milk one tablespoon at a time until it comes together. I’ve had this happen with certain brands of cake mix, so don’t panic if your dough looks different than mine.
- If you’re using white chocolate chips, fold them in now. Gently stir them into the dough until they’re evenly distributed. Don’t overmix or the chips will melt into the dough and you’ll lose those lovely white pockets.
- Pour the powdered sugar into a small bowl. If your powdered sugar is lumpy, sift it first. I learned this the hard way after my first batch came out with weird clumps of sugar on top. Not cute.
- Scoop out tablespoon-sized portions of dough and roll them into balls. I use a 1.5-tablespoon cookie scoop for uniform sizes, but your hands work great too. The dough will be sticky—lightly oil your hands if needed. Roll each ball between your palms until smooth.
- Roll each dough ball in the powdered sugar. Make sure it’s completely coated—this is what creates that beautiful crinkle effect. I like to roll them twice for extra coverage. The sugar should be thick and white when you’re done.
- Now for the heart shape: Gently press each sugar-coated ball into a heart shape using your fingers. I do this by pressing the top to create the two bumps and then pressing the bottom to a point. Don’t worry if they’re not perfect—the cookies will spread and the hearts will soften in the oven. Imperfect hearts are honestly more charming.
- Place the shaped cookies on the prepared baking sheets, spacing them about 2 inches apart. These cookies spread, so give them room. I fit about 8 cookies per standard baking sheet.
- Bake for 10-12 minutes. The cookies are done when the edges are set and the tops look cracked and crinkly. The centers will still look slightly soft—that’s good. Don’t overbake or they’ll be dry. My sweet spot is exactly 11 minutes in my oven, but yours might be different.
- Let the cookies cool on the baking sheet for 5 minutes. This is crucial—they’re too fragile to move right away. After 5 minutes, transfer them to a cooling rack to cool completely. The powdered sugar will continue to set as they cool.
- Repeat with the remaining dough. If you’re making multiple batches, let the baking sheets cool completely before adding more dough. Hot pans will cause the cookies to spread too much.
Sensory Cue: When they’re done, the cookies should look like little snowy red mountains with cracks showing through. The kitchen will smell like chocolate and vanilla, and the powdered sugar will be lightly toasted on the edges. That first bite should be soft and chewy with a slight crunch from the sugar coating.
Cooking Tips & Techniques
After making these cookies more times than I’d like to admit, I’ve collected a few tricks that make the process smoother and the results better. Here’s what I’ve learned:
Don’t skip the chilling step if you have time. I know I said this recipe doesn’t require chilling, and it doesn’t—but if you can refrigerate the shaped cookies for 15-20 minutes before baking, the hearts will hold their shape better. The cookies will still spread, but the heart shape will be more defined. If you’re in a rush (like I usually am), just bake them straight away. They’ll still look cute.
Use a light hand with the powdered sugar. I made the mistake of being too gentle with the sugar coating on my first batch, and the crinkle effect was barely visible. You want a thick, generous coating. Think of it like you’re making a snowball—every surface should be covered. But don’t press the sugar into the dough; just roll gently.
Watch the baking time like a hawk. These cookies go from perfect to overdone in about 60 seconds. The first time I made them, I got distracted by a phone call and they came out hard and dry. Set a timer and check them at the 10-minute mark. They should look puffed and cracked, with the edges just barely starting to brown. The centers will still look soft—that’s good.
If your cookies spread too much, your dough is too warm. This happened to me when I made them on a hot summer day. The solution? Chill the dough for 30 minutes before shaping. Also, make sure your baking sheets are completely cool before adding more dough. I keep two sheets in rotation so one is always cooling.
Multitasking Strategy: While the first batch bakes, roll and sugar the second batch. This way, you’re not standing around waiting. I also clean up my mixing bowl while the cookies cool—it makes the whole process feel faster and less messy.
Variations & Adaptations
One of the best things about this recipe is how versatile it is. Here are some variations I’ve tried and loved:
Classic Red Velvet Crinkle Cookies: Skip the heart shaping and just bake them as round balls. They’ll still have that beautiful crinkle effect and taste exactly the same. This is my go-to for Christmas cookie exchanges when I need to make a lot quickly.
Chocolate-Red Velvet Swirl: Use half red velvet cake mix and half chocolate cake mix. Swirl them together gently before shaping. The result is a marbled effect that looks stunning and tastes even better. I made these for a friend’s birthday and she said they were the best cookies she’d ever had.
Vegan Version: Use a vegan red velvet cake mix (most are accidentally vegan anyway), substitute the eggs with flax eggs (1 tablespoon ground flaxseed + 3 tablespoons water per egg), and use coconut oil instead of vegetable oil. The texture will be slightly different—more cake-like than chewy—but they’re still delicious. My vegan friend devoured a whole batch.
Gluten-Free Adaptation: Use a gluten-free red velvet cake mix. I’ve tried this with King Arthur Flour’s gluten-free mix and it works perfectly. Just note that gluten-free dough tends to be more crumbly, so you might need to add an extra tablespoon of milk to bring it together.
Peppermint Red Velvet Crinkles: Add 1/2 teaspoon peppermint extract along with the vanilla and fold in crushed candy canes instead of white chocolate chips. These are amazing for Christmas and the red and white colors are so festive. I made these for a holiday party and they were gone in minutes.
Personal Variation: My favorite twist is adding a pinch of cinnamon and a dash of cayenne pepper to the dough. It sounds weird, I know, but the warmth of the spices complements the chocolate and creates a subtle heat that keeps people guessing. I call them “Mexican Hot Chocolate Red Velvet Cookies” and they’re always a conversation starter.
Serving & Storage Suggestions
These cookies are best served at room temperature, but honestly, they’re delicious straight out of the oven too—just be careful with the hot powdered sugar, it’s like lava. I like to arrange them on a platter with fresh strawberries and a glass of cold milk for the ultimate Valentine’s Day treat.
Presentation Idea: For a cookie platter, alternate these red crinkle cookies with white chocolate chip cookies and chocolate crinkles. The color contrast is gorgeous and everyone gets a variety. I also like to dust them with a little extra powdered sugar right before serving for that fresh-from-the-bakery look.
Storage Instructions: Store these cookies in an airtight container at room temperature for up to 5 days. Place a slice of bread in the container to keep them soft—the cookies will absorb the moisture from the bread and stay chewy. Change the bread every other day if you’re storing them longer.
Freezer Instructions: These cookies freeze beautifully. Place them in a single layer in a freezer-safe container with parchment paper between layers. They’ll keep for up to 3 months. To thaw, let them sit at room temperature for about 30 minutes. You can also freeze the unbaked dough balls—just roll them in powdered sugar, freeze them on a baking sheet, then transfer to a freezer bag. Bake straight from frozen, adding 2-3 minutes to the baking time.
Reheating Method: If you want that just-baked warmth, pop a cookie in the microwave for 10 seconds. It’ll be soft and gooey. For a crispier exterior, reheat in a 300°F oven for 5 minutes.
Flavor Development: These cookies actually taste better the next day. The flavors meld together and the texture becomes even more fudgy. So if you can resist eating them all right away, they’re even better on day two.
Nutritional Information & Benefits
Let’s be real—these are cookies, not health food. But here’s the breakdown so you know what you’re working with. Per cookie (based on 24 cookies per batch):
| Nutrient | Amount Per Cookie |
|---|---|
| Calories | 145 |
| Total Fat | 7g |
| Saturated Fat | 1.5g |
| Cholesterol | 15mg |
| Sodium | 180mg |
| Total Carbohydrates | 20g |
| Dietary Fiber | 0.5g |
| Sugars | 14g |
| Protein | 2g |
Health Benefits: Okay, so cookies aren’t exactly a superfood. But the cocoa in red velvet cake mix does contain antioxidants called flavonoids, which can help reduce inflammation. The eggs provide protein and healthy fats, and the oil gives you vitamin E. Plus, there’s something to be said for the mental health benefits of treating yourself to something delicious. These cookies are perfect for that—they’re indulgent without being over-the-top.
Dietary Considerations: This recipe contains gluten, dairy (in the cake mix), and eggs. For a gluten-free version, use a gluten-free cake mix. For a dairy-free version, check your cake mix label and use a dairy-free milk alternative. For an egg-free version, use flax eggs as mentioned above.
Potential Allergens: Wheat, dairy, eggs. If you’re serving these at a party, it’s always a good idea to label them so guests with allergies know what they’re eating.
Conclusion
These easy red velvet heart-shaped crinkle cookies have become my go-to recipe for pretty much every occasion that calls for something sweet. They’re quick enough for a last-minute school event, pretty enough for a Valentine’s Day party, and delicious enough that people will ask you for the recipe every single time. And honestly? That’s the best part—watching someone take a bite and seeing their eyes light up because they can’t believe something this simple tastes this good.
I hope you give these a try, whether you’re making them for a holiday, a bake sale, or just because you deserve a treat. Don’t be afraid to make them your own—add different mix-ins, play with the shape, or experiment with different cake mix flavors. That’s the beauty of a recipe like this: it’s a starting point, not a rulebook.
If you make these cookies, I’d love to hear about it! Leave a comment below and let me know how they turned out. Did you add any fun variations? Did the heart shape work for you? Share your photos on Pinterest and tag me—I love seeing your creations. And if you’re looking for more easy cookie recipes, check out my classic chocolate crinkle cookies or my soft sugar cookies that don’t need chilling. Happy baking, friends!
Frequently Asked Questions
Can I use a different cake mix flavor?
Absolutely! While red velvet is the star here, you can use any flavor cake mix. Chocolate, strawberry, or even lemon would work great. Just adjust the color and flavor accordingly. For a fun twist, try using a confetti cake mix for rainbow crinkle cookies.
Why did my cookies come out flat?
Flat cookies usually mean the dough was too warm or there was too much oil. Make sure you’re measuring the oil precisely—1/3 cup, not a heaping 1/3 cup. Also, try chilling the dough for 20-30 minutes before baking. If your baking sheets are warm from a previous batch, let them cool completely before adding more dough.
Can I make these cookies without a mixer?
Yes! This recipe is designed to be made by hand. A wooden spoon or rubber spatula is all you need. The dough is thick, so it takes a little elbow grease, but it’s totally doable. I actually prefer mixing by hand because I can feel when the dough is ready.
How do I get the perfect heart shape?
The key is to shape the dough before baking, not after. Roll the dough into a ball, coat it in powdered sugar, then gently press the top to create two bumps and pinch the bottom to a point. Don’t worry if they’re not perfect—the cookies spread and soften the shape. For more defined hearts, chill the shaped cookies for 15 minutes before baking.
Can I freeze the baked cookies?
Yes, these cookies freeze beautifully. Place them in a single layer in a freezer-safe container with parchment paper between layers. They’ll keep for up to 3 months. To thaw, let them sit at room temperature for 30 minutes. You can also freeze the unbaked dough balls—just roll them in powdered sugar first and bake straight from frozen, adding 2-3 minutes to the baking time.
Pin This Recipe!
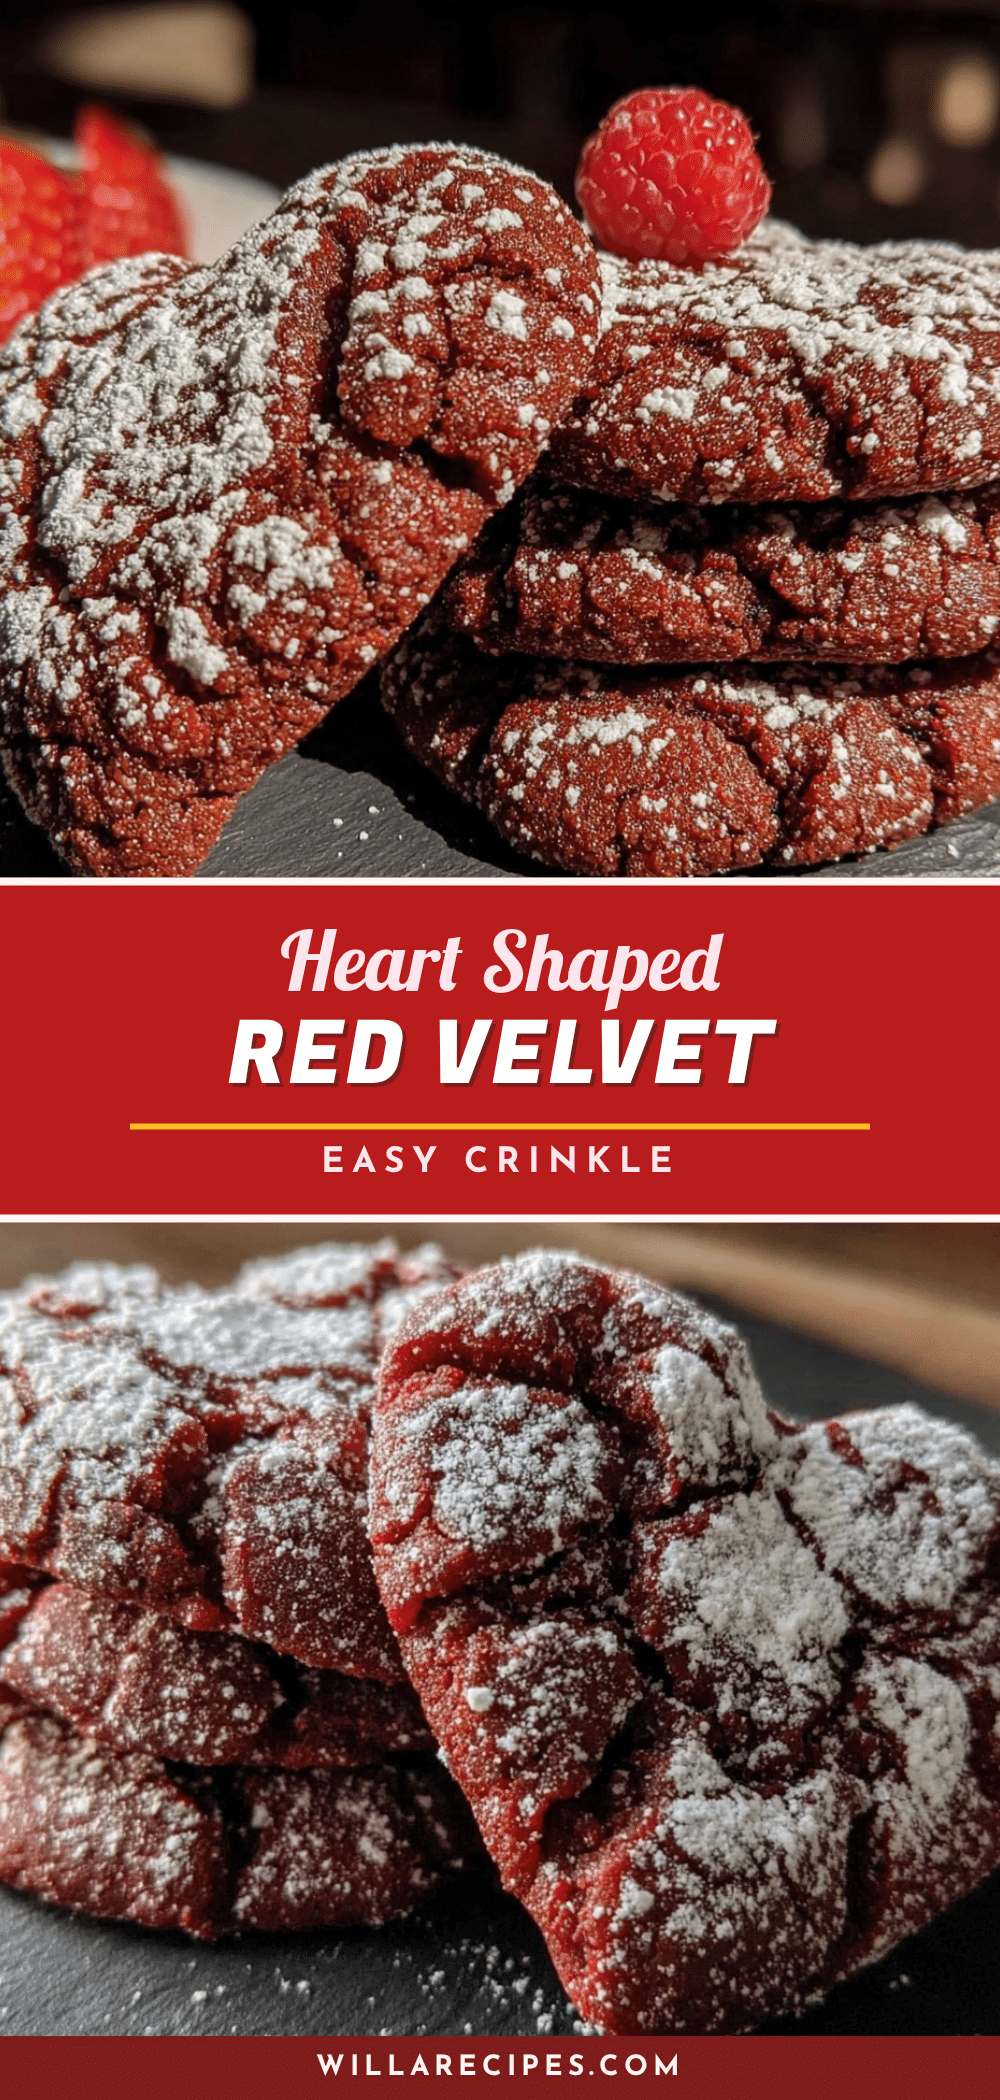
Easy Red Velvet Crinkle Cookies | Best Heart-Shaped Recipe

These easy red velvet heart-shaped crinkle cookies are a quick and delicious treat made with a box of cake mix. Perfect for Valentine’s Day or any last-minute occasion, they feature a fudgy center, crackly powdered sugar coating, and an adorable heart shape that makes them look like you spent hours.
- Prep Time: 15 minutes
- Cook Time: 11 minutes
- Total Time: 26 minutes
- Yield: 24 cookies 1x
- Category: Dessert
- Cuisine: American
Ingredients
- 1 box (15.25 oz) red velvet cake mix
- 1/3 cup vegetable oil
- 2 large eggs
- 1 teaspoon vanilla extract
- 1/2 cup powdered sugar (plus extra for rolling)
- 1–2 tablespoons milk (optional, if dough is too dry)
- 1/4 cup white chocolate chips (optional)
- Red sanding sugar (optional, for garnish)
Instructions
- Preheat your oven to 350°F (175°C). Line two baking sheets with parchment paper or silicone mats.
- In a large mixing bowl, combine the red velvet cake mix, vegetable oil, eggs, and vanilla extract. Stir until well combined. The dough will be thick and slightly sticky. If it feels too dry, add milk one tablespoon at a time until it comes together.
- If using white chocolate chips, fold them in gently until evenly distributed.
- Pour the powdered sugar into a small bowl. If lumpy, sift it first.
- Scoop out tablespoon-sized portions of dough and roll them into balls. Lightly oil your hands if the dough is sticky.
- Roll each dough ball in the powdered sugar until completely coated. Roll twice for extra coverage.
- Gently press each sugar-coated ball into a heart shape using your fingers: press the top to create two bumps and the bottom to a point.
- Place the shaped cookies on the prepared baking sheets, spacing them about 2 inches apart.
- Bake for 10-12 minutes, until the edges are set and the tops look cracked and crinkly. The centers should still look slightly soft.
- Let the cookies cool on the baking sheet for 5 minutes, then transfer to a cooling rack to cool completely.
- Repeat with remaining dough, letting baking sheets cool completely between batches.
Notes
For more defined heart shapes, chill the shaped cookies for 15-20 minutes before baking. Don’t overbake; cookies go from perfect to overdone quickly. These cookies taste even better the next day as flavors meld.
Nutrition
- Serving Size: 1 cookie
- Calories: 145
- Sugar: 14
- Sodium: 180
- Fat: 7
- Saturated Fat: 1.5
- Carbohydrates: 20
- Fiber: 0.5
- Protein: 2
Keywords: red velvet crinkle cookies, heart-shaped cookies, easy cookie recipe, Valentine's Day cookies, cake mix cookies


